The car that you drive is a reflection on your personality. If something on your car doesn’t quite fit the mold, you can customize it so that it suits you better.
Car modification is a big business. Companies produce and sell billions of dollars of car accessories every year including:
- Aftermarket wheels
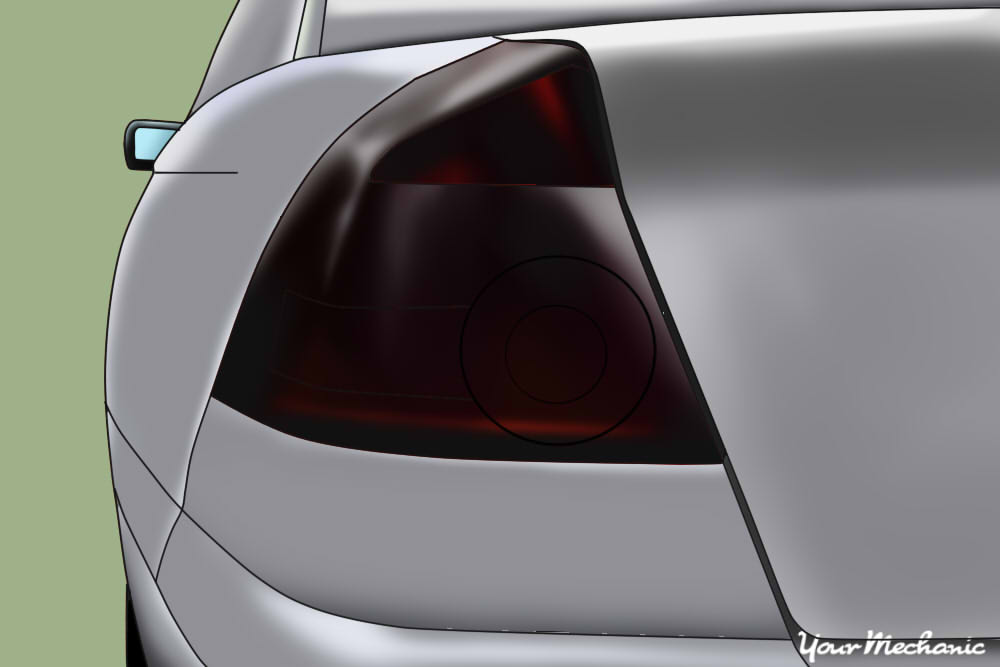
- Blacked-out tail lights
- Lowering springs
- Running boards
- Tonneau covers
- Window tinting
Car accessories come in varying qualities and styles and it’s easy to spend thousands of dollars customizing your car with new parts to make it look uniquely yours. If you are on a budget and still want to create a personal identity with your car, you can do so by tinting your tail lights yourself.
- Warning: Tint laws vary from state to state. You can check your state’s tint laws at Solargard.com to determine if it is legal to tint tail lights in your area.
Method 1 of 3: Use spray tint to tint your tail lights
Tinting your tail lights with a tinting spray requires a steady hand and your undivided attention. You will also need a clean, dustless environment to apply the tint or your finish will be permanently marred by dust and lint settling into the drying tint.
Materials Needed
- 2,000-grit wet-sanding paper
- Can of clear coat
- Can of tint spray
- Car polish
- Car wax
- Lint-free cloths
- Masking tape
- Pail with 1 gallon of water and 5 drops of dish soap
- Sharp utility knife
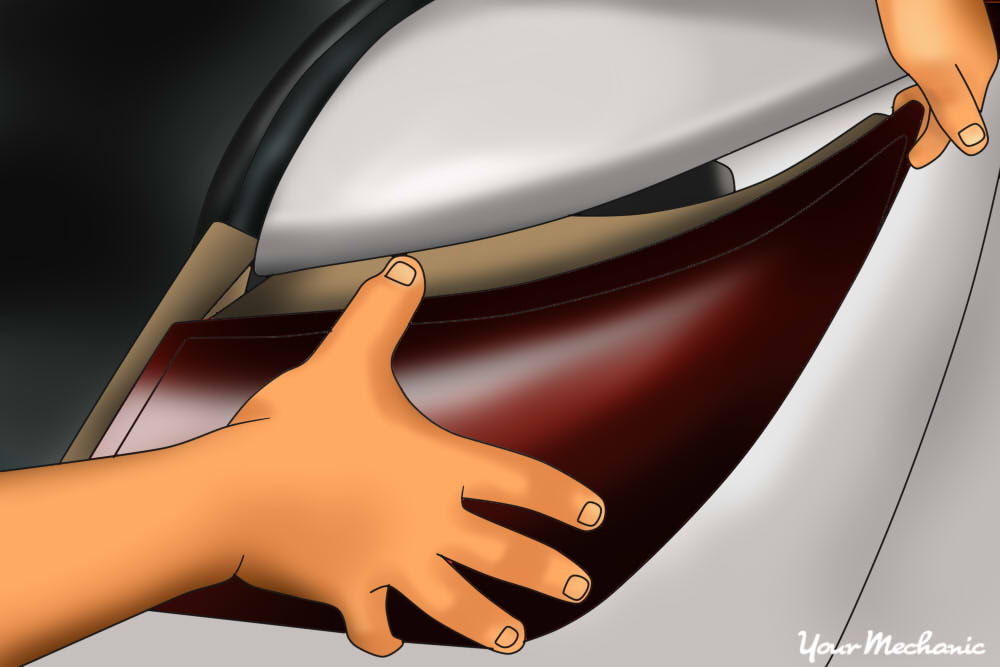
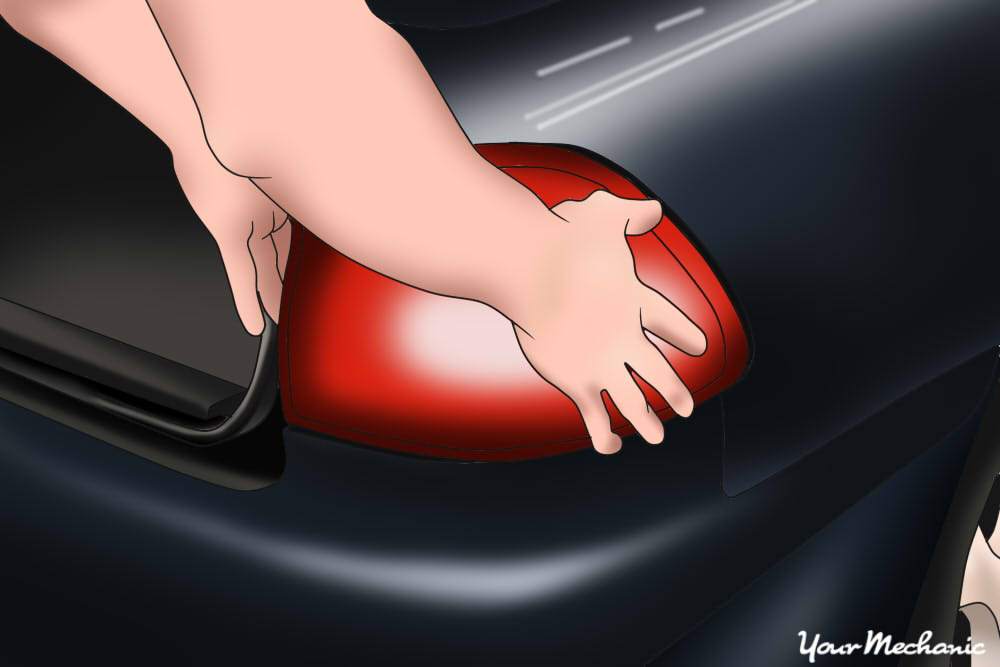
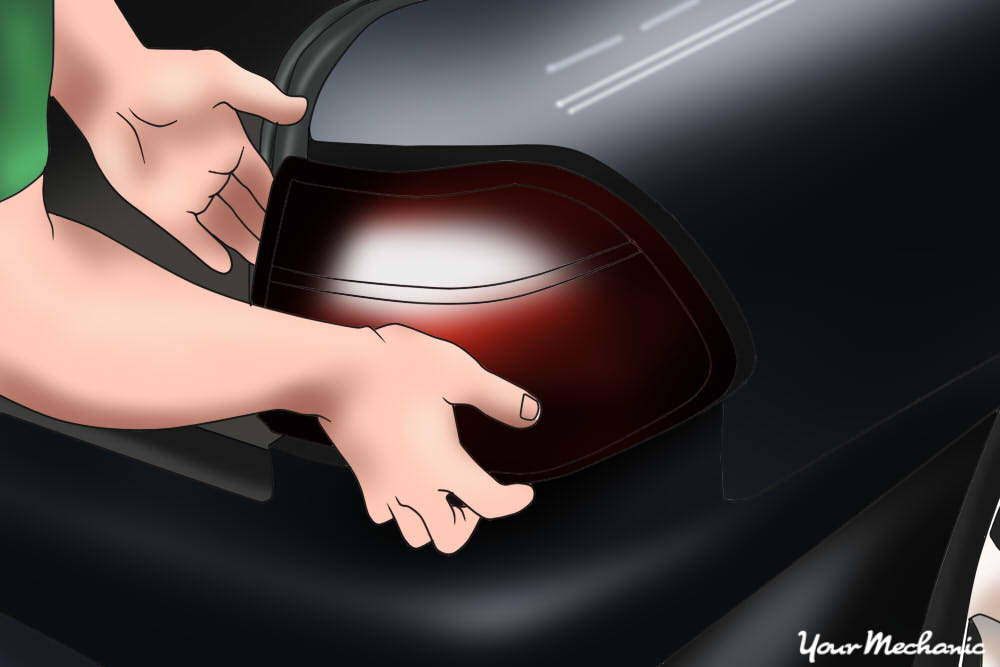
Step 1: Remove the tail lights from your car. The removal procedure for the tail light is generally the same for every car, but some models may have slight differences.
Open the trunk and pull the stiff carpet liner away from the rear of the trunk where the tail lights are.
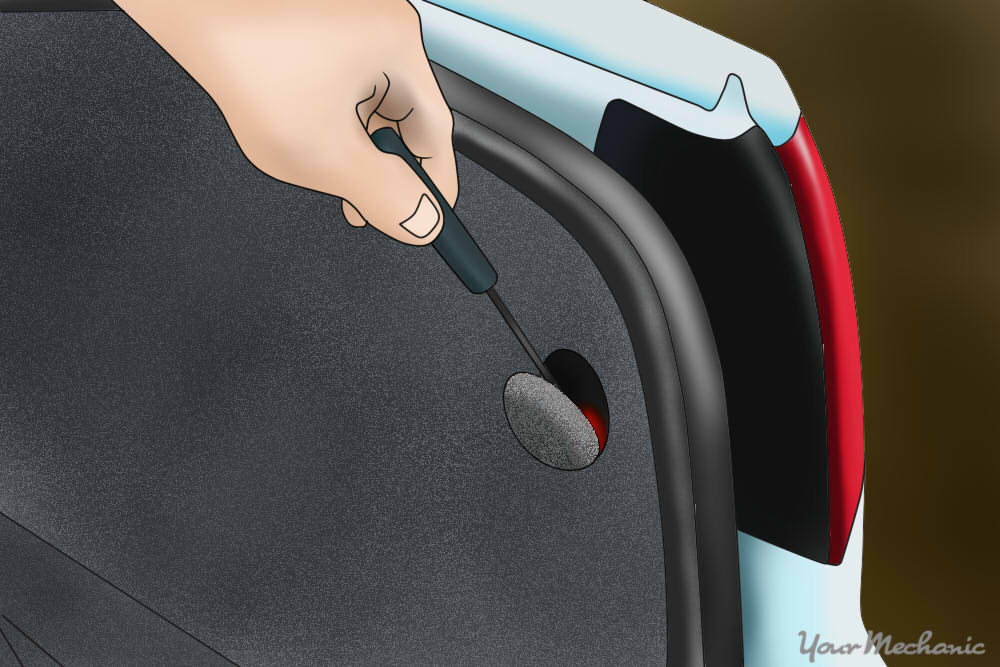
Step 2: Remove the fasteners. Some may be screws or nuts while others will be plastic wingnuts that can be removed by hand.
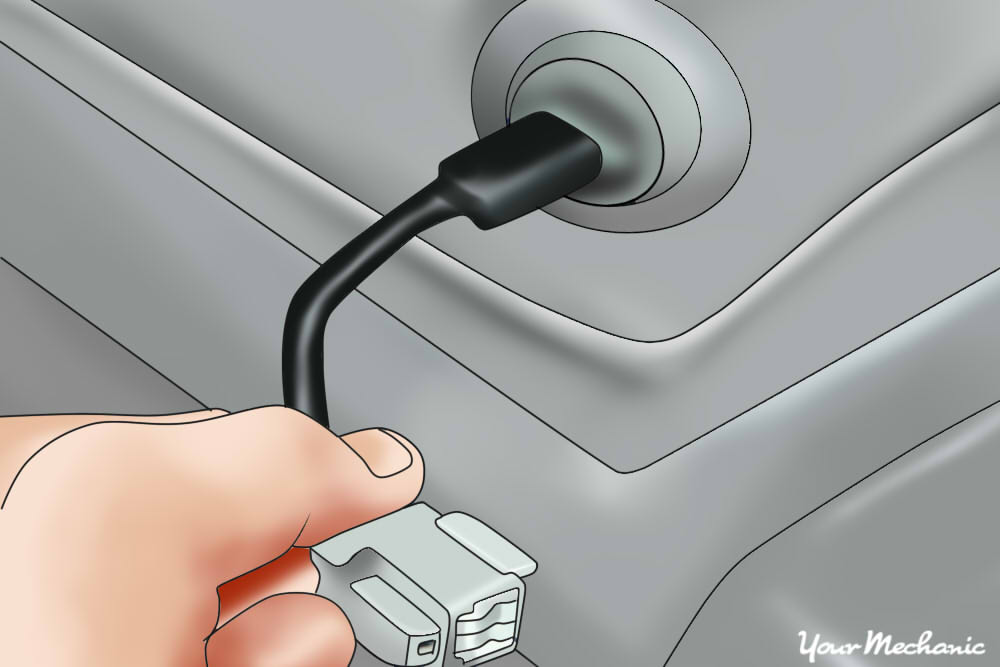
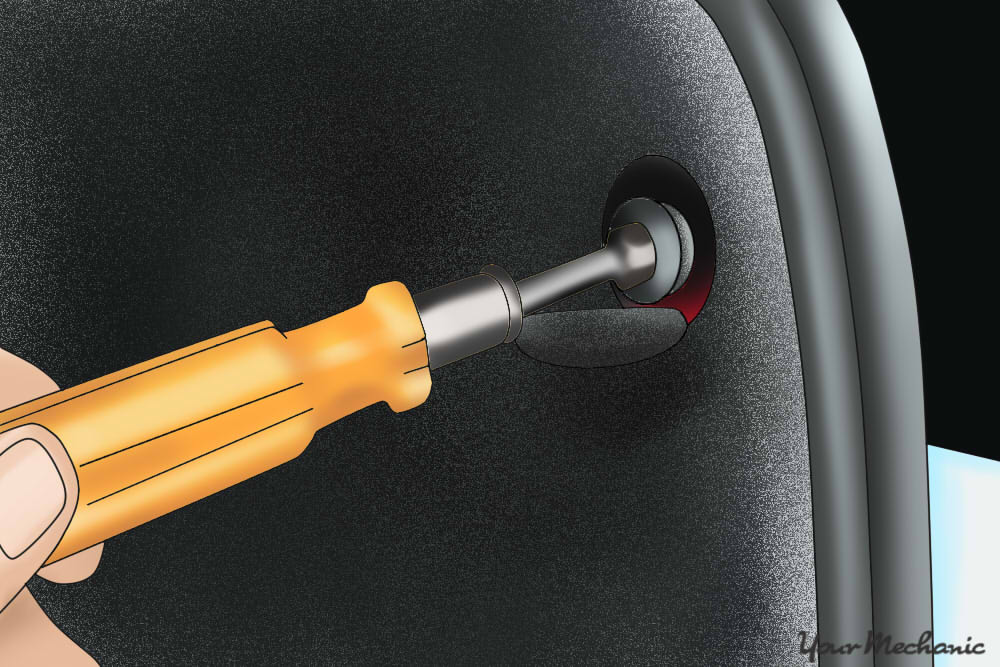
Step 3: Disconnect the tail light wiring harness. Nearly all are connected with a quick-connect style that can be undone by pressing a tab on the connector and pulling the two sides apart.
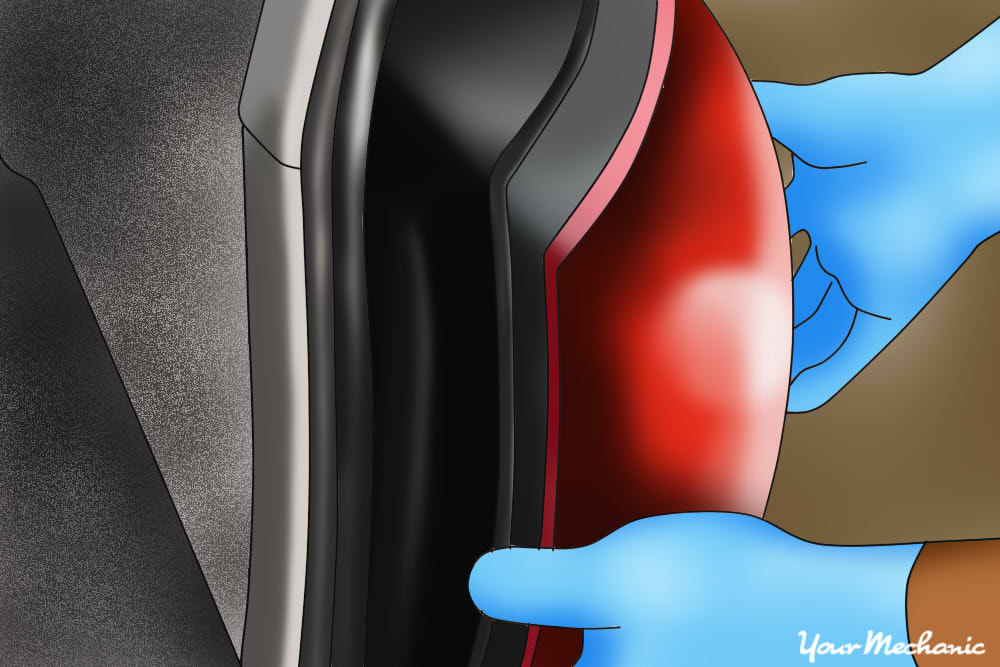
Step 4: Remove the tail light.Slide the tail light rearward by using your hands or by using a flat head screwdriver to prop the light open. The tail light should now be off of the car.
Step 5: Repeat this process for both sides. After you remove the first light, repeat the Steps 1-4 on the other tail light.
Step 6: Prep the tail light surface. Wash the tail light with the water and soap, and then dry them completely afterwards.
Soak the 2,000-grit sandpaper in the water and soap while you wash the tail lights.
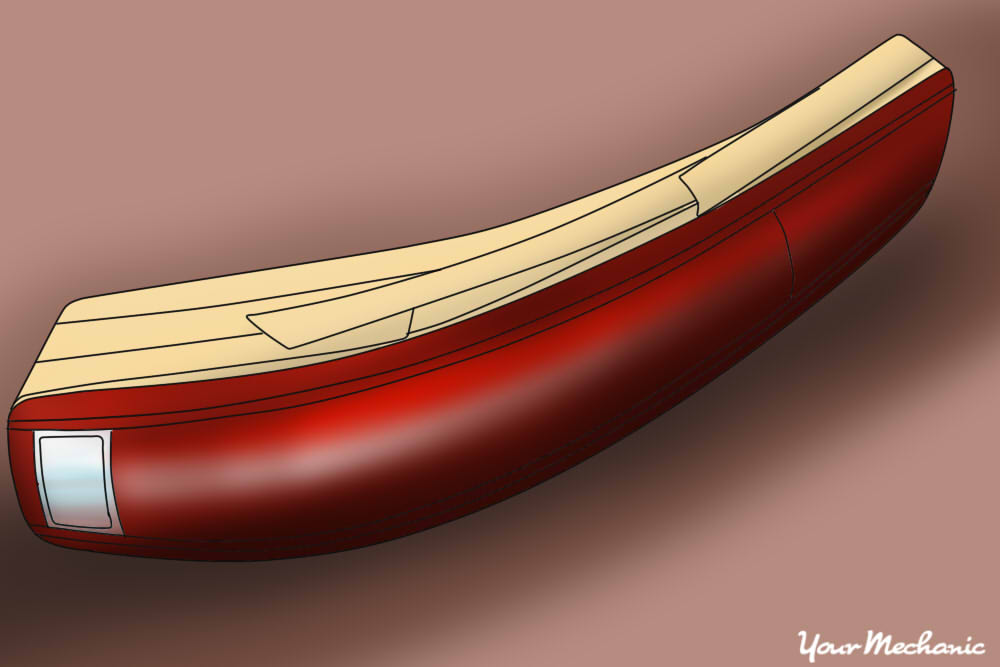
Step 7: Mask the reverse lights. Mask the clear section for the reverse lights with masking tape.
Cover the reverse light area completely, then trim it precisely to size with your utility knife. Use light pressure as you don’t want to gouge into the light too deeply.
Step 8: Sand the tail lights. After the lights are cleaned, wet the tail lights, and lightly sand the tail light surface with the wet sandpaper.
Wipe the surface regularly to check that your progress is even. Re-wet the light before continuing to sand.
Repeat for the second tail light, making sure the sanding appears even before proceeding to the next step.
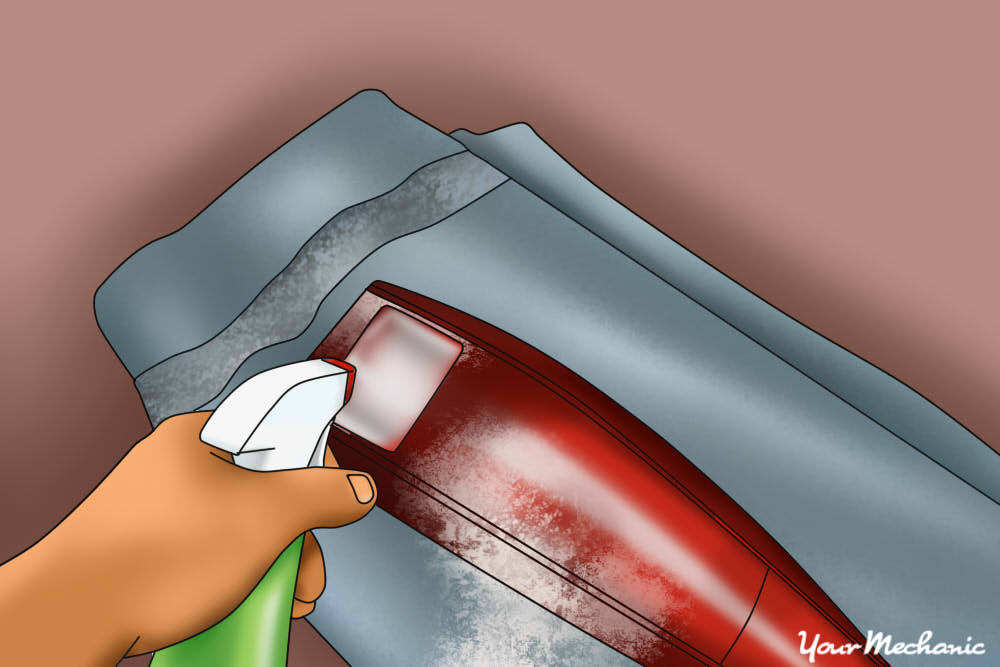
Step 9: Spray the tint onto the tail lights. Test your spray can before spraying the lights. Get familiar with the spray pattern and amount of spray that comes from the nozzle.
- Warning: Always work with aerosol paints and sprays in a well-ventilated area. Use a mask to avoid inhaling the spray.
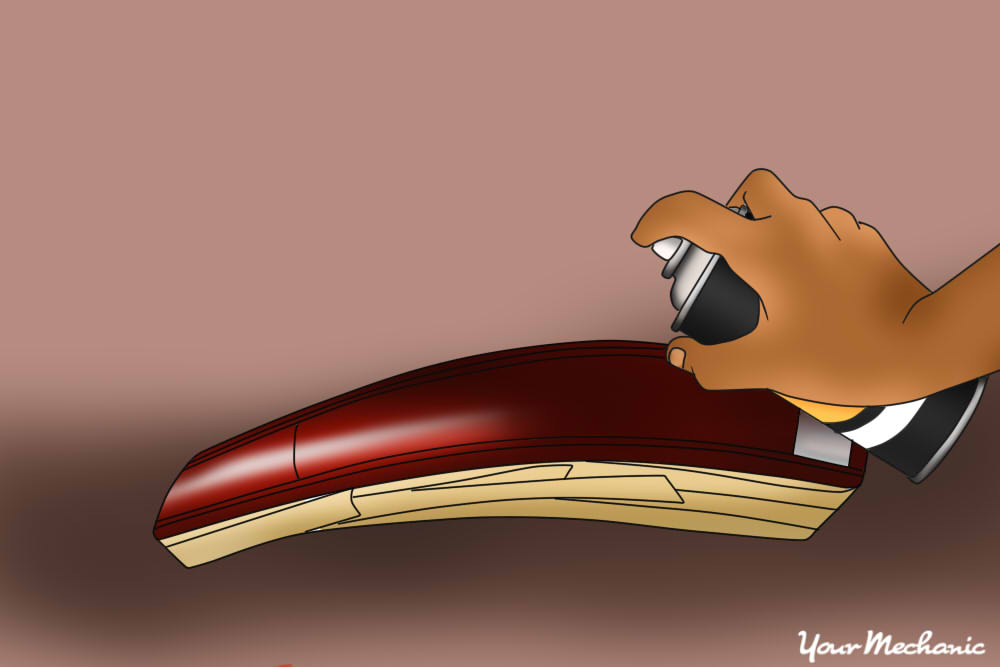
Spray the light in long passes, starting to spray before the light and stopping after you’ve passed over the whole light.
Lay a thin but full coverage over the whole tail light. Do both tail lights at the same time so they are uniform.
Tip: Let the tail lights dry for one hour before re-treating them. For a dark, smoky appearance, two coats should be applied. For a blacked-out look, use three treatments of the tint spray.
Tip: Your tail lights will look pretty good at this point, but a better finish can be achieved by applying clear coat and polishing the finish before re-installing the tinted tail lights.
Step 10: Scuff the tinted spray with sandpaper. Use the 2,000-grit sandpaper to very lightly scuff the surface of the tint.
The purpose of this is for the clear coat to adhere to the surface so a very minimal, light sanding is all that is needed.
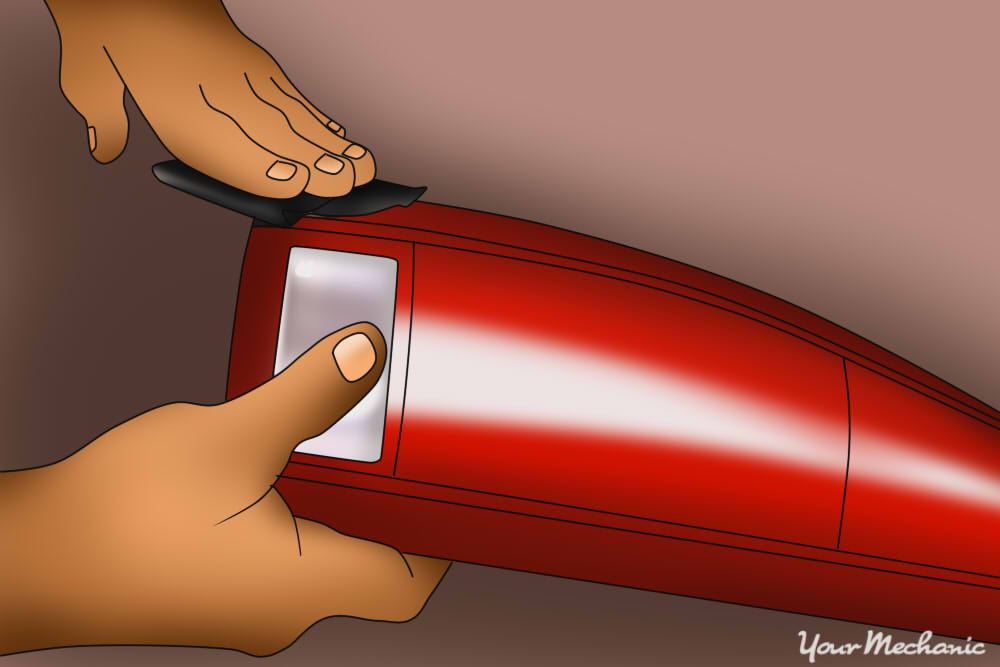
Remove the masking tape from the reverse light section and lightly sand that area as well. You can apply a uniform clear coat to the whole lens.
Wash the whole tail light with water, then allow to fully dry.
Step 11: Apply the clear coat. In the same manner as the tinting spray, apply clear coat to the tail light. Apply light, complete coats to the tail lights with each pass.
Allow 30 minutes to dry between coats.
- Tip: Spray at least 5 coats of clear coat onto your tail lights. 7-10 coats is optimal for a uniform, protective finish.
When finished, allow the clear coat on the tail lights to dry overnight.
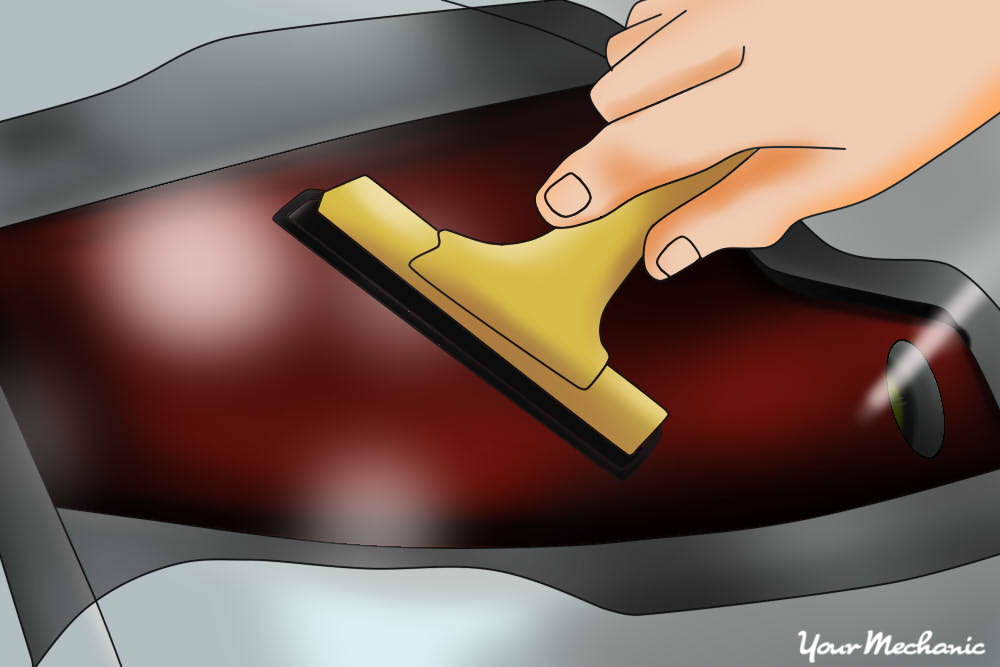
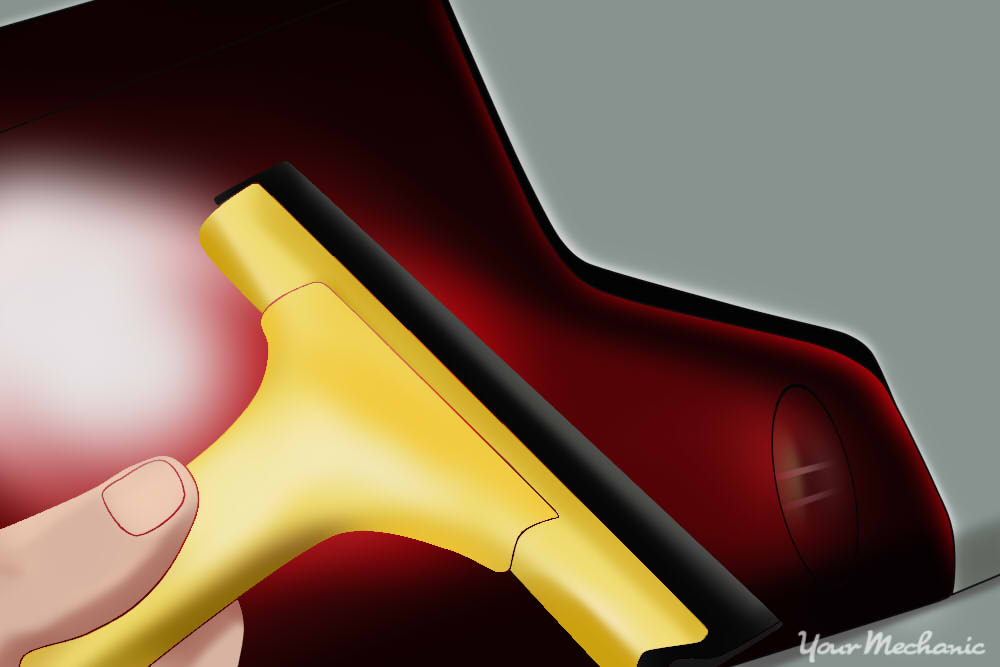
Step 12: Polish the finish. With the 2,000-grit sandpaper, very lightly scuff the clear coat until it is uniformly hazy over the whole lens.
Put a small quarter-sized dab of polish on a clean cloth. Work the polish over the whole tail light lens in small circles until you get a lustrous finish.
Wipe the polished finish clean with a new cloth. Apply wax on top of the polished finish in the same fashion as the polish.
The wax will seal the tail light’s clear coat from fading and discoloration.
Step 13: Install the tinted tail lights back onto the car. Re-installation of the tail lights is the reverse process as the removal in Step 1.
Connect the tail light back onto the wiring harness and snugly fit the tail light back onto the car.
Method 2 of 3: Tint the tail lights with film
Tinting film is inexpensive and rather simple to apply, though the finished product isn’t always as nice as it is with spray tint.
Materials Needed
- Heat gun or hair dryer
- Microfiber or lint-free cloth
- Sharp utility knife
- Small vinyl squeegee (choose a small handheld squeegee)
- Spray bottle of water
- Window tint film of the desired darkness (For example, you can use 5%, 30%, or 50% film tint)
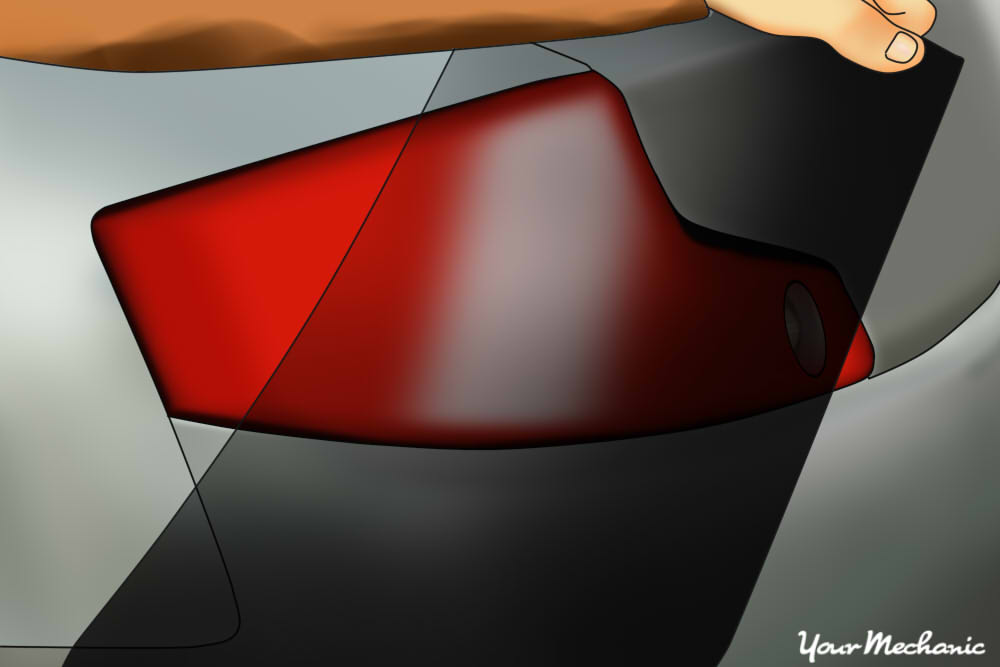
Step 1: Cut the tint film to the rough size of the tail lights. Use your sharp utility knife to cut the tint film into the shape of the tail lights.
Allow excess on the edges that will need to be trimmed. Hold the film against the tail light to make sure the size is right.
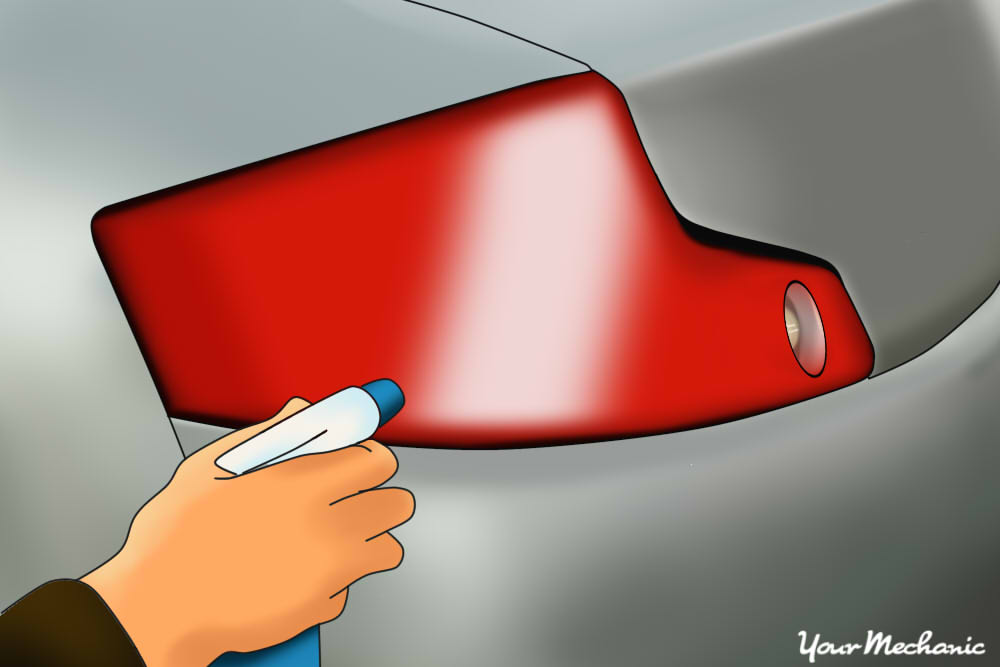
Step 2: Mist the tail light with water from your spray bottle. Use the spray bottle to wet the tail light surface. This will allow you to attach the tint film.
Step 3: Remove the protective layer from the tint film. Take of the protective layer from the adhesive side of the tint film.
- Warning: You will need to work quickly and carefully now; any dust or lint can get stuck to the film and get permanently trapped between the tail light and the film.
Step 4: Place the tint film on the wet surface of the tail light. The water will create a slippery surface so you can move and manipulate the tint film into place and make adjustments.
Step 5: Remove water and air bubbles from under the tint with the vinyl squeegee. Start in the center and work your way to the edges. Push all the bubbles out so the tint appears flat.
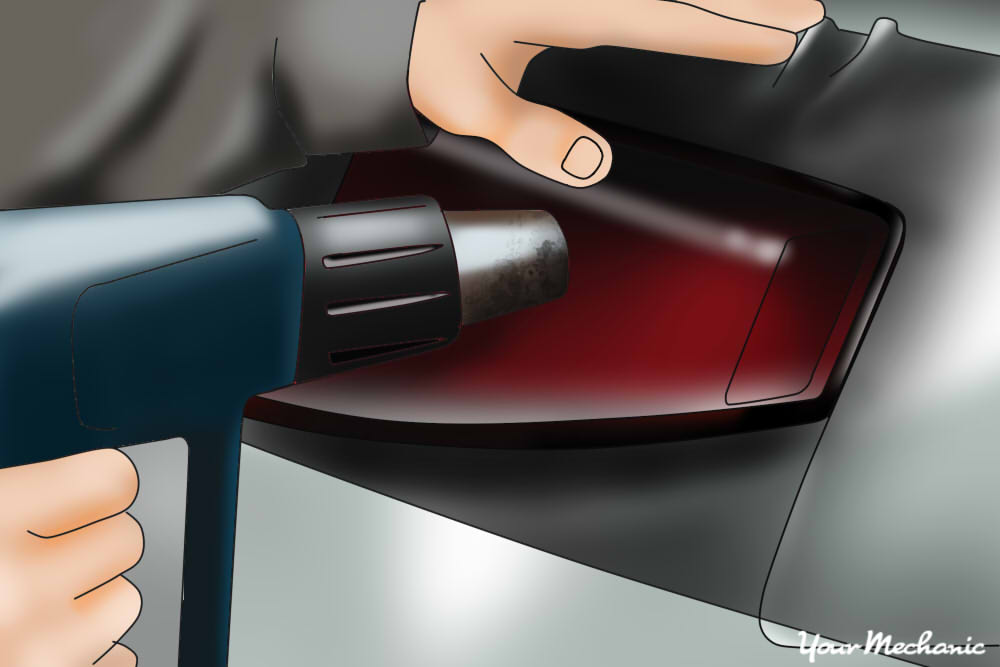
Step 6: Make the tint film pliable film. Use the heat gun at the edges to warm the tint film and make it pliable. The edges will have wrinkles if they aren’t heated slightly and smoothed.
- Warning: Excess heat will cause the tint to shrivel and warp. Be careful to only heat the tint slightly.
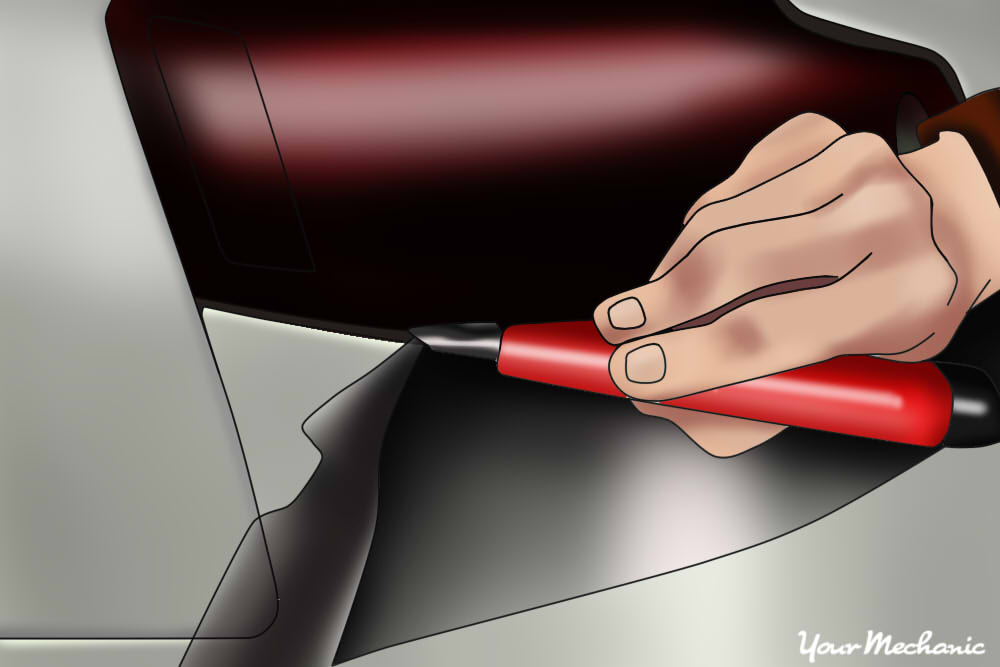
Step 7: Trim the excess tint film. Use the sharp utility knife to trim the excess tint film off so that the film only covers the tail lights.
Use the squeegee, your finger, or a credit card to smooth the edges out and tuck them in around the tailgate to complete the process.
Method 3 of 3: Install aftermarket tinted lights
The most expensive option is to replace your tail lights with aftermarket blacked-out tail lights. While this option is more costly, it is much less time consuming and the tint is guaranteed to be uniform.
- Tip: You can search for tinted aftermarket tail lights at CariD.com. This website lets you search for parts by your car’s make, model, and year.
Step 1: Remove your current tail lights. Follow the directions to remove the tail lights like in Method 1.
Step 2: Install the aftermarket tail lights. Your tinted aftermarket tail lights should be a direct fit for your vehicle’s model and year.
Connect the new tail light to the electrical wiring harness and snugly fit the tail light back onto the car and ensure that it snaps into place.
Tinting your tail lights can add style to your car and give it a brand new look and feel. With the three methods above, you can have your car’s tail lights tinted today.
Sometimes, you may encounter problems with your tail light’s functionality. If you need any assistance installing new tail lights, replacing bulbs, or repairing electrical issues with your lights, a certified technician from YourMechanic can come to your home or office to have these issues resolved.
