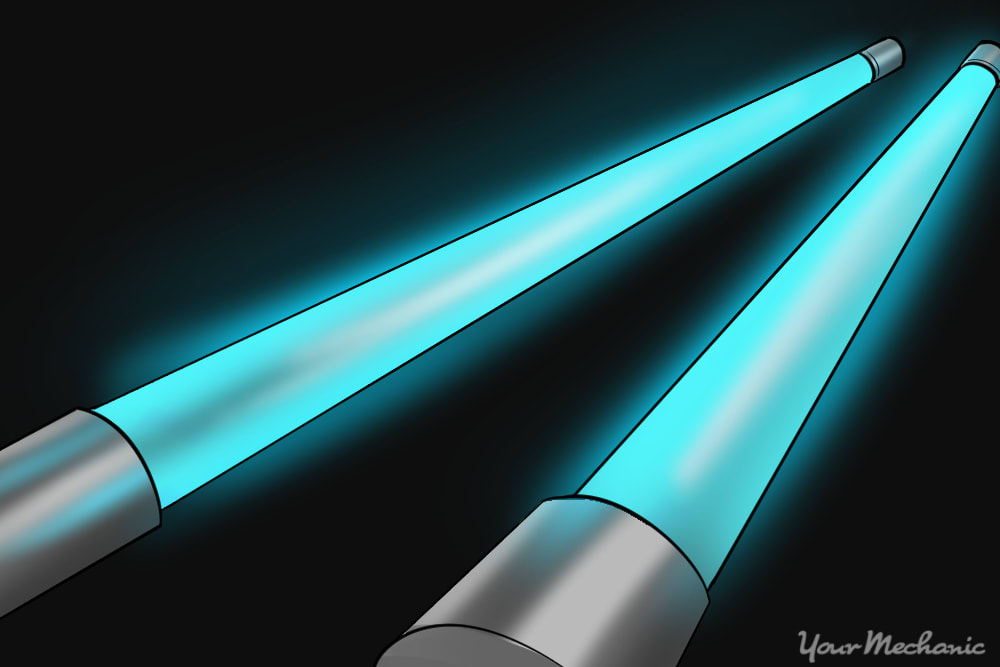

Undercar lighting can make any car look cool. It adds a futuristic feel to your vehicle, making it look like something out of a sci-fi movie. Undercar LED comes in all kinds of different colors and installation is something you can do on your own. While it may seem difficult, the overall concept is simple and, with a little patience and effort, it is a welcome addition to your car.
Part 1 of 1: Install the LED lighting
Materials Needed
- Protective gloves
- Repair manuals
- Safety glasses
- Undercar LED light kit
- Zip ties
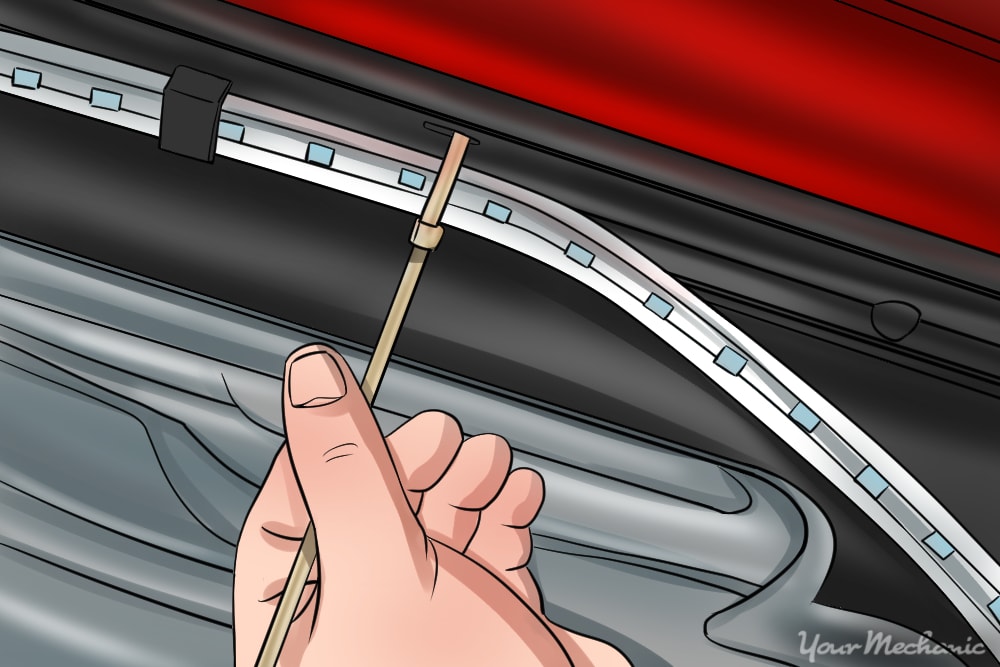
Step 1: Attach the LEDs to the vehicle. Set the LED strip under your vehicle.
Look for a means of attaching it, such as bolts or brackets, and temporarily mount the strip using LED tape. Use zip ties to permanently secure the LED strip to your vehicle. The zip ties should generally be placed every foot or so under the vehicle.
Step 2: Route the wires into the engine bay. Route the wires under the vehicle and into the engine bay.
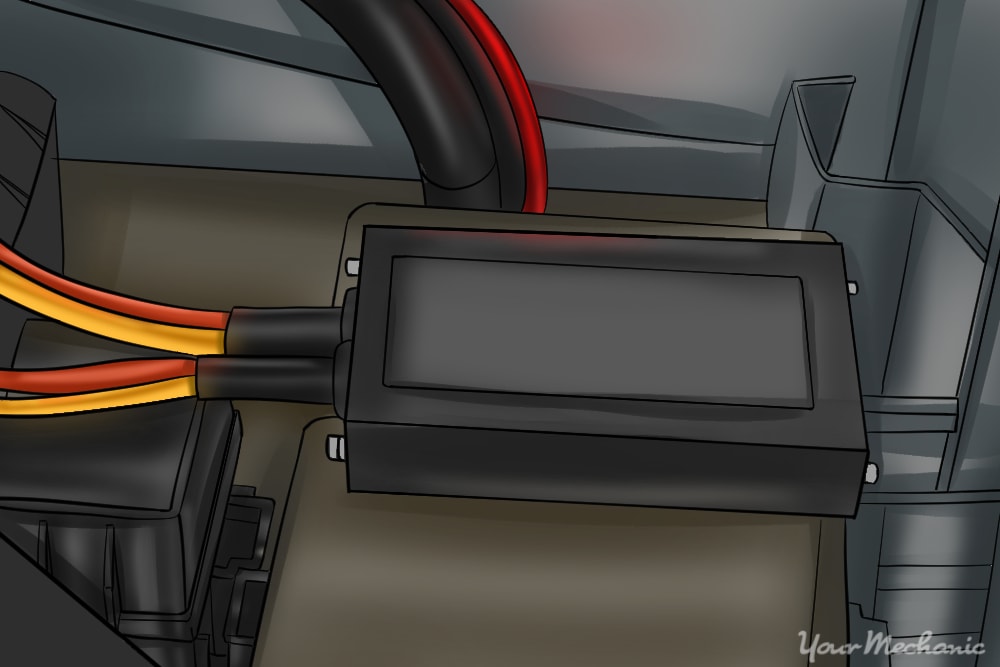
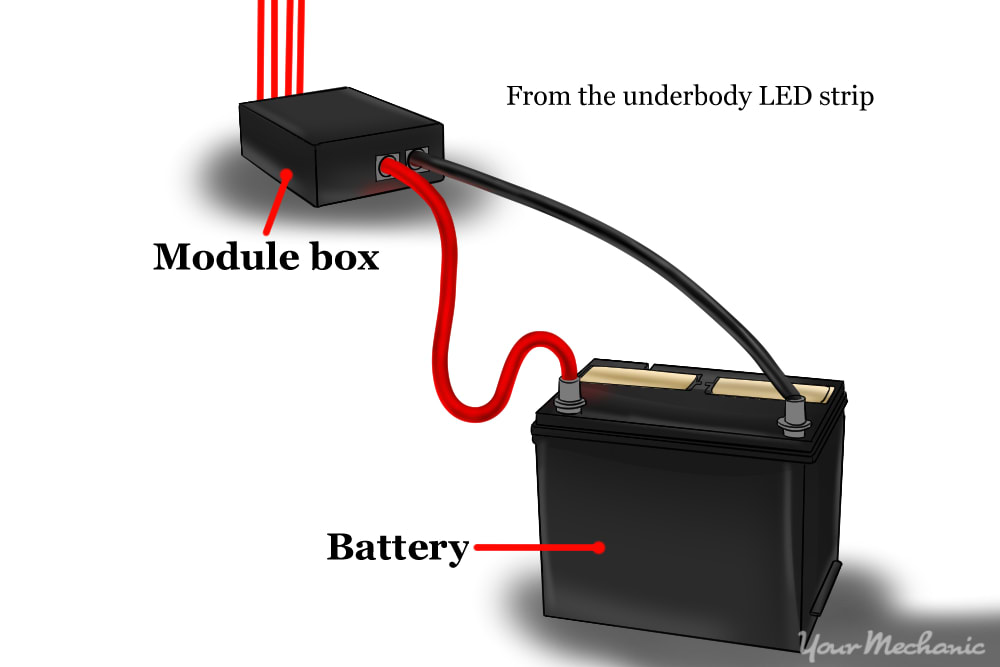
Step 3: Connect the wires to the module. Place the module in the engine bay and connect the wires to it.
Step 4: Connect the module wires to power. Connect the module power wire to the battery positive terminal using the kit supplied hardware.
Step 5: Connect the module wires to ground. Connect the ground wires to chassis ground.
Make sure the ground contact point is clean and free of rust and/or paint.
Step 6: Mount the module box. Permanently mount the module box somewhere in the engine bay that is cool, dry and clean.
Extend the antenna on the module so it will get reception even with the hood closed.
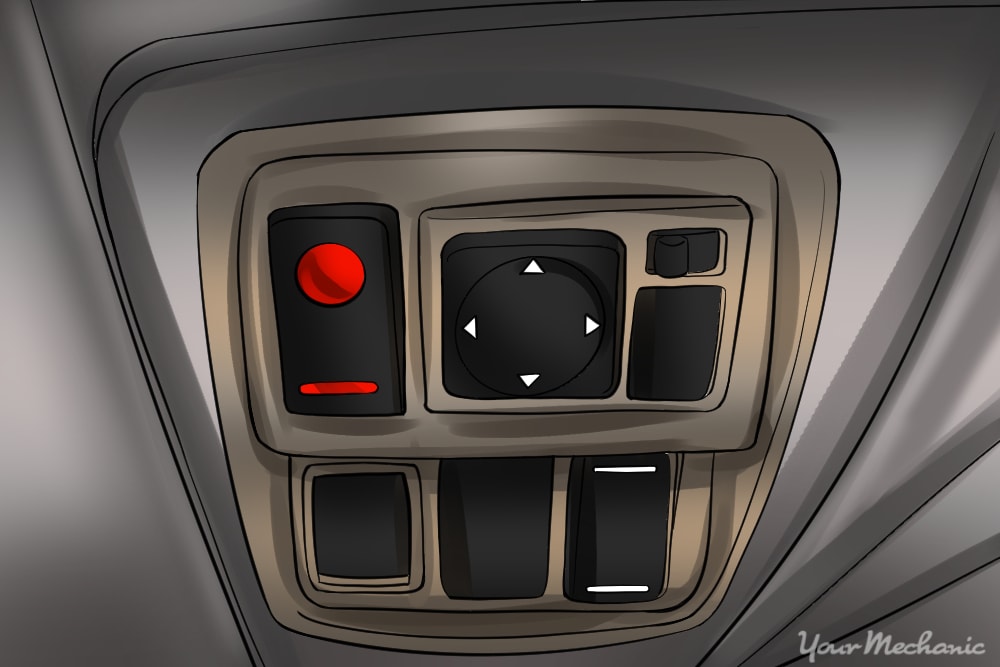
Step 7: Mount the switch. If your kit does not use a wireless module you will have to use a switch to control it.
Start by drilling a hole and mounting the switch. Choose a location that is easily within reach.
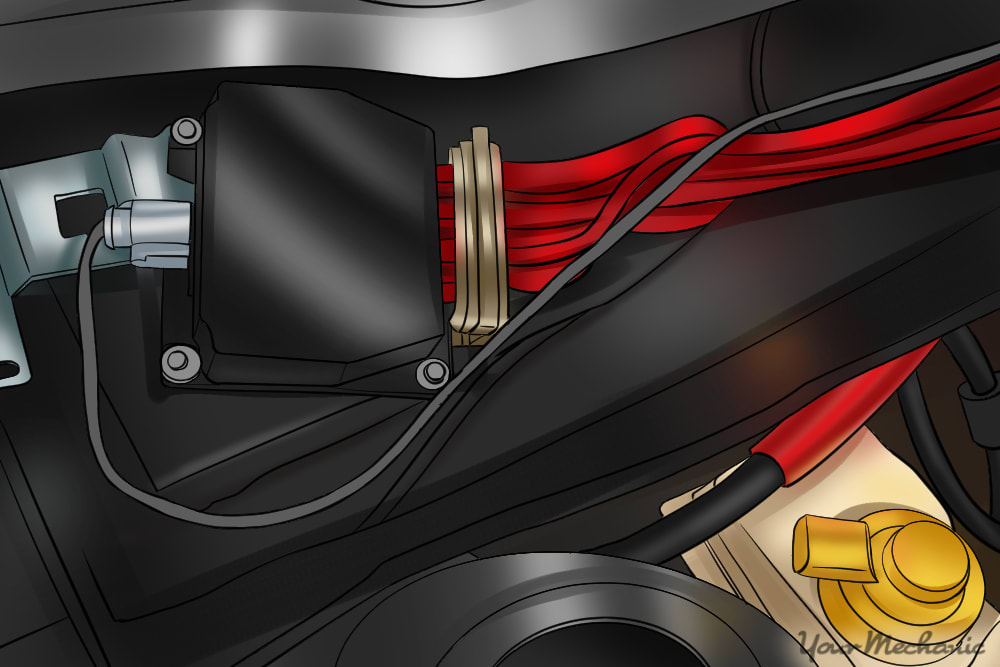
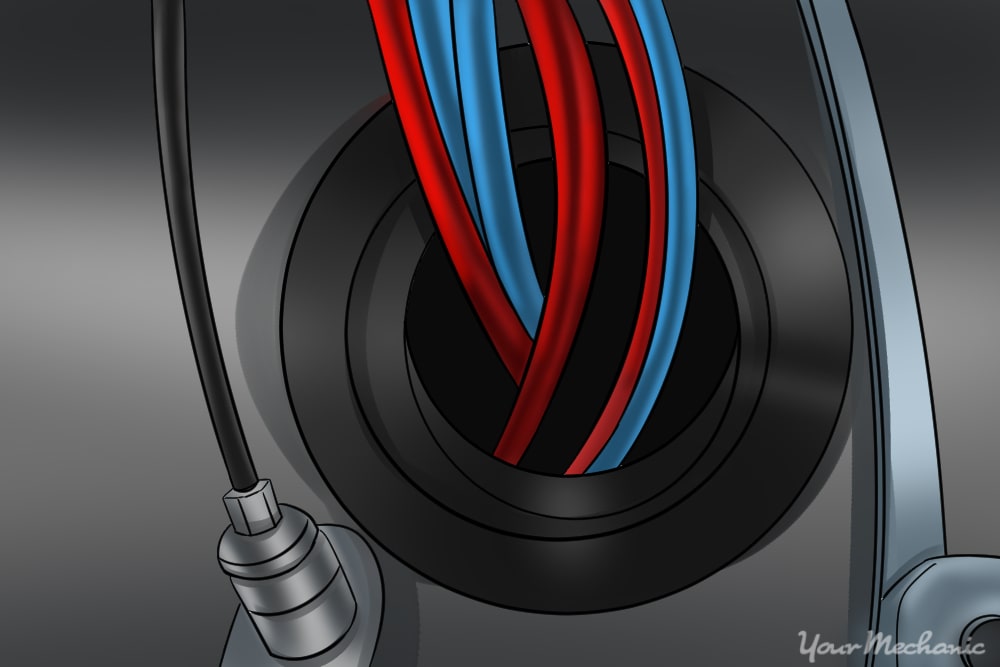
Step 8: Run the LED wires into the passenger compartment. Run LED wiring from the engine compartment into the vehicle interior.
To do this you will have to pass through the firewall. The easiest way to do this is to find a grommet already in the firewall and puncture a hole in it to run the wires.
Step 9: Connect the switch to power. This can be done using a fuse tap.
Step 10: Connect the LED kit wiring to ground. Connect LED kit wiring to chassis ground. Make sure the ground contact point is clean and free of rust and/or paint.
Step 11: Test the system to make sure it works. The lights should illuminate and be easily visible.
Nothing transforms a vehicle more than underglow. Now your car will attract attention everywhere you go, and when people ask where you had the work done, you can say you did it yourself. If your battery begins to act unusually or the light comes on, have one of YourMechanic’s professionals take a look.


