
Bumper stickers can say a lot about the owner of a vehicle. The best bumper stickers are those you make yourself, but designing professional looking stickers is another matter altogether. Whether you print out your custom bumpers stickers at home or design and order them from a company online, designing your own, professional-looking bumper stickers is quick and easy when following some simple steps.
Method 1 of 2: Make bumper stickers at home
Materials Needed
- Blank bumper sticker sheets
- Clean, damp towel
- Color ink jet or laser printer
- UV protection spray
- Word processor or publishing software
With modern computer and printer technology, you can make your own bumper stickers from the comfort of your own home. By keeping a few tips in mind when designing your bumper stickers, you can produce professional-looking bumper stickers at home in no time.
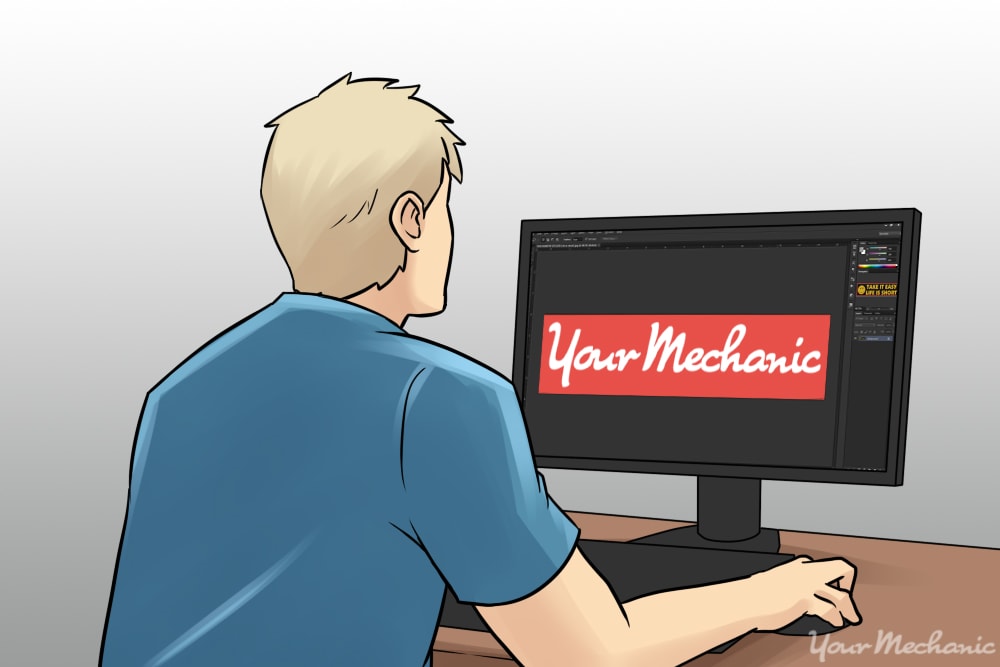
Step 1: Design your bumper sticker. The first step in printing out bumper stickers at home is to design them.
Using a word program or professional software, such as Adobe Photoshop, come up with a professional-looking design on your computer.
Use artwork and visual cues to add clarity to your bumper sticker, reinforcing the message you want to convey. Keep any messages short and to the point.
Use large text to allow others to read your bumper sticker in one glance so they are not distracted from the road. If you feel you cannot design a good bumper sticker yourself, hire a professional to do it for you.
- Warning: When making your own bumper stickers, keep in mind that you cannot use copyrighted or trademarked materials and claim them as your own. Do a search online if you are unsure if a phrase or image is copyrighted or trademarked.
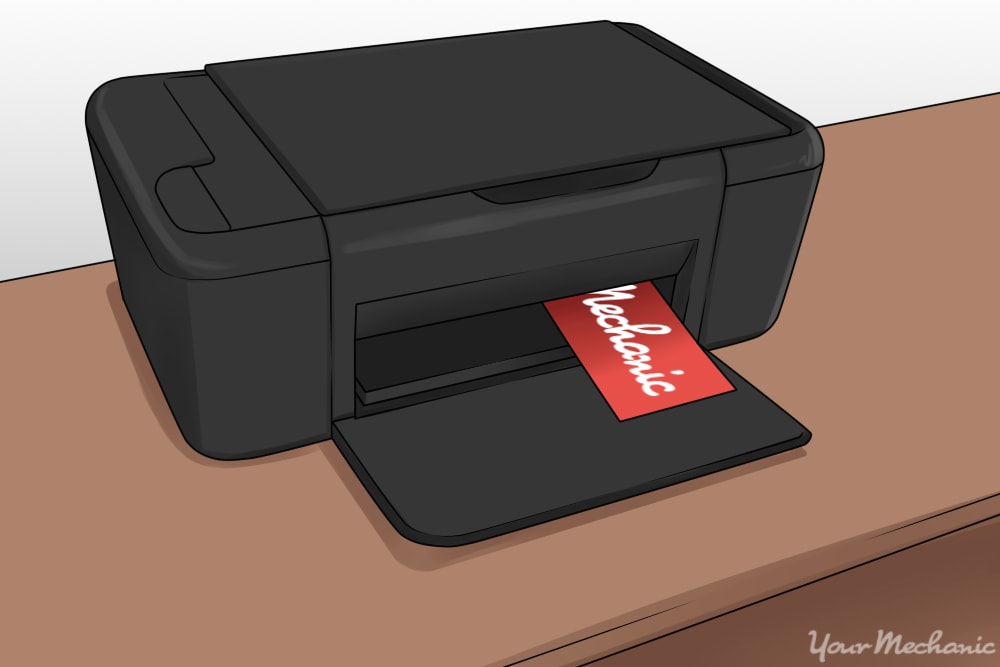
Step 2: Print your bumper sticker. Once you have designed a professional-looking bumper sticker, it is time to print it out.
When printing, do a test run on a blank piece of printer paper to make sure the design matches what you want. You should also test the size of the image to see if it fits on the bumper sticker paper.
Print your bumper sticker image onto the bumper sticker sheet, blotting the sheet with a clean, damp towel to remove any excess ink. Allow to dry for at least one to two hours.
- Tip: Before printing your custom-made bumper sticker, you need to set up your printer to print on the right size of paper -- in this case the bumper sticker sheets. Your printer might already have a preset option for the sheet size. If not, you need to go into the print settings and set this up yourself.
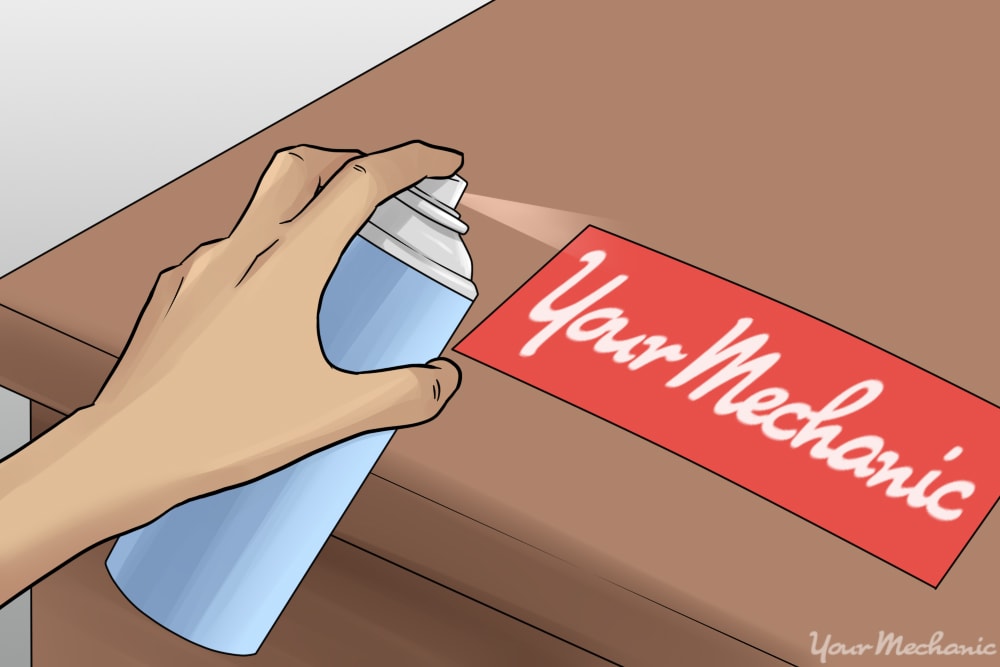
Step 3: Spray on UV protection. As a final precaution, spray onto the sheet a coating of UV protection spray.
The UV protection spray should keep the sticker from fading after exposure to the sun. Completely saturate the bumper sticker and allow to dry for several hours before use.
Method 2 of 2: Make bumper stickers online
Another method that doesn't require you to print out your bumper stickers at home is to use an online site. Sites such as Vistaprint, Makestickers.com, and BumperStickerStudio.com allow you to design bumper stickers on their site and then have the stickers shipped to you through the mail. These sites are best used for large quantities of bumper stickers that you might need to sell. If you only need one or two bumper stickers for personal use, then the at-home method is best.
- Tip: When looking for sites, keep an eye out for any sales or special promotions to get your bumper stickers at a reduced price.
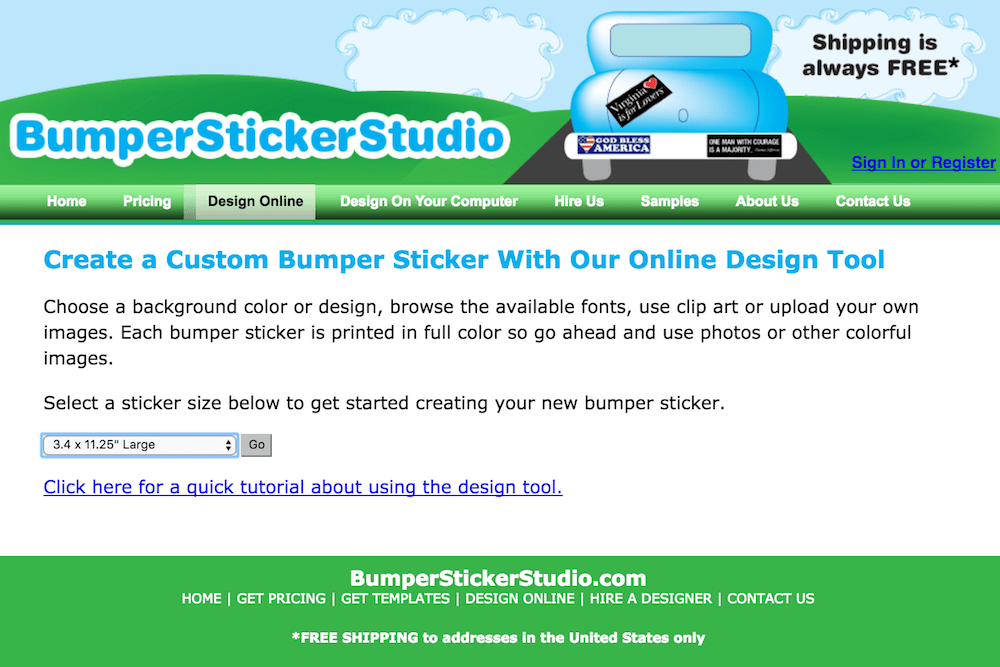
Step 1: Choose your sticker size. The first step when designing your bumper sticker online is to choose a sticker size.
Most bumper stickers are around 4 inches by 11 inches, with an 1/8-inch border.
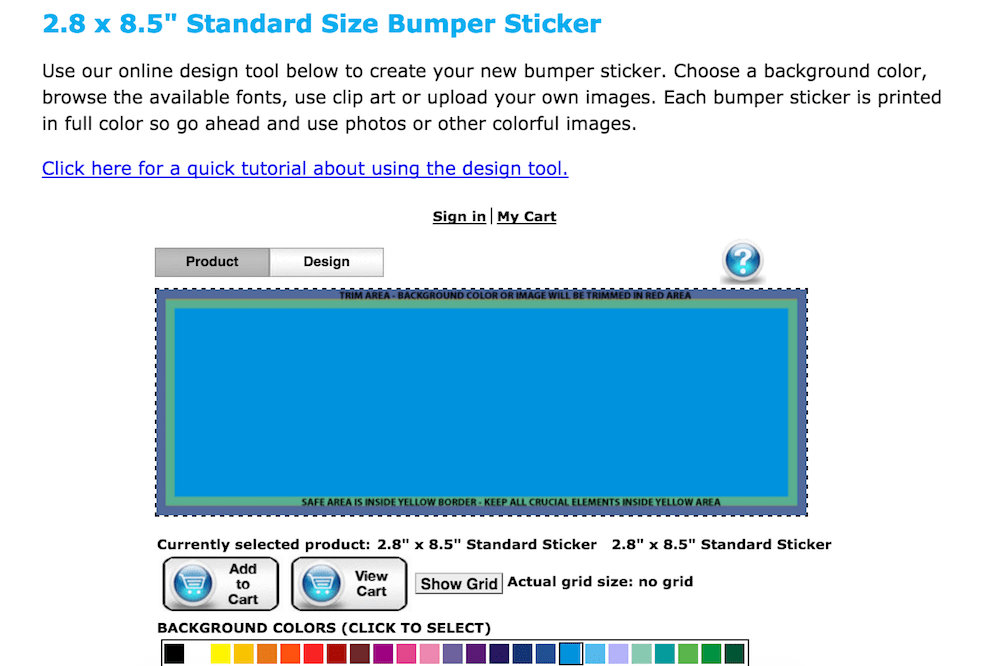
Step 2: Choose other design elements. You need to choose the bumper sticker background color and other design elements.
Other popular design elements include shapes, clip art, and text. You can even upload your own art during this step to incorporate into the design. Once you choose the artwork, you must then position it where you want it to appear on the bumper sticker.
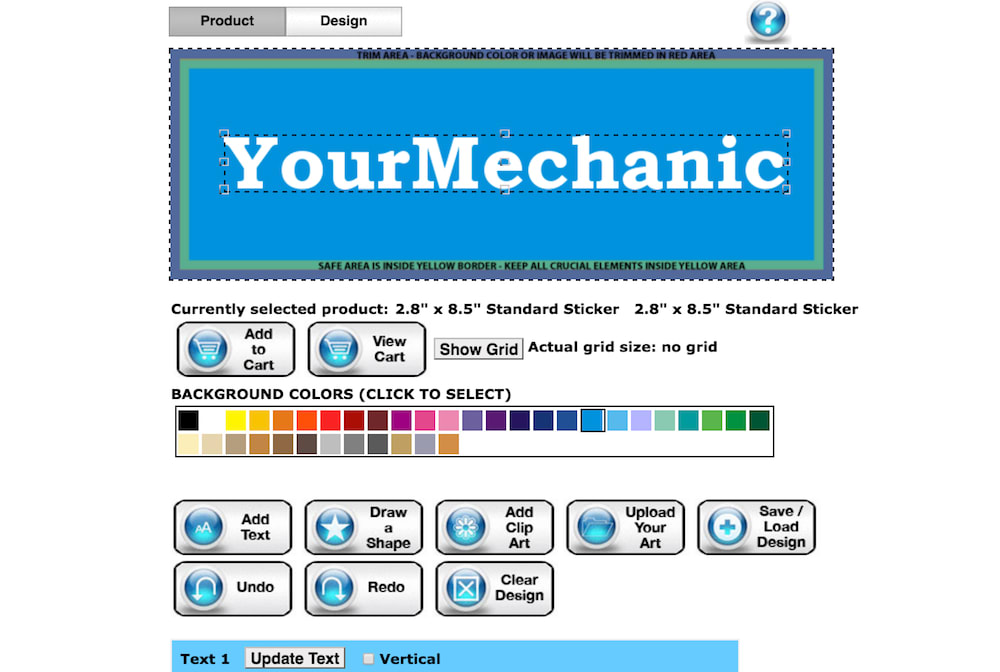
Step 3: Place text. After getting the artwork of your bumper sticker just right, it is time to place your text.
When placing text, you need to choose from a plethora of colors, sizes, and other options, such as including a shadow outline with your text.
Step 4: Save and add to cart. The last step in the online bumper sticker design process is to save your work and add it to the shopping cart for purchase.
Save your work by logging into or registering for an account. Once saved, add the bumper sticker you designed to the shopping cart. While in the shopping cart, choose the quantity that you want, keeping in mind that the more you buy, the less it should cost.
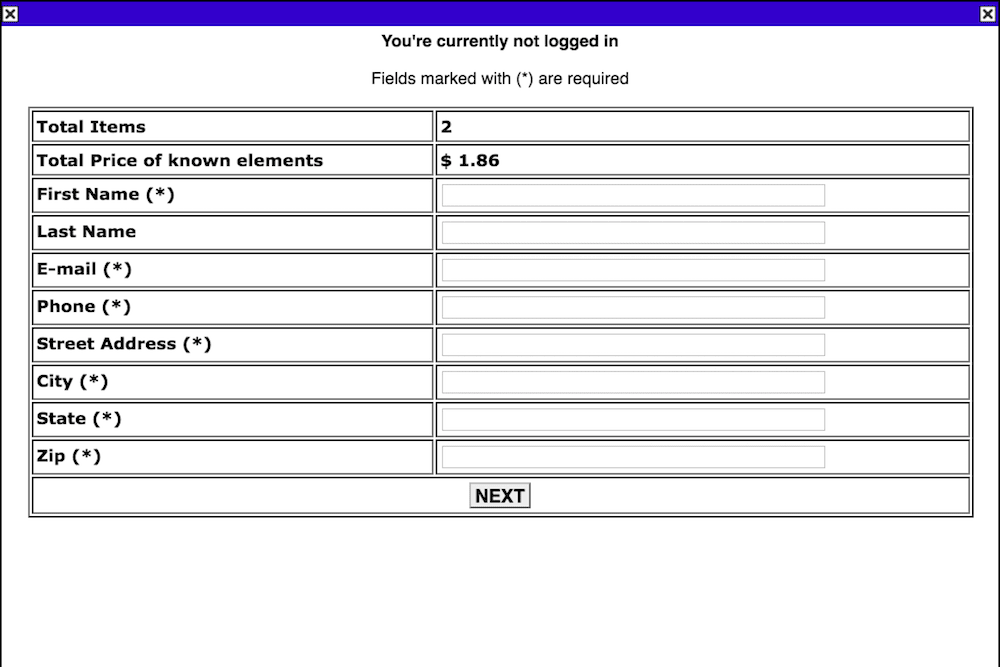
Step 5: Enter shipping and billing information. You then need to enter your shipping and billing information.
This will also include your name, address, phone number, and the number of the credit card you plan to use to pay for your bumper sticker order.
Step 6: Submit your order. You should submit your order, and, after you submit your order, you should receive a confirmation email letting you know when to expect your order, as well as other details.
- Tip: In order to save designs you create online, you need to register an account. To do so requires a valid email.
Making your own professional-looking bumper stickers is fun and easy when you know how to do it. Keep in mind that simple designs with large, legible text is best, as these get your message across while still looking visually appealing. If you are having trouble removing your old bumper stickers, you can Ask a Mechanic for some quick and helpful advice on how to do so.


