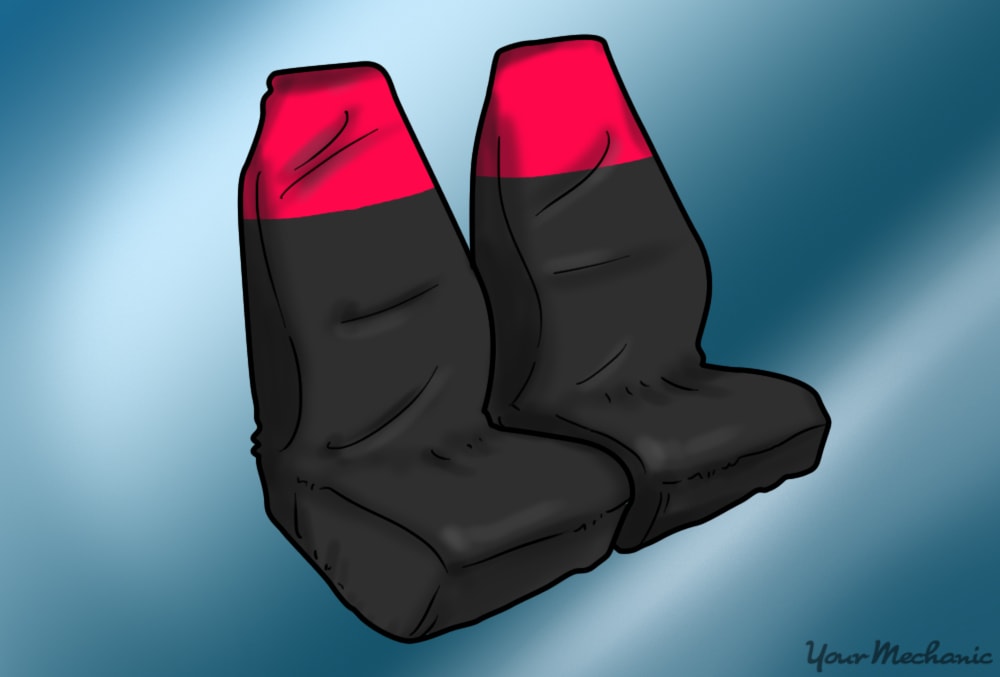

You can use car seat covers to provide extra cushioning or softness so that you are comfortable and relaxed while driving. Custom car seats also provide you with a way to personalize the interior of your car while protecting the original upholstery from damage. It can be expensive to purchase custom covers designed to fit your car seats perfectly. You can, however, sew up your own car seat covers with the right materials, patience, and a little know-how.
Part 1 of 2: Make a car seat cover
Materials Needed
- Clear plastic sheets, blank sewing pattern paper, or newspaper
- Elastic (0.5” to 1” in width)
- Fabric
- Magic marker
- Scissors or fabric cutter
- Sewing machine or heavy duty needle and thread
- String or twine
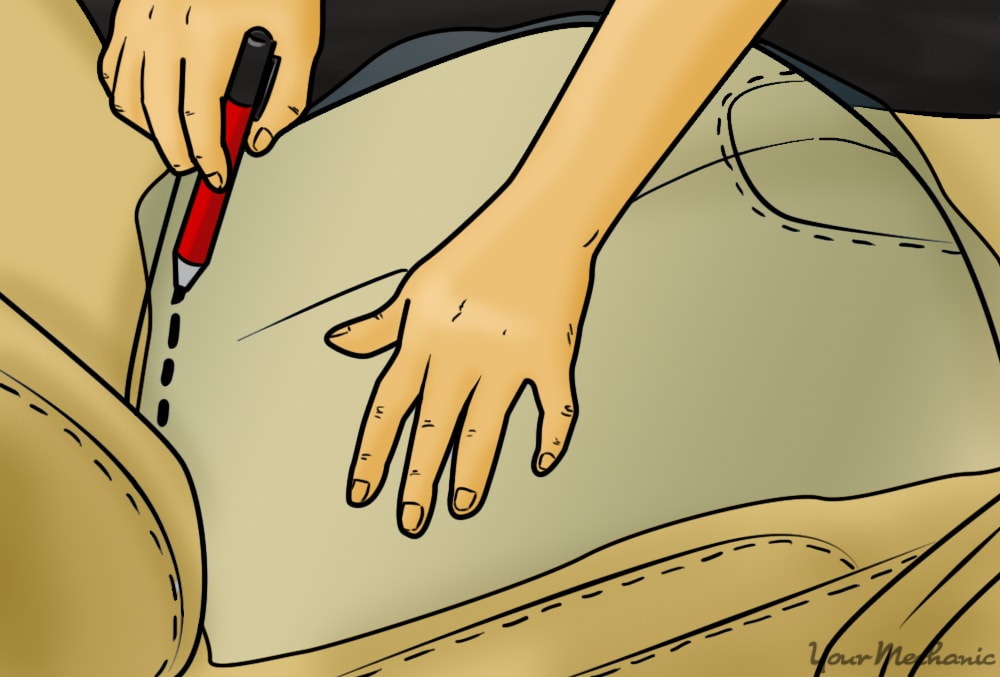
Step 1: Make a pattern for the car seat cover. Lay a clear plastic sheet, blank sewing pattern paper, or other large sheet of paper like newspaper over the seat portion of the car seat, allowing it to drape over the sides.
Spread the paper flat against the seat and use the magic marker to draw lines over the seams in the existing car seat’s upholstery.
Draw the pattern for the back rest of the car seat in the same way.
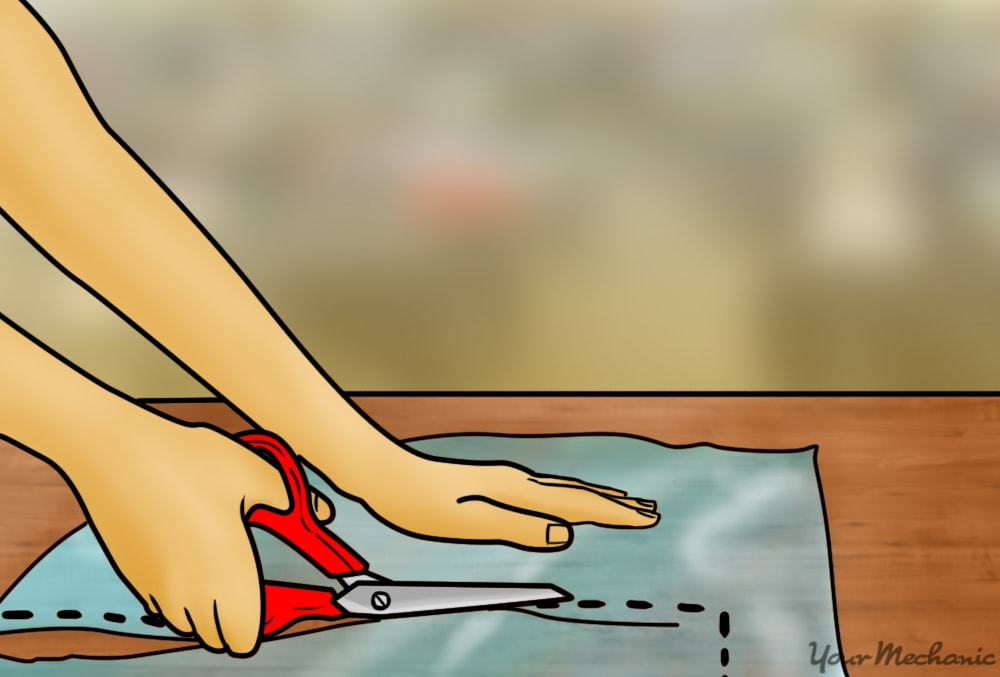
Step 2: Cut the pattern. Use the scissors to cut along the lines that you drew earlier and discard the excess plastic or paper.
This is your pattern template for making your custom car seat covers and you can reuse it as needed.
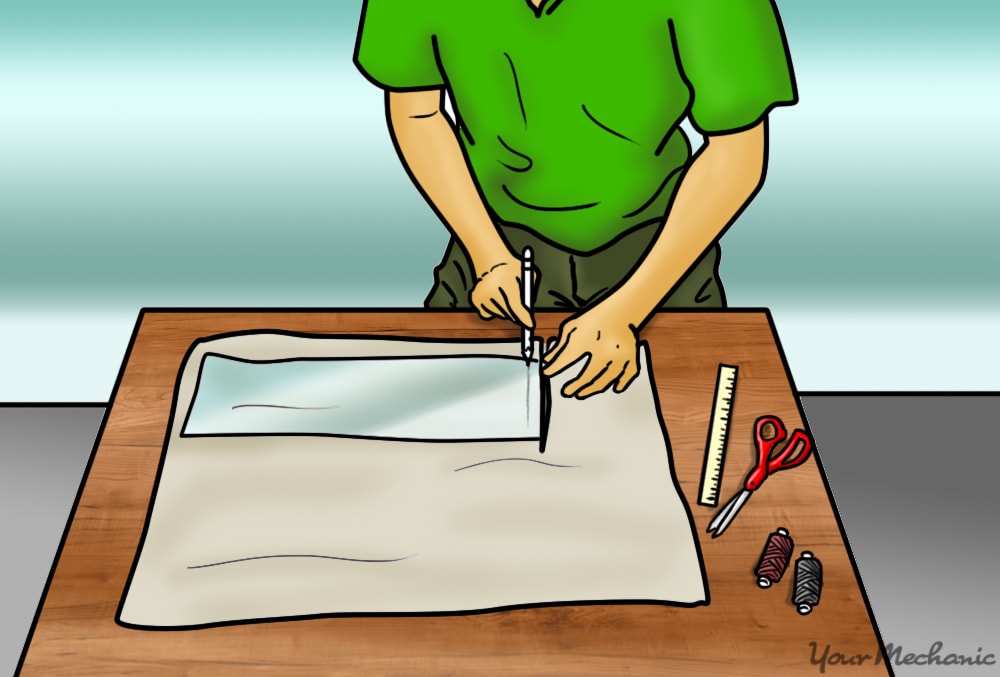
Step 3: Use the pattern to cut the fabric. Lay the pattern template on top of the fabric that you want to use for the car seat cover.
Use the magic marker to draw a line around the pattern leaving 0.5 inch space outside the pattern’s lines so that you have enough fabric to sew the parts together. Then, use scissors or a fabric cutter to cut the fabric along those lines.
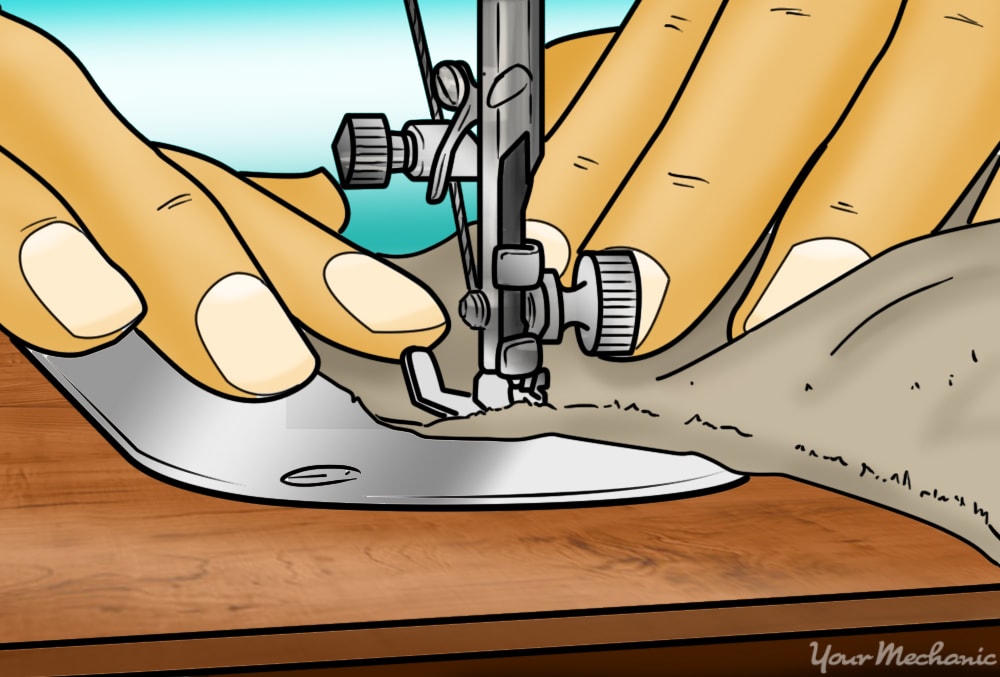
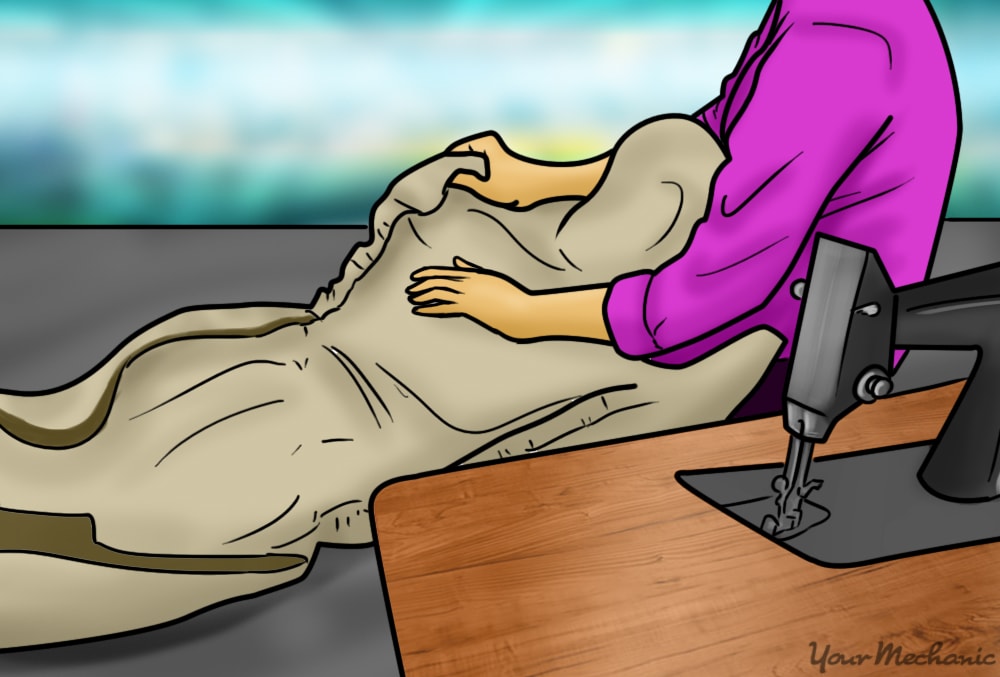
Step 4: Sew the fabric seams together. Using a sewing machine or needle and thread, sew the edges of the fabric together using a 0.5 inch seam allowance.
If you are doing this by hand with a needle and thread, make sure your stitches are tight enough for your car seat cover to hold up well over frequent use.
- Tip: You can even finish up the edges of the seams using a zig-zag stitch to secure the stitching.
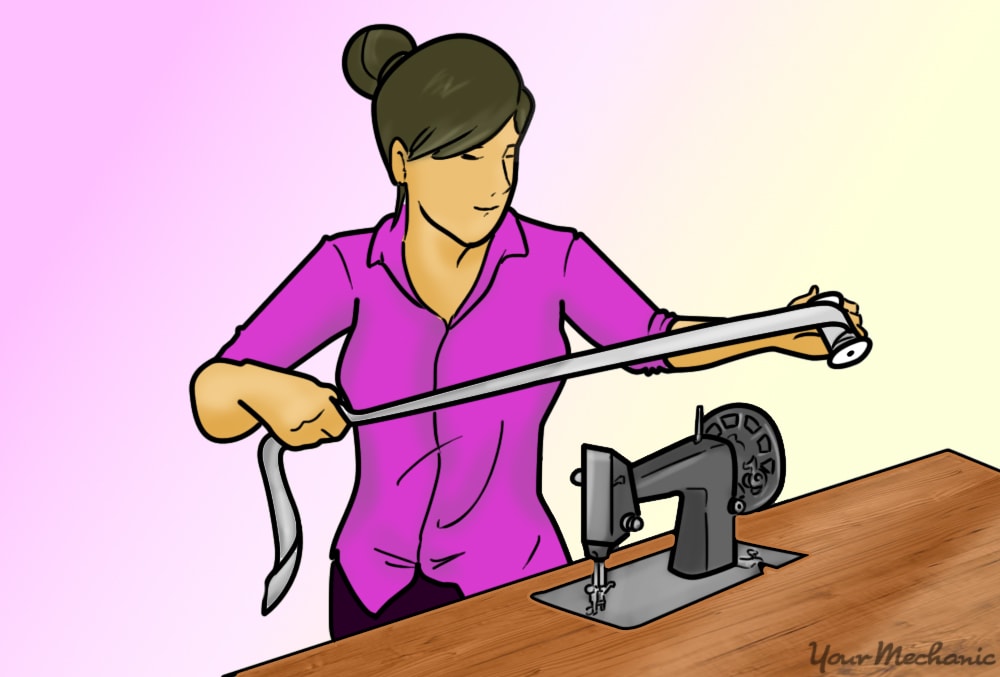
Step 5: Sew the elastic. Measure around the seat to determine the amount of elastic you will need to secure the bottom hem of the car seat and the backrest in place.
- Tip: You will need approximately ⅔ of the length you just measured. If the seat’s sides and front, for instance, measures 48 inches, you will only need about 32 inches of elastic.
First, sew each end of the elastic in place and then sew the middle portion of the elastic in place while keeping the elastic partially stretched throughout the process. This gathers the fabric and lets you easily stretch the seat cover on to the seat and remove it with less effort.
Repeat the process of adding elastic on the sides of the backrest portion of your seat cover.
Step 6: Sew the backrest. Sew the backrest and seat portions of your cover together.
Then, sew in two lengths of string approximately midway up the backrest portion, one on each side.
The length of the string should equal the width of the seat’s backrest or exceed it. If needed, you can trim it shorter later.
Part 2 of 2: Fit the car seat cover
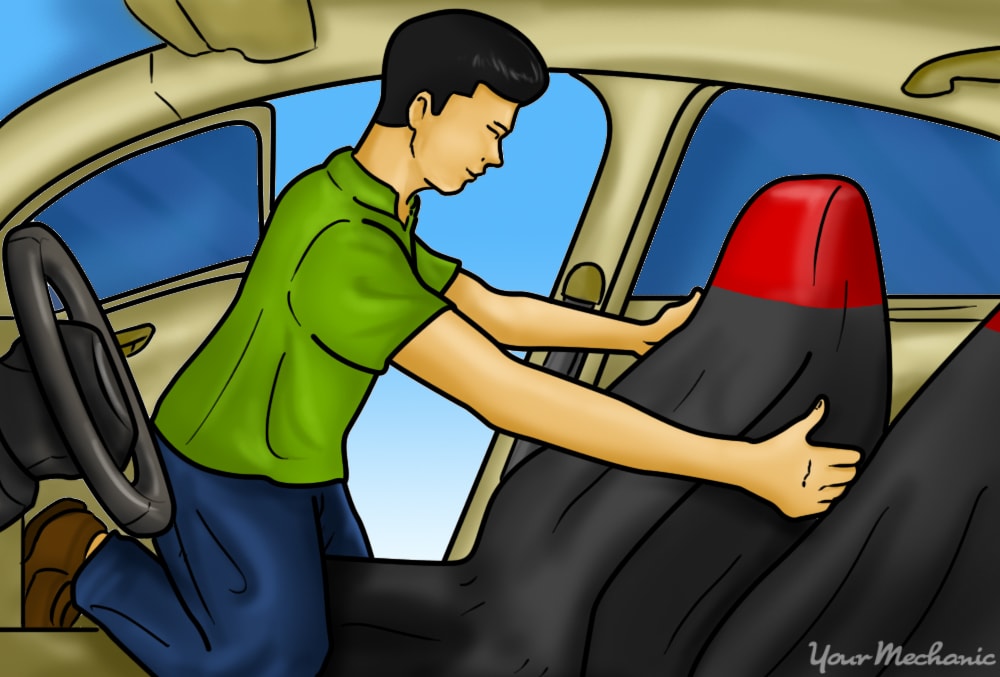
Step 1: Place the cover on the car seat. Put the seat cover on your car seat, stretching the elasticized portions to fit over the seat and backrest.
Then, smooth the material out with your hands to ensure that there are no wrinkles in the fabric.
Step 2: Fasten the seat cover securely. Tie the attached strings around the back of the car seat to help keep the seat cover firmly in place through repeated use.
Although making your own car seat covers is a little time consuming, it can provide a lot of satisfaction in having done it yourself. After all, anyone can go out and buy a seat cover, but few can say they made theirs.
Making your own custom car seat covers also provides you with more fabric options, so you can give your own personal touch to your car’s interiors and match the interior color scheme as desired.


