
Applying reflective tape to your car or truck is an inexpensive way to customize it, allowing it to stand out from the crowd. The process is also simple enough that most people can do it themselves, saving the expense of paying someone else for the labor. The materials are easy to locate and relatively inexpensive, making reflective tape a popular choice to personalize the look of vehicles.
Part 1 of 1: Install the reflective tape
Materials Needed:
- Clean cloth
- Dish soap
- Masking tape
- Reflective tape
- Scissors
- Squeegee
- Water
Step 1: Consider where you want to put the tape. Decide where you want to apply reflective tape to your vehicle.
You may want to make pinstripes or a specific design. If you need help coming up with ideas, conduct an internet search and look through images of how others have customized their cars with reflective tape.
If you are working with an intricate design or fear misapplying the tape, try spraying a solution of Palmolive dish soap and water at a 1:10 ratio in a spray bottle. Spray the vehicle’s surface before pressing the tape in place.
This will allow you a few minutes of time to make adjustments before it fully adheres to your car or truck. This will only work on relatively flat areas; when working around curves, the tape may not stick properly.
Step 2: Wash your car. Wash the surfaces of your car where you plan to apply reflective tape using the soapy solution and a clean cloth.
- Tip: Use a mixture of soapy water with an approximate ratio of 1:10 of dish soap or another mild detergent and water.
Step 3: Rinse and dry. Rinse the area thoroughly with plain water, allowing it to air dry. This ensures no grit or grime remains on your working area to hinder the application of reflective tape.
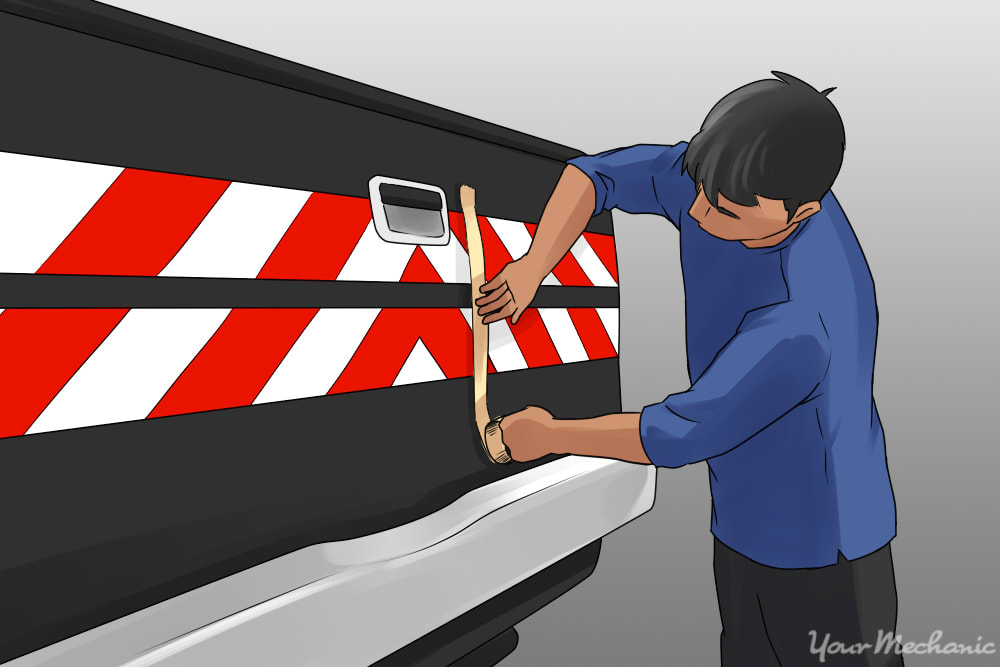
Step 4: Use masking tape to help secure the reflective tape. Use masking tape to place the reflective tape on your car.
Do not yet remove the backing of the tape that covers the adhesive. This lets you see how the final product will look without doing anything permanent, so you can make adjustments for straight lines and general symmetry.
- Tip: Place a long strip of masking tape somewhere in the middle of your reflective tape as well for further guidance.
Step 5: Remove the masking tape. Remove the masking tape from one end of the reflective tape.
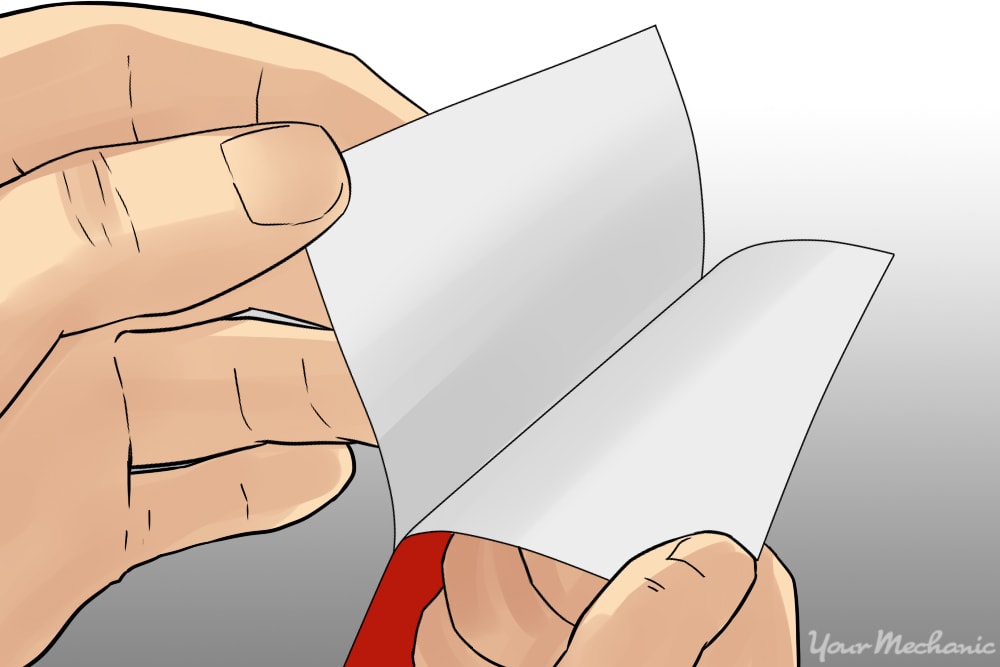
Step 6: Remove protective backing. Carefully remove the protective backing to about an inch from the long length of masking tape in the middle.
If there is not already a cut built into the backing, cut it with a pair of scissors.
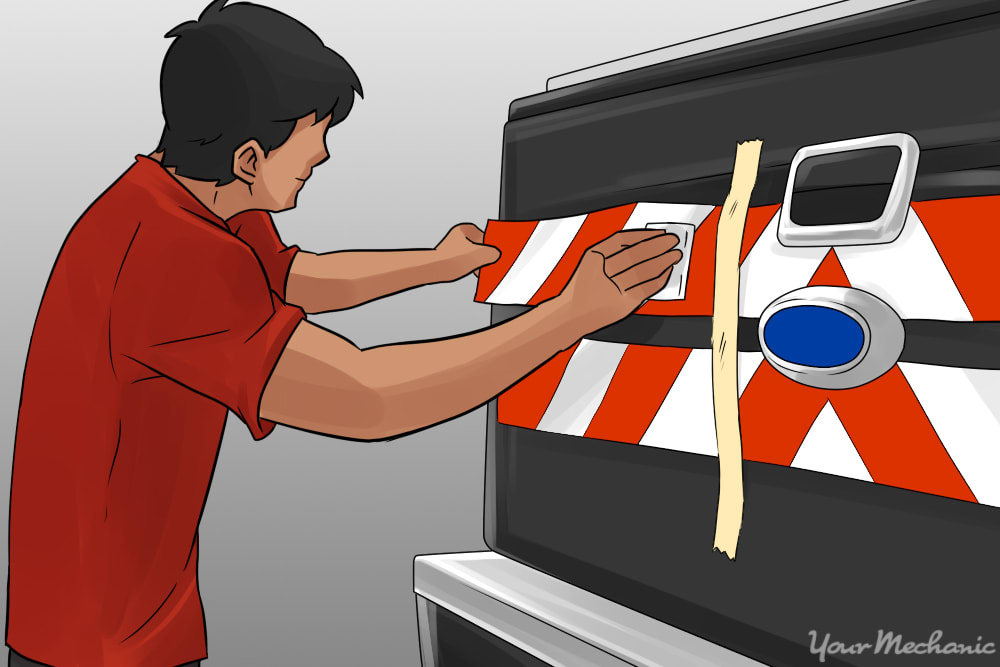
Step 7: Use a squeegee to apply the tape. Have a squeegee ready to help you apply the tape. With one hand, hold the edge of the reflective tape with the protective backing removed an inch or two away from your car or truck’s surface.
With the other hand, firmly press a squeegee at the point where the long piece of masking tape lies and slide it toward your other hand in a slow and controlled motion. Do this until the entire length of reflective tape you are working with has adhered to the vehicle.
Run the squeegee as many times as necessary across the working surface, moving from middle to edge, ensuring that the entirety of the tape has been applied without bubbles.
Step 8: Remove center piece of tape and repeat. Remove the center portion of masking tape and repeat Steps 4 and 5 on the other side.
The application of reflective tape to a vehicle isn’t always for cosmetic reasons. Reflective tape makes cars and trucks far more visible in low-light situations, and this can increase safety while on the road. It can be applied to all manner of vehicles, including commercial vehicles, motorcycles, and boats, so whatever the reason, consider it as an option for you. If you need any extra assistance, Ask a Mechanic for some advice on how best to approach your project.


