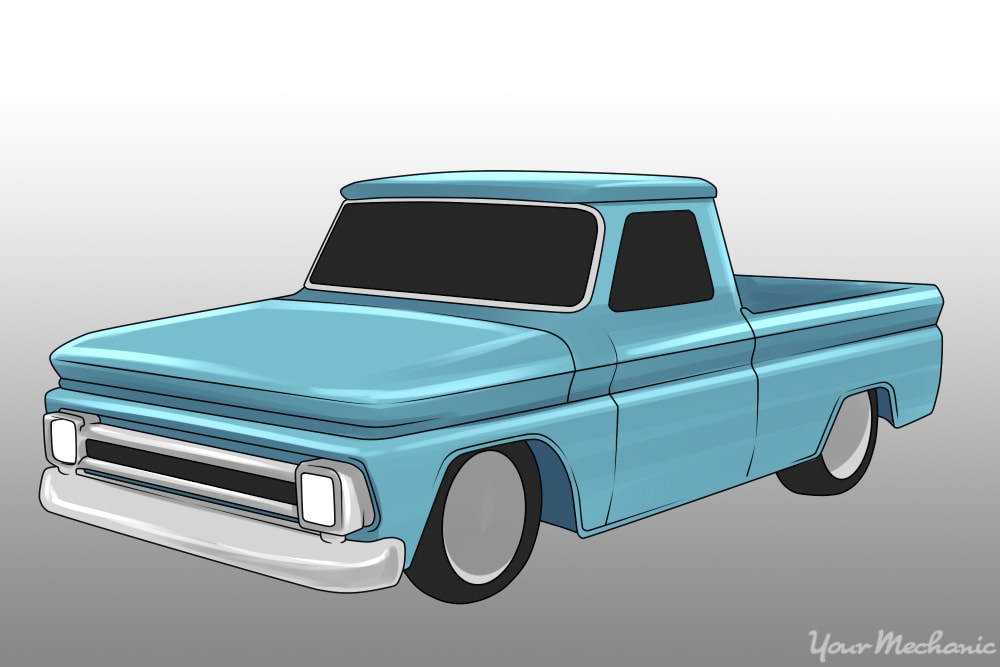

Usually, you buy a vehicle because it fits your needs and your budget. When you want a little more personalization than your stock vehicle is equipped with, however, you can customize it in several different ways. Popular customizations include:
- Audio and video enhancements
- Custom paint and appearance modifications
- Oversized wheels or tires
- Performance mods
- Suspension modifications
- Window tinting
The possibilities for vehicle modifications are limited only by your imagination and budget.
Part 1 of 9: Improve your audio and video systems
Some vehicles are equipped with DVD or BluRay players installed for rear seat entertainment, high-end stereo systems, and high-grade speakers including amplifiers and subwoofers. Other vehicles aren’t quite so well equipped, though accessories can be installed to provide a custom audio-visual experience in your vehicle.
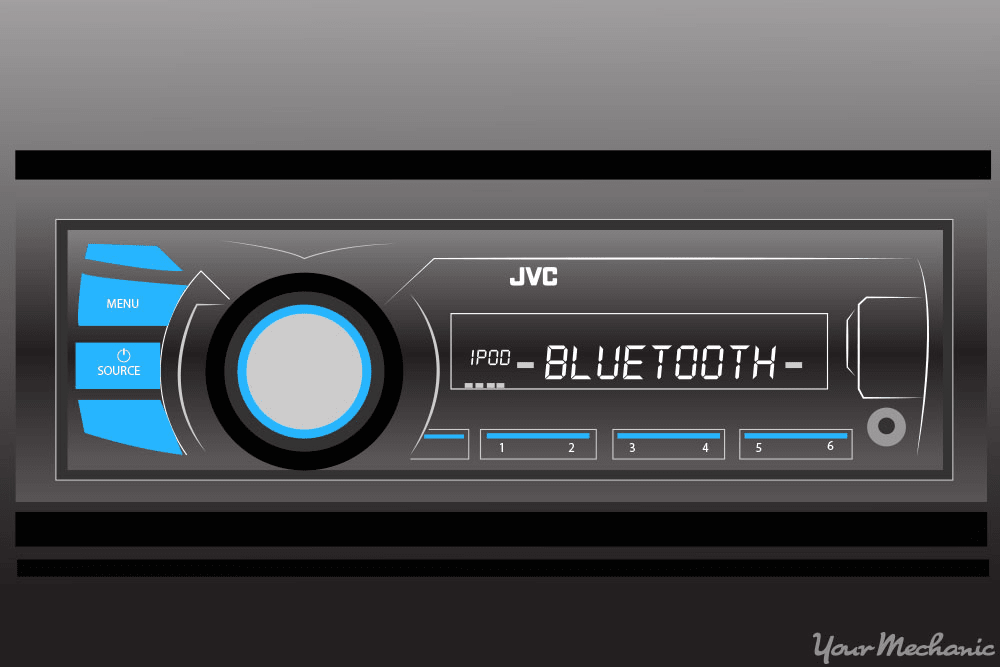
Step 1: Select an audio head unit. You’ll need an audio head unit capable of integrating several amplifiers and auxiliary sources so your other audio and video equipment can be tied together.
A double-DIN head unit, approximately 4 inches tall, is the most popular choice. Double-DIN radios usually have touchscreen capabilities and are intended for the most versatile installations with multiple inputs available.
- Tip: Using one brand for all your audio/video components makes integration and control much simpler.
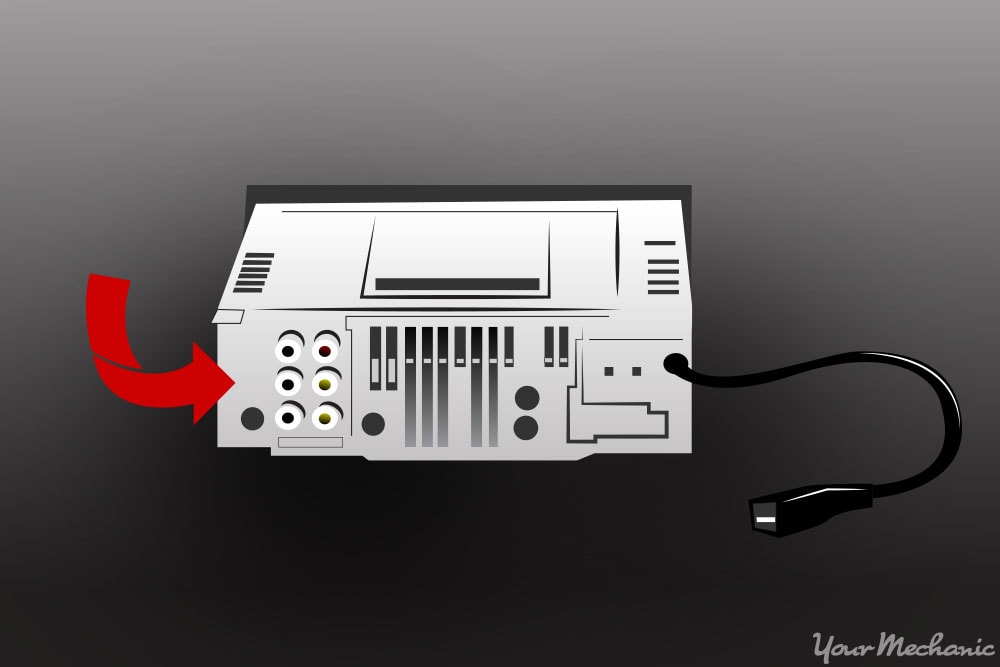
Select a radio that has amplifier pre-outs for easy control of your sound system.
Pick a head unit that is expandable beyond your current set-up. You may want to install additional sound equipment again in the future.
If you don’t have a navigation unit, you can install a radio head unit equipped with navigation at this time.
- Tip: Research brands online to find a reliable one that suits your tastes.
If your radio isn’t working have it checked out by a mechanic before you start modifying it.
Step 2: Select speakers for your project. Choose a wide range of speakers including subwoofers, tweeters, and mid-range speakers for an excellent overall sound.
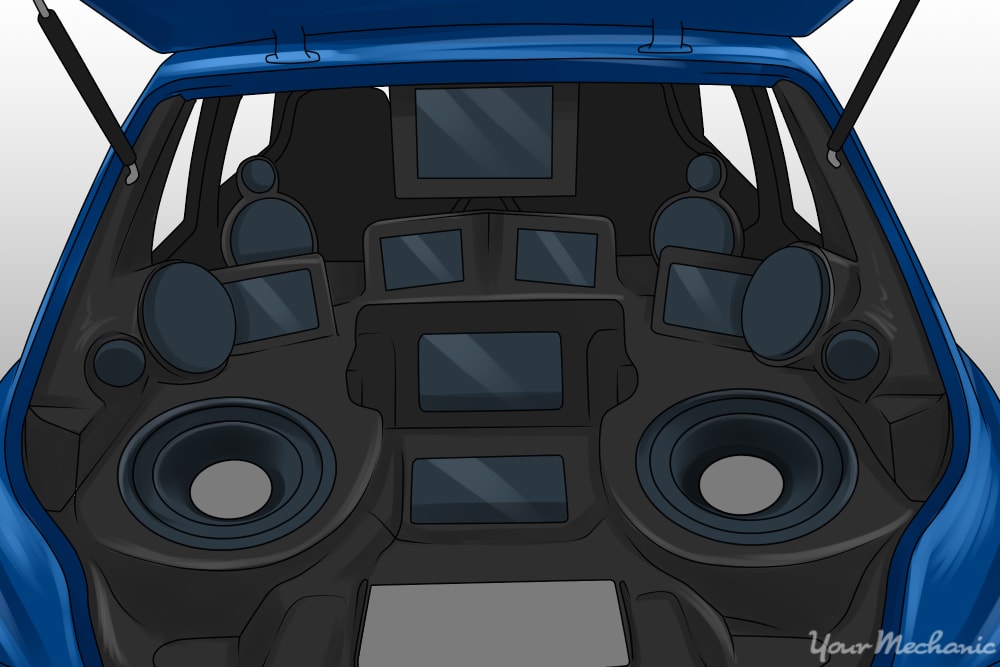
Because you are doing a custom installation, feel free to add more speakers inside your car than originally came with it. You can integrate as many as you can find space for in your dash, door panels, roof pillars, and trunk.
Step 3: Select amplifiers to power your speakers. Group your speakers into categories such as low, mid, and high frequencies.
Subwoofers are low frequency, tweeters are high frequency, and the rest of your speakers are mid-range frequency.
Step 4: Select a video display. You can choose multiple monitors in different configurations for your vehicle.
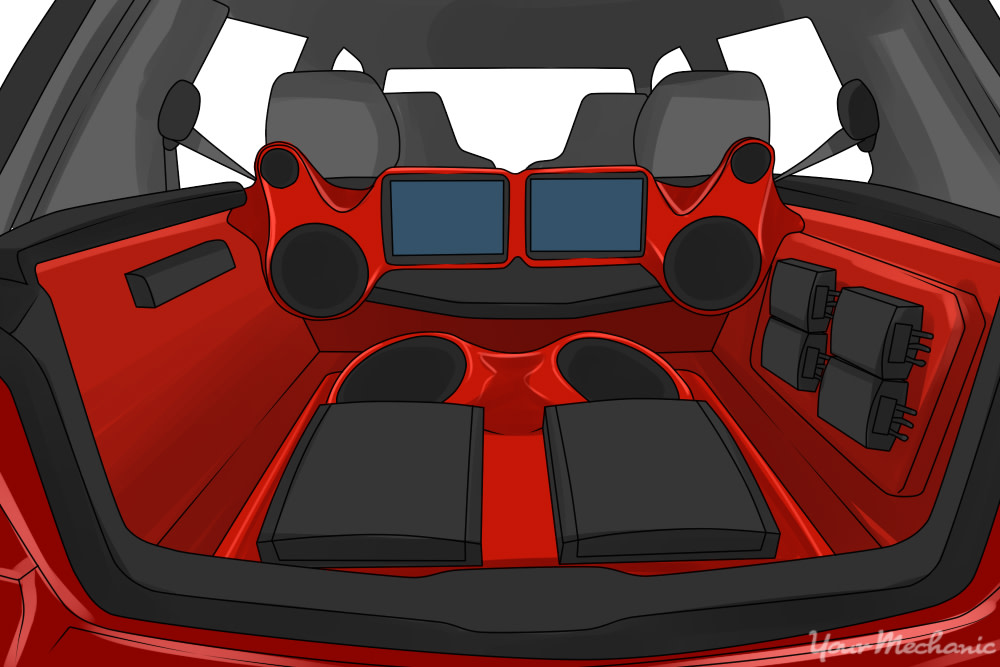
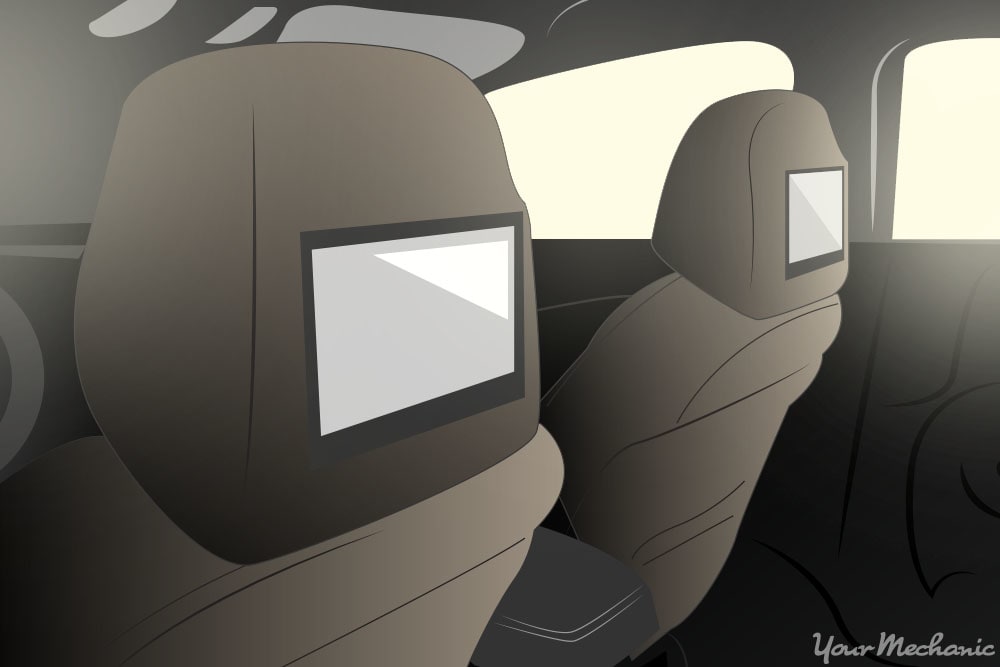
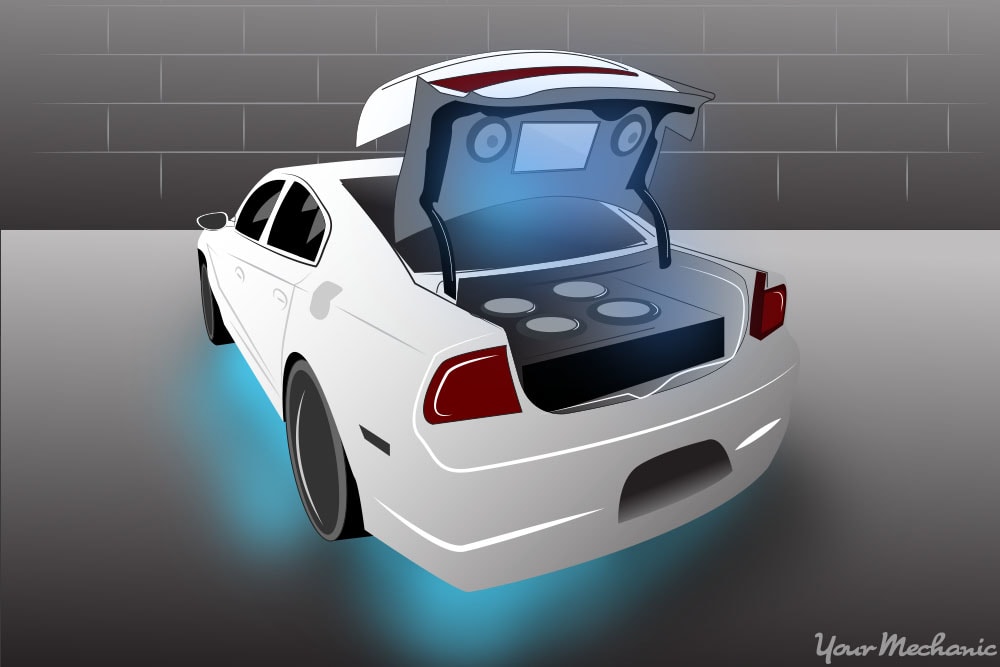
You can opt for a full-size television to mount in your trunk or hatch or even more than one or you can integrate monitors or DVD player screens into your headrests.
Many custom installations will include a video game system such as PlayStation or Xbox into the project.
- Warning: Mount the video screens where a driver is not able to view them. It is a distraction and it is illegal to operate a motor vehicle while a driver can see a video source.
Step 5: Install your audio and visual equipment. Installation is more complex with each additional set of speakers, each amplifier, and each video screen.
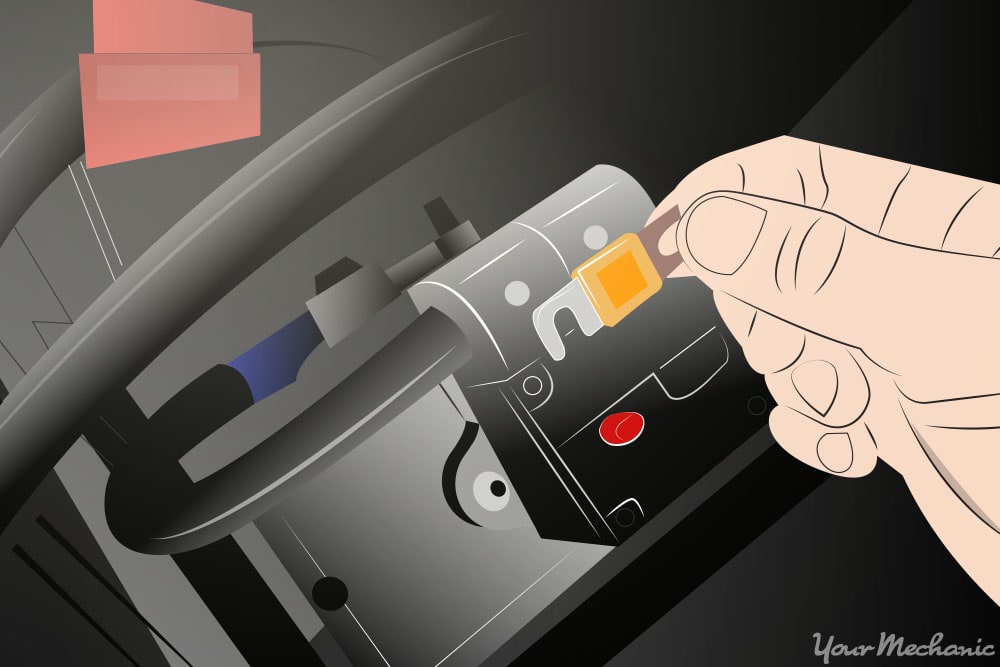
Use an individual fused power circuit for each amplifier, and split your components among several other power sources as well.
Step 6: Build custom enclosures for your speakers. Every customized car’s setup is different, which makes the car more interesting.
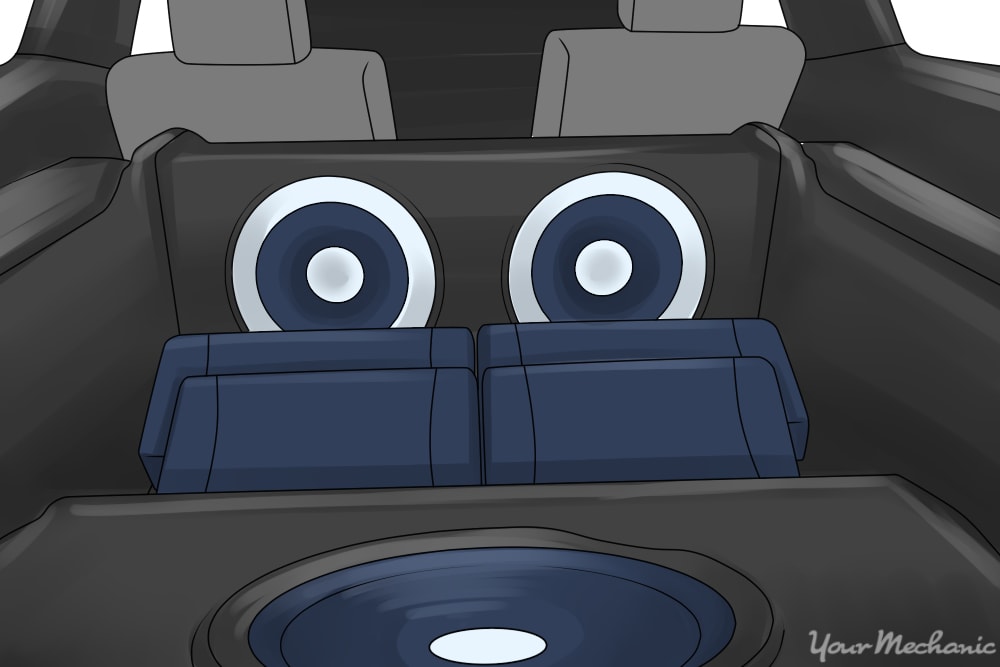
Plan out your speaker locations and design a place to run all of your wiring. Build custom speaker enclosures wherever you will need to install extra speakers.
You can craft enclosures out of plywood or particle board, or you can use fiberglass to mold your own custom enclosures.
Part 2 of 9: Customize your car’s interior
Once your car’s interior has a new audio-visual system, you can finish the detail work inside your car.
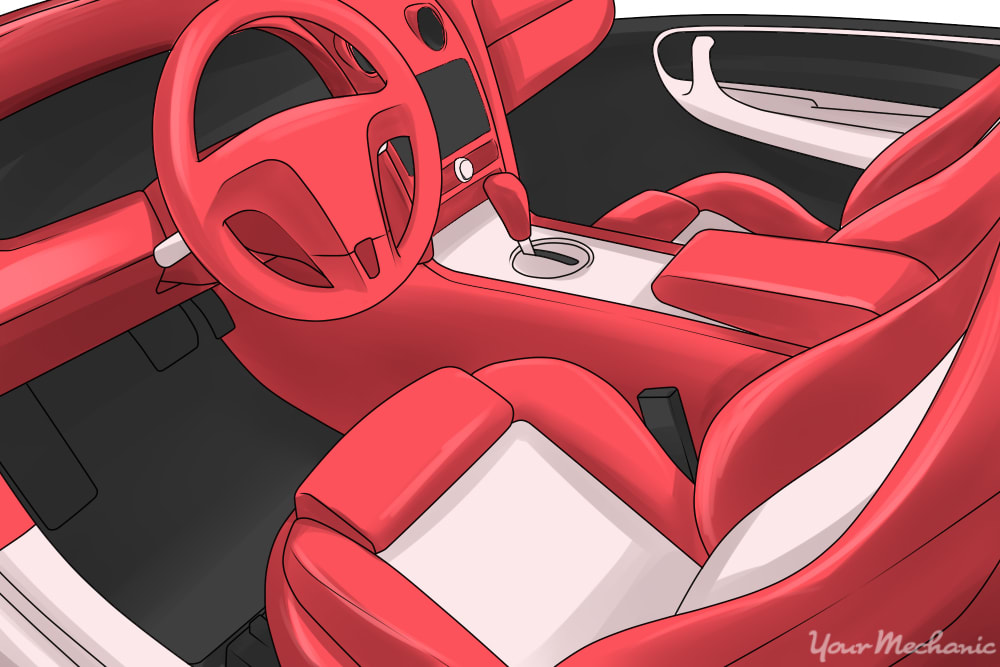
Step 1: Choose a custom color scheme for your interior. You’ll have custom upholstery work done as well as custom paint so choose a color scheme you’ll enjoy for years to come.
Popular choices are bold colors like orange, green, purple, and blue, and classic white leather is quite popular as well.
Step 2: Refinish your upholstery. Have your headliner covered, your seats re-wrapped, and you door panels recovered with an upgraded, bold fabric or leather for a refined upholstery look.
Use the same material to custom wrap components such as the center console lid or the instrument panel, setting it apart from other similar cars.
Wrap your custom enclosures in the same material or paint them an accent color.
Step 3: Paint interior parts a color that accents your interior material. This includes plastic components like door panels, column covers, and dash components.
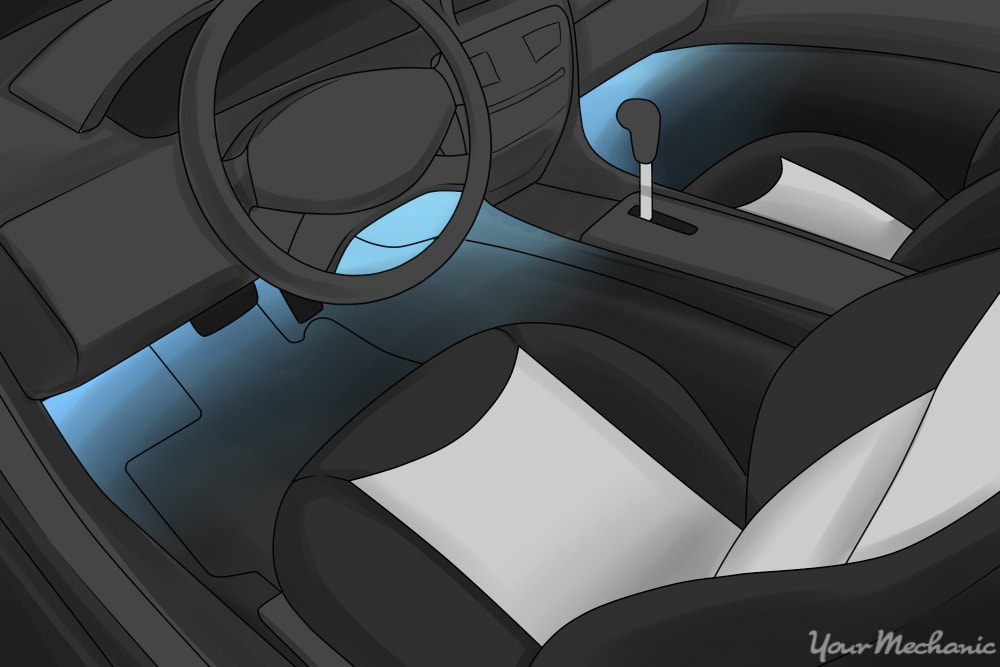
Step 4: Install custom lighting in your car. There are LED light kits available in nearly any color for accent lighting and as replacements for your interior car bulbs.
Choose a color that matches your interior accents.
- Tip: Whether you’re building a show car or a daily driver that you want to look pristine, have upholstery and paint work completed by a professional.
Step 5: Install custom gauges on the dashboard. You can change the look of your gauges by purchasing a gauge kit, or you can purchase instruments separately, like a tachometer.
Some options come with lights so you can change the appearance at night.
Step 6: Purchase a custom steering wheel cover. Steering wheel covers can be relatively inexpensive, while steering wheels tend to be more expensive.
Either one can dramatically change the look and feel of your drive.
Step 7: Add an aftermarket sound system. You have many options for this, from installing an audio cable to hook up your MP3 player or phone, to adding the speakers or an amp powered subwoofer.
In any case, thorough research is necessary so you can determine what products and prices are right for you.
- Tip: If you have the right tools and the know-how, save money on installation costs by doing it yourself or with a friend.
Step 8: Add a variety of accessories to the interior of your car. From floor mats to custom gas and brake pedals, and shifter knobs, to the seats themselves.
You can also add ornaments to your rearview mirror, or stickers to your dashboard.
- Warning: Be sure, whatever modifications you choose, nothing is illegal or impairs your vision of the road.
Part 3 of 9: Customize your car’s exterior
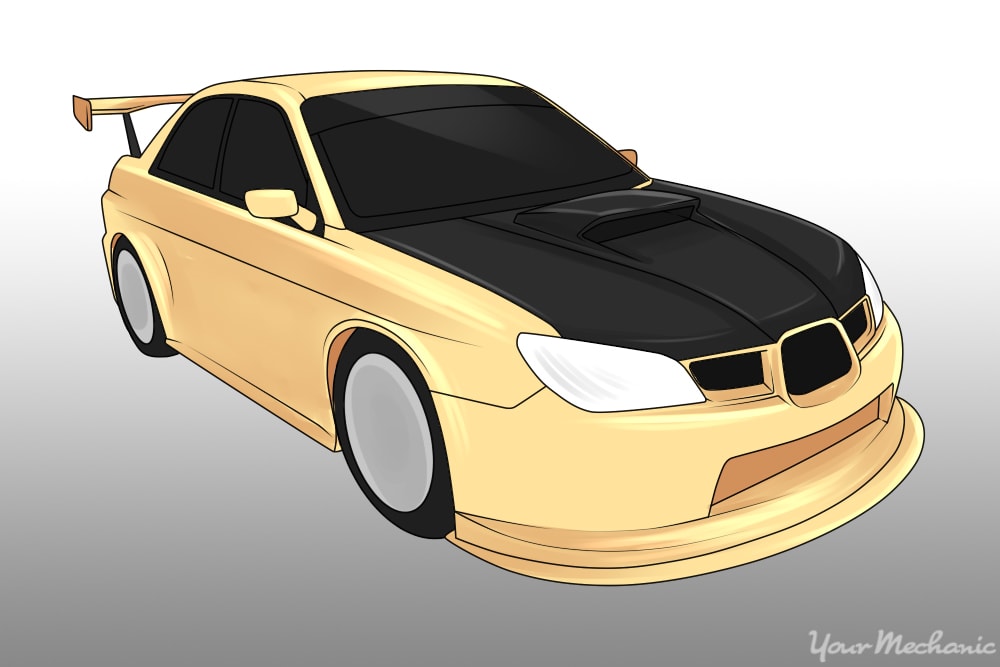
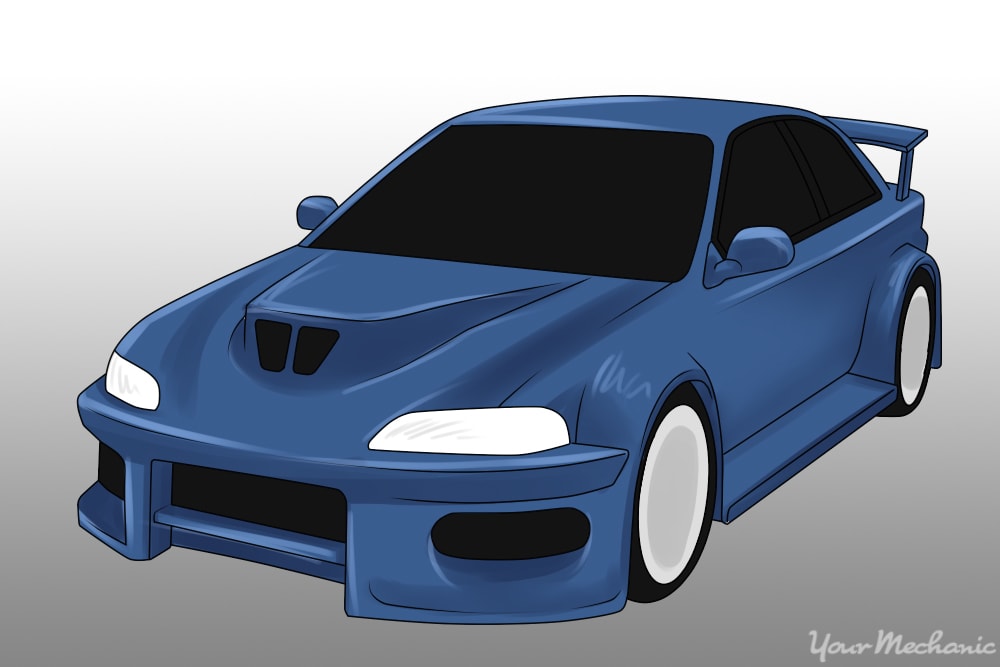
Step 1: Select a body kit for your car. Body kits make the car appear lower and modify the shape of the car so it stands out in a crowd.
You can select mild modifications or outlandish, bizarre mods to make your car individual. Body kits can be just ground effects or front and rear bumper cover replacements, or they can involve replacement fenders and other panels to completely change your car’s appearance.
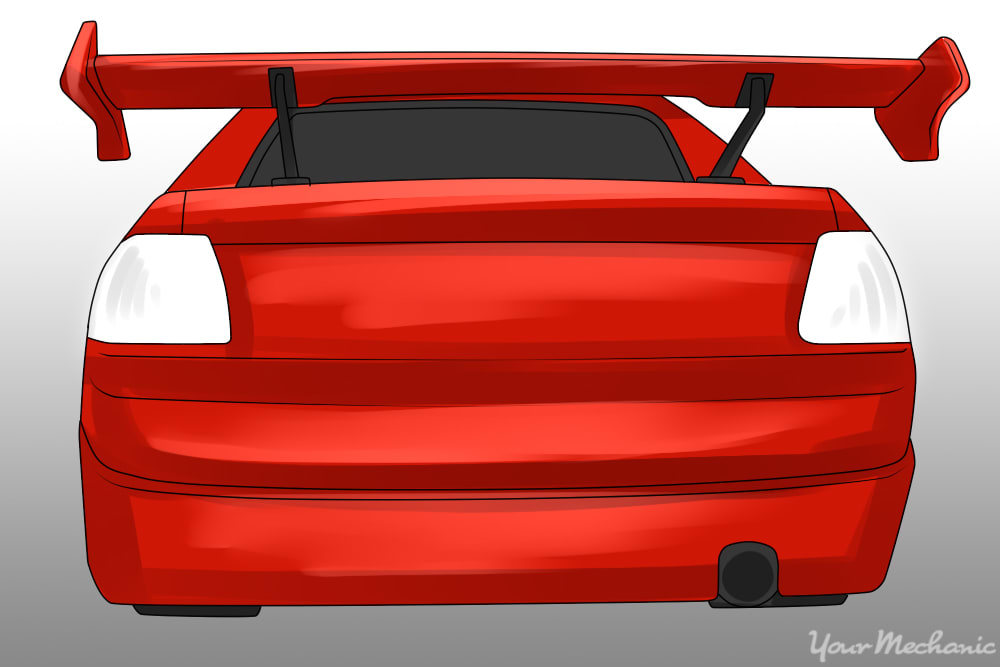
Step 2: Install a spoiler. Nearly every car, whether it’s a hatchback or a sedan that is being customized, has a spoiler installed.
Choose a spoiler that suits your personal taste. You can choose from a small lip spoiler on your trunk lid up to a tall, bold spoiler. Because customizing your ride isn’t usually about performance, select a spoiler you find enhances your car’s appearance.
Step 3: Lower your car’s suspension. Make your car a lowrider by installing suspension that drops your car close to the ground.
Typical systems include coil-over struts to lower your car’s stance.
- Tip: Modifying your suspension will change the way your vehicle handles and can have detrimental effects on your tire wear. Have suspension repairs professionally done by a mechanic, such as one of YourMechanic’s certified professionals.
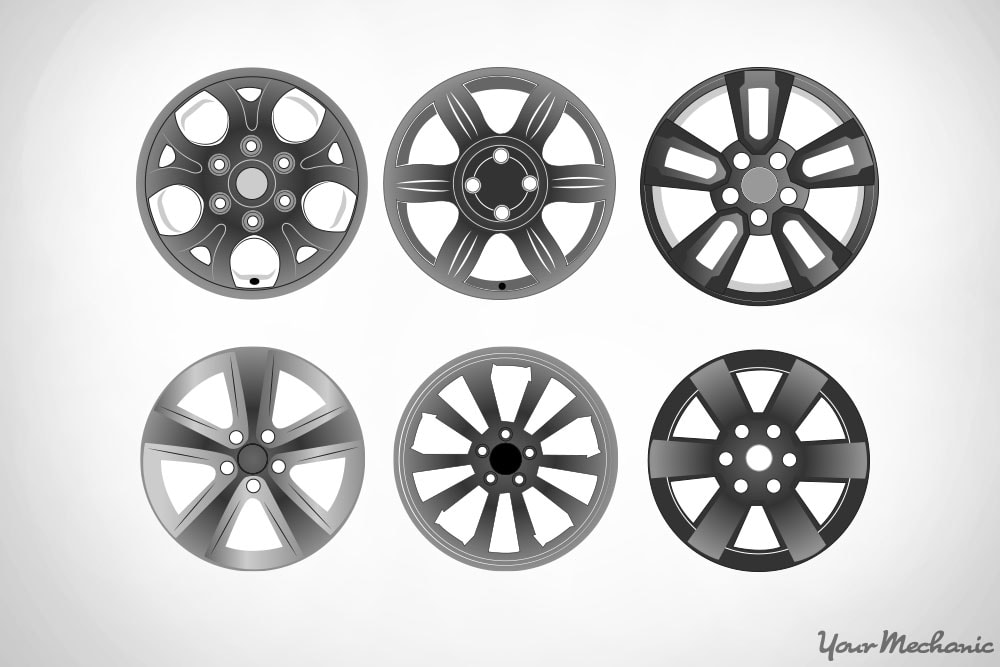
Step 4: Install aftermarket wheels and tires. Choose a wheel that suits your desired competed appearance.
Popular choices are chrome wheels, painted alloys, and aluminum alloy wheels. Oversized wheels look excellent on customized cars that have been lowered. Match a tire to your new rims that will create the same overall height as your original wheel package did.
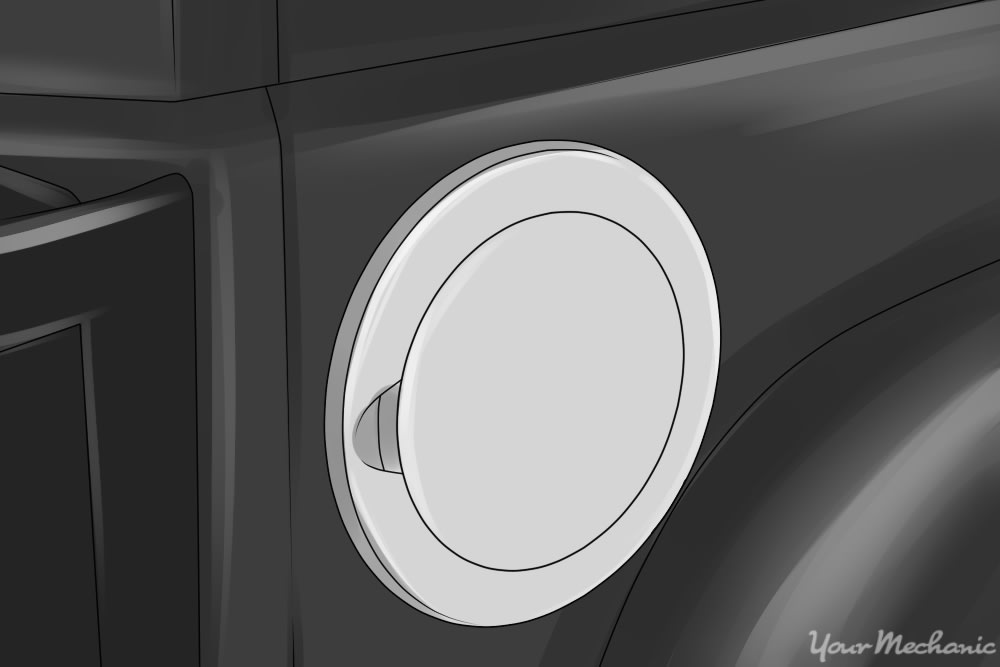
Step 5: Install accents to your exterior. Popular bolt-on accessories include an alloy fuel door, replacement headlights and taillights with euro-style lights, and underglow lighting.
- Tip: Before you make any purchases, know your state laws regarding exterior lighting modifications.
Step 6: Get a custom license plate or license plate frame. Many states allow you to purchase a vanity plate, making sure the price fits your budget.
License plate frames are usually fairly inexpensive depending on what material they are made from. Make sure the frame doesn’t obscure your registration sticker.
Step 7: Get a custom exhaust. Changing the exhaust is a popular modification that can alter the sound of the engine.
The modification ranges from changing the whole muffler with a cat-back or axle-back bolt-on kit, or just merely changing the tips.
Part 4 of 9: Change your vehicle’s wheels or tires
Replacing your wheels and tires are a statement that can not only enhance your vehicle’s look but change how your vehicle operates. Low-profile tires can increase your control and steering while taller tires commonly used on trucks can aid in off-road traction and maneuverability.
Step 1: Decide why you want to replace your wheels. It may be purely aesthetic, to lower your vehicle, to increase your ground clearance, or to improve your vehicle’s control.
Step 2: Select your wheel size. You can use the same rim size for your new wheels or you can increase the wheel size and decrease the tire profile.
Changing your combination of rim size and tire profile will change your ride height, and may change your speedometer accuracy.
- Tip: If you change your wheels’ overall height, have your speedometer calibrated by an approved speedometer repair shop.
Step 3: Select your wheel finish.
There are numerous wheel finishes available including chrome, aluminum, painted, hyper-chrome (black chrome) and even spoked wheels.
Coated wheels are easier to care for though raw chrome or aluminum wheels are attractive to many car owners. It’s a matter of personal taste.
Step 4: Install your wheels and tires. Your tires will need to be mounted on the rims, balanced, and installed on your vehicle.
Visit your nearest tire facility to have your wheels installed.
Part 5 of 9: Improve your vehicle’s performance
Performance modifications can be minimal or can involve a complete teardown and rebuild of your powertrain components. Typically, the purpose of performance modifications is to improve your horsepower to achieve better acceleration or top speed.
Step 1: Set a budget for your performance modifications. The more horsepower you hope to achieve, the more money it will cost.
Include an estimated labor cost to perform your modifications.
Step 2: Plan your modifications. Determine which component, or combination of components will achieve the best results for you within your budget.
Step 3: Find your performance parts. Use only high-quality, name-brand parts to ensure the longest-lasting, most dependable performance.
Step 4: Have your performance modifications installed. Use a reputable mechanic to install your performance mods.
- Note: Because performance parts are often an indication that your vehicle will be driven beyond its intended use, you may void the warranty by installing aftermarket modifications.
Part 6 of 9: Change your ride height
A popular modification for both sports cars and trucks is to change your ride height. The process is similar to performance changes with the shocks and struts being replaced (along with spring replacement), but the end result is quite different.
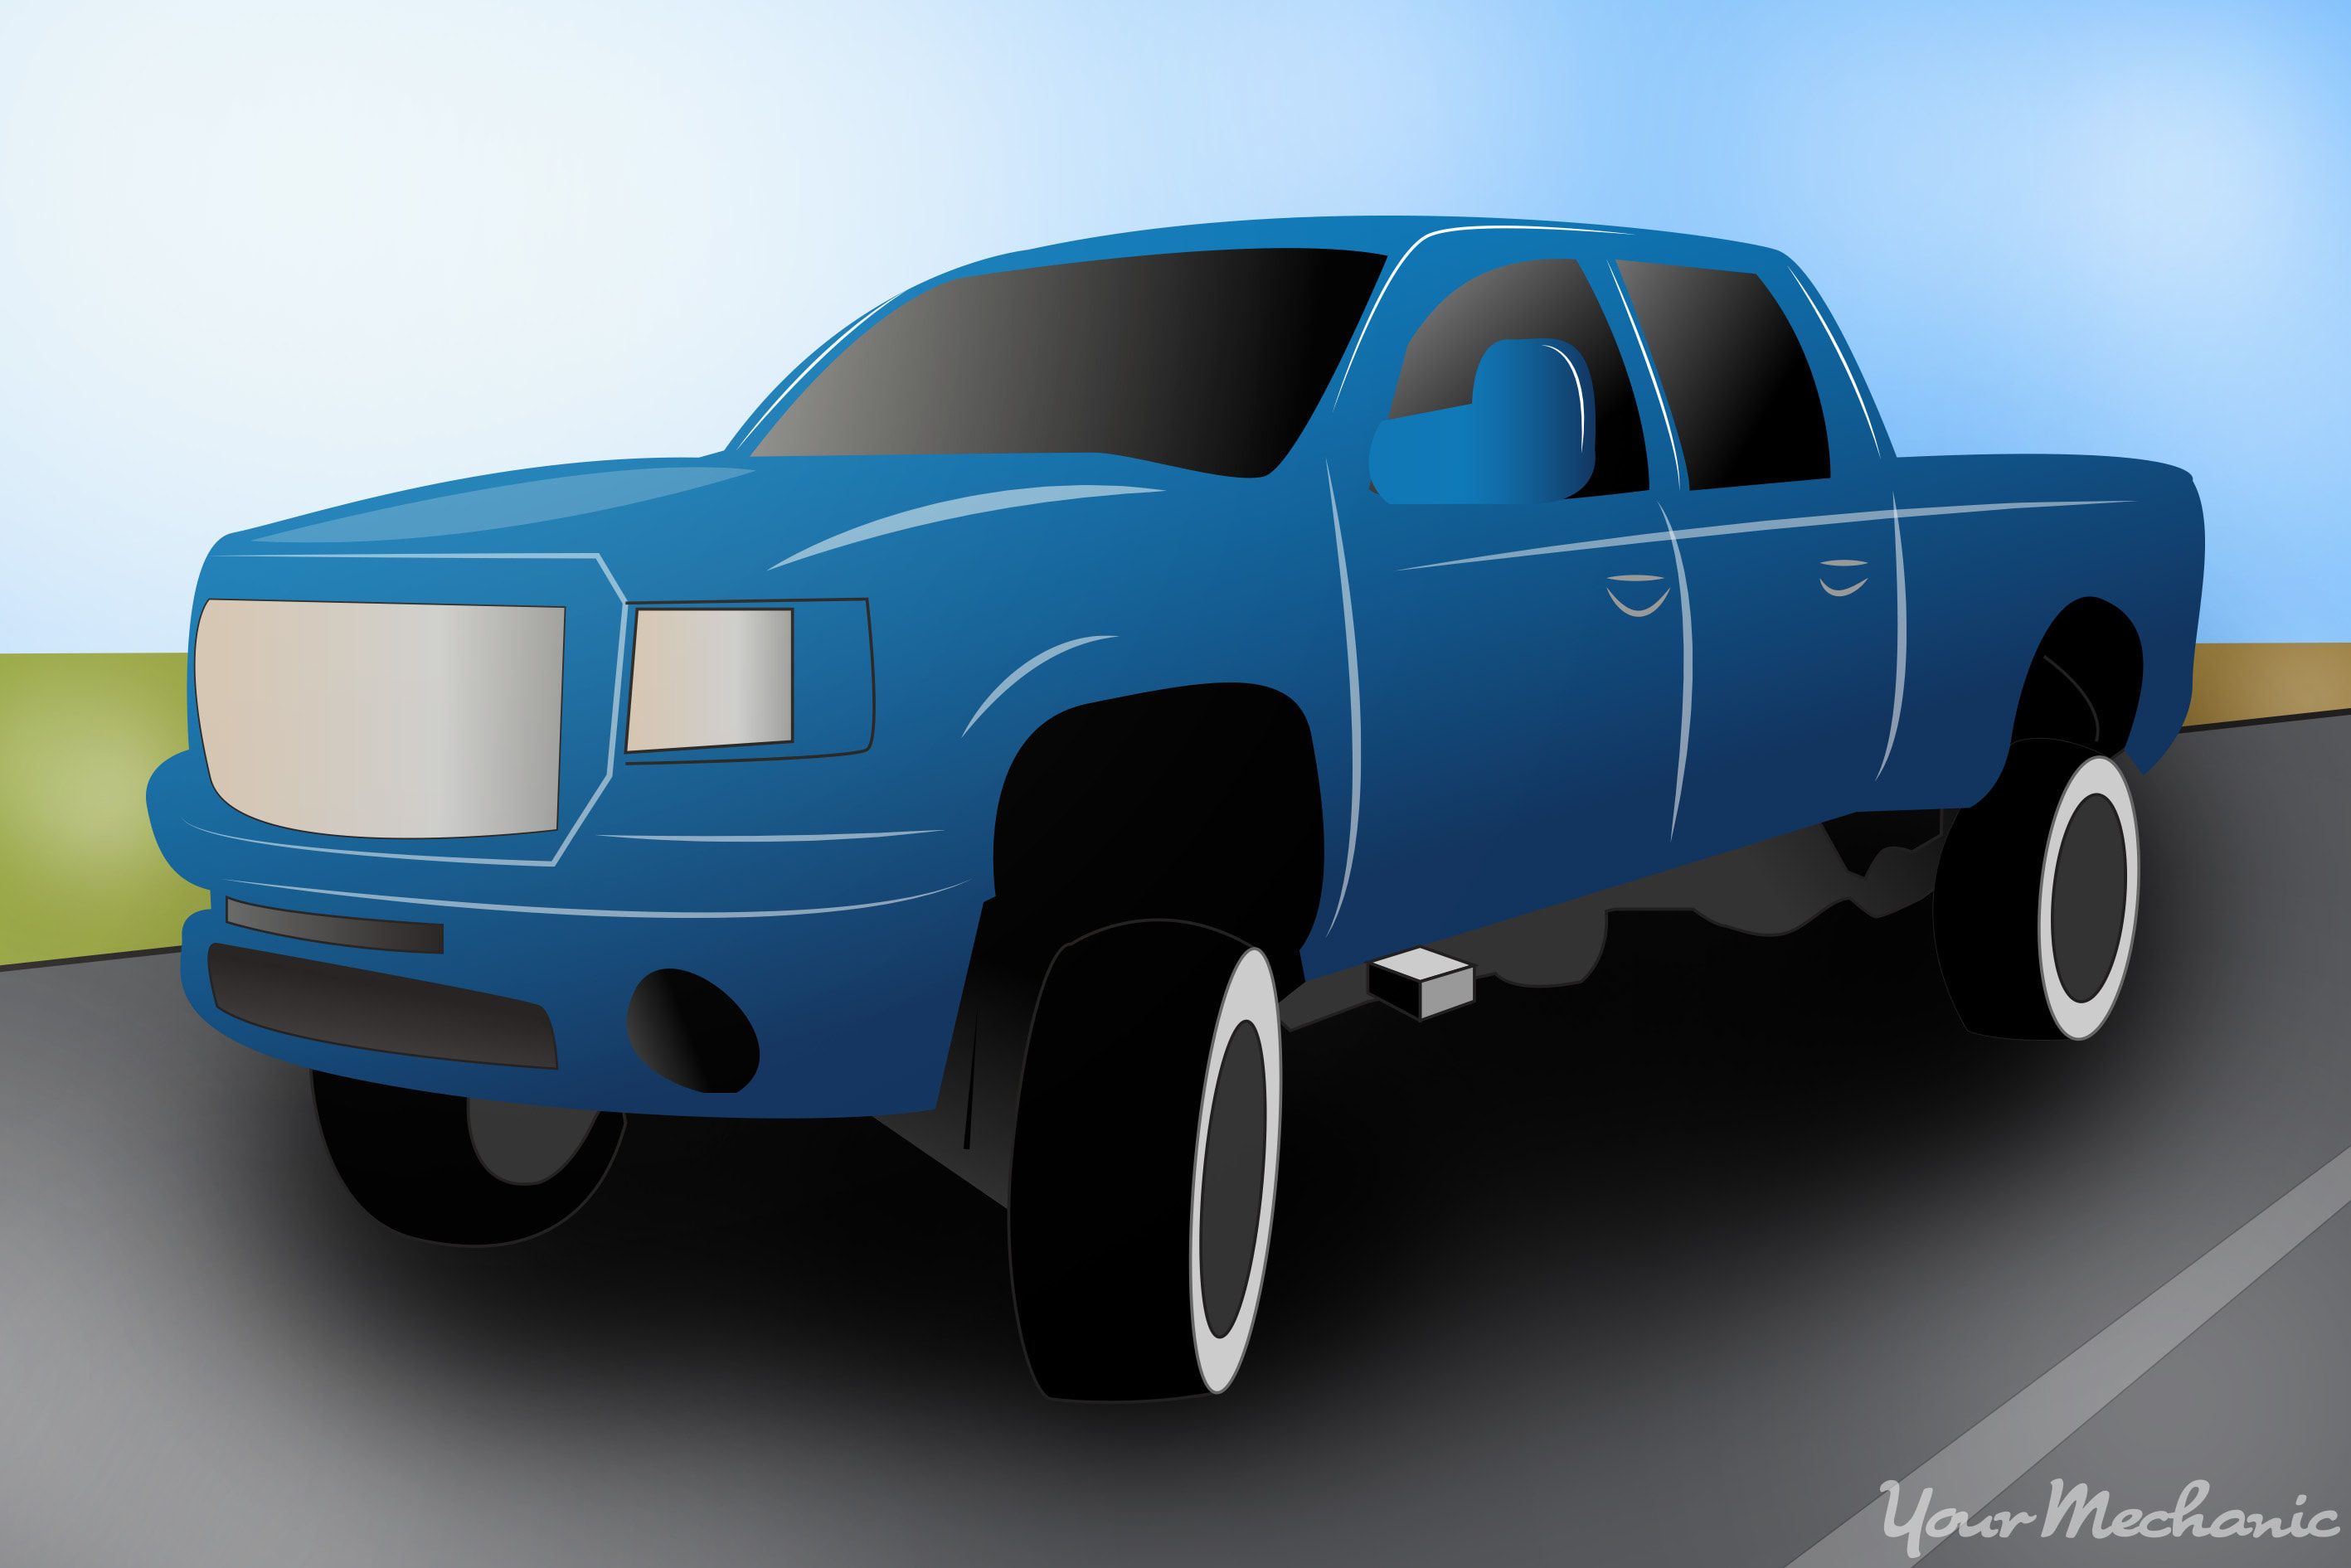
Cars are typically lowered to enhance traction, stiffen steering and suspension travel, and improve appearance. Another trend that has become popular in recent years is for cars to be lifted with oversized wheels installed in a process known as “donking.”
Trucks can be lifted or lowered, though most commonly they are lifted. A beefed-up suspension is installed along with adjustable shocks and stiffer springs to increase off-road suspension travel and increase durability.
Step 1: Decide if you want to lift or lower your vehicle.
- The kits are very different between the two purposes, so you’ll need to be sure.
Be aware of the results of your suspension modification.
Step 2: Select your components to be installed. Select only name brand components backed by their manufacturer that come with a warranty.
Step 3: Call a pro. Have a suspension repair professional install your suspension mods.
It’s important that the modifications are done by someone familiar with the parts and equipment required or you may find you have an uneven ride height or a vehicle that’s difficult to control.
Step 4: Get your wheels aligned. After every suspension repair or ride height adjustment, you need to have your wheels aligned to prevent unnecessary tire wear or difficulty controlling your vehicle while driving.
Part 7 of 9: Get a custom paint job
Your car’s paint will create the first impression for bystanders who see your car. Wow them with an outstanding combination of a base color, an optional accent color, and amazing graphics.
Step 1: Select a color for your car’s exterior base color. Typically, it will be the same as your accent color in your car’s interior.
Design your interior and exterior to compliment each other for the best flow.
Step 2: Pick an accent color. If you want a two-tone paint job or accent pieces painted a different color than your base color, choose an accent color.
You can paint your trim an accent color or do a complete two-tone paint job.
Step 3: Have a professional paint job done. A quality paint job will astound your car’s admirers while a poorly done paint job will bring down your car’s overall appearance.
Step 4: Have custom graphics installed on your car. Once the paint job is complete, have custom graphics designed and installed on your car’s fresh paint job.
Visit local window tint and graphics installers to get ideas for a unique design.
Part 8 of 9: Tint your windows
Window tint gives a sleek, sophisticated look to a vehicle and is an inexpensive modification that can be performed within a day.
Your windows may come with some level of tint from the factory, but you may want to darken the windows further. Be sure it is legal to tint your windows in your state and know what the limits are.
Step 1: Know your state’s window tint legal limits. If you tint your windows darker than the limit, you can be fined as well as required to remove the window tint.
Step 2: Decide on window tint.
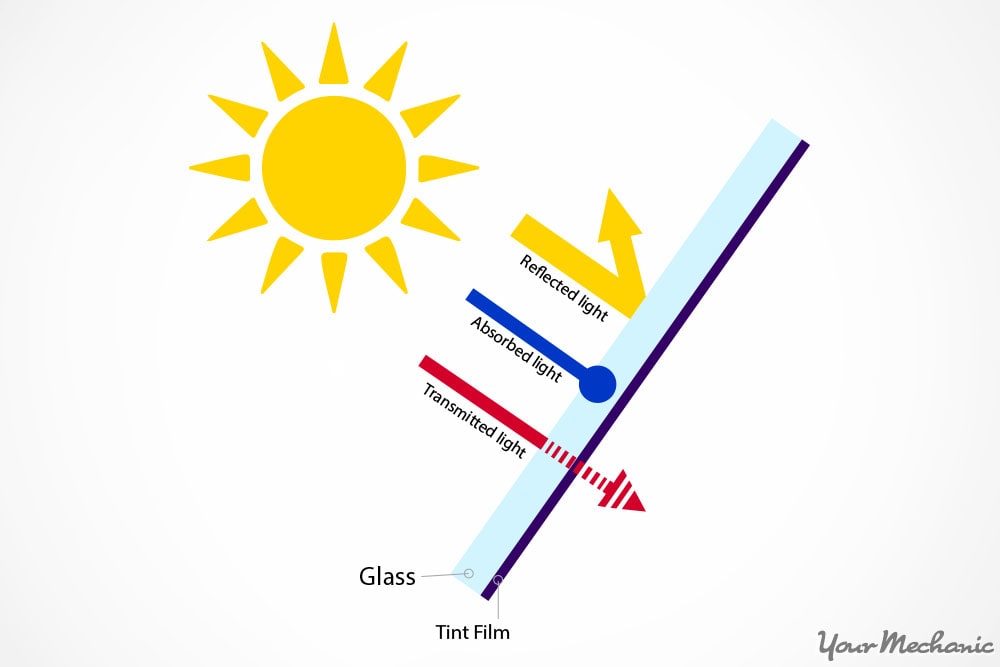
Window tint comes in a variety of visible light transmission percentages (VLT%) as well as different colors. The percentage of visible light is calculated as the sun is transmitted through the glass right angles to the surface of the glass.
Window tint can also be reflective.
Find out if your state allows metallic or reflective window tint to be installed.
Step 3: Install the window tint. You can do it yourself with a few tools and a clean work space, or you can use a professional tint installer to do it for you.
Part 9 of 9: Perform mechanical improvements
A customized ride is nothing special if it is broken down on the side of the road. Make sure your car is in excellent operating condition to avoid the embarrassment of getting your car towed.
Step 1: Complete an inspection. Have an overall inspection performed on your car to determine if there are problems that need to be addressed, especially with regard to safety.
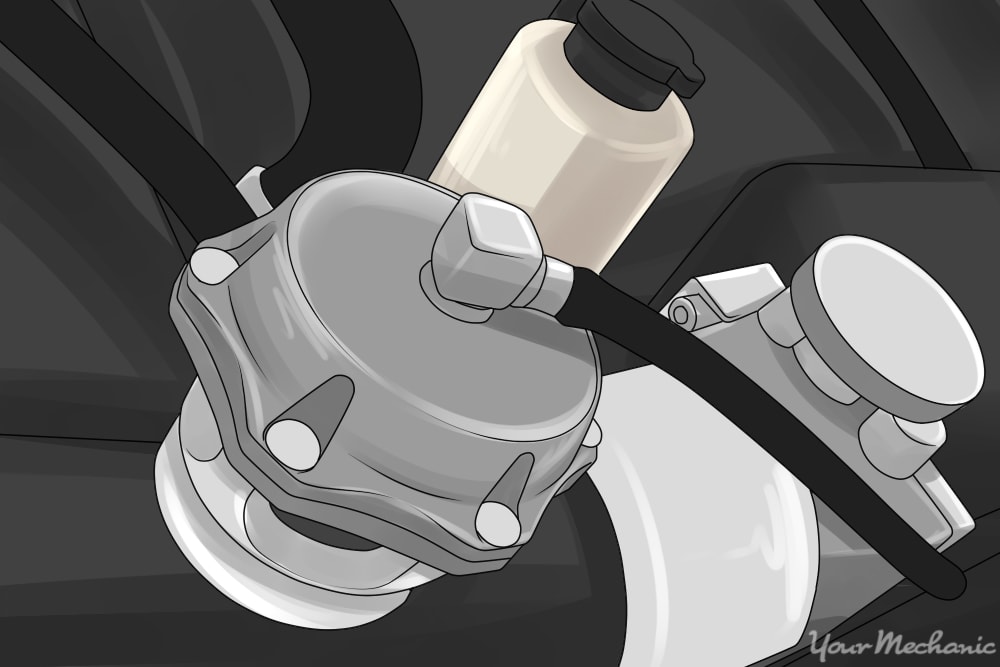
Step 2: Install minor enhancements. Commonly installed are blow-off valves for turbocharged engines, cold air intake systems, bolt-on exhausts, and short-throw shifters.
You can customize your car in a number of ways and audio/video, paint, wheels, performance, suspension, and window tinting are the ones that will make the biggest impact. How your car handles and how it looks are best ways to tailor your car to suit your needs and if you drive a lot and care about your car some (or all) of these methods will appeal to you. Check with your state’s DMV before completing any modifications you aren’t sure are legal for street use. Have one of YourMechanic’s mobile mechanics come to you to inspect your car’s safety, since this is what matters most.


