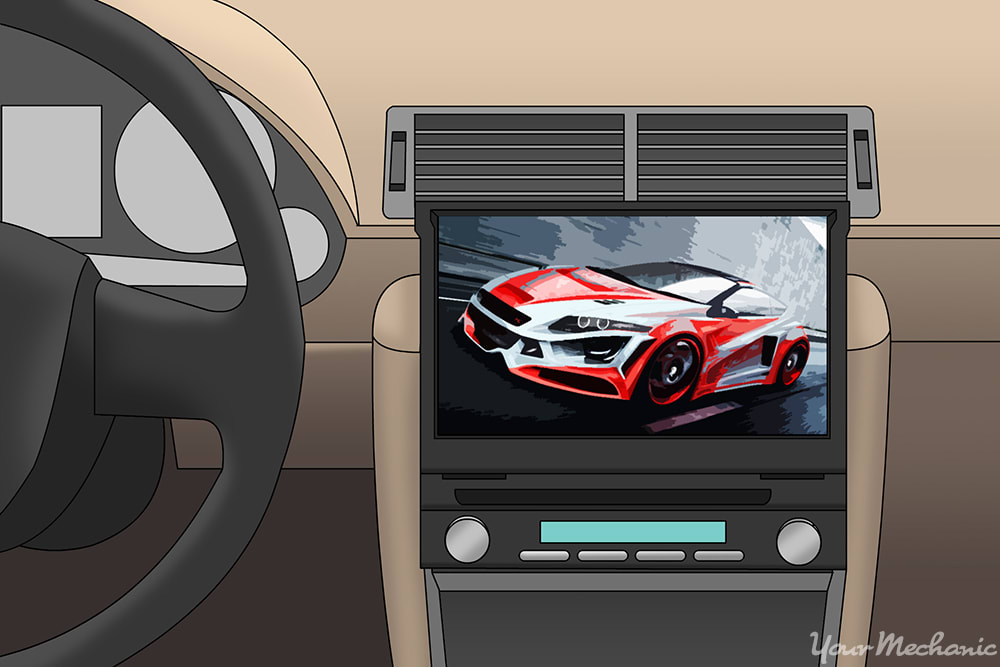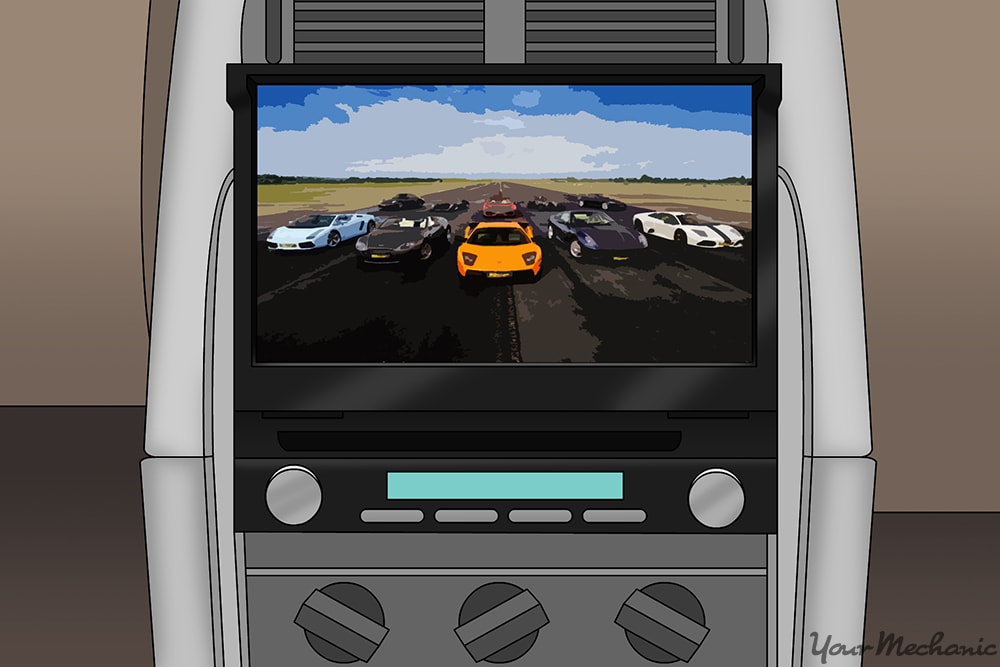
How to Install a DVD Player in Your Car

A DVD player installed in your vehicle can be a source of endless entertainment for passengers on long road trips, as well as a way to keep things interesting for the kids. Installing a DVD player can be a simple addition that adds value and excitement to your vehicle. These DVD players come in many forms: some fold out from the radio, some drop down from the ceiling, and others can be installed into the back of the headrests. You’ll need to decide which style of DVD player best suits your needs.

This article is going to cover the installation of the in-dash, pop-out DVD players. With a few simple tools and a few hours of time, you can add hours of entertainment for your passengers.

  • Warning: the driver should avoid watching the DVD player’s dash screen while driving. Good judgment and caution should be used, and attention should always be paid to the road.

Part 1 of 3: Removing the radio

Materials Needed

radio for removal

Step 1: Prepare the radio for removal. Disconnect the negative battery cable on the car battery before doing any work around the instrument panel.

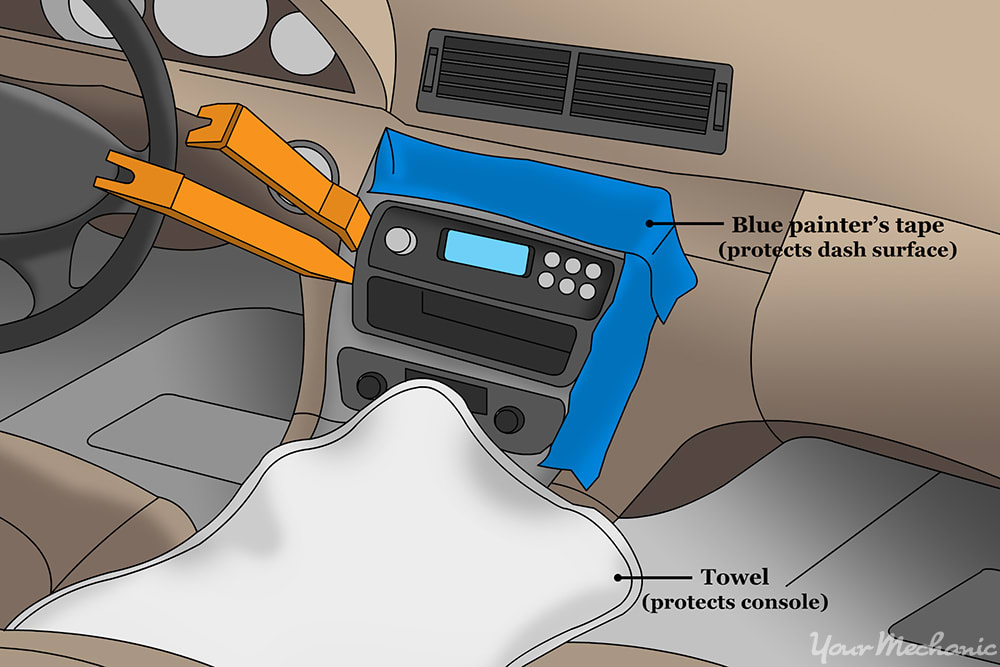
Mask the area around the radio with the painter’s tape. This is done to prevent any scratches to the dashboard, which can be an expensive repair.

Next, drape a towel over the center console. The towel is used to give a safe location to set the radio and DVD player, and to protect the console.

pastic pry bar bring

Step 2: Locate any screws that hold the radio unit in place and remove them. The screws may be hidden under various panels on the dashboard, and the locations will vary between make and model.

Refer to the manufacturer's removal instructions.

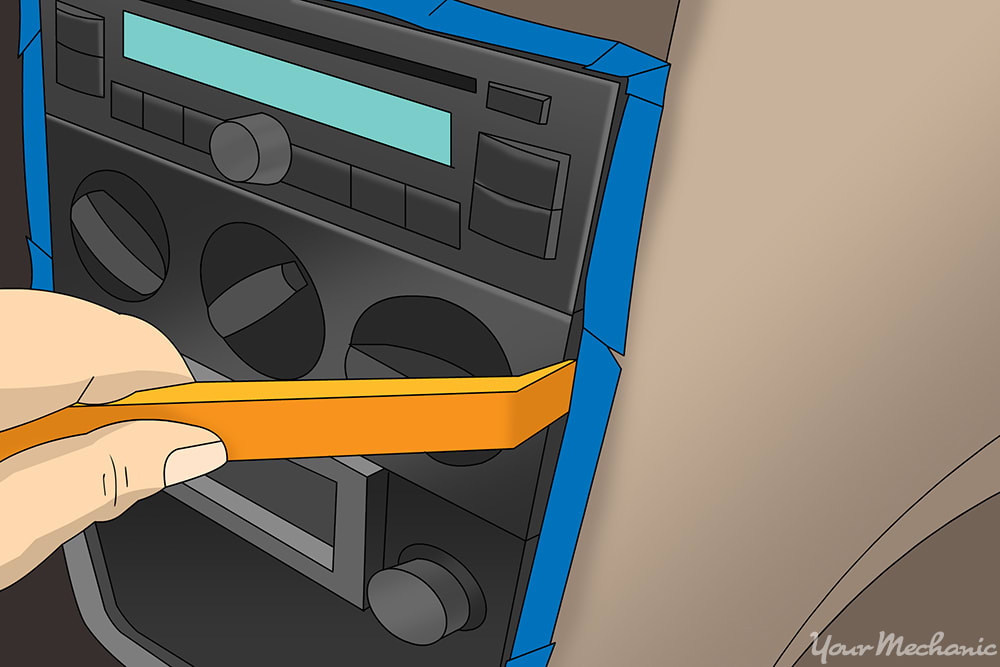
After the unit is unbolted, use the plastic pry bars to pull up on the edges of the radio unit and remove it. Most units are screwed in, and also have clips holding them in place. The plastic pry bar is used to avoid damaging the unit and breaking these clips.

Once the unit is removed, unplug any wiring that connects to the radio and holds it into place.

Part 2 of 3: Installing the DVD player

showing conversion wiring harness being connected to back of the player

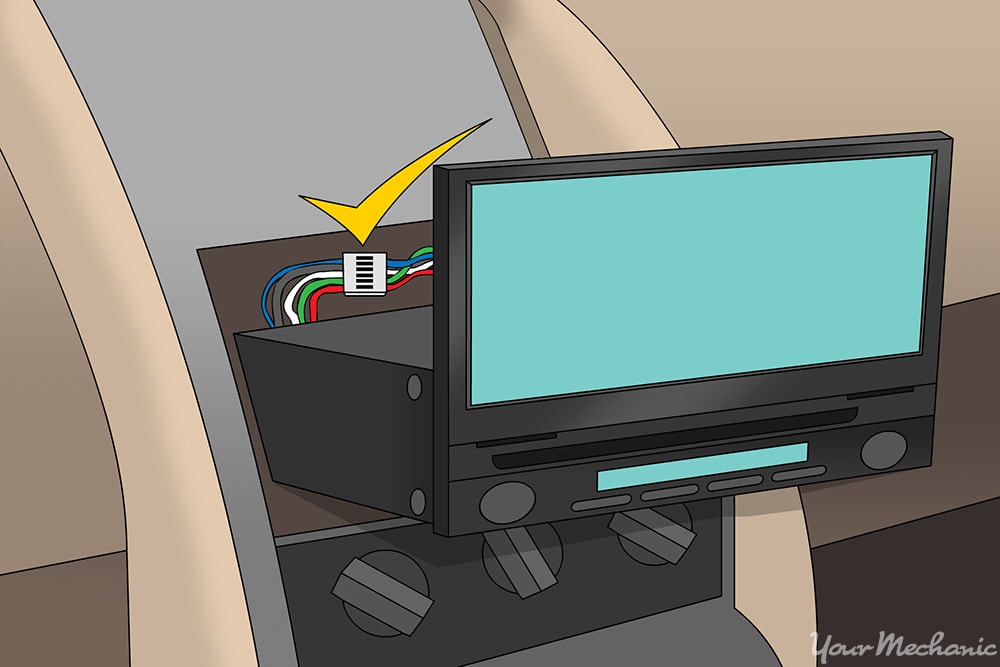
Step 1: Locate the wires that power the radio. Find the conversion wiring harness: it will have a rectangular plastic port with many different colors of wires.

This harness will be plugged into the existing radio wiring and then plugged into the new DVD player, which makes wiring a breeze.

dvd being installed into the dash that is masked off by painters tape

Step 2: Install the DVD player. The DVD player should clip into place.

After the unit is clipped in, install the screws that were removed with the radio unit.

Check the fit of the DVD unit: depending on the radio, various adapters and faceplates may be needed for proper fitting of the DVD unit.

Part 3 of 3: Testing the unit

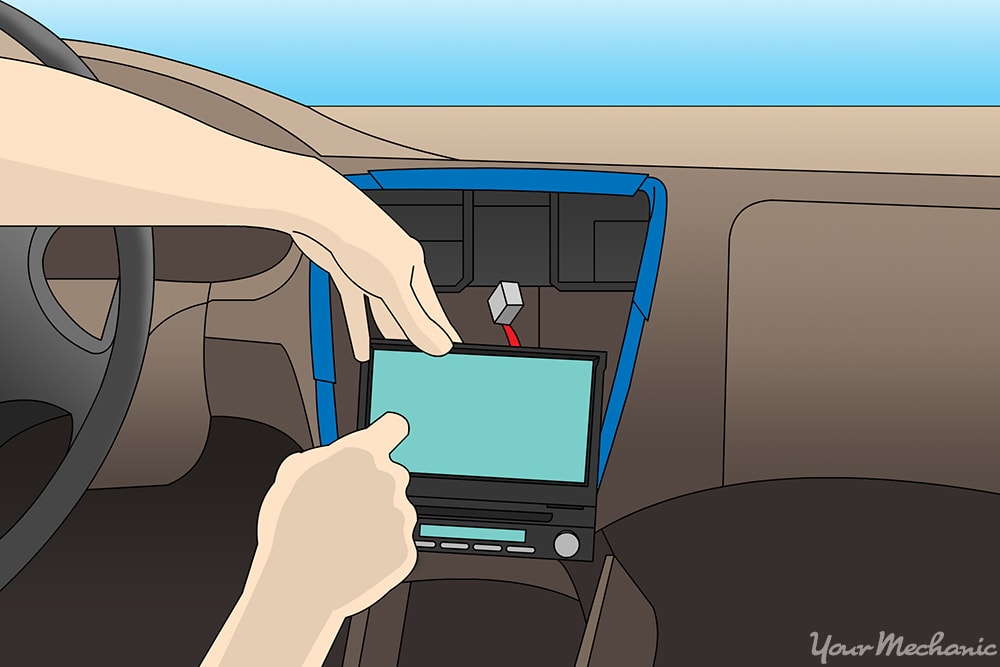
Step 1: Reconnect the negative battery cable. Make sure the DVD unit turns on.

in dash screen folded out and on

Step 2: Check to see if the DVD player functions operate correctly. Check the radio and CD functions and make sure the audio is working properly.

Insert a DVD into the player and make sure the video and audio playback works.

At this point, you should have a properly installed fold-out DVD player in your vehicle. Sit back and watch your passengers enjoy all the hard work you put in the next time you take a trip!

Remember, the driver should never watch the DVD player screen while driving.

If questions arise at any time during installation, don’t hesitate to reach out to YourMechanic. Our certified mobile mechanics are standing by to answer any questions you may have, or come out to perform a service for you.


Next Step

Schedule Car radio is not working Inspection

The most popular service booked by readers of this article is Car radio is not working Inspection. Once the problem has been diagnosed, you will be provided with an upfront quote for the recommended fix and receive $20.00 off as a credit towards the repair. YourMechanic’s technicians bring the dealership to you by performing this job at your home or office 7-days a week between 7AM-9PM. We currently cover over 2,000 cities and have 100k+ 5-star reviews... LEARN MORE

SEE PRICING & SCHEDULING

The statements expressed above are only for informational purposes and should be independently verified. Please see our terms of service for more details

Recent Car radio is not working Inspection reviews

Excellent Rating

(10)

Rating Summary
10
0
0
0
0
10
0
0
0
0

Timothy

49 years of experience
201 reviews
Timothy
49 years of experience
Dodge Ram 1500 V8-5.7L - Fuel Pump - Flower Mound, Texas
Arrived on time. Figured out problem and started working on truck. Replaced fuel pump and had truck running again in just over an hour.
Toyota RAV4 - Car is making a noise - Allen, Texas
Had a great diagnostic done with Timothy! Was very helpful and courteous, and showed up early to the appointment as well. Over all great experience, I would definitely book with him next time in the future.

Eric

13 years of experience
230 reviews
Eric
13 years of experience
Hyundai Sonata L4-2.4L - Car radio is not working - Raleigh, North Carolina
Once he found my car, Eric immediately started the car and found the blown fuse. I thought that was all that was but he listened to my concern about the fuse blowing out again so he checked under the hood and found that a noise cancellation connection to an old system was loose and that could of contributed to the blown fuse problem. All in all, I got my radio back up and rocking! He's as wonderful as everyone else says. I would definitely recommend Eric again!

Marko

11 years of experience
29 reviews
Marko
11 years of experience
Chevrolet Camaro V6-3.6L - Car radio is not working - Grayson, Georgia
Great service. He came early and also did everything out in the cold and drove all the way here just to help. Perfect service. Highly recommend!

Joshua

16 years of experience
33 reviews
Joshua
16 years of experience
Infiniti G35 V6-3.5L - Car radio is not working - Hampton, Georgia
Informative

Need Help With Your Car?

Our certified mobile mechanics make house calls in over 2,000 U.S. cities. Fast, free online quotes for your car repair.

GET A QUOTE

Related articles

How to Install a TV Tuner in Your Car
Install a TV tuner to the monitor in your car so passengers can watch TV on the road.
How to Make Professional-Looking Bumper Stickers
Bumper stickers (https://www.yourmechanic.com/article/how-to-buy-a-good-quality-bumper-protector) can say a lot about the owner of a vehicle. The best bumper stickers are those you make yourself, but designing professional looking stickers is another matter altogether. Whether you print out your custom bumpers stickers at...
How to Choose a Monitor for Satellite TV Reception in Your Car
A great way to provide entertainment for your passengers while out driving is to install a DVD player and monitors (https://www.yourmechanic.com/article/how-to-purchase-a-dual-monitor-dvd-system-for-your-car) in your vehicle. Another entertainment option is to install a satellite TV receiver in your vehicle. Satellite TV is...

Related questions

Average price to replace outer door skin?
In order to get the door skin replaced you will need to look into different body shops to get quotes. Be aware of low ball quotes. If you get the door skin replaced you will also need to have it...
Installing a trailer hitch requires cutting out a piece of the underbody trim panel.
Hello, thanks for writing in. Personally, if it was my new car I would check to see if there is another different trailer hitch on the market that does not require cutting any trim panels. If there is no other...
Back window decal
Generally most states prohibit items in the windows that obstruct the view of the driver. Depending on specifically where on the back window the decal is placed it may or may not be illegal. You will need to check with...

How can we help?

Our service team is available 7 days a week, Monday - Friday from 6 AM to 5 PM PST, Saturday - Sunday 7 AM - 4 PM PST.

1 (844) 997-3624 · hi@yourmechanic.com