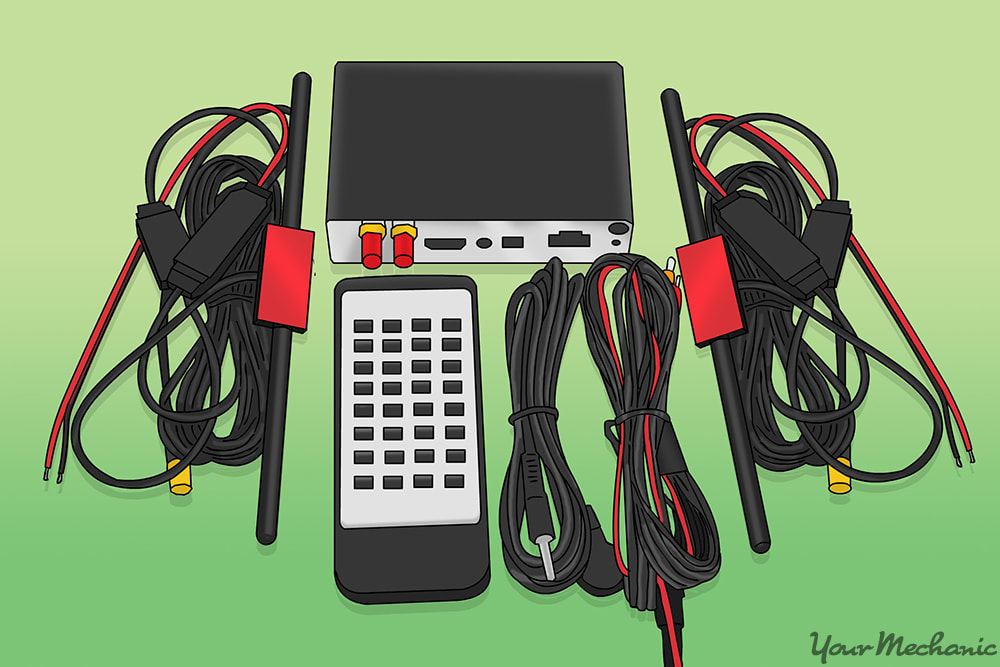

Modern technology has enabled great advances in comfort and technology, and it’s now possible to watch DVDs and TV in your car to entertain children and impress passengers. Installing a TV tuner can allow access to digital TV signals that can be viewed in the car. These tuners require either an already installed monitor or the purchase of a kit that includes the monitor and receiver.
This article will cover how to install a TV tuner into your vehicle if you already have an existing monitor setup.
Part 1 of 1: Installing a TV tuner
Materials Needed
- Ratchet set
- Screwdrivers
- TV tuner kit with installation manual
- Wrenches
Step 1: Pick out a TV tuner kit. When purchasing a tuner kit, make sure it includes all the needed materials for installation, such as wiring and instructions.
It's a good idea to check to make sure that the kit will work with the existing monitor system already installed in the vehicle. This may require purchasing a kit by the same brand as the monitor.
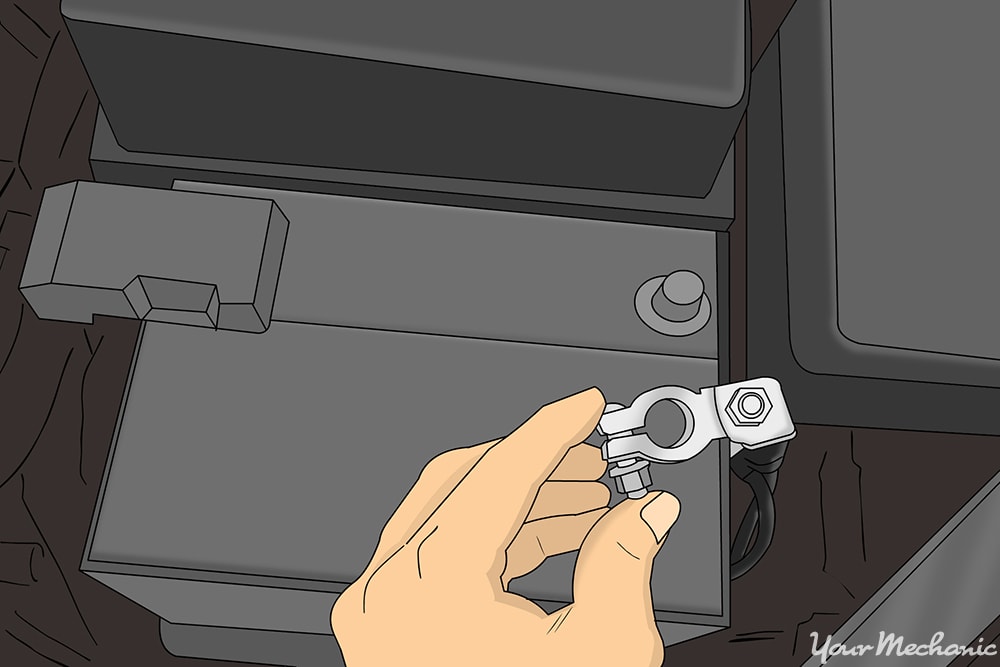
Step 2: Disconnect the battery. The first step will be to disconnect the negative battery cable. This is done to avoid voltage spikes and to protest the installer.
Make sure the negative cable is placed in a way that it cannot touch the terminal while you work.
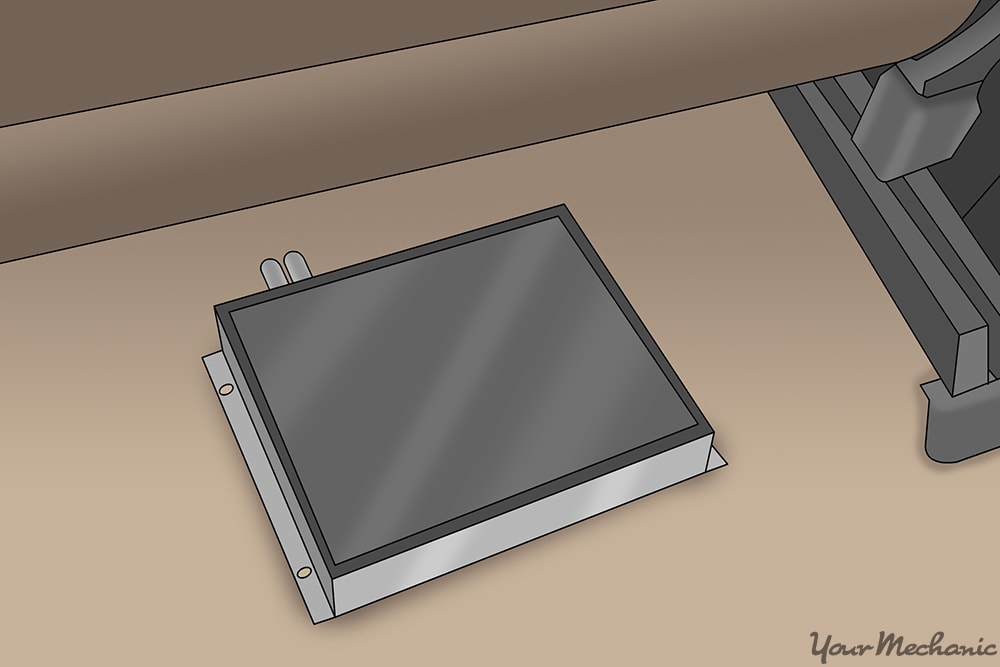
Step 3: Determine the placement of the TV tuner. Next you will need to decide where the TV tuner will go. It needs to be in a protected dry environment where the cables can be conveniently connected to it. A common place is under a seat or in the trunk area.
Once an area is chosen, it should be prepped for installation. The installation manual may have specific location instructions based on the make and model of your vehicle.
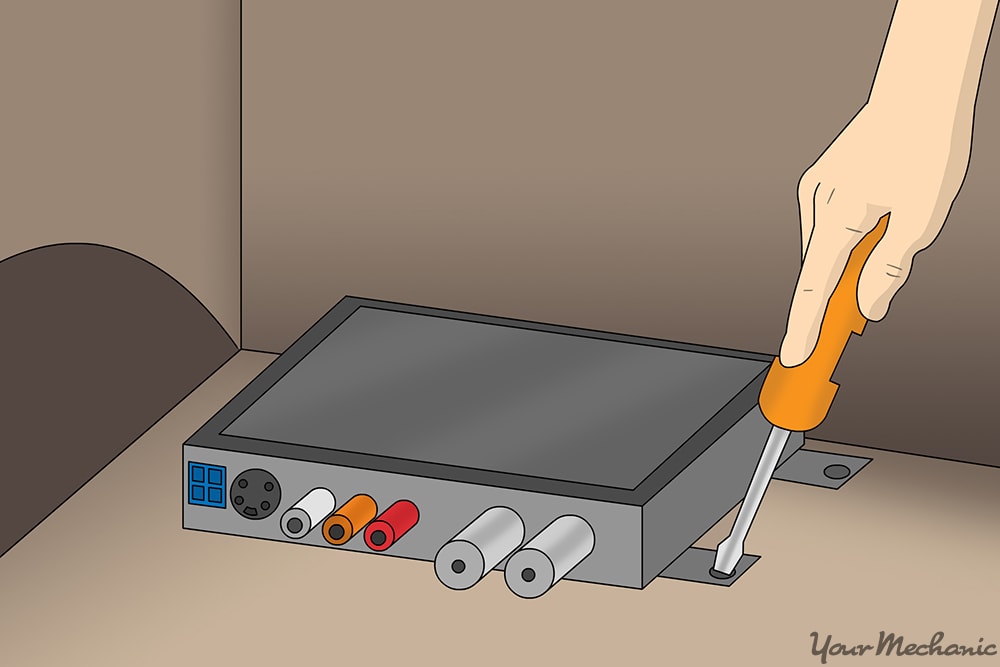
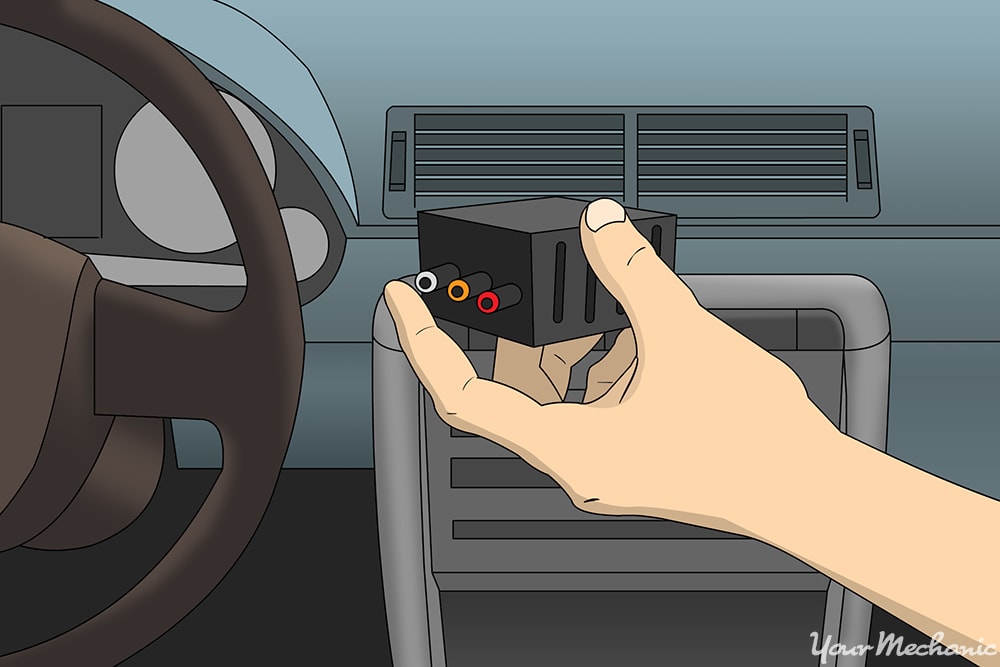
Step 4: Install the TV tuner. Now that the position is ready, install the TV tuner into the space chosen. The unit must be secured in some way, whether it be tied down with zip ties or screwed into place.
How the unit is mounted will vary from car to car and kit to kit.
Step 5: Hook up the TV tuner to a power source. The TV tuner will need to run off of the vehicle's 12 volt power to work.
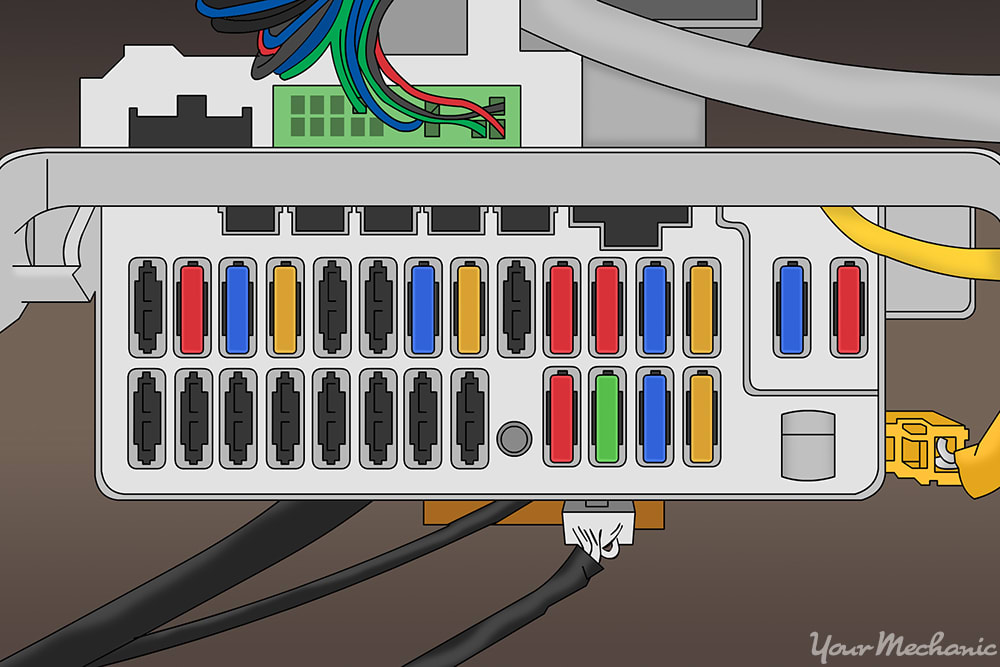
Locate the vehicle's fuse block that contains the auxiliary power fuse. Unless the instructions say otherwise, this is the fuse that will be used.
Hook up the wiring to the the fuse and run it back to the TV tuner.
Step 6: Mount the IR receiver. The IR receiver is the part of the system that picks up the signal. This will be mounted somewhere where it can reach signal.
The dash is the most common location. If the installation manual has an alternative location that should be tried first.
The receiver wires should then be run to the the tuner unit and plugged in.
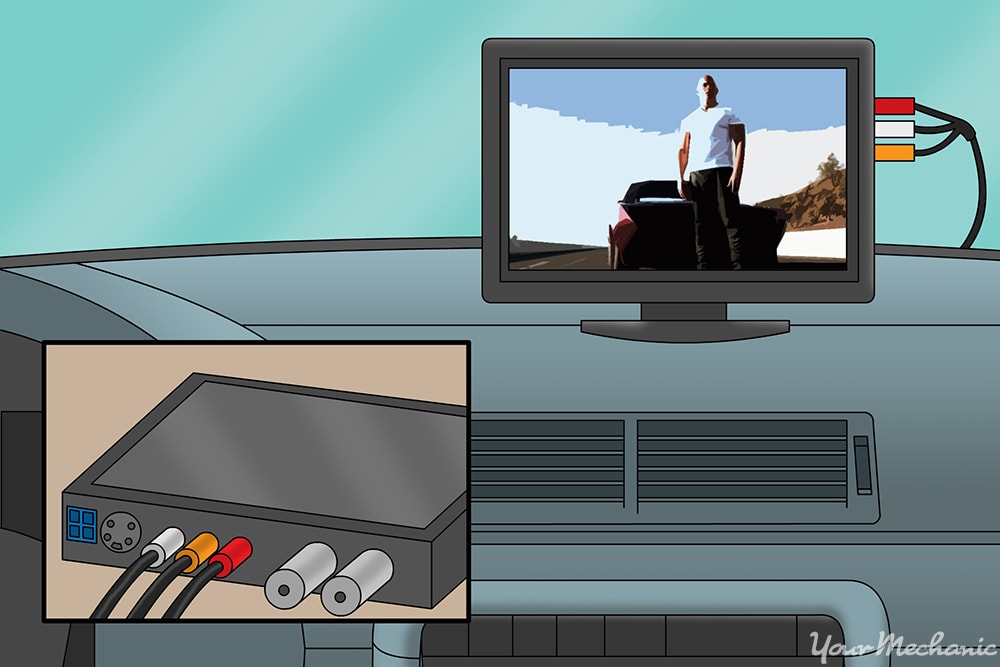
Step 7: Connect the tuner to the monitor. Run the audio/video wires to the existing monitor and connect them to the appropriate inputs.
The wires should be hidden as best as possible.
Step 8: Test the unit. Reinstall the negative battery cable that was disconnected previously. Once power is restored to the vehicle, turn on the monitor first.
After the monitor is turned on, turn on the TV tuner and test it out.
Now that you have the TV tuner installed and working in your car, there is no excuse not to take the car on a nice road trip. With the TV tuner, hours of entertainment will ensue.
If any questions come up during your installation, you can always Ask a Mechanic and receive quick, detailed advice. The qualified technicians at YourMechanic are here to help.


