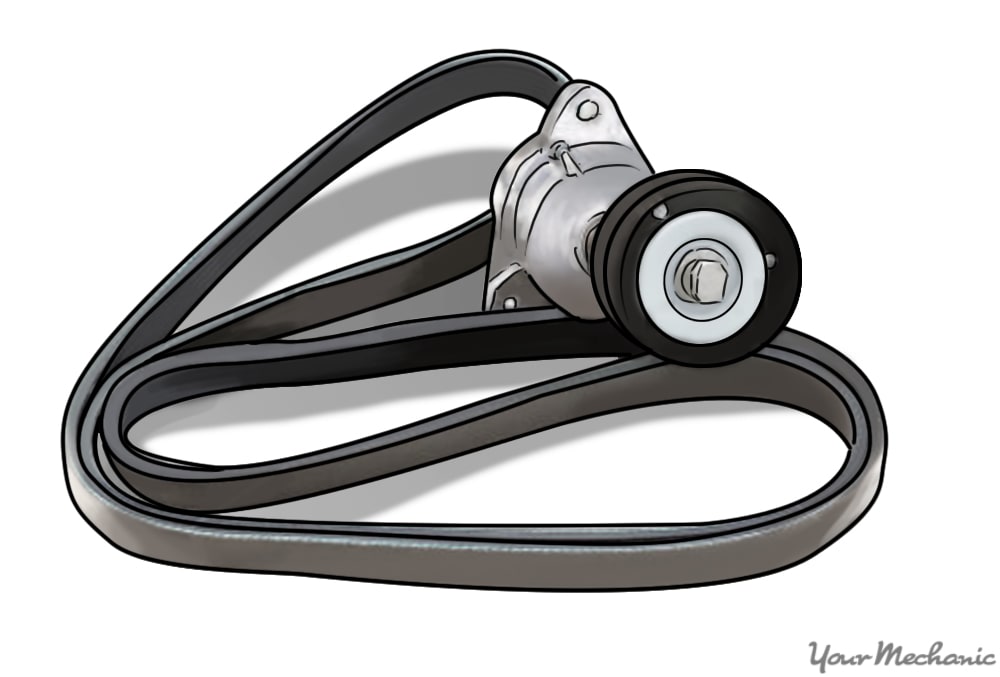

Vehicles are required to have belts to drive the water pump and accessories. The belts are designed to withstand different temperatures and can resist water. Water pump are vital for the cooling system on a vehicle. With a malfunctioning cooling system, the engine overheats within minutes.
There are two types of belts used to drive the engine’s water pump: the V-belt and the serpentine belt. A v-belt is a single direction belt that can only be driven on one side, the v-side.The v-belt has a mechanical adjuster that needs to be adjusted over time. A serpentine belt, also known as a multi-vee belt, is a single, continuous belt used to drive multiple devices on the inside and outside of the belt.
As the water pump belt wears out, it tends to glaze over. This keeps the belt from sticking to the pulley and begins to slide on the pulley making it burn. Also, the belt gets weather cracks over time, weakening the belt’s durability and stretching out the belt. Other common symptoms are a squealing noise or a burning rubber smell coming from the engine.
Part 1 of 3: Verifying the condition of the water pump belt
Material Needed
- Flashlight
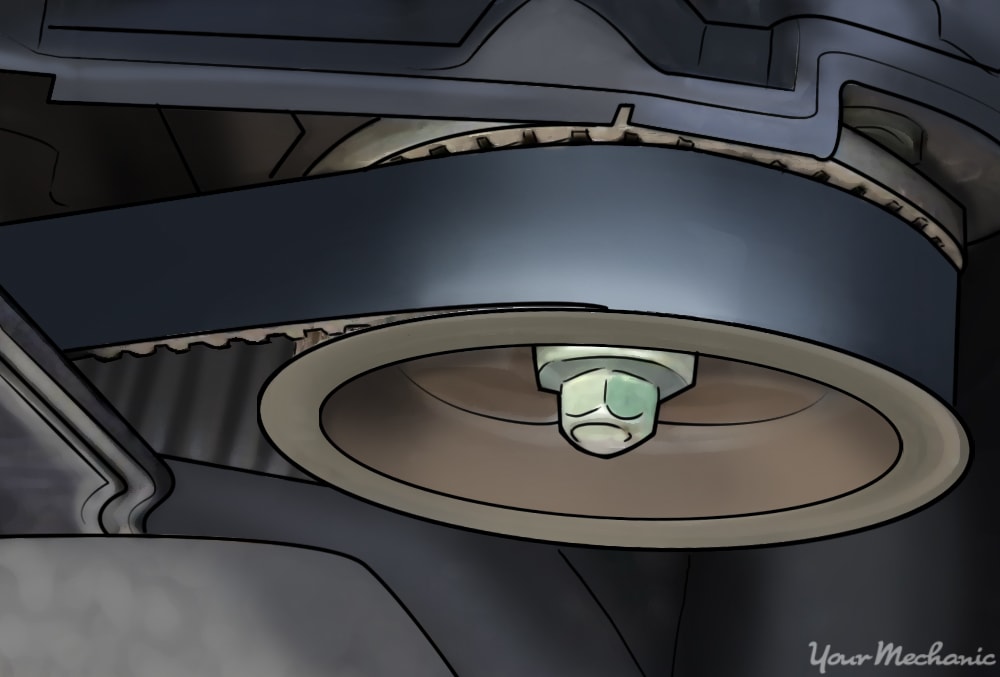
Step 1: Open the hood to the engine compartment. Grab a flashlight and visually check the water pump belt for any weather cracking or breaks.
Step 2: Push on the belt to make sure that the tensioner is working correctly. For serpentine belts, the tensioner should move as the belt is being pushed on.
As for the v-belts, the tensioner should not move.
Part 2 of 3: Replacing the water pump belt
Materials Needed
- Allen wrench set
- Boxed end wrenches
- Breaker bar
- Flashlight
- Ratchet with metric and standard sockets
- Serpentine belt remover tool
- Torx bit set
- Wheel chocks
Step 1: Park your vehicle on a flat, hard surface. Make sure that the transmission is in park (for automatics) or in 1st gear (for manuals).
Step 2: Place wheel chocks around the tires. In this case, the wheel chocks go around the front tires since the rear of the vehicle will be lifted up.
Engage the parking brake to the lock the rear tires from moving.
Step 3: Locate the belts. Open the hood to the vehicle’s engine compartment.
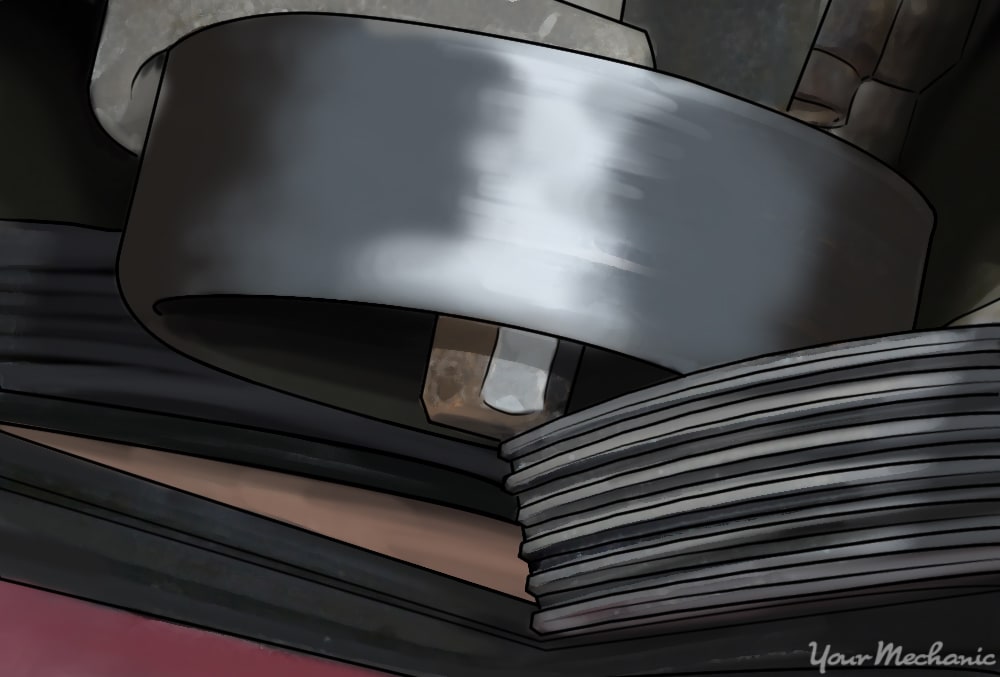
Find the belts to the engine and look for the belt that goes to the water pump. For most vehicles, if they have v-belts, the inside belt usually drives the water pump. Other vehicles have serpentine belts to drive all accessories and pumps.
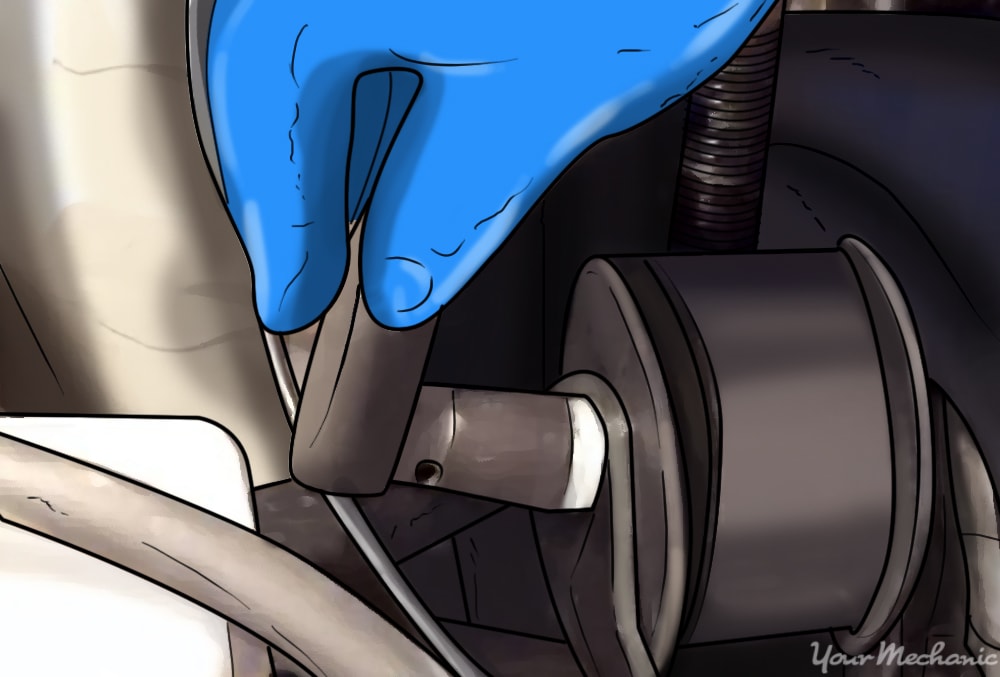
Step 4: Remove any obstacles in the way of the belt. Some belts go around dogbone engine mounts on front wheel drive vehicles.
On rear wheel drive vehicles:
Step 5: Locate the tensioner to the belt. If it is a serpentine belt, remove the belt by using a breaker bar and turning the tensioner to relax the belt.
If the vehicle has a v-belt, loosen the tensioner to relax the belt.
Step 6: Remove the belt or belts from the pulleys.
On front wheel drive vehicles:
Step 7: Locate the tensioner to the belt. If it is a serpentine belt, remove the belt by using a serpentine belt tool and turning the tensioner to relax the belt.
If the vehicle has a v-belt, loosen the tensioner to relax the belt.
Step 8: Remove the belt or belts from the pulleys.
On rear wheel drive vehicles:
Step 9: Install the belt onto the pulleys. If the belt is a v-belt, just put the belt onto all of the pulleys and then move the tensioner to adjust the belt.
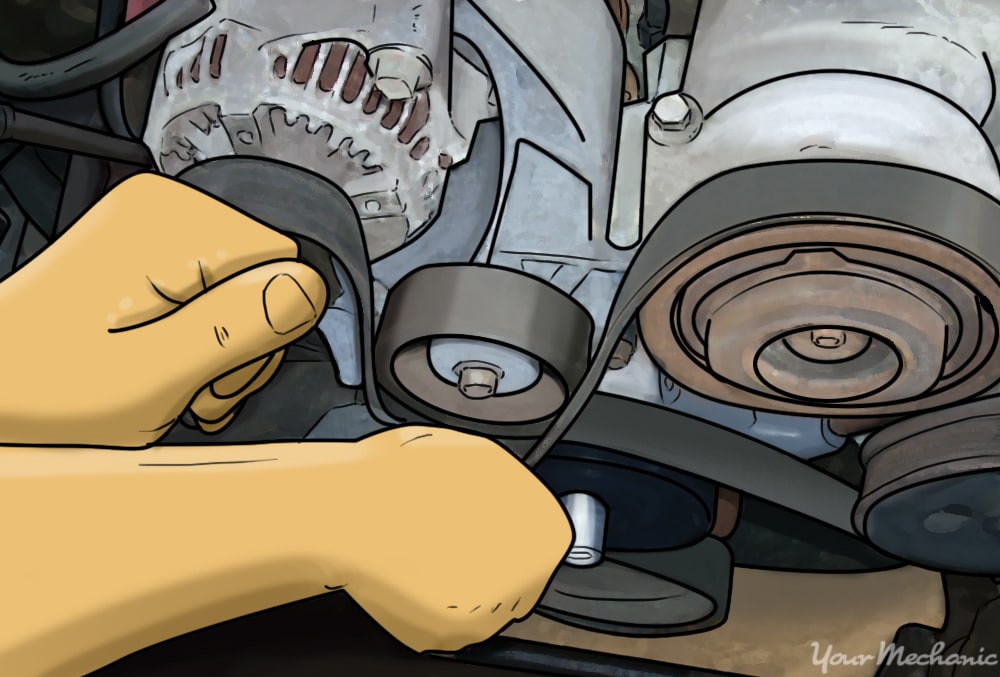
If the belt is a serpentine belt, put the belt on all of the pulleys but one. Find the easiest pulley within reach to have the belt next to before installing.
Step 10: Slide the belt onto the last pulley. If you have to install a serpentine belt, use the breaker bar to relax the tensioner and slide the belt onto the last pulley.
If you have to install a v-belt, slide the tensioner over and tighten it. Make adjustments to the v-belt by loosening and tightening the tensioner until the belt is loose to its width or about a 1/4 inch.
On front wheel drive vehicles:
Step 11: Install the belt onto the pulleys. If the belt is a v-belt, put the belt onto all of the pulleys and then move the tensioner to adjust the belt.
If the belt is a serpentine belt, put the belt on all of the pulleys but one. Find the easiest pulley within reach to have the belt next to before installing.
Step 12: Slide the belt onto the last pulley. If you have to install a serpentine belt, use the serpentine belt tool to relax the tensioner and slide the belt onto the last pulley.
If you have to install a v-belt, slide the tensioner over and tighten it. Make adjustments to the v-belt by loosening and tightening the tensioner until the belt is loose to its width or about a 1/4 inch.
Step 13: Pick up all tools used to change the water pump belt.
Step 14: Remove the wheel chocks and put them aside.
Part 3 of 3: Test drive the vehicle
Material Needed
- Flashlight
Step 1: Drive the vehicle around the block. While you are driving around, check for any unusual noises that could be caused after replacing the belt.
- Note: If you put the wrong belt on and it is tighter than normal, you will experience a loud chirping noise as the belt pulls on a pulley.
Step 2: Inspect the water pump belt. When you are done with the test drive, grab a flashlight, open the hood to the engine compartment and look at the water pump belt.
Check to make sure that the belt is still on. For v-belts, check the tension to see if it is still at the width of the belt or about a 1/4 inch.
If your vehicle continues to make noises after replacing the water pump belt, then there may be further diagnosis of the water pump belt needed or a possible belt tensioner failure. If the problem persists, have one of YourMechanic’s certified technicians take a look.


