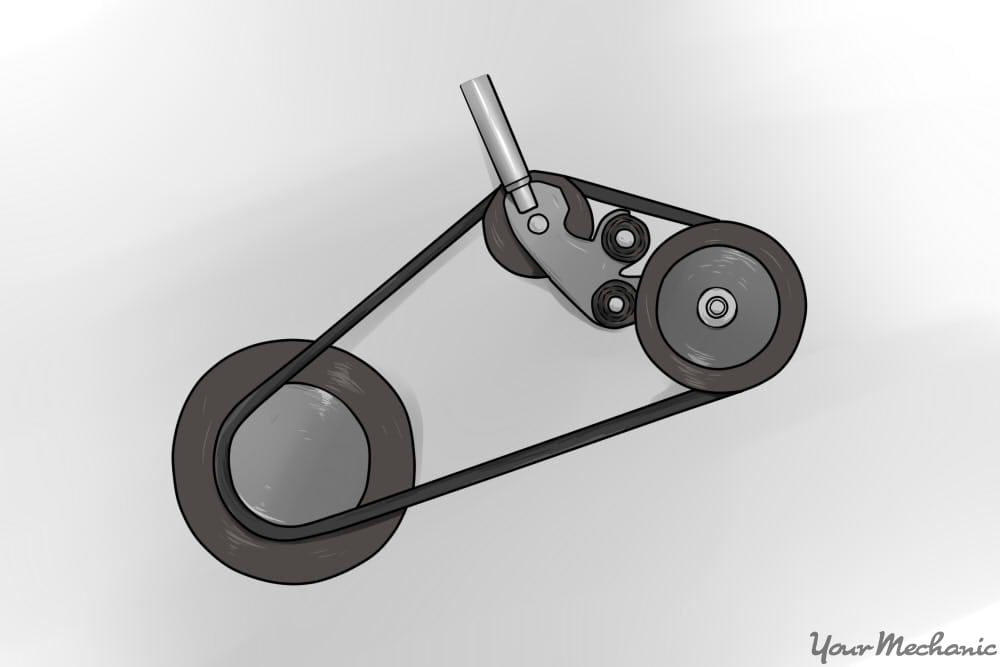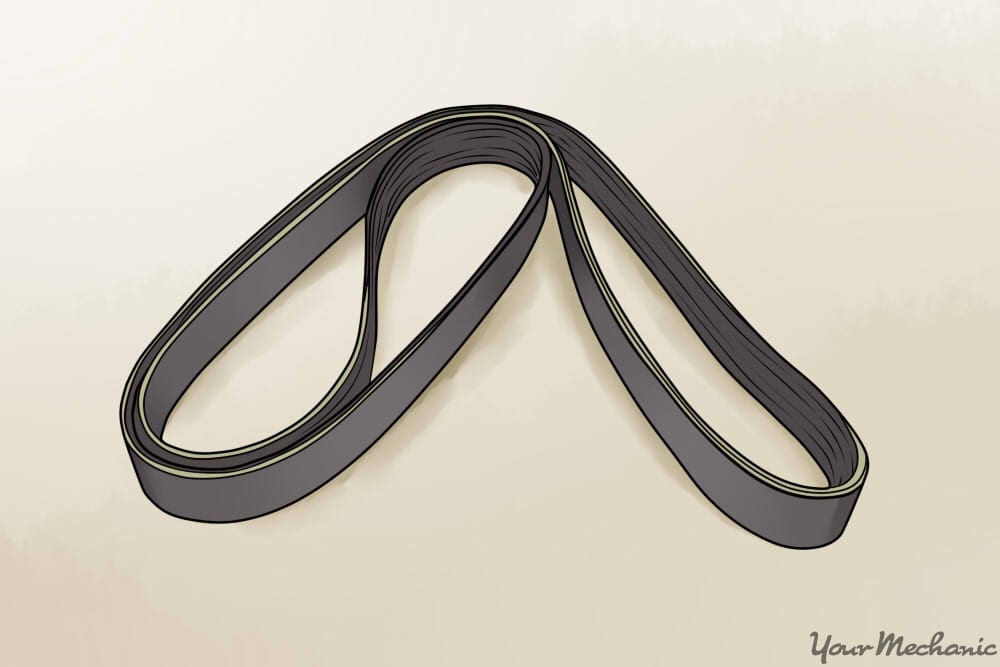

Most vehicle owners are quite familiar with the operation of most ancillary systems including air conditioning, alternators, and power steering. The similarity that they all have is that they are driven by a system of pulleys and belts that supply power to these accessories while the motor is running. In many cases, there is a single belt that powers all of these components, typically referred to as the serpentine belt (named this because of the snake-like pattern in which it is installed). On some vehicles, the power steering system has its own belt called the drive belt. Like all other rubber pieces, over time these belts will wear out and need to be replaced before they break in order to keep the vehicle running strong and to avoid other potential mechanical component failures.
When the steering belt is failing, some of the most common symptoms include a squealing noise from under the hood when the engine starts, or visible cracks, cuts or nicks on the serpentine or drive belt.
Part 1 of 1: Replacing the power steering belt
Materials Needed
- Boxed end wrench or ratchet wrench
- Flashlight
- Jack and jack stands or hydraulic lift
- Long flat blade screwdriver or pry bar
- Penetrating oil (WD-40 or PB Blaster)
- Replacement power steering drive belt
- Replacement pulley (in some cases)
- Regular sized flat blade screwdriver
- Safety equipment (safety glasses & gloves)
Step 1: Disconnect the vehicle's battery. After the vehicle has been raised and supported on jack stands, the first thing that should be done before replacing this part is to disconnect the power supply.
Locate the vehicle's battery and disconnect the positive and negative battery cables before proceeding.
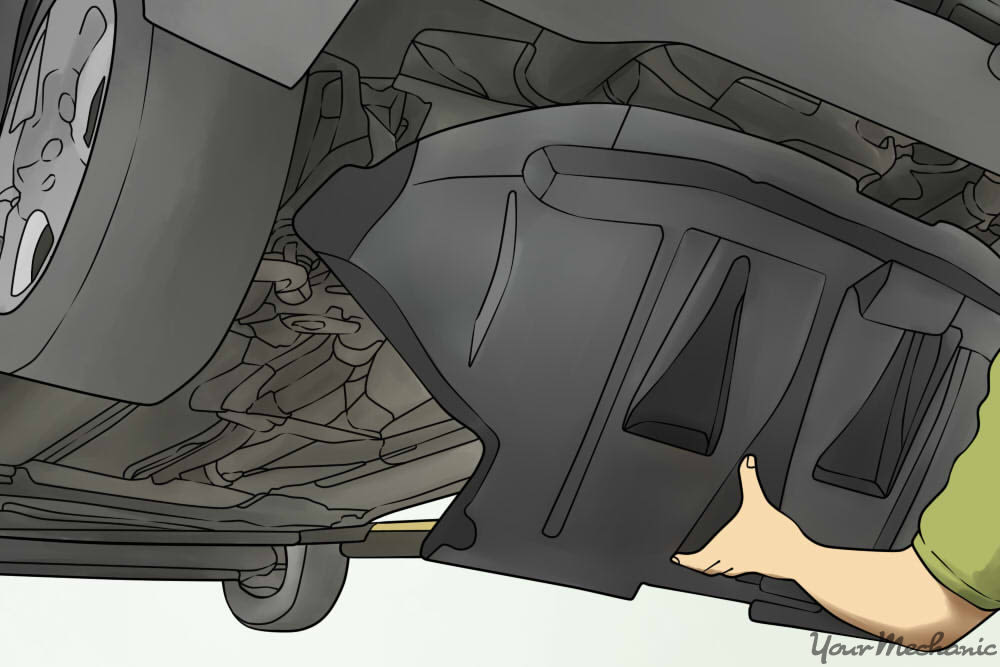
Step 2: Remove the lower engine cover. Depending on the make or model of your vehicle, you will either need to use a socket and end wrench, or a Phillips screwdriver to remove the undercarriage cover.
Remove this component and place it out of the way of your work area.
Step 3: Determine if your alternator belt needs to be removed first. On some vehicles, the alternator belt is in front of the power steering belt. This is common on four cylinder engines especially.
If this is the case, please refer to your vehicle’s manual and follow the instructions for removing the alternator belt.
In most cases, you'll only need to remove the belt and not the alternator to gain access to the power steering belt.
Step 4: Locate the power steering pump. On most inline engines, the power steering pump will be located on the driver or passenger side of the engine compartment.
V-style engines (6 and 8 cylinders) will typically have the power steering pump located in front of the motor.
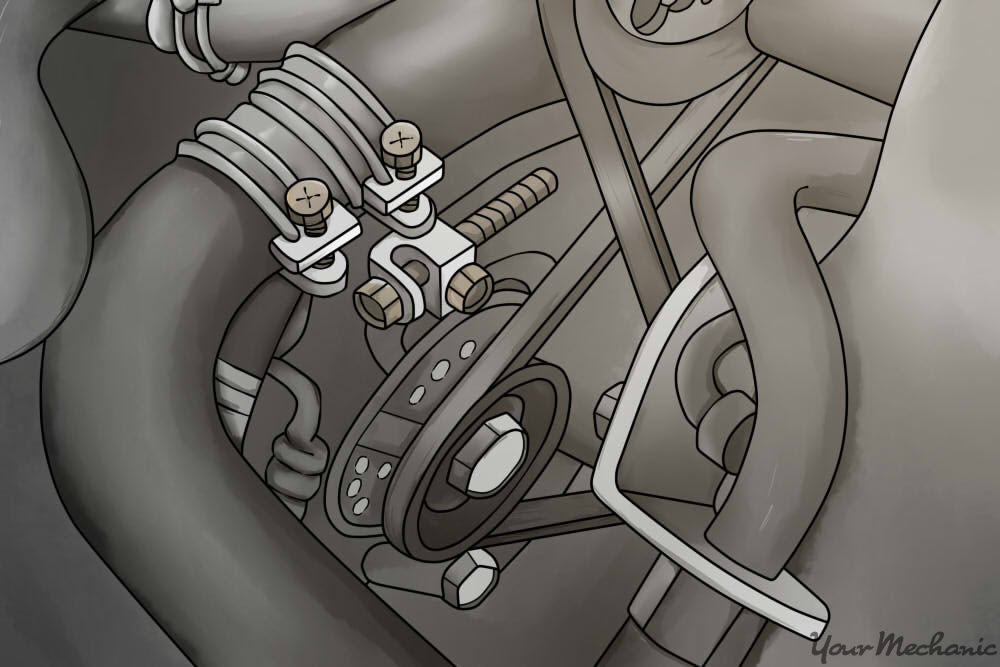
Step 5: Locate the tensioner pulley and spray the top and bottom bolts with penetrating oil. The first two bolts you'll loosen will be two that hold tension on the pulley.
In most cases, these bolts will be very tight due to corrosion. Spray both bolts with penetrating oil such as WD-40 and let them soak in for about five minutes before proceeding.
Step 6: Loosen top pulley bolt first, then the bottom bolt. Using an end wrench, loosen the top pulley bolt first, then loosen the bottom bolt.
- Note: Do NOT remove the bolts, but make sure the pulley is loose and can be moved back and forward with your hand.
Step 7: Loosen the power steering bolts in the same method as above. Locate the power steering pump and loosen the top and bottom bolts as indicated in the previous step.
You just want to make sure they are loose and not removed.
Step 8: Release tension from the power steering pump. In many cases, the power steering pump will be secured tight onto its housing, even with the bolts loosened.
Use a pry bar or a long end wrench to apply pressure to the pump. This will loosen the belt even more so you can slide the belt off the pulleys.
Step 9: Remove the old belt. Once the tension pulley and the power steering pulley have been loosened, you should be able to slip the old belt off rather easily.
Step 10: Place new belt on the pulleys. With the teeth side down, slide the new belt over the crankshaft pulley, the power steering pump pulley and the tensioner pulley.
Step 11: Apply pressure to the power steering pump and tighten the bolts. In step 8 we used a pry bar to press the power steering pump forward to loosen tension. In this step, reverse that process by pressing the pump backward to tighten tension on the pulley.
Maintain this pressure and tighten the lower bolt first, then the top bolt.
Once both bolts are tight, release tension from the pry bar and proceed to the next step.
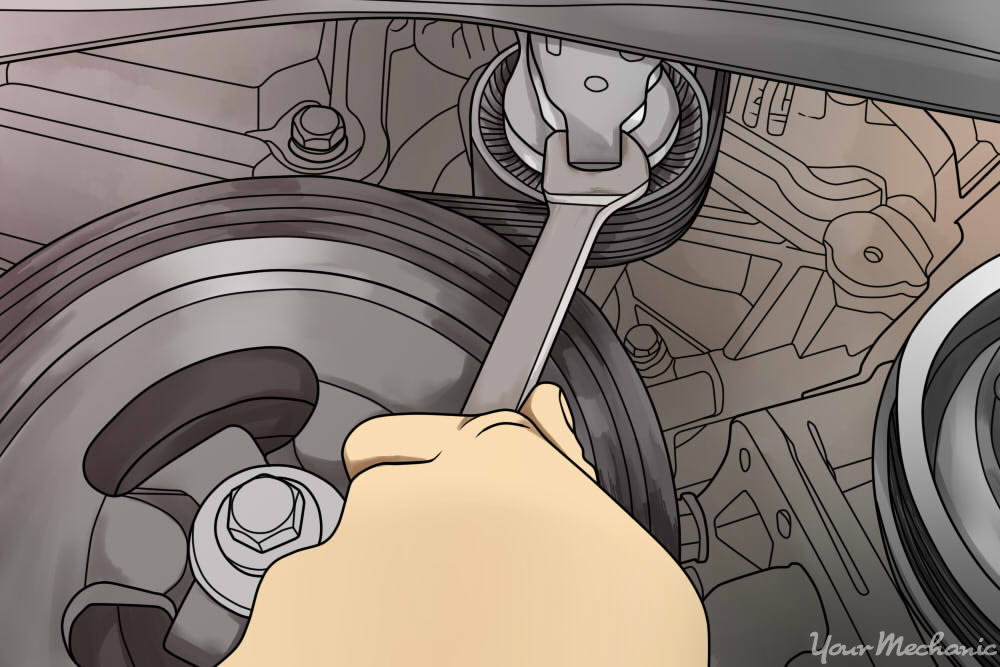
Step 12: Tighten the tensioner pulley and tighten the bolts. Using the same method as above, apply pressure to the tensioner pulley until the belt is tight on all three access points.
Maintain pressure on the tensioner pulley and tighten the bottom then top bolts to tighten the power steering belt correctly.
Step 13: Hand test the belt replacement. Grab the belt with your hands and spin the belt forward to test its operation.
The belt should spin freely on the crankshaft, tensioner, and power steering pump pulley without trouble.
Step 14: Replace all parts you removed. Replace the alternator and belt (if you had to remove them), replace the engine cover, and reconnect the battery cables.
Step 15: Test drive the vehicle. First, test start your vehicle. Listen for any noises coming from the front of the motor, such as the squealing belt.
If you hear that sound, shut off the engine and recheck the tension of your belts.
If you don't hear any symptoms, proceed to test drive your vehicle for about 10 miles. When you arrive back home, pop the hood and retighten all bolts that you loosened to be on the safe side.
This job is fairly simple to complete; however, if you're trying to replace a serpentine belt, it can be complex for even experienced DIY mechanics. If you've read these instructions and still don't feel 100% confident in completing this repair, please contact one of the local ASE certified mechanics from YourMechanic to complete the power steering belt replacement job for you.


