Power steering makes maneuvering a vehicle much easier, more efficient and safer for all drivers. The initial power steering systems were controlled by a power steering pump that was powered by a belt attached to the crankshaft and a pulley on the pump. The pump would supply power steering fluid through a series of hydraulic lines and through a power steering control valve, which regulated the flow of power steering fluid throughout the system. In a fluid-based system like the early versions of power steering, power steering fluid is sent from the pump through the power steering lines to the rack, where it helps improve the steering function from the steering column to the wheels. The fluid is circulated through the lines constantly and pressure is maintained in order for the power steering system to work effectively.
Because the pump is always in use, it can be damaged due to excessive wear, broken hydraulic lines, heat, and the natural corrosive nature of power steering. In most cases, when a power steering system fails on older vehicles, it's due to this part or the parts that are attached to the control valve. When the power steering control valve breaks, it will display a few common symptoms including a smell of burning power steering fluid, a whining noise while turning, or power steering fluid leaking from under the vehicle.
Part 1 of 1: Replacing the power steering control valve
Materials Needed
- Boxed end wrench or ratchet wrench
- Flashlight
- Hydraulic line wrenches: 7/16”, 1/2", 9/16"
- Large flat blade screwdriver
- Liquid containment drain pan
- Pickle wrench
- Penetrating oil (WD-40 or PB Blaster)
- Replacement power steering control unit
- Safety equipment (safety glasses & gloves)
- Side cutters
Step 1: Disconnect the vehicle's battery. Before removing any parts, locate the vehicle's battery and disconnect the positive and negative battery cables.
- Note: This step should always be the first thing you do when you work on any vehicle.
Step 2: Lift the vehicle. This component is located on the driver’s side under the engine compartment. In order to gain access to it and work on the vehicle, you'll have to raise at least the front end.
It is recommended to complete this job on a hydraulic lift so you can work underneath the vehicle without too many hurdles.
Step 3: Remove the left front wheel. Using an impact wrench or star wrench, remove the left front wheel from the hub so you can have clear access to the power steering control valve.
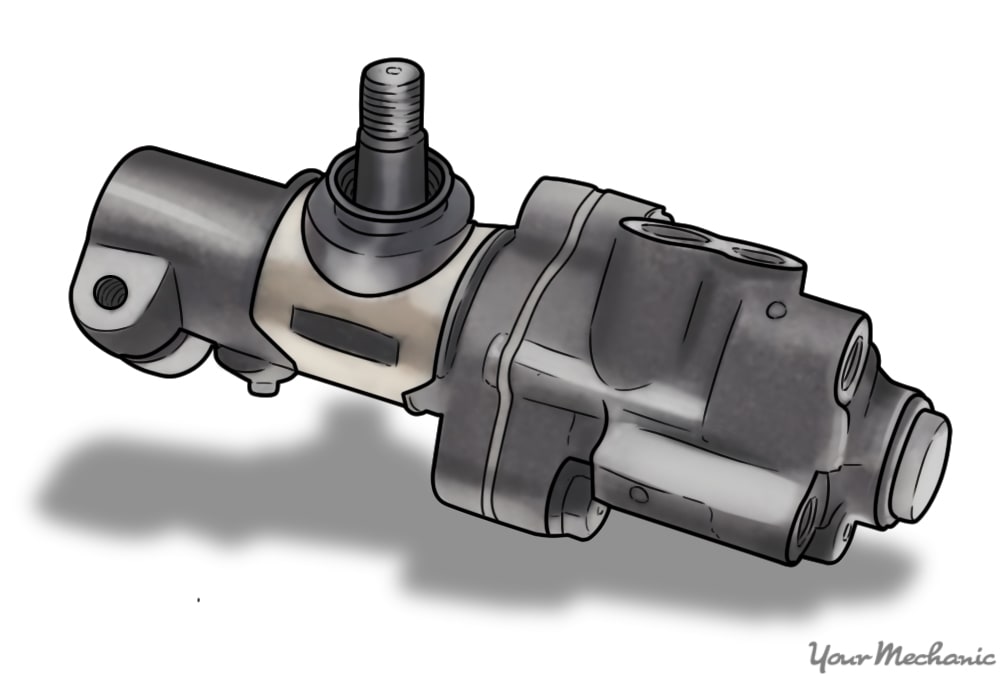
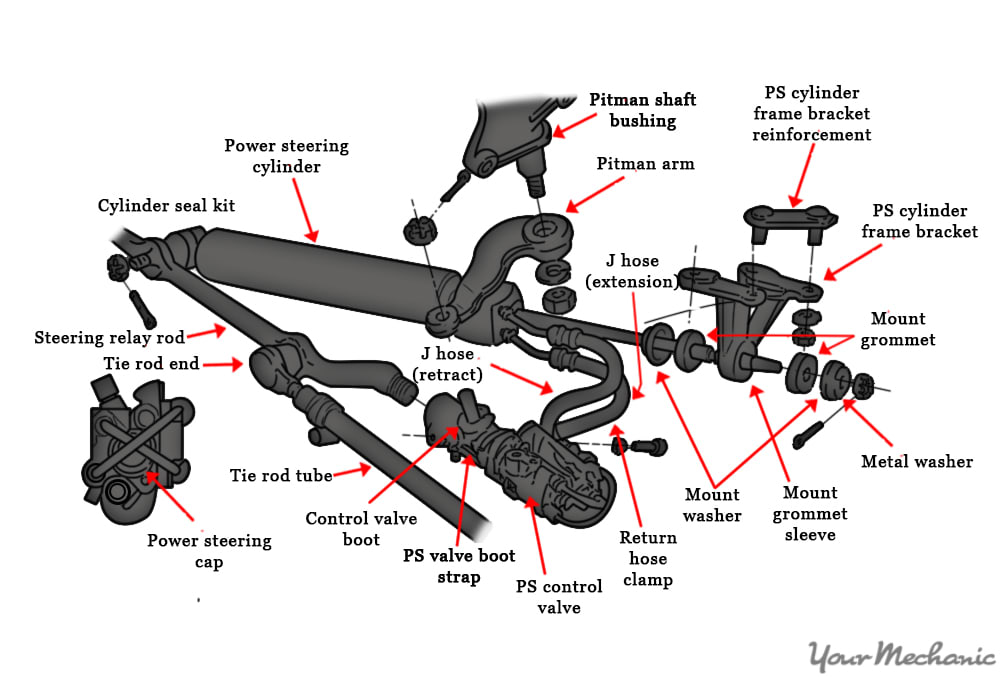
Step 4: Find the power steering control valve and review the locations of the hoses. Once your left front tire has been removed, you should see the power steering control valve. It's usually attached to the center pitman arm, right above the steering box.
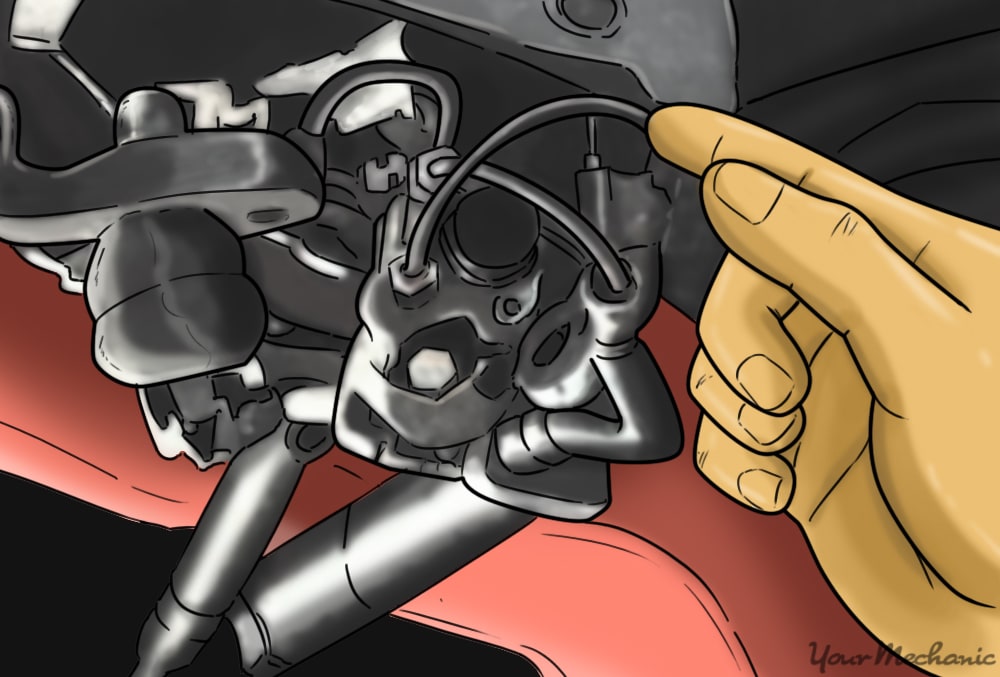
Before you replace any components or start on this project, note the condition and the location of each hose. If the hoses are damaged in any way, replace them as well.
Step 5: Mark the locations of all hoses. The proper installation of the power steering hoses is extremely important to the correct operation of the power steering control valve.
If the lines are cross connected, it can cause the power steering system to break.
If you are not replacing the hoses, mark them with some tape or draw a diagram on paper so you can install them correctly on the new valve.
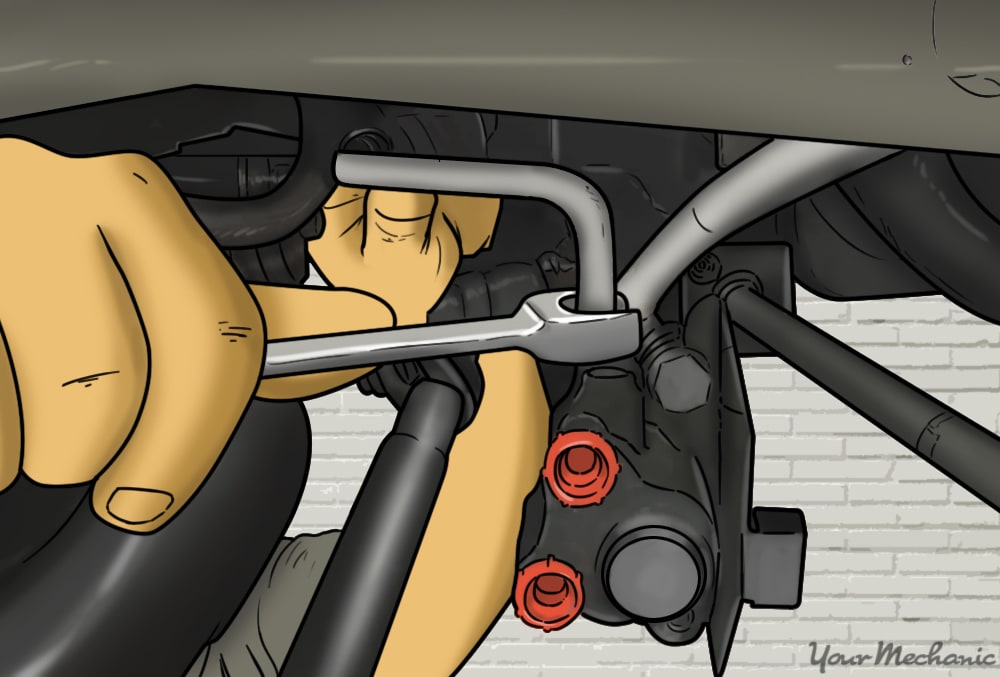
Step 6: Remove the hoses. Place a bucket or liquid containment device under the power steering control valve and remove the hydraulic lines using the correct sized line wrench.
Remove the first two hoses on top of the control valve. There are four lines connected to this device. It's important to remove the top two lines first for proper drainage.
Next, remove the second two hoses located on the bottom of the control valve. Finally, remove the valve clamp screw, located on the side of the control valve.
Step 7: Place the hoses aside and inspect them a second time. It's very important to ensure that all hoses are in good condition before installing the new power steering control valve.
After you remove them, check each hose’s condition, especially if they have o-rings inside. Replace if pinched or worn out.
Step 8: Turn the left wheel in the opposite direction for easy access. Turn the front wheel to the left so you have clear access to remove the control valve from the pitman arm.
Step 9: Remove the cotter pin from the pitman arm. There will be a cotter pin attached through a bolt and nut that is located on top of the pitman arm. This bolt is what connects the power steering control valve to the vehicle. Remove the nut from the bolt on top of the pitman arm.
Step 10: Remove the power steering control valve from the pitman arm. Using a pickle wrench, slide the forks in between the top of the power steering control valve and the pitman arm. Pry the fork down so that the power steering control valve "pops" off the pitman arm easily.
Step 11: Unscrew the power steering control valve from the control arm drive link. The power steering control valve's primary connection is screwed into the control arm. To remove, rotate the power steering control valve clockwise.
Once this has been completed, the power steering control valve should easily come off.
Step 12: Install the new control valve. Once the old valve has been removed, installing the new control valve is simply done in reverse of the installation.
Screw the control valve onto the control arm drive link and bolt the control valve to the pitman arm. Tighten the nut on the control valve bolt.
Insert a new cotter pin on the power steering control valve bolt inserted into the pitman arm. Install the old hoses or replacement hoses in the same location they were removed from. Reinstall the left front tire and torque to the manufacturer’s recommended pressure.
Refill the power steering fluid. Start the vehicle and check the power steering fluid level. Add fluid as needed. Bleed the power steering fluid lines of any air. Finally, reconnect the battery cables.
Step 13: Test drive the vehicle. Start the vehicle and make sure the power steering works correctly. You can test drive the vehicle to make sure you don't have any issues on the road.
It's recommended to take the vehicle on a 10 to 15 minute road test to ensure the steering system works correctly on different road conditions.
If you've read these instructions and still don't feel 100% confident in completing this repair, please contact one of the local ASE certified mechanics from YourMechanic to complete the power steering control valve replacement at your home or office.