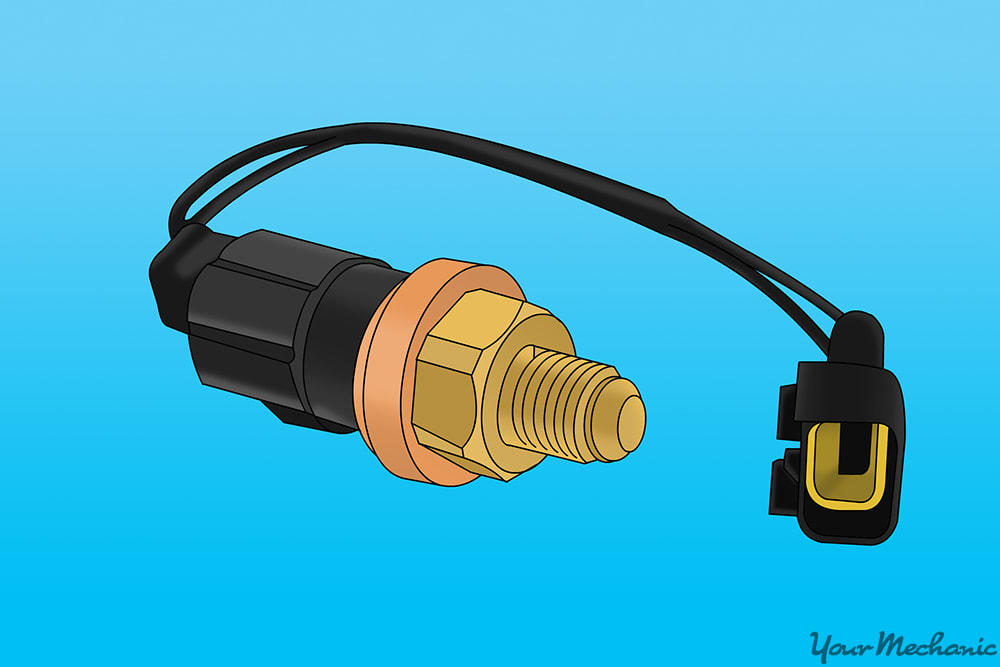

Under the hood of most cars, trucks and SUVs sold prior to 2010 is a hydraulic power steering system. It utilizes a power steering pressure switch to measure the pressure inside the hydraulic lines so that the engine control module can increase or reduce hydraulic flow to maximize efficiency across the board.
The power steering pressure switch is like any other sensor in that it is suspect to wearing out or breaking due to the extreme conditions it is exposed to daily. This component is always sending information to the vehicle's ECM anytime the engine runs, which can cause extensive wear within the electrical components that are contained inside the pressure switch. If this situation occurs, the faulty power steering pressure switch will give a few warning signs, such as the Check Engine Light coming on and sluggish steering when driving.
Part 1 of 1: Replacing of the power steering pressure switch
Materials Needed
- Boxed end wrench or ratchet wrench
- Hydraulic line wrenches
- Liquid containment drain pan
- Replacement power steering pressure switch
- Safety equipment (safety glasses & plastic or rubber gloves)
- Scan tool
Step 1: Disconnect the battery and lift the vehicle. Before removing any parts, locate the vehicle's battery and disconnect the positive and negative battery cables.
- Note: This step should always be the first thing you do when you work on any vehicle.
Lift the vehicle with a hydraulic lift or jacks and jack stands.
Step 2: Remove the engine cover and ancillary parts. With most vehicles, it is easy to gain access to the power steering pressure switch, but some require you to remove a few components, including the engine cover, air filter and hoses, and the battery.
Always refer to the vehicle's service manual for exact instructions on what you need to remove.
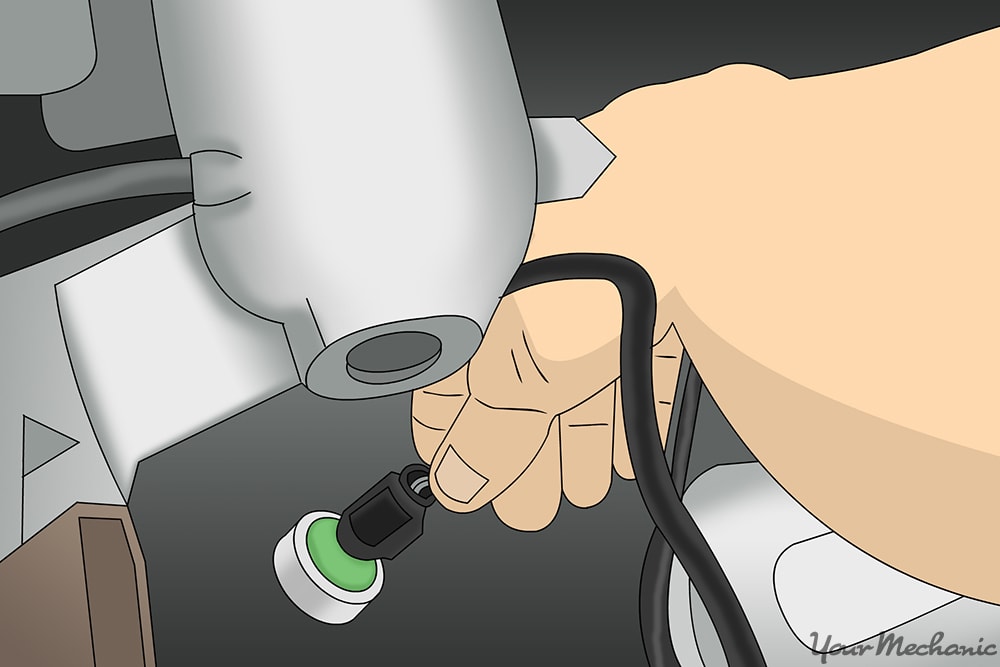
Step 3: Remove the power steering pressure switch’s electrical harness. Once you locate the power steering pressure switch, you'll need to remove the electrical harness attached to this component.
Using your fingers, press on the tabs on the sides of the electrical harness to remove it.
If the electrical harness is attached to another harness, remove the harness from that connection as opposed to the one on the power steering pressure switch. This is common with power steering pressure switches that come with a new harness.
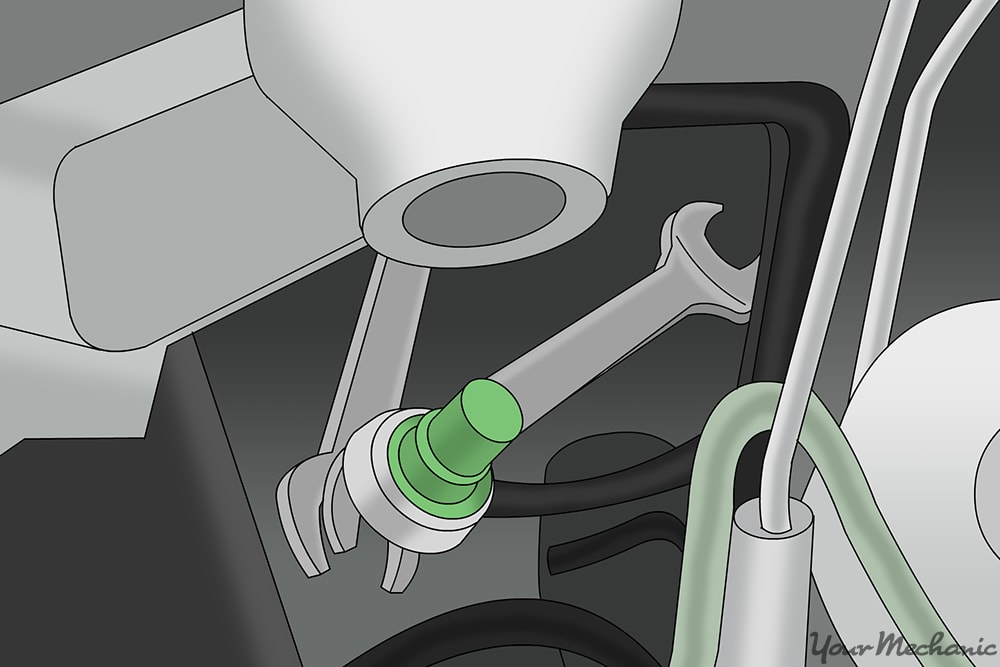
Step 4: Remove the pressure switch. If the pressure switch is attached to a hydraulic line, you'll need to use two wrenches to remove it.
Secure one side of the end wrench to the bottom of the hydraulic line and the other to the actual sensor switch.
Hold the bottom wrench in place as you loosen the top power steering pressure switch. Once you get it loose, you should be able to hand screw the power steering pressure switch off the hydraulic line.
Make sure you place rags underneath the fitting as hydraulic fluid will most likely leak.
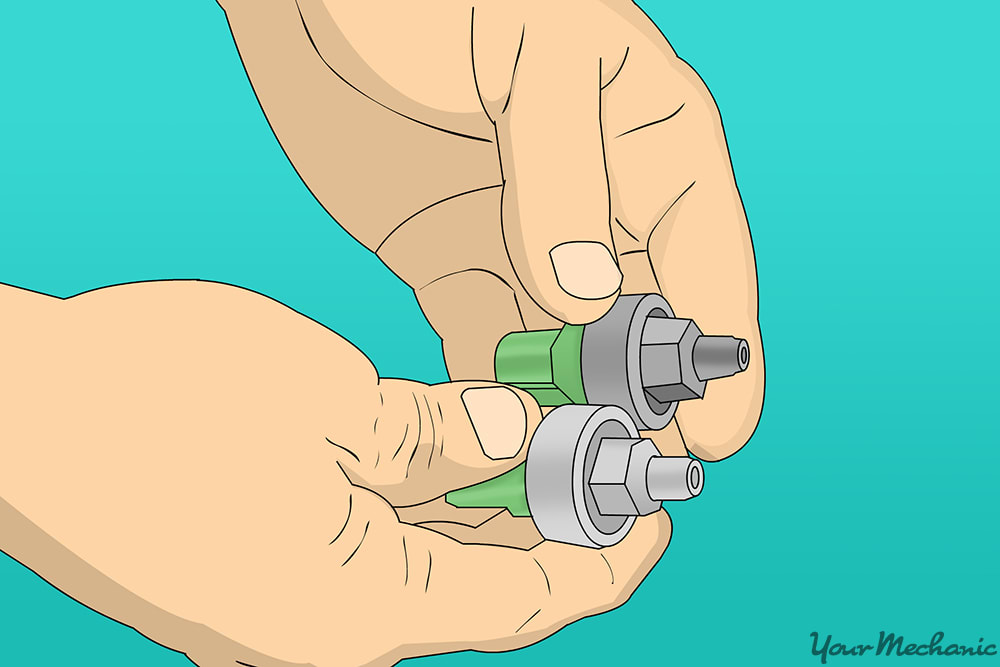
Step 5: Inspect the old and new power steering pressure switches. It's very common for auto part stores to give you the wrong power steering pressure switch.
This is why we recommend you complete a physical inspection of the old and new ones.
Make sure the following parts are exactly the same: the connection that screws into the hydraulic line or the power steering pump, and the electrical harness connection.
The color, size and shape can be different for individual aftermarket part manufacturers, but as long as the fittings are identical, it should be okay to use.
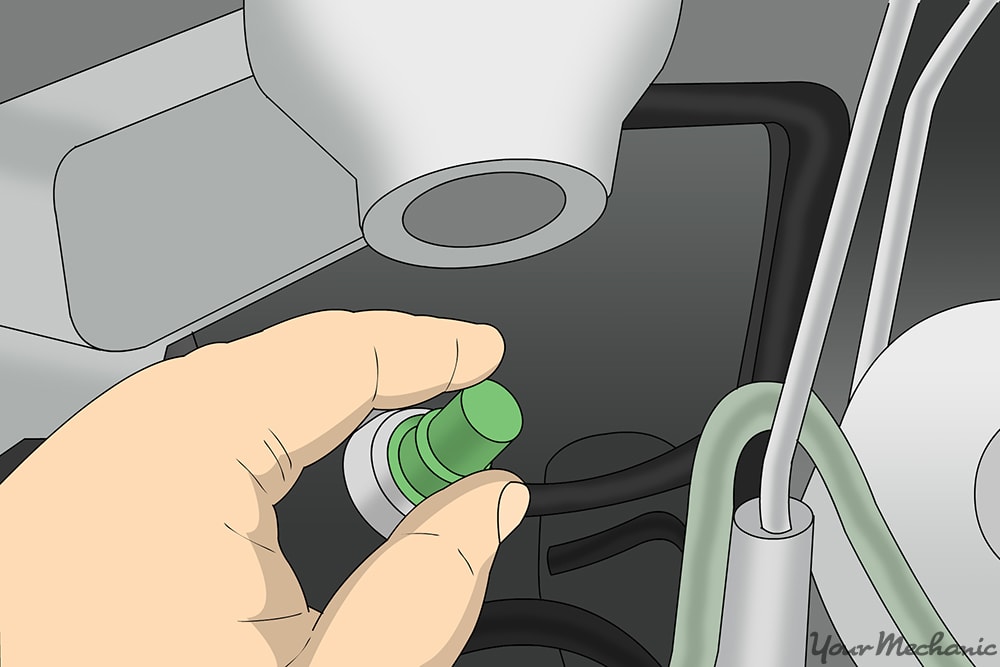
Step 6: Install the new pressure switch. Screw the new power steering pressure switch into its connection on the hydraulic lines or the power steering pump.
Once the switch is hand tight, use the two wrenches to snug the new switch. Do not over tighten this switch or it may strip.
Step 7: Reconnect the electrical harness to the sensor or the relay. Depending on what type of harness you have, make sure it's connected before you complete this job.
Step 8: Prepare the vehicle for driving. Fill the power steering fluid reservoir to the correct indicator line and reconnect the battery cables.
Step 9: Test drive the vehicle. Once the job has been completed, make sure to clear all error codes from the computer with a scan tool before you test the repair. Start the vehicle and inspect underneath for any leaks before you road test your vehicle. A quick road test of 5 miles is recommended.
If you've read these instructions and still don't feel 100% confident in completing this repair, please contact one of the local ASE certified mechanics from YourMechanic to complete the power steering pressure switch replacement job for you.


