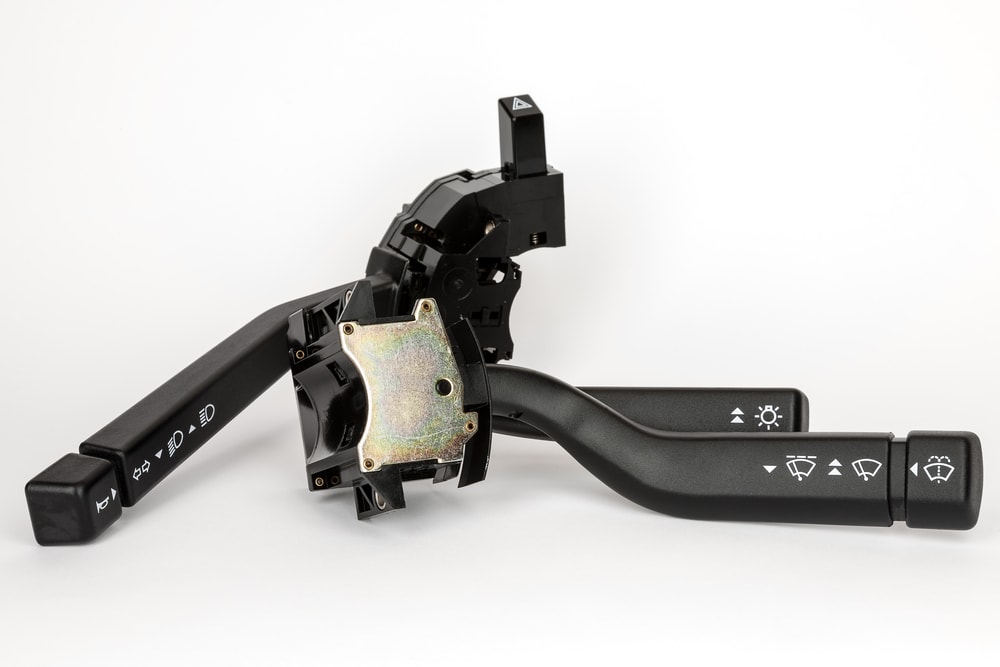

A vehicle's combination switch, also known as a multi-function switch, allows the driver to use a combination of functions at the reach of a single hand. Functions such as turn signals, windshield wipers, windshield washer, high beams, flash to pass, and in some vehicles cruise control.
A bad or failing combination switch will often show symptoms such as turn signals inoperative, hazards inoperative, or intermittently causing turn signals not to work. Making sure your lights work in general is basic safety when driving, inspecting your vehicle when you plan to drive can prevent accidents when driving.
Part 1 of 4: Accessing and removing the combination switch
Materials Needed
- Combination switch
- Dielectric grease
- Driver (1/4)
- Screwdriver - Phillips
- Screwdriver - Slotted
- Socket set (1/4) - metric and standard
- Torx Driver set
Step 1: The combination switch location. The combination switch for your vehicle is located on the right side of your steering wheel column.
Step 2: Remove the column panels. Start by removing the 2 to 4 mounting screws located underneath the steering column, some mounting screws are phillips, standard (slotted) or torx.
Step 3: After removing the mounting screws. Most steering column covers will come right off, others types may need to be separated by applying pressure to the releasing tabs that lock the two pieces together.
Part 2 of 4: Removing the combination switch
Step 1: Locate the combination switch mounting screws. The mounting screws for the combination switch, mount the combination switch to the steering column. There should be 2 to 4 mounting screws for the combination switch, some combination switches are held with clips.
Step 2: Remove the mounting screws holding the combination switch. Remove the mounting screws and set aside. If your combination switch is retained by plastic tabs, release the tabs by compressing the clips to slide combination switch out.
Step 3: Removing the combination switch. Pull the combination switch away from the column.
Step 4: Disconnect the combination switch. To disconnect the connector there will be a release tab at the base of the connector. Push in the tab and pull on the connector to disconnect.
Part 3 of 4: Installing the new combination switch
Step 1: Apply dielectric grease. Grab the connector and apply a thin even layer of dielectric grease to the face of the connector.
Step 2: Connecting the combination switch. Get the new combination switch and connect it.
Step 3: Mounting the combination switch. Line up the switch to the steering column, and set into place.
Step 4: Installing the mounting screws. Start the mounting screws by hand, then tighten using the screwdriver necessary.
Part 4 of 4: Installing steering column covers
Step 1: Installing the column covers. Place the steering column cover onto the column and start the mounting screws.
Step 2: Tighten mounting screws. Once the mounting screws are in place, use the screwdriver necessary to hand tighten.
Step 3: Test the functions. Now test the different functions your combination switch has to verify the repair is complete.
The vehicle’s combination switch is a switch made for the convenience and safety of the driver. A faulty switch could cause an accident that could have been avoided with the vehicle’s signal lights. Being sure your turn signals and other lights are in working order is safe for you and anybody around. If replacing a combination switch is something you would rather leave to a professional, consider one of YourMechanic’s certified technicians perform the replacement to do it for you.


