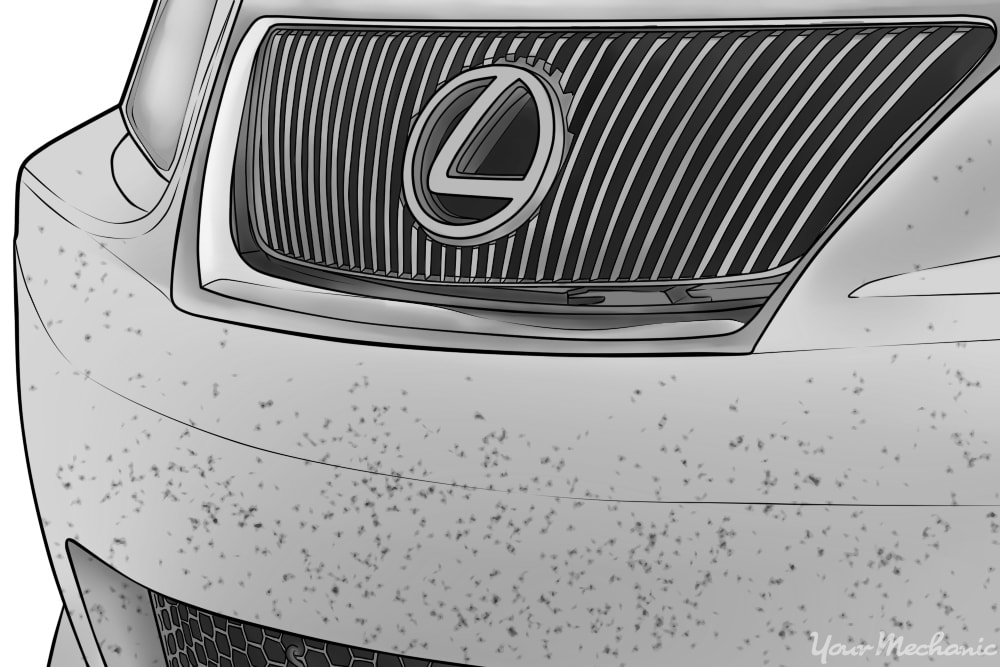

Regular, everyday driving exposes your vehicle to bugs and tar which get splattered all over your windshield, paint job, headlights, and grille. Parking your vehicle on your driveway or on the picturesque street under a shady tree can further speckle your car with sap and leaves.
The bulk of the mess on your vehicle can be easily washed off with soap and water, but tree sap, tar, and dried bug remains hold tight even after a good scrub with a wash mitt. Though it may seem like it will never come off your paint, you can remove stuck-on bugs, tar, and sap with a little effort and minimal cost.
Part 1 of 2: Washing your car
Materials Needed
- Bucket
- Car wash soap or dish soap
- Chamois
- Garden hose or pressure washer attached to a water source
- Warm water
- Wash mitt or cloth
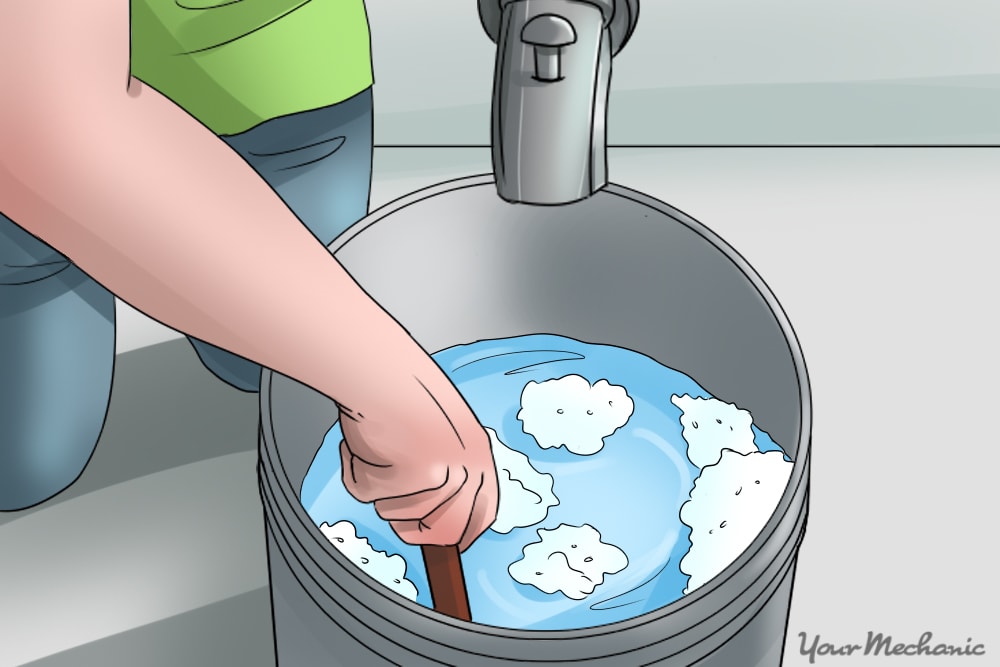
Step 1: Prepare the soap. Whenever you want to clean bug remains and sap off of your car, begin by completely washing it.
Mix your car wash soap in a bucket of warm water according to its instructions. If you’re using dish soap, mix a tablespoon of soap with a gallon of water for a sudsy mix.
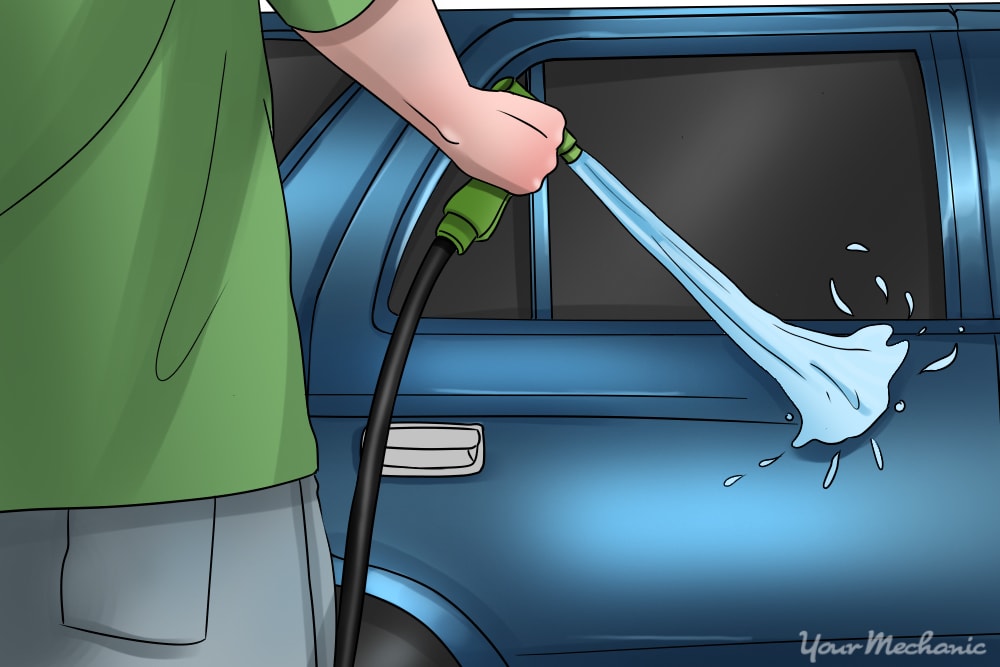
Step 2: Rinse the car. Wet down the full exterior of your car with the garden hose or pressure washer.
Your goal is to rinse off any clumps of mud, loose dirt, and loose bugs.
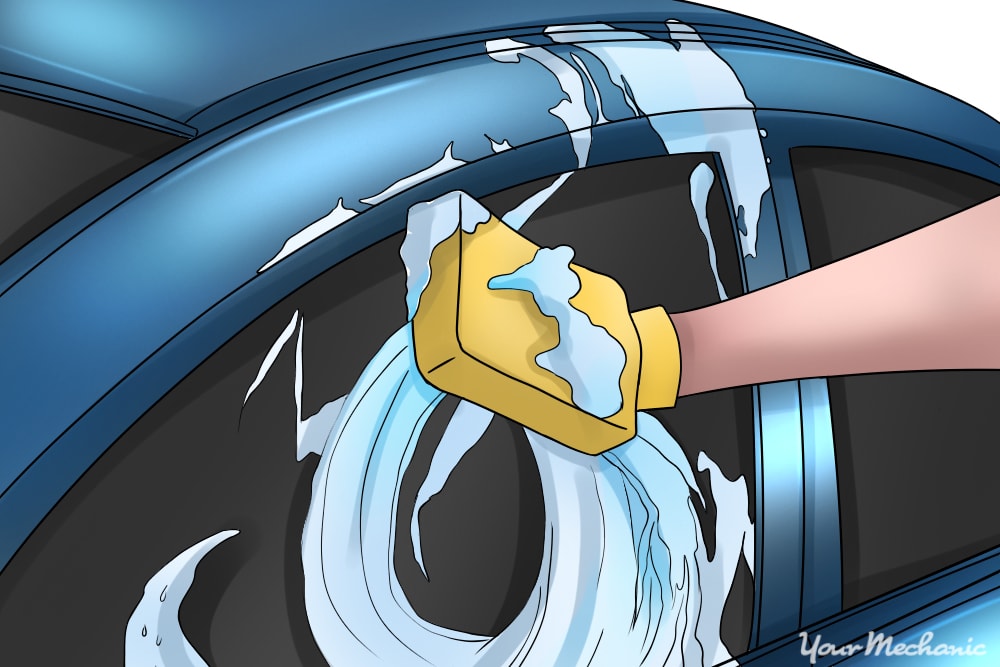
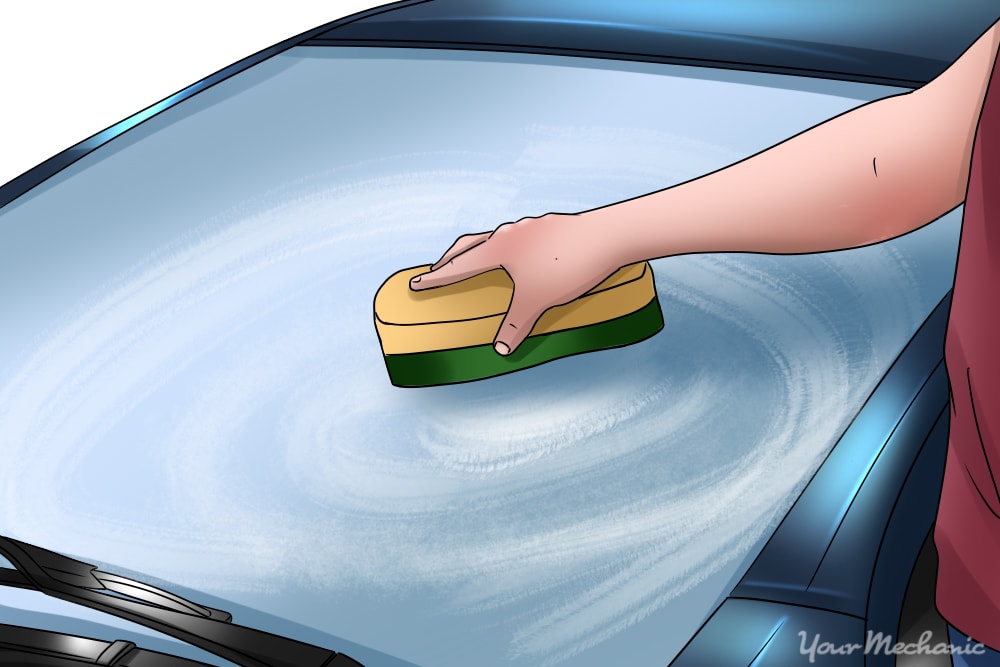
Step 3: Soap up the car. Dip your wash mitt or cloth into the soapy water and wash your car.
Wash panel by panel, working from the top down. The bottom of your car is usually the dirtiest, and beginning at the bottom will move dirt further up your vehicle, soiling it or even causing scratches. Plus, it makes your wash mitt excessively dirty which requires frequent rinsing.
Use light pressure to wash each panel, including the windows, lights, and bumpers. Pay special attention to the areas from which you want to remove stuck-on material, such as the hood, windshield, roof, and behind the wheels.
Work quickly so the soap doesn’t dry on your car. If need be, wash half your car and rinse it to prevent the soap from drying on it.
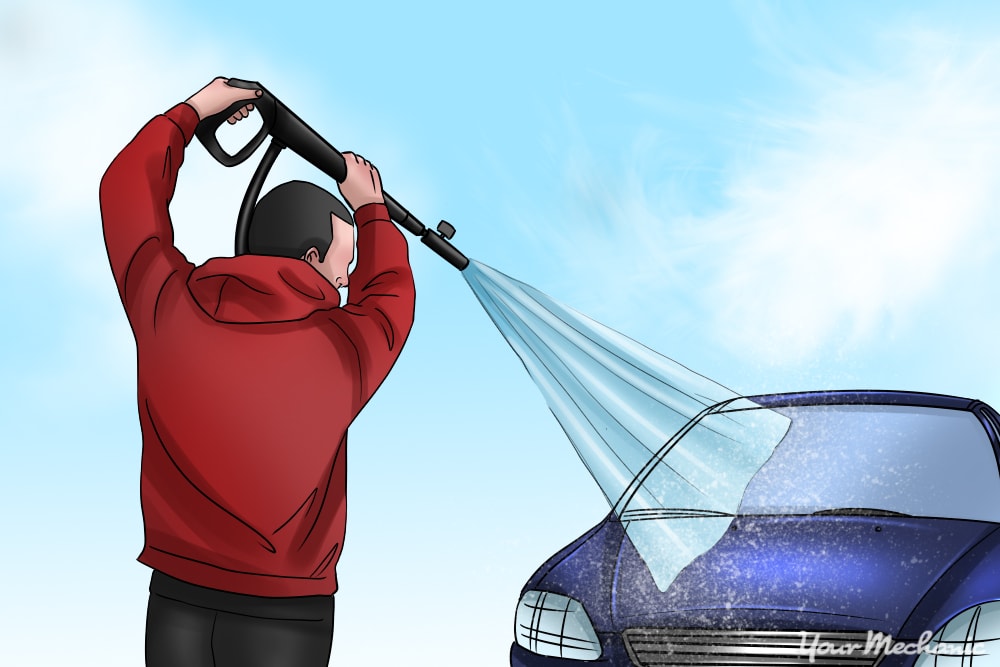
Step 4: Rinse the soap off of the car. Fully rinse your car with your garden hose or pressure washer.
Rinse from the top down so water cascading down will carry more soap with it. Keep rinsing until there are no longer suds on your car.
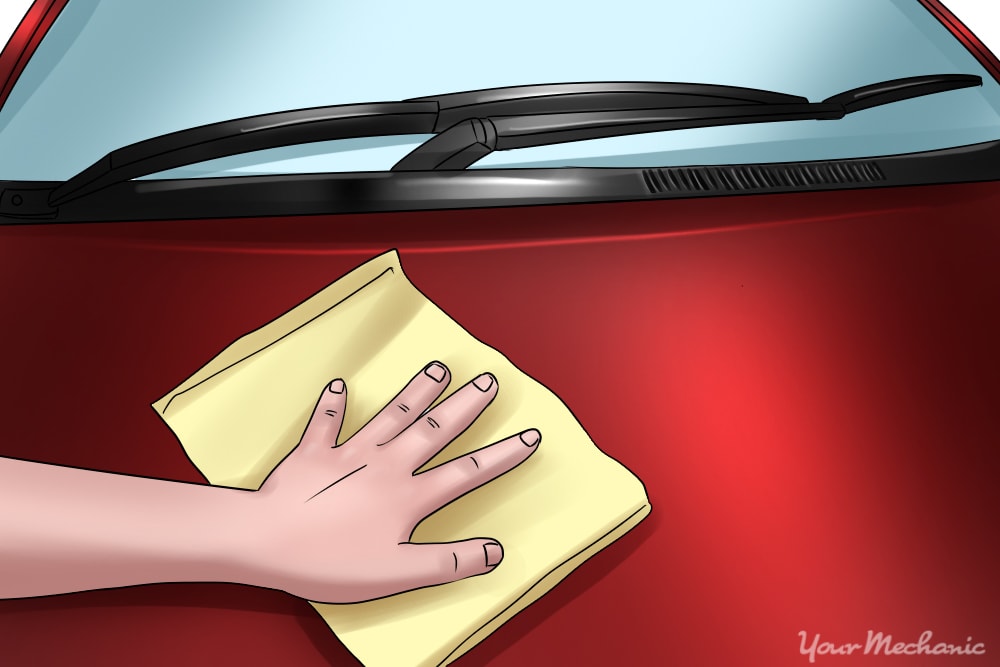
Step 5: Wipe your car dry with a chamois. Wipe each panel completely, wringing the chamois out as it gets saturated with water.
- Tip: Let your chamois soak in warm water while you are washing the car. It will become pliable and absorbent so it can be used effectively to soak up water by the time you need it to dry your car.
You’ll find that some of the bugs and sap has been removed from your car in the process of washing it. Likely there will still be some stuck-on spots that need your attention, but with a clean car you are more easily able to see where those spots are.
Part 2 of 3: Removing stuck-on bugs and sap from painted surfaces
Bugs and sap will harden onto the paint if left over time, making them extremely difficult to remove. There are several products on the market that can be used to remove stuck-on bugs and sap from your car’s paint. While these may be comprised of different materials, they all work in the same way.
- Tip: If possible, wash bugs and sap off of your vehicle within a day or two of their appearance to prevent them from hardening onto your car.
Materials Needed
- Bug and sap cleaner
- Clean cloths
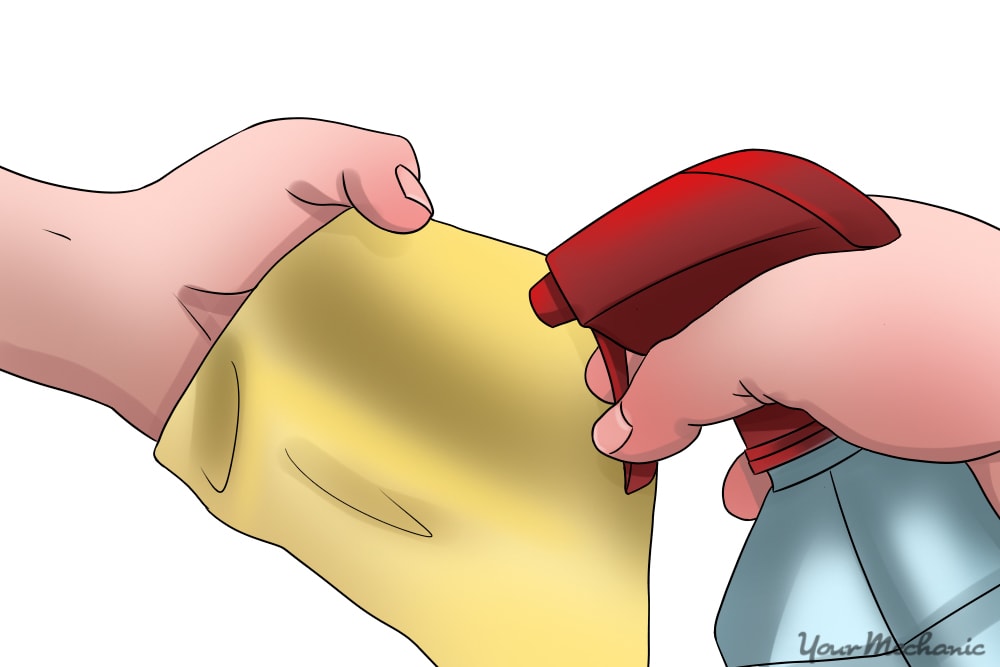
Step 1: Apply your cleaner to a clean cloth. Wet it enough so that your cloth will wipe the cleaner onto your car but that it won’t be totally saturated.
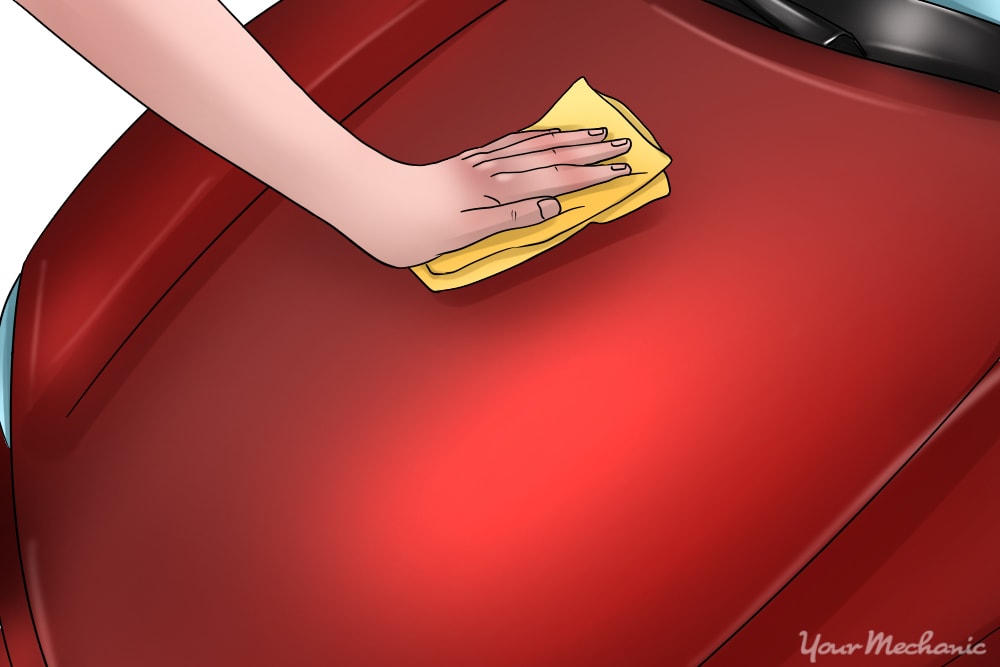
Step 2: Apply the cloth with cleaner on it to the car. Wipe the cleaner in broad swipes over the affected section of a body panel. Get the area damp so the bugs and sap will start to soften.
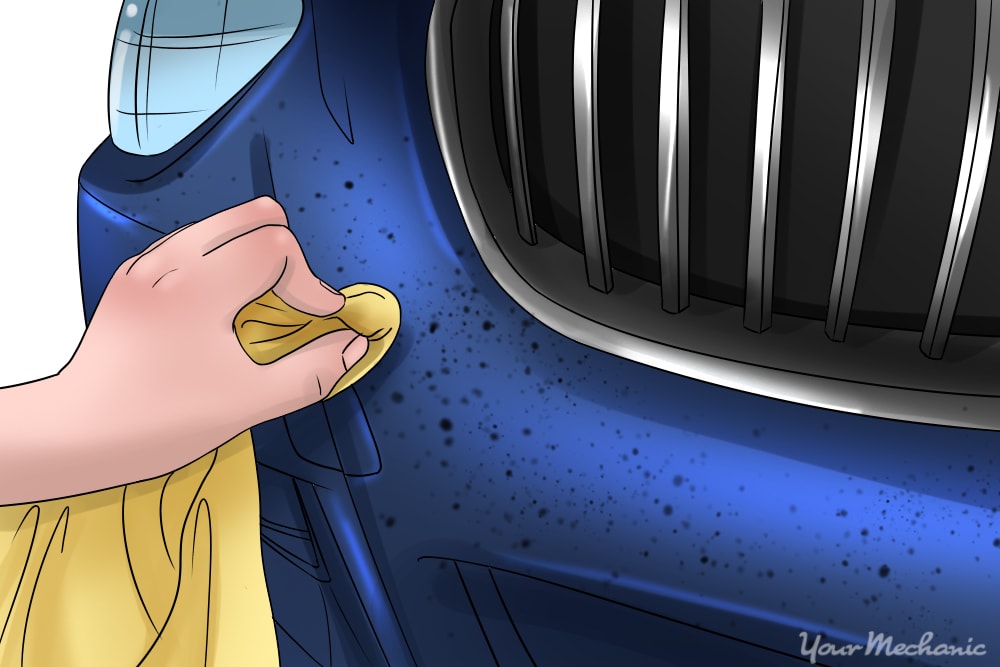
Step 3: Scrub the stuck-on spots. Using your finger in the cloth or a tightly bunched up section of the cloth, scrub the stuck-on spot with firm pressure.
The bugs and sap with come off in little bits on your cloth. As your cloth gets dirty from the residue, flip it over to use a clean section. Replace your cloth as necessary with a new one.
Continue the process over any panels that have accumulated sap and bug remains.
Step 4: Re-wash your car. Once you’ve removed all the bugs and sap from your car, re-wash it using the same technique as in Part 1.
Inspect your car to see if any bugs or sap remain. If there are still small spots remaining, perform a spot touchup using Steps 1 through 3 of this method.
Part 3 of 3: Removing bugs and sap from windows
The windows on your car are made of tempered glass. As such, they are susceptible to scratches if you use an abrasive or sharp tool to clean them without proper technique.
Many bug removers are good at removing stuck-on bugs and sap from glass as well, though they leave behind a slippery residue that can be equally as difficult to remove.
Materials Needed
- Foaming glass cleaner
- Green scouring pad, fine steel wool, or razor scraper with a new blade
- Paper towels or microfiber cloth
Among the green scouring pad, fine steel wool, and razor scraper, choose a tool to remove the stuck-on residue. Use what you have at your disposal or obtain one from the hardware store. Any one of these tools is an excellent choice for removing bugs and sap.
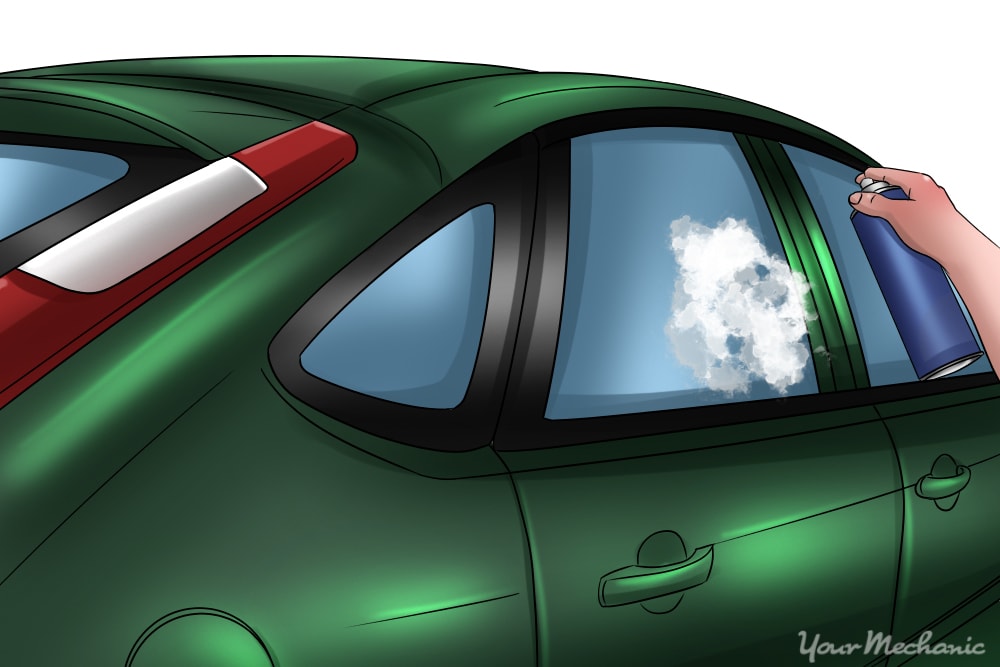
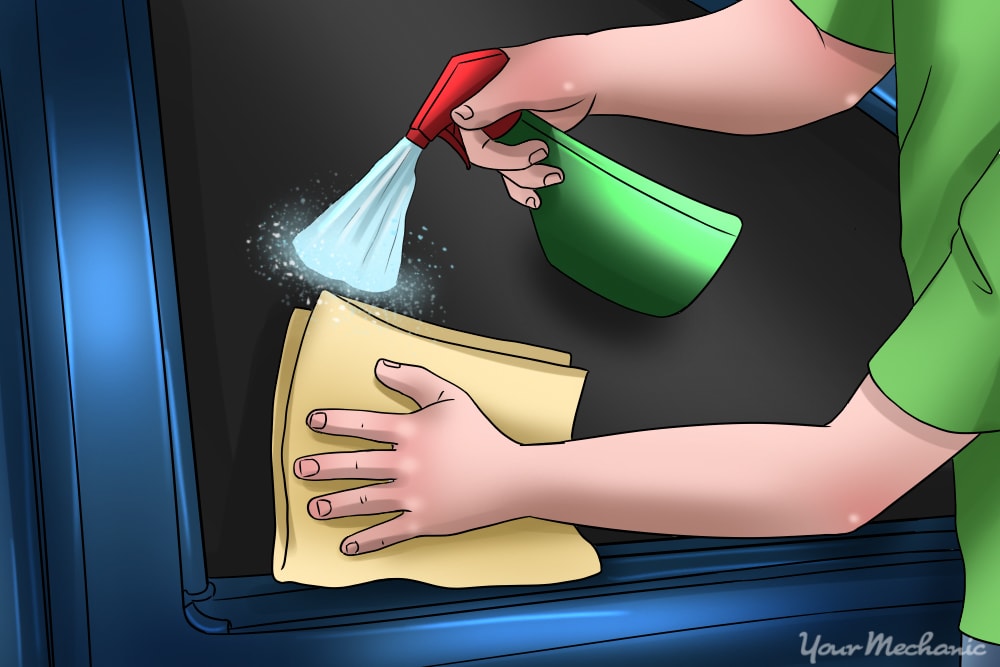
Step 1: Spray the window with foaming glass cleaner. Coat it well and let it sit on the window for 15-30 seconds before moving on to the next step.
Always work with the glass well-lubricated with foaming glass cleaner. The glass cleaner acts to prevent scratches from the abrasive qualities of the scraper or pad.
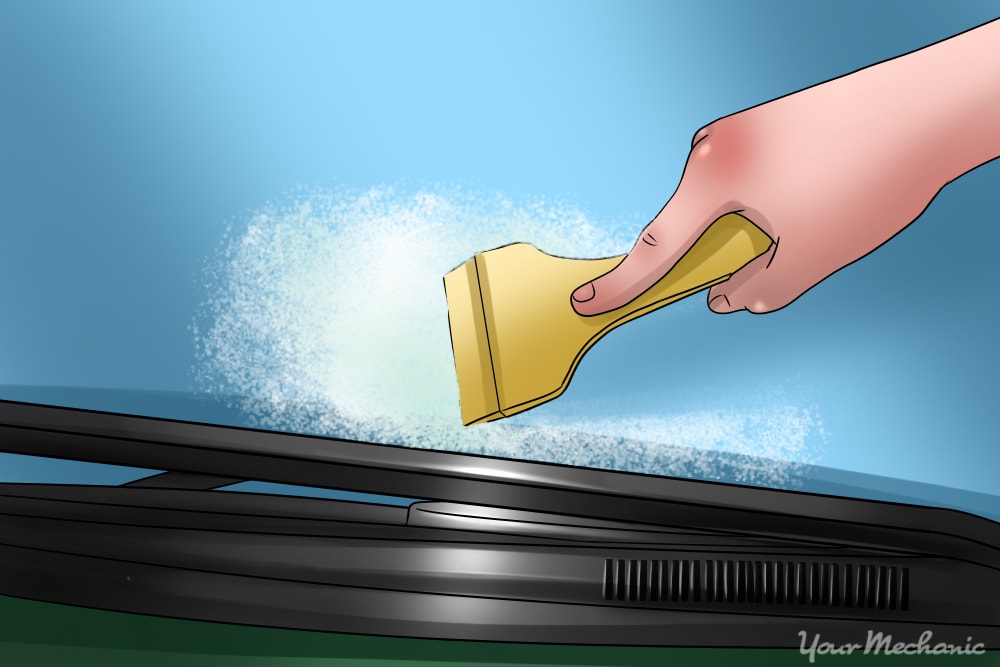
Step 2: Use your removal tool to scrape the stuck-on residue from the window. If you are using a razor scraper, keep the blade at an angle as close to parallel with the glass as possible. If it is too perpendicular, it can chatter on the glass and scratch it.
If you are using fine steel wool or a scouring pad, use very gentle pressure in a circular motion.
Step 3: Cover the whole window. Starting at a corner, work from one edge of the window across or down to make sure you cover the whole surface.
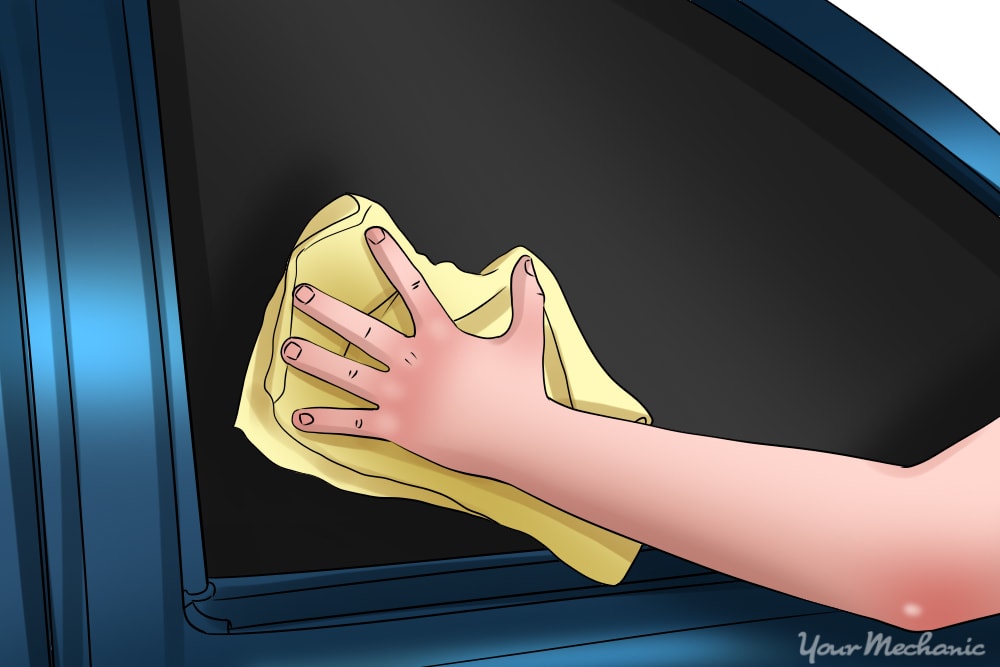
Step 4: Wipe away any loose residue. Wipe the whole window with a paper towel or microfiber cloth to remove the loosened bugs and sap.
Step 5: Clean the window with the glass cleaner and a new cloth or paper towel. Spray the foaming glass cleaner directly onto the window.
Wipe in a vertical pattern, followed by a horizontal pattern to achieve a streak-free finish. If there are streaks, repeat Step 5 again.
Step 6: Repeat on other windows as needed. Perform Steps 1 through 5 for each window that has bugs or sap on it.
Knowing the dos and don’ts of cleaning bugs and sap from your car’s painted surfaces and windows will help you to keep your car clean and looking its best without risking scratches or other damage. By following the steps and recommendations in this guide, you’ll soon be on your way to a residue-free car!


