When stones or other objects hit your windshield, they can leave damage in the form of either chips in the glass, or cracks due to impact. There are certain things that you can’t control when you drive, including, but certainly not limited to:
- Debris on the road, including stones
- The actions of other drivers
- The weather
Rocks can get stirred up by passing cars, causing them to become airborne. Heavy wind can blow debris around, and hail can cause serious damage to a car as well. Your windshield is part of your vehicle’s safety. It serves many purposes including:
- Addition of structural rigidity when you turn or drive over rough roads
- Protection from the wind so that it does not reach your your eyes at highway speeds
- Protection from bugs, dirt, stones, and road debris
- Support for the roof in the event of a collision or rollover
Your windshield is made of two layers of hardened glass that sandwich a thin plastic film. The hardening process is known as tempering.
When tempering, the glass is heated and/or cooled, making it stronger than regular glass, and the plastic layer in-between the glass layers adheres, which is known as lamination. Altogether, this is known as tempered laminated glass.
When you see stone chips or cracks in your windshield, it is just the outside layer that is damaged. These chips and cracks can be repaired using resin that minimizes the appearance of the damage and repairs its structural integrity.
Method 1 of 3: Have the damage professionally repaired
Many insurance policies cover windshield repairs at no cost to the policyholder. This varies depending on carrier and the type of policy you have.
Step 1: Check your coverage with your insurance agency. Ask your agent if your policy covers no-charge windshield repairs.
Step 2: Find a glass repair facility. If your policy covers no-charge windshield repairs, bring your vehicle to a glass repair facility.
Confirm that the repair shop will bill your insurance company directly. If they don’t directly bill, find another shop or check with your insurance agent to find out whether the cost will be reimbursed to you.
Step 3: Get the glass damage repaired. Most stone chip or crack repairs take less than an hour to complete.
Method 2 of 3: Repair your windshield chip yourself
If your insurance policy doesn’t cover windshield repairs at no charge, or if you simply prefer to do your vehicle repairs yourself, you can do so with a little time and a few inexpensive supplies.
Materials Needed
- Clean cloth
- Glass cleaner
- Mirror
- Nitrile gloves
- Razor blade
Tip: For your windshield repair, park your vehicle out of the direct sunlight and in a warm environment. Ideally, you want to work in a temperature of 60 degrees Fahrenheit or higher.
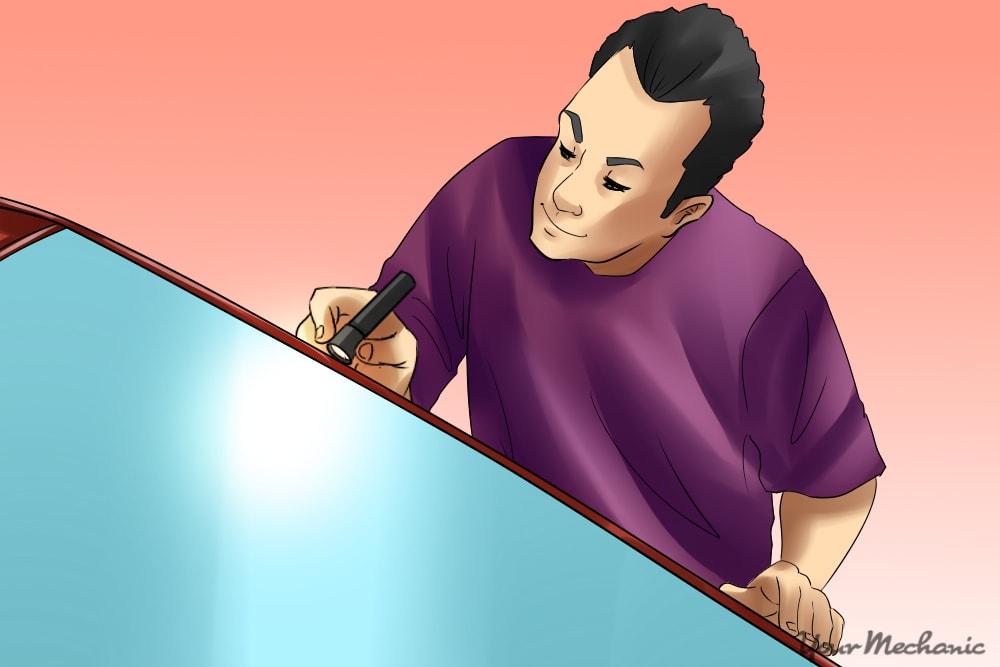
Step 1: Clean the repair spot. There will be a pin or tack included in the kit. You can use this to scrape the impact point clean.
Then, remove any loose glass or dirt that may be in the chip. If there is anything else remaining when you insert the resin, it will be permanently part of your windshield.
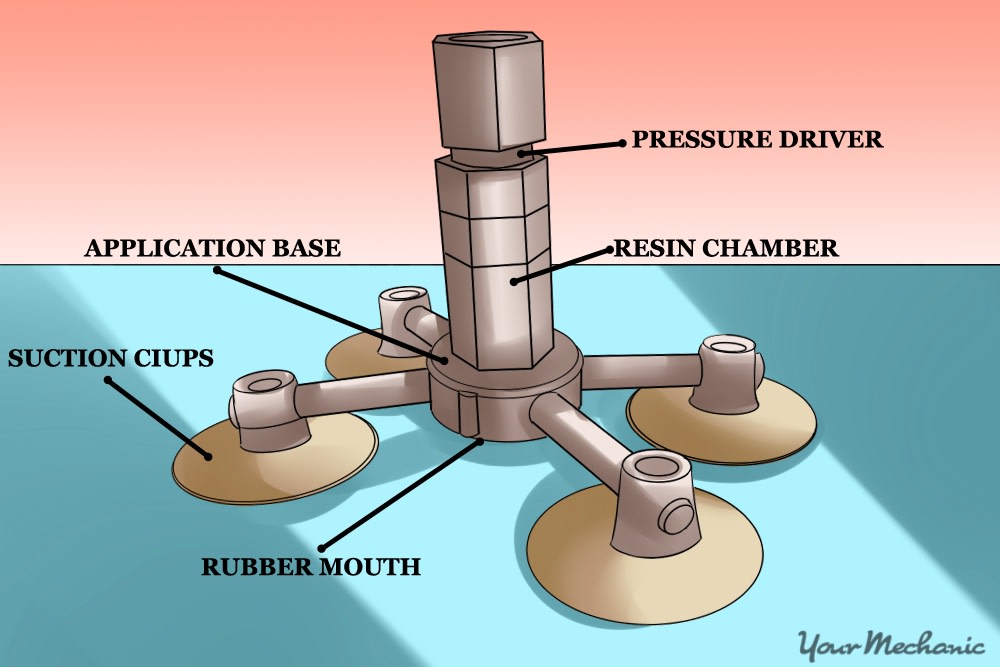
Step 2: Install the bridge apparatus. A bridge apparatus should be included in the windshield repair kit is. It is equipped with suction cups to adhere the bridge to the windshield temporarily.
The bridge has a ring that must be installed directly over the chip, bullseye, or star in the windshield.
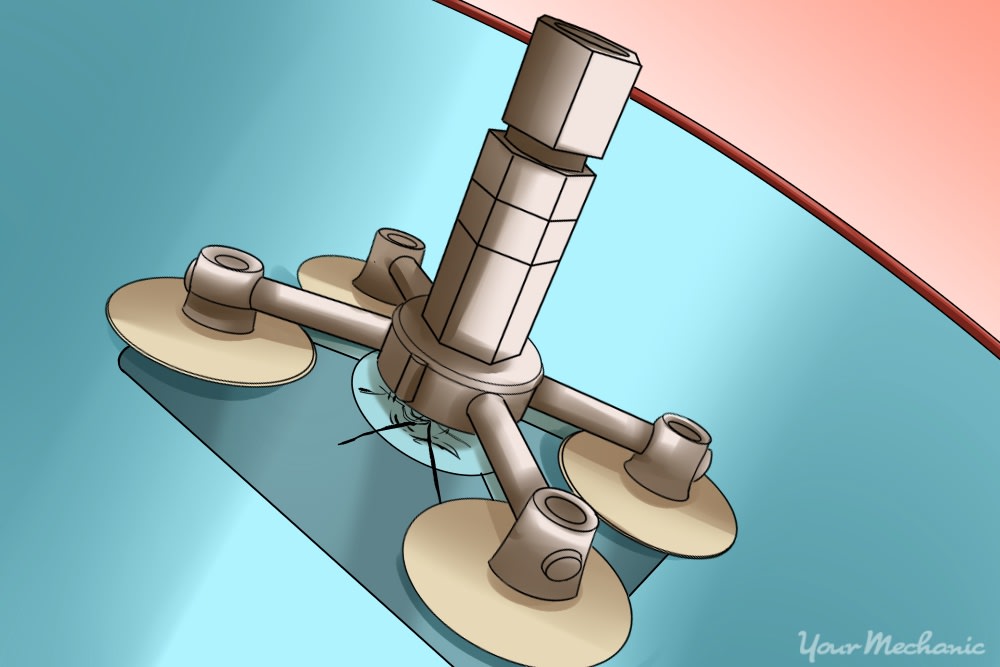
Place a mirror on the dash so you can see if the ring is centered properly from the inside of the windshield.
Press the suction cups firmly in place.
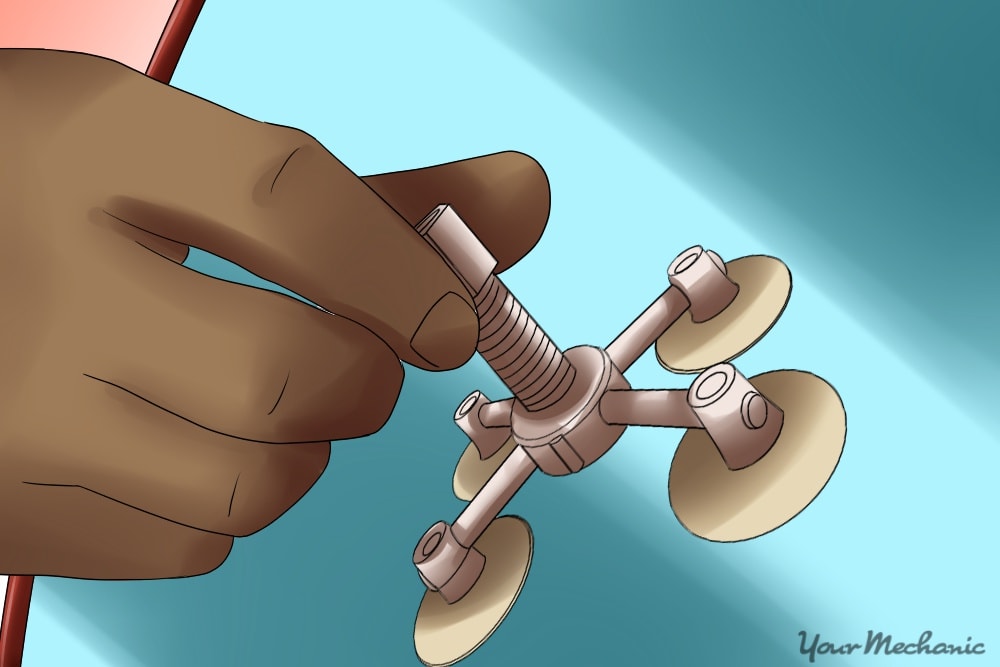
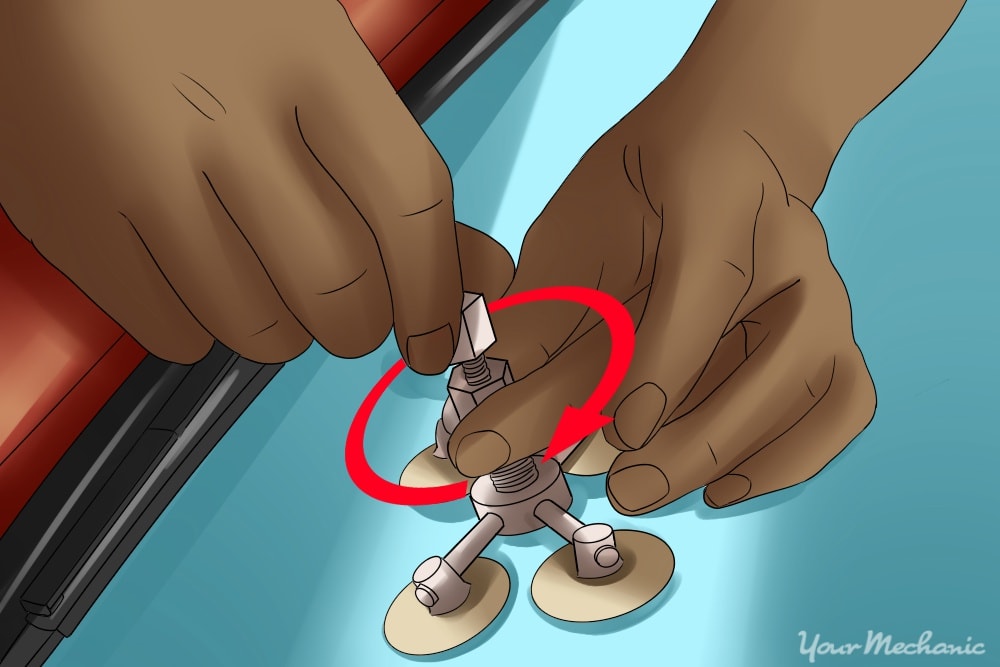
Step 3: Screw in the resin chamber. The resin chamber has a rubber mouth on the bottom that will press against the glass.
Tighten the resin chamber just enough that the rubber mouth is flat against the windshield glass, ensuring a tight seal.
Warning: Excessive pressure can cause the windshield to crack further. Tighten the resin chamber slowly and carefully.
Tip: Wear nitrile gloves to prevent resin from drying to your hands.

Step 4: Put 3-6 drops of resin into the resin chamber. Use the resin dropper in the window repair kit.
If the glass damage is smaller than a dime, put only 3 drops in. If the damage is quarter-sized, increase the application to 6 drops.
If resin leaks out past the rubber mouth, tighten the resin chamber slightly until the leak stops.
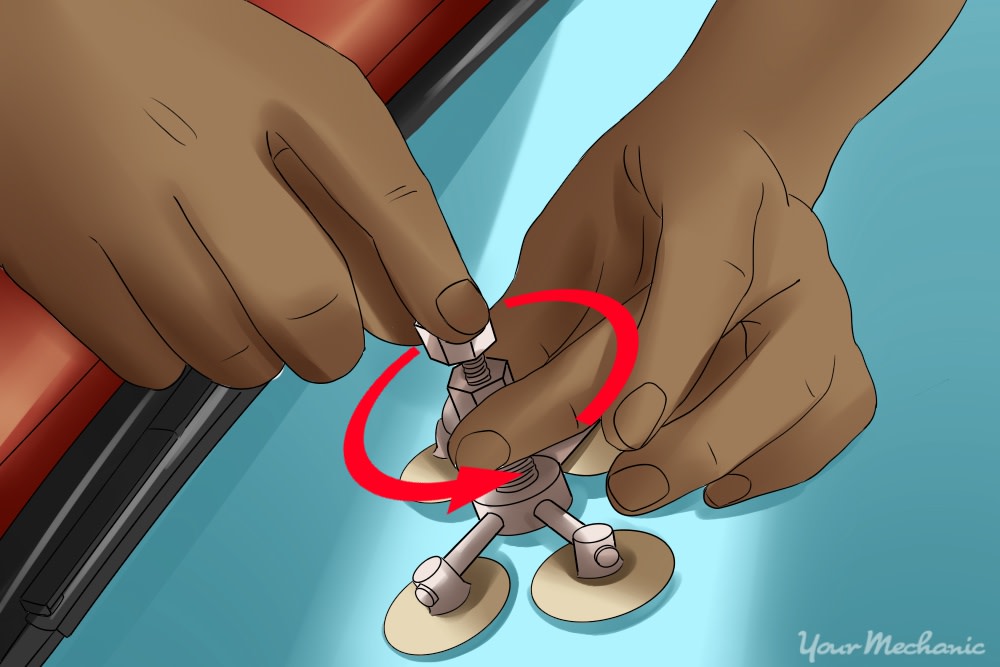
Step 5: Insert the resin driver. The resin driver essentially applies pressure on the resin in the chamber, forcing it into the chip, bullseye, or star in the windshield.
Tighten the driver until it is almost all the way in. You will feel increased resistance as you tighten the driver.
Step 6: Allow the resin to cure. Wait 4-6 minutes for the resin to push into the windshield voids.
You’ll be able to see the damage slowly become less visible as the resin moves into the damage.
- Tip: If the resin doesn’t reach all the way to the end of the damage, you can apply slight heat to the inside of the windshield with a hair dryer or heat gun. Use caution as excess heat will cause the crack to worsen, requiring windshield replacement instead of repair.
Step 7: Loosen the resin driver. Loosen the resin driver, releasing any air that was displaced from the windshield void.
Step 8: Tighten the resin driver in fully. After releasing any air, inspect the windshield at a 45 degree angle to see if resin has permeated all the way into the damage.
Untouched areas will appear black or greenish.
If there are unrepaired spots, repeat Steps 4 and 5 until they dissipate.
Step 9: Remove the bridge assembly from the windshield. You can now remove the bridge assembly. Loosen the resin chamber a half-turn to release pressure on the windshield.
Be ready with a cloth to catch any drips that may run down the windshield.
Step 10: Add a drop of resin. Apply a drop of resin to the impact point on the windshield.

Cover the drop of resin with a curing strip. It is a piece of plastic that will ensure the resin dries flat.
Step 10: Cure the resin. The resin is cured by UV light. Park your car in the sunlight for 5-10 minutes if possible.
Step 11: Remove excess resin. Test if the resin is dry with the pin or tack.
If the resin is dry, pull the curing strip off once the resin is dry.
If the resin is not yet dry, give it some more time until it has dried out. If there was an excessive amount of resin used, you can carefully remove it by dabbing it off with a cloth.
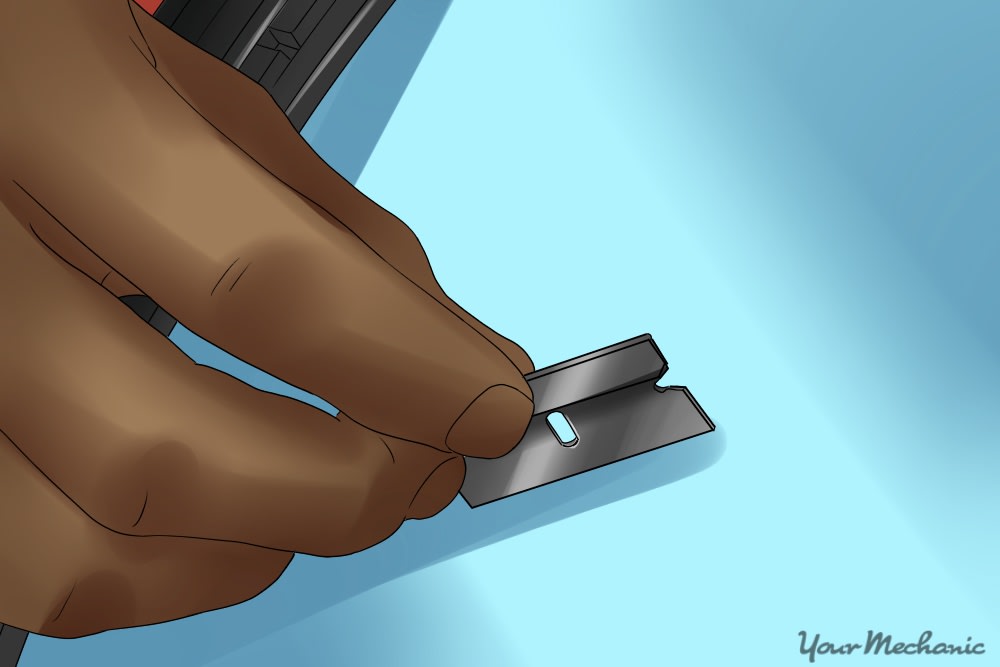
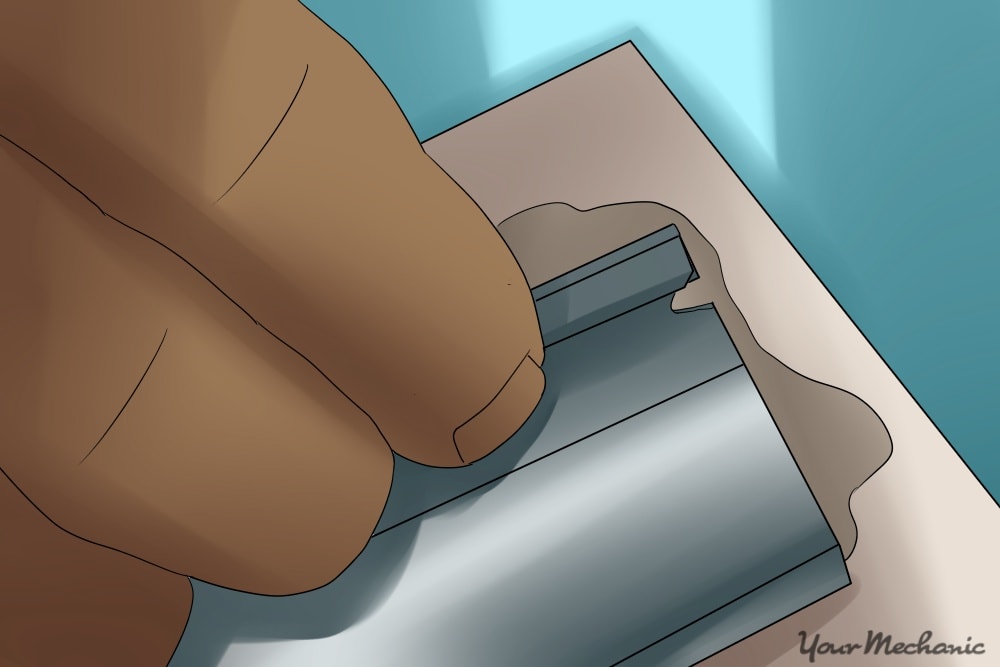
Scrape excess resin from the windshield with a razor blade held at a 90 degree angle.
The resin will scrape off as a white powdery substance. When no more resin scrapes off, the repair is complete.
Step 12: Clean the windshield. Clean the outside of the windshield with glass cleaner and a clean cloth to remove handprints and marks left by the bridge.
Method 3 of 3: Repair a windshield crack yourself
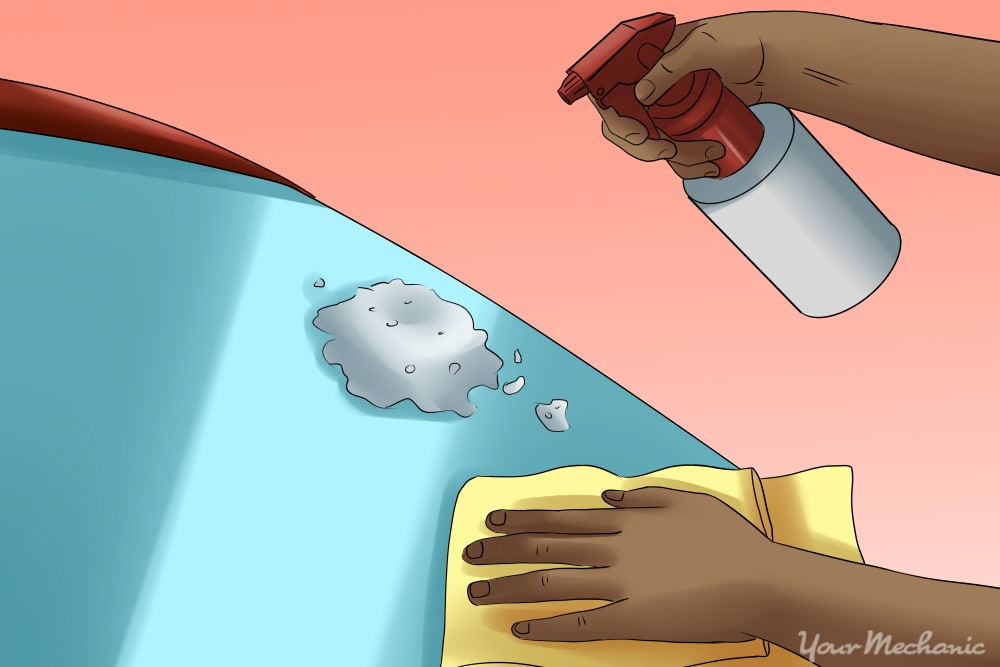
Step 1: Clean the windshield thoroughly with glass cleaner. Wipe dry with a lint-free cloth.
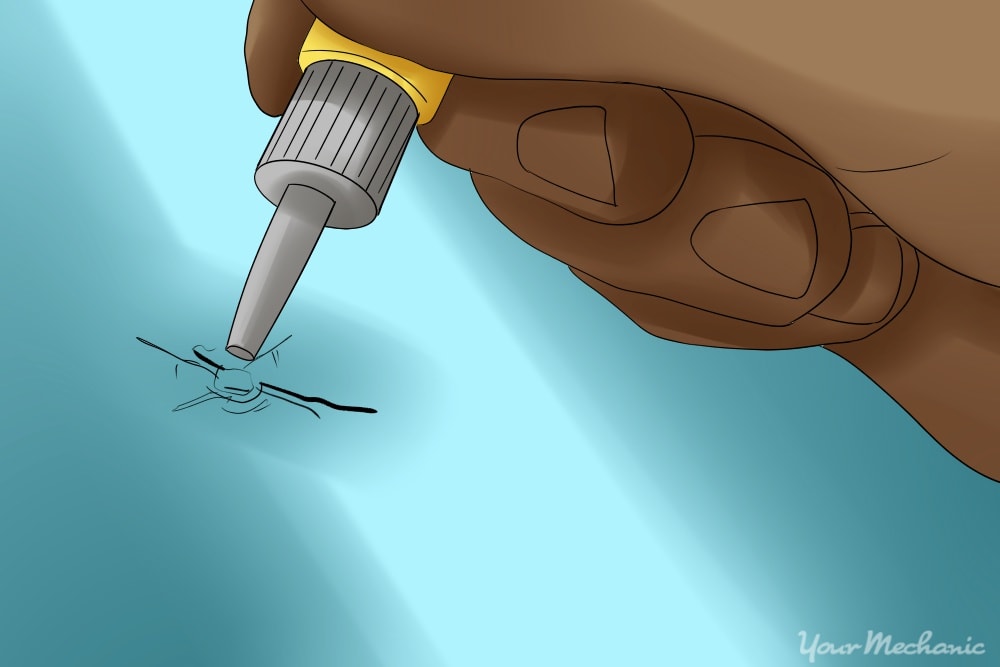
Step 2: Apply resin to the crack directly from the tube. Move slowly along the crack, making sure that you don’t miss spots with the resin.
Move along the crack with the resin only as quickly as the resin is absorbing into the crack.
Any missed spots could seal in an air pocket that will remain visible.
Step 3: Inspect along the crack at a 45 degree angle. Any air pockets will appear as black or green. Touch up these spots with resin directly on top of them.
Step 4: Allow the resin 5-10 minutes to cure. Allow the resin to sit for 5-10 minutes to allow it to cure.
Step 5: Apply more resin. Apply another thin bead of resin on top of the crack along its whole length.
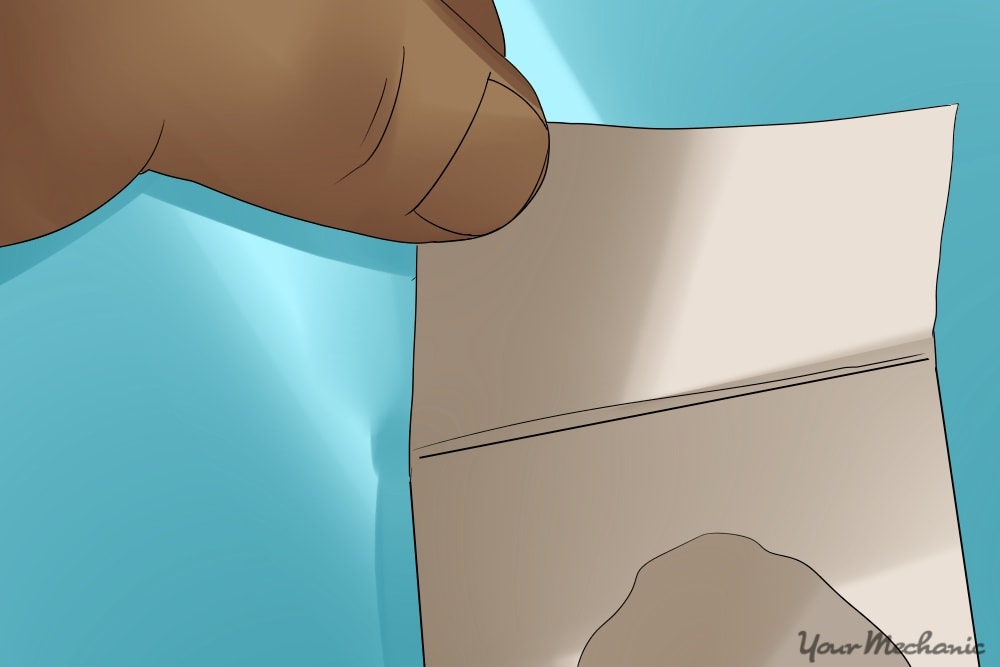
Step 6: Cover the resin with curing strips. Using curing strips, cover the window’s crack.
Gently lay the curing strips overtop of the resin. There’s no need to apply pressure.
Step 7: Let the resin cure for 10 minutes. Allow the resin to sit for 10 minutes to cure the glass.
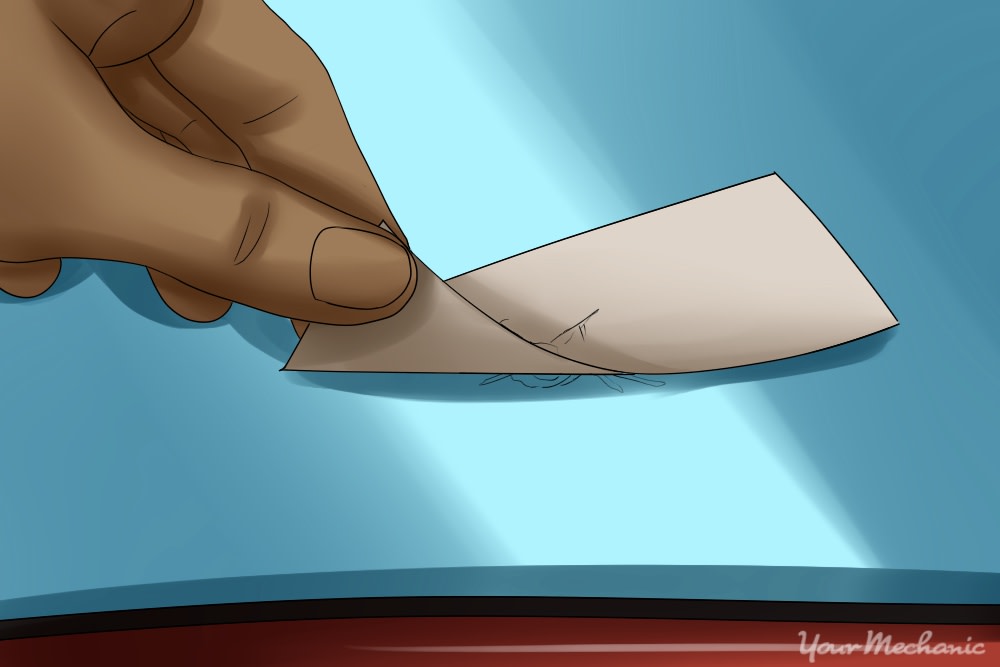
Step 8: Remove excess resin. Pull off the curing strips carefully, making sure resin doesn’t come off as well.
Scrape the excess resin off with a razor blade held at a 90 degree angle.
Step 9: Clean the windshield. Clean the windshield with a glass cleaner and a lint-free cloth.
Removing cracks and chips on your windshield can help improve visibility during your driving and also improve the appearance of your car. If you are not in the market for a full windshield replacement, self-repair of your window damage can be the next best thing.
