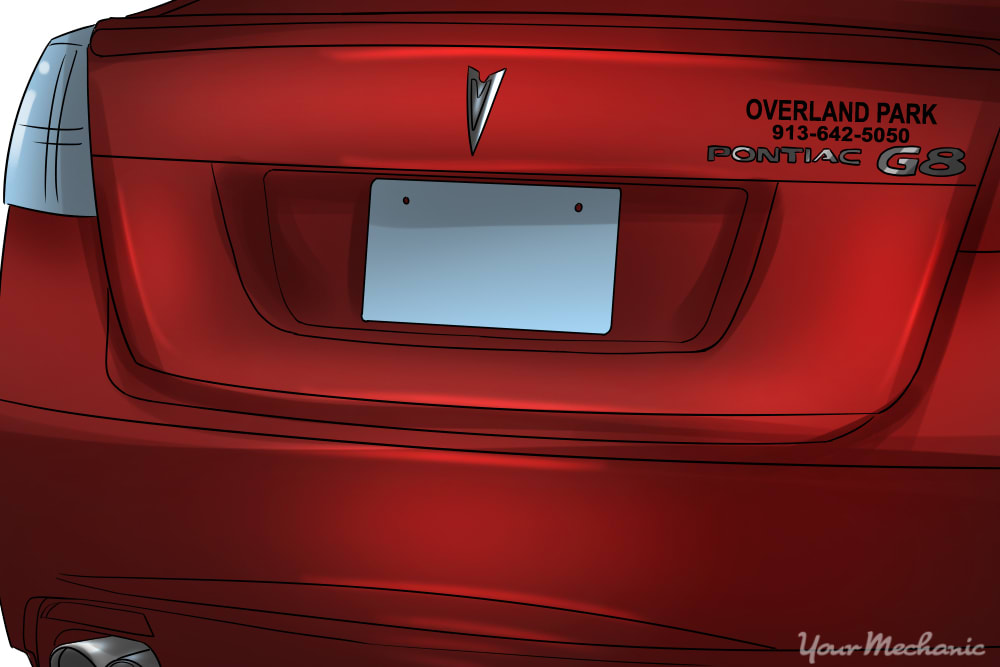

Car dealerships sometimes add their own logo onto the backs of cars as a sort of label that advertises to everyone else on the road where the vehicle was purchased. Most people leave these logos on their vehicles, as they are not overly obtrusive. For others, however, these logos are an unwelcome addition.
Luckily, removing these labels is not a very complex process, as they are not really part of the car’s paint and sit on top of the clear coat. In some cases, the logo is just a clear sticker with a logo printed on it. With patience and the right tools, it is possible to remove the logo(s) and make it look like they were never there in the first place.
Method 1 of 2: Removing large stickers
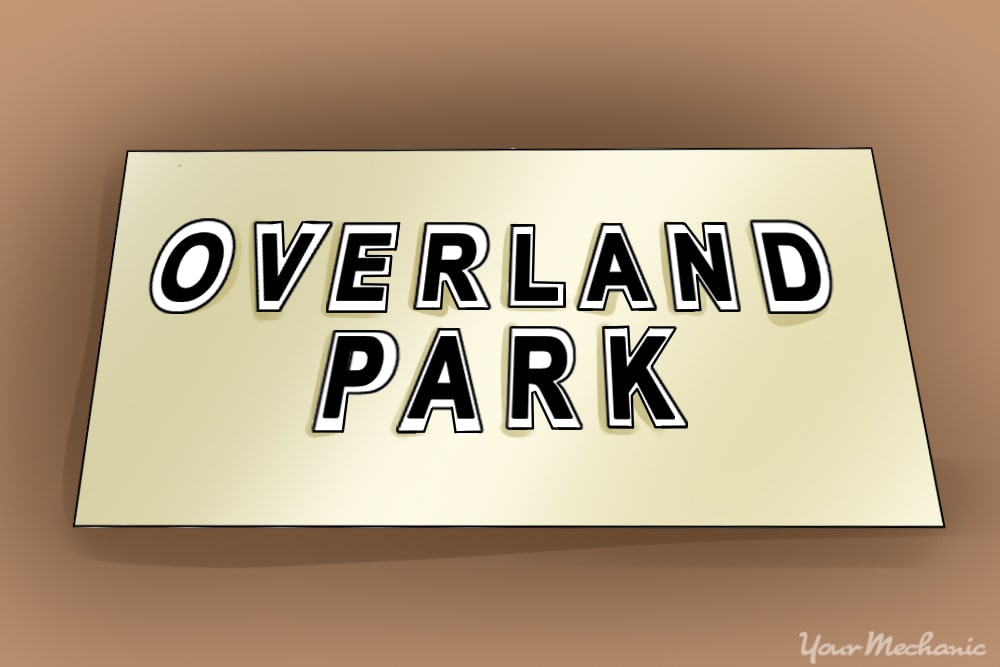
Many dealership logos are simply printed onto a large, rectangular, clear sticker that is then applied to the cars on the lot. These are the most straightforward to remove and depend more on patience than precision. Simply grabbing a corner of the sticker and ripping it off will either cause the sticker to break or leave a large amount of residue on the paint. Doing it correctly will completely erase any trace of the sticker.
Materials Needed:
- Blow dryer or heat gun
- Car soap
- Cloth or rag
- Goo Gone or WD40
- Hose
- Plastic card
Sponge
Note: The plastic card will not be damaged, though adhesive residue may get on the card. Look for an old membership card or expired ID for this purpose.
Step 1: Wash the area around the sticker bearing the logo. Any dust or dirt on the paint will cause scratches when removing the leftover adhesive after the sticker is removed.
Car soap that has been specialized for use on vehicle exteriors will clean off any dirt and dust that will otherwise scratch the paint. Other soaps may damage the paint or leave residue behind.
Rinse the area off before using a sponge to apply the car soap, mixed with water, to the rear of the car.
Use a hose to wash off all of the soap, then allow the area to dry before continuing.
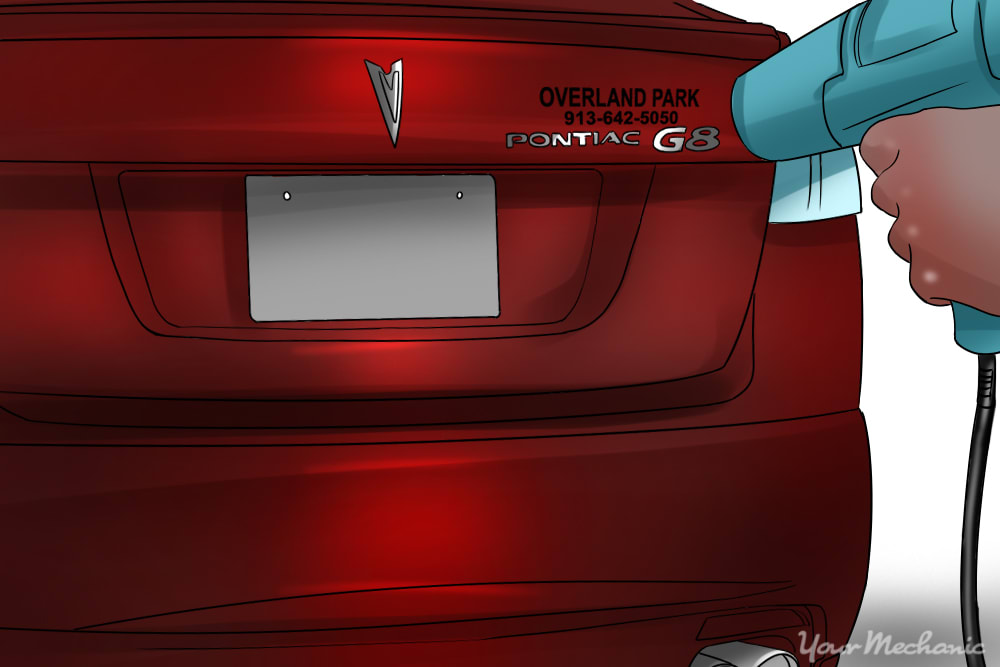
Step 2: Warm the sticker. Once the area is clean and dry, you can begin to warm up the sticker bearing the logo.
If you are using a hair dryer, turn it up to the highest heat setting and hold it 4-6 inches away from the surface of the sticker.
If you are using a heat gun, use low to medium heat so as not to damage the paint or melt plastic pieces. Hold the gun 6-8 inches away from the surface of the sticker.
Sweep back and forth over the sticker for about 3 minutes or until the sticker is warm and soft to the touch.
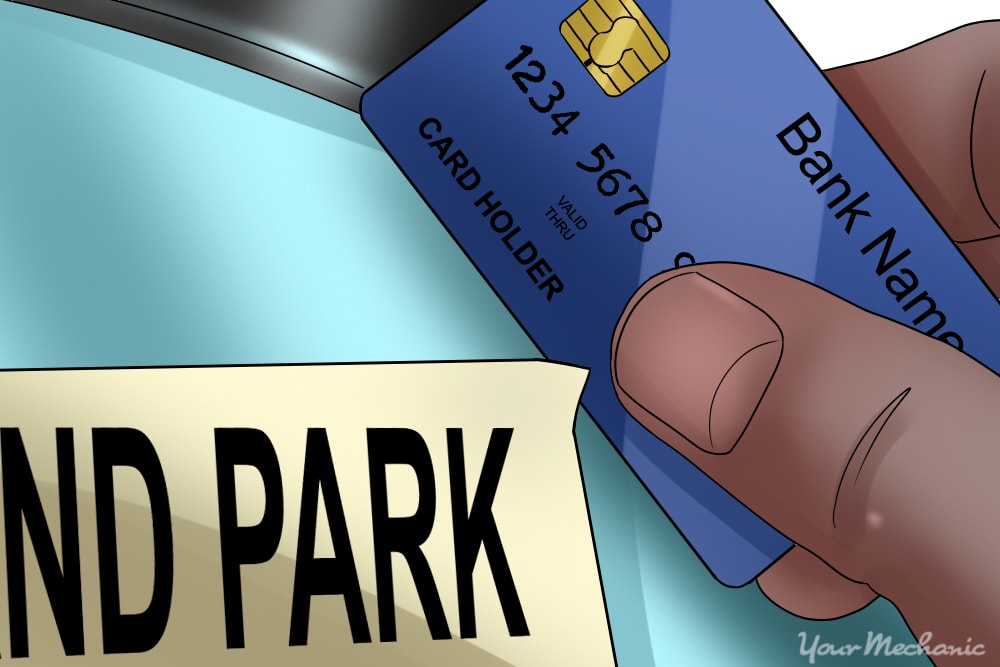
Step 3: Remove the sticker. Take your plastic card and push the edge of it against one corner of the sticker. After a moment, the corner should begin to separate from the surface of the panel.
Grabbing this corner between your two fingers will give you something to hold onto while slipping the credit card behind the sticker. Pull gently on the sticker while working the card carefully back and forth, peeling the sticker off a small amount at a time.
If the sticker cools off and becomes difficult to peel, heat the remaining section further before continuing to remove the sticker.
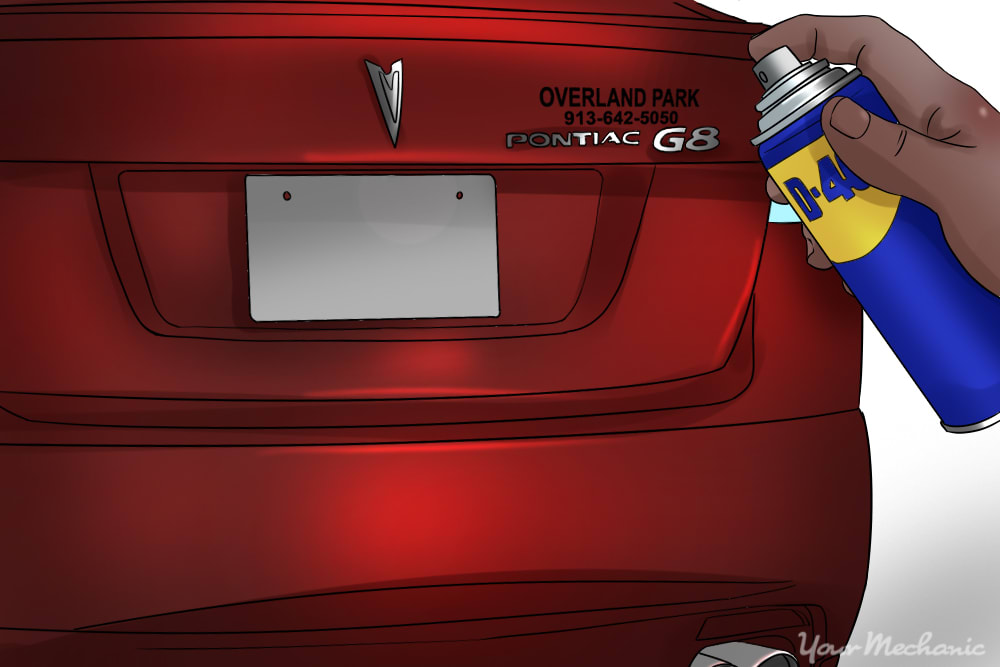
- Tip: If the card keeps getting stuck in the adhesive, spray it with some WD40 before continuing.
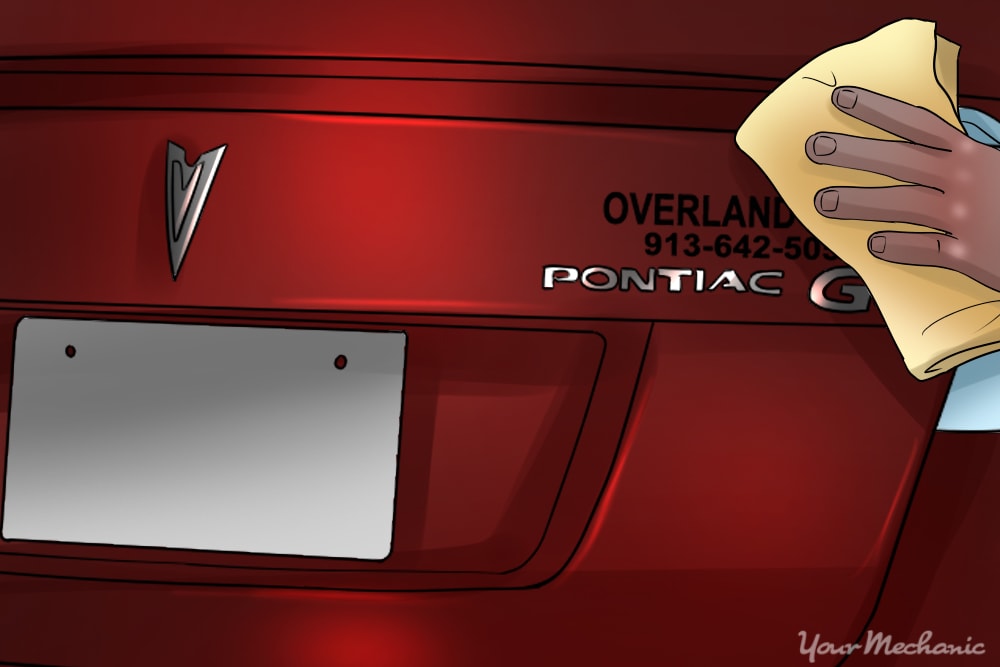
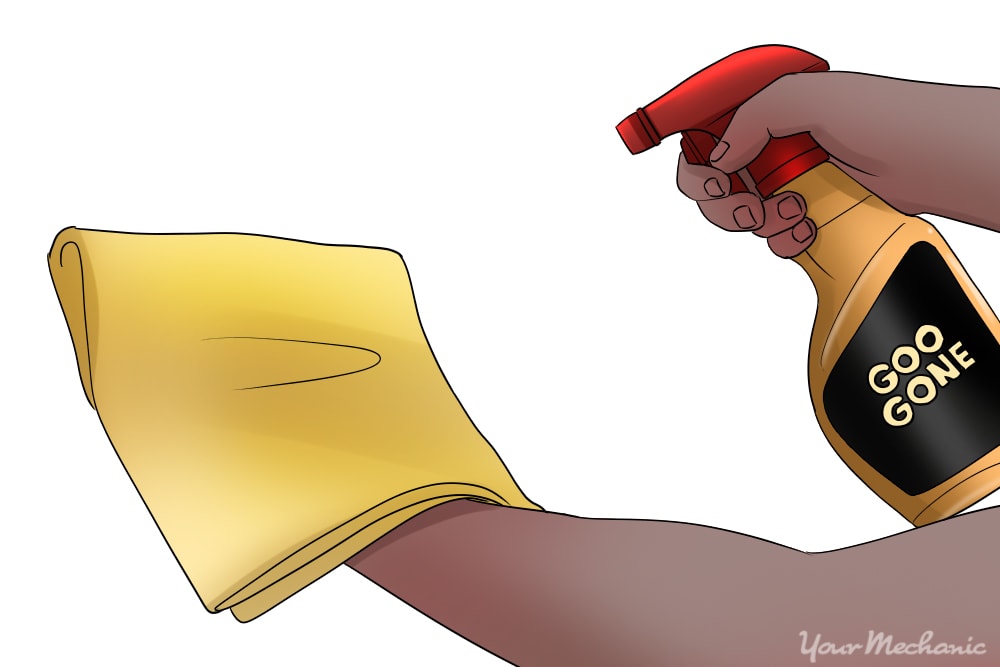
Step 4: Scrub off the remaining adhesive residue. With the sticker fully removed, spray the adhesive residue left on the paint with WD40 and use a cloth to scrub it off until there is no more adhesive remaining.
Goo Gone can be used for this purpose as well; the difference is that you will apply the Goo Gone to the cloth itself before scrubbing off the adhesive residue.
Method 2 of 2: Removing laser-cut stickers
Some dealership logos are printed as laser-cut stickers that make each letter or character its own individual sticker. These are especially frustrating to remove, as larger logos can be comprised of dozens of small pieces. Despite that, the process of removal is very similar to that of larger stickers.
Materials Needed:
- Blow dryer or heat gun
- Car soap
- Cloth or rag
- Goo Gone or WD40
- Hose
- Plastic card
- Plastic tweezers
- Sponge
Step 1: Wash the area around the sticker bearing the logo. Any dust or dirt on the paint will cause scratches when removing the leftover adhesive after the sticker is removed.
Car soap that has been specialized for use on vehicle exteriors will clean off any dirt and dust that will otherwise scratch the paint. Other soaps may damage the paint or leave residue behind.
Rinse the area off before using a sponge to apply the car soap, mixed with water, to the rear of the car.
Use a hose to wash off all of the soap, then allow the area to dry before continuing.
Step 2: Warm the sticker. Once the area is clean and dry, you can begin to warm up the sticker bearing the logo.
If you are using a hair dryer, turn it up to the highest heat setting and hold it 4-6 inches away from the surface of the sticker.
If you are using a heat gun, use low to medium heat so as not to damage the paint or melt plastic pieces. Hold the gun 6-8 inches away from the surface of the sticker.
Sweep back and forth over the sticker for about 3 minutes or until the sticker is warm and soft to the touch.
Step 3: Remove the sticker. After the area is clean and dry, and once the sticker has been sufficiently heated, then the process of removal can begin.
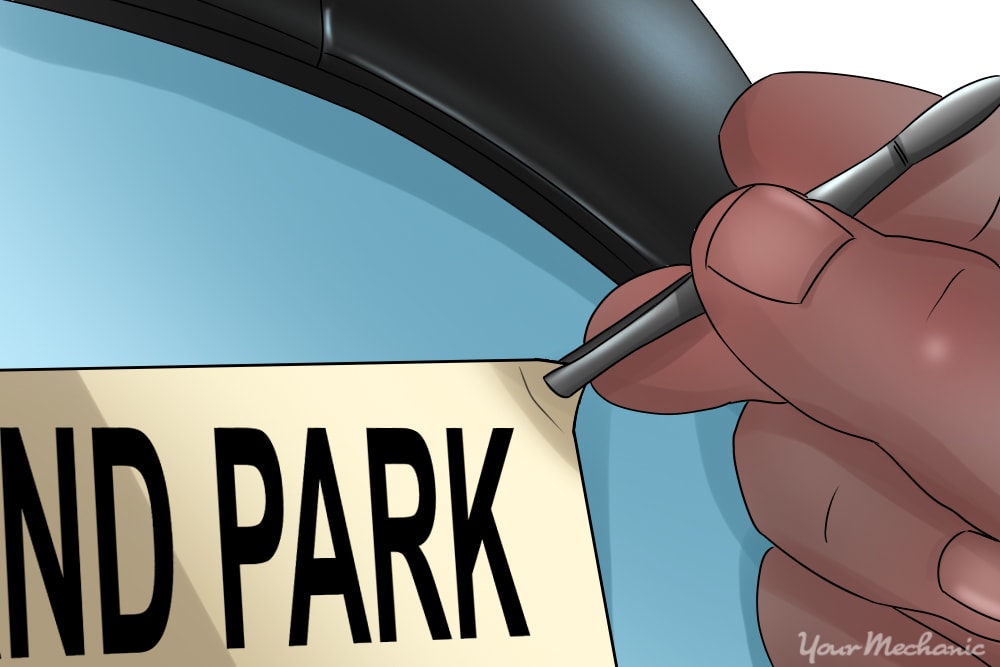
- Tip: You can still use a plastic card to remove the stickers, but the process may be made easier with the use of plastic tweezers (metal tweezers will scratch the paint). This is especially true for those with very short fingernails.
For each piece of the sticker, the card can be used to pull up a small corner, and then you can use that to remove the entire sticker. Grab this corner with fingernails or with plastic tweezers.
While pulling the sticker up, work the credit card behind it to separate the adhesive from the paint.
Step 4: Scrub off the remaining adhesive residue. With the sticker fully removed, spray the adhesive residue left on the paint with WD40 and use a cloth to scrub it off until there is no more adhesive remaining.
Goo Gone can be used for this purpose as well; the difference is that you will apply the Goo Gone to the cloth itself before scrubbing off the adhesive residue.
Whether the dealership logo on back of your vehicle consists of one large sticker or several smaller laser-cut stickers, if it is something obtrusive or unsightly to you, the methods for removing logos like these are very straightforward. The back of your car will look smooth, clean, and logo-free within no time!
If you’d like to learn about removing car badges, see our article How to Remove a Car Badge.


