
Acrylic paint was extremely popular in older cars, and can still be found on many cars today. While there are many different reasons for manufacturers, auto body specialists, and car owners alike to use acrylic paint, there is one primary reason: the cost. Acrylic paint is very affordable relative to other paint options, which makes it a common choice among people who are re-painting their vehicles. It also has a wonderful glossy finish that made it very popular in decades past, and reminds people of vintage vehicles.
However, acrylic paint is not without its downfalls. The largest issue with acrylic automotive paint is that it can fade and diminish very easily. The paint begins to look soft after a few years, and it does not hold up to natural elements such as sun, wind, and salt very well. It also does not hold up well to chemicals.
So if you have an acrylic paint job on your car, you’ll want to do everything you can to keep it looking brand new. Thankfully, maintaining an acrylic paint job on a car is easier than it sounds.
Part 1 of 3: Scrap everything you know about auto detailing
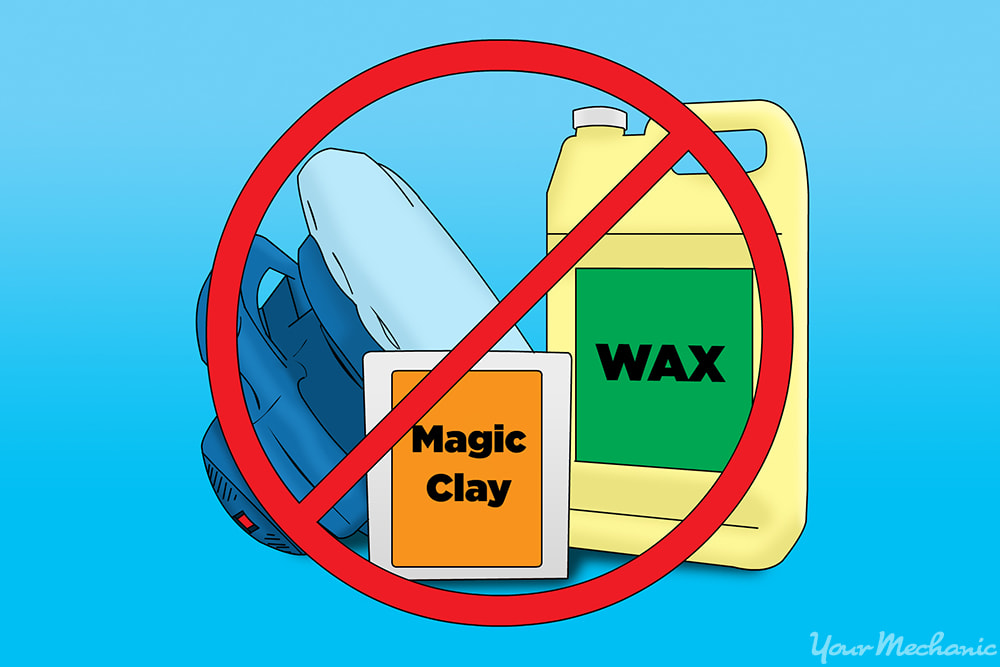
Step 1: Avoid using standard exterior substances. Do not use basic car waxes, polishes, or clays.
Wax, polish, and clay are all common substances to use on the exterior of a car to help it look its best. Chances are, you have some of these in your garage, as they can be very effective. However, these products should be avoided if your vehicle has an acrylic paint job.
Polishes and clays should be avoided because they have chemicals that will break down acrylic paint. Rather than create a fuller, shinier paint job, a polish or a clay will actually soften the color and the shine of your paint job if your vehicle has acrylic paint.
Wax is not quite as harmful as polish and clay, but it creates a layer above the paint job that keeps you from completing part three of this tutorial.
Step 2: Stay away from power tools. Do not use any power buffers, power polishers, or other power tools on the vehicle’s exterior.
Acrylic paint is not strong enough to hold up to the force of a power tool such as a power buffer. Always avoid using power tools on an acrylic paint job, or else you will greatly diminish the color and shine of the paint.
Part 2 of 3: Clean the car thoroughly
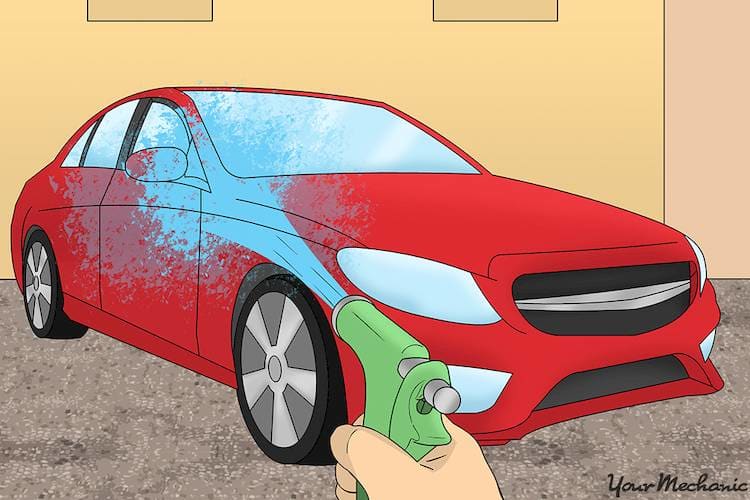
Step 1: Get the dirt off your car. Wash any dirt and debris off of your vehicle.
Using a hose or a soft, non-abrasive towel, rinse your car off, making sure that you are removing all of the dirt and debris that may be on the vehicle. Be sure to get the top of the car as well, though you don’t need to worry about the windows since they don’t have paint on them (though it’s a good idea to clean the windows as long as you have the hose out).
Step 2: Remove any wax. Be sure to remove any wax that’s on the vehicle.
If your vehicle’s exterior has been waxed at some point, you will want to do everything you can to remove the wax. Run a soft towel or a non-abrasive brush over any wax clump you find until all the wax has been removed.
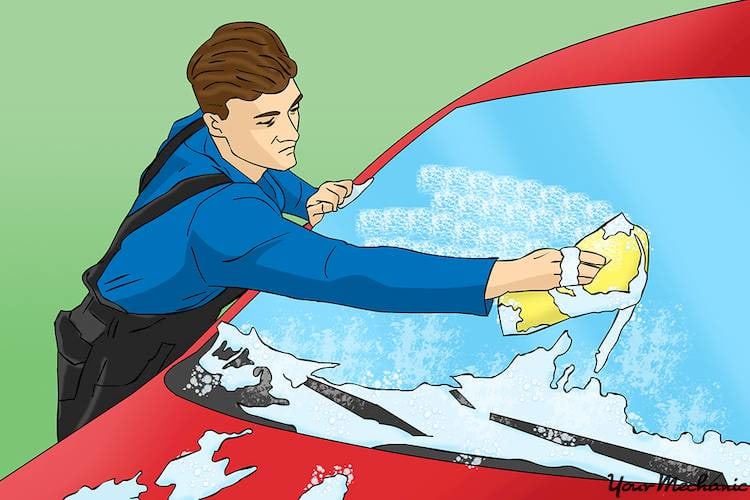
Step 3: Use soap for a thorough cleaning. Finish cleaning the car with a soap scrub.
After the wax and the base layer of dirt has been removed from your car’s exterior, lightly scrub it down with some soap. You can use a mild car soap, but a dishwashing soap that does not contain bleach will work perfectly as well.
Use a soft towel to wash the soap all over the vehicle, then rinse it off with water.
Part 3 of 3: Apply some acrylic paint conditioner
Step 1: Purchase a bottle of acrylic paint conditioner. Acrylic paint conditioner is sold at most auto parts stores, and all auto detailing stores.
You can also find it online if that’s more convenient for you.
Step 2: Apply the conditioner to your car. Slowly apply the acrylic paint conditioner to your vehicle.
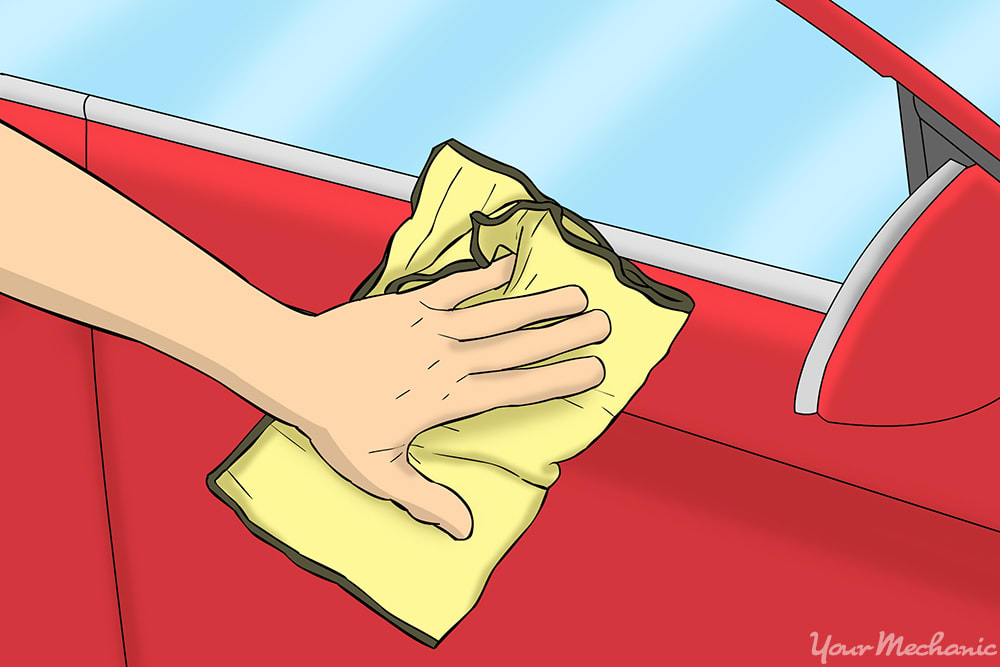
Using a soft, non-abrasive towel, rub a small portion of acrylic paint conditioner into the exterior of your vehicle. You will have to work in batches to cover the entire car, but make sure that you fully work in the applied amount before you add any more conditioner.
It works best to apply the conditioner from the top down; that way you can keep track of which parts of the car you have conditioned, and any conditioner that drips off will get worked in later.
When working the conditioner into the exterior of the car, rub the towel in circles to create an even finish. Ideally, you want to use as thin of a layer of acrylic conditioner as possible, and you want to avoid getting it on the windows.
- Tip: Do not apply acrylic conditioner to your vehicle unless the car is completely dry. If you apply the conditioner when the vehicle is wet, it will not do the job properly and the exterior will look streaky.
One of the fun parts of owning a vehicle is keeping it looking good. A great looking car is fun to show off, fun to drive in, and simply fun to own and look at. While acrylic paint jobs do wear out more quickly than other paints would, it’s very easy to keep them looking great. Simply follow these steps and you’ll have your car and its acrylic paint looking brand new all the time.


