
Keeping your vehicle shiny and looking new takes some work. Washing your vehicle on a regular basis is a great start, but it also needs to be waxed frequently.
While all vehicles come with a clear coat on top of the paint job, regular waxing adds another protective coat on top of that. The more coats on the vehicle, the better it will be protected. Waxes not only give the vehicle a shiny look, but they create a slippery surface that prevents dirt and grime from sticking to it.
If your paint job is starting to look dull and doesn’t feel as smooth as it used to, it may be time to add a new coat of protective wax, and to do that, it is often necessary to strip off the old wax. While there is no hard and fast rule, generally waxes should be changed every three months.
Many waxes require a clean surface to properly bond, which means that you will need to remove any old wax before applying a new coat. There are a couple of different ways to remove waxes. You can use a pre-wax cleaner or detailing clay.
Here are a few simple steps to follow to get your car ready for a brand new layer of wax.
Method 1 of 2: Using pre-wax cleaner to remove wax
Materials Needed
- Car wash solution
- Pre-wax cleaner
- Microfiber cloth
- Wax remover safe for plastic trim
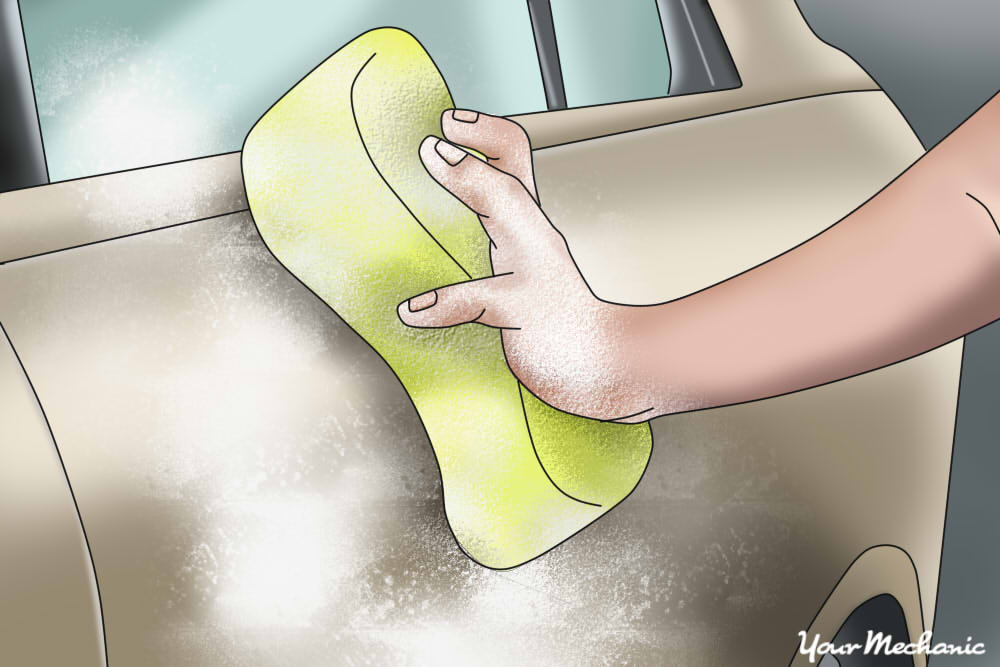
Step 1: Wash and dry your vehicle. This will remove all of the dirt and grime from the surface, allowing the pre-wax cleaner to soak directly into the layer of wax that you are hoping to remove.
Use a car wash solution to clean the car and allow it to air dry or use a microfiber cloth to dry the car.
Step 2: Decide what wax remover is best for your needs. Both of these products are available at any auto supply store.
Pre-wax cleaners are composed of chemical cleaners that help lift old wax from the vehicle’s paint. They come in two different varieties:
Spray on wax removers: These products chemically strip all waxes and sealants off of the paint. However, they do not deep clean the vehicle or remove any below-the-surface contaminants. These products are best used by car owners who like to wax their vehicles on a very regular basis. Spray on wax removers are easy to use — just spray on, then wipe off.
Non-abrasive polish: These products will not only remove any waxes and sealants on the vehicle, they also deep clean the paint, pulling out any contaminants that are below the surface. This is the best choice if you wax your car less frequently and are looking to really clean your vehicle.
Warning: Pre-wax cleaners can discolor plastics and rubber components, so make sure that you keep the product on the paint.
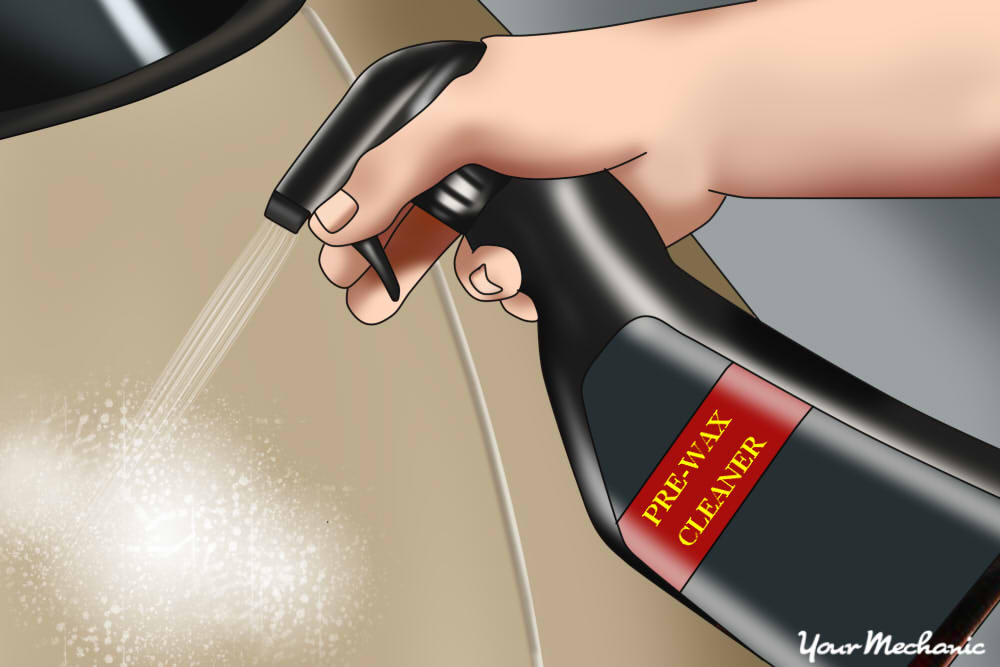
Step 3: Apply whatever product you have chosen directly on the paint. Avoid getting it on any plastic or rubber components.
Quickly wipe off any overspray that ends up on plastic or rubber parts of the car.
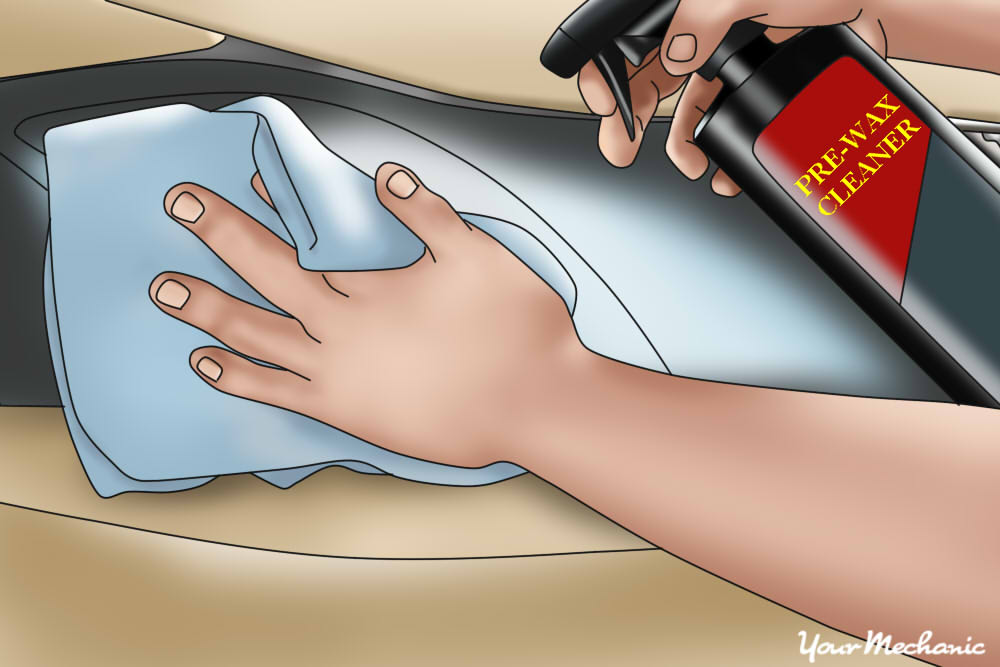
Step 4: Use a microfiber cloth to wipe the wax remover across the paint. Use wide sweeping motions to remove the product and old wax from the vehicle’s paint.
Step 5: Repeat as needed. If necessary, repeat these steps until the old wax is removed.
Step 6: Use a wax remover that is safe on plastic trim. Griot’s Garage Dried-On Wax Remover, for example, comes highly recommended by professional detailers and will not damage plastic trim like other wax removers.
Apply per the directions on the bottle.
Method 2 of 2: Using detail clay to remove wax
Detailing clay is a resin compound that is used to remove contaminants from the surface of a vehicle’s paint job, metal, glass, and even fiberglass. These can be natural or synthetic products.
Detailing clay works by gliding along the paint and grabbing anything that is on the surface of the car. The surface must be wet, so clay lubricant is used to prevent any loose debris from scratching the surface being cleaned.
Materials Needed
- Car wash solution
- Clay lubricant
- Detailing clay
- Microfiber towel
Step 1: Wash the vehicle thoroughly. Use a car washing solution to get all of the surface dirt and grime off of the paint.
This allows the detailing clay to pick up more wax.
Dry the vehicle with a microfiber towel or let it completely air dry.
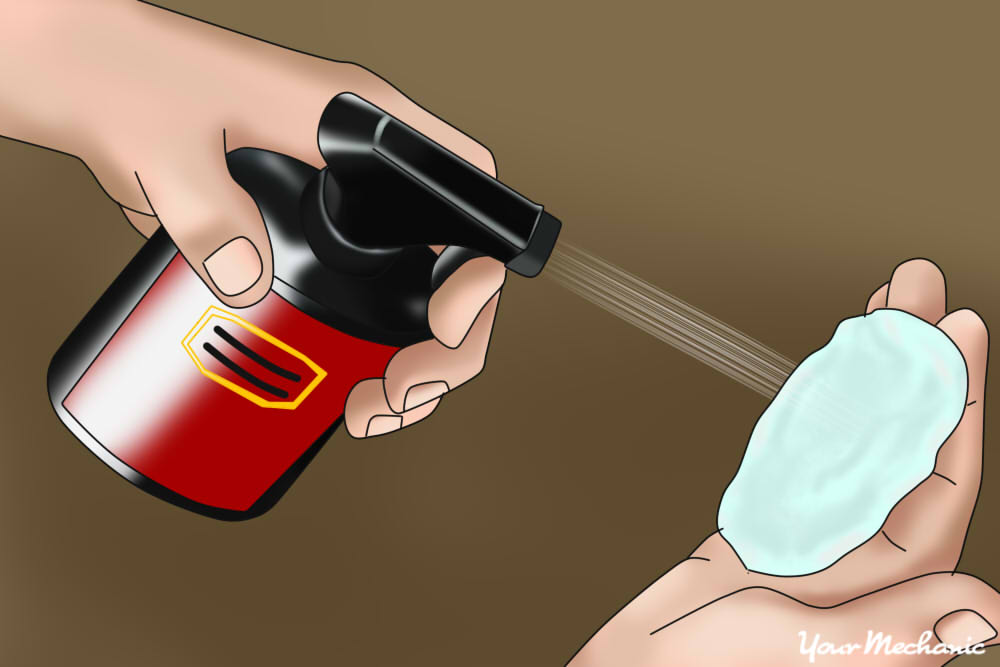
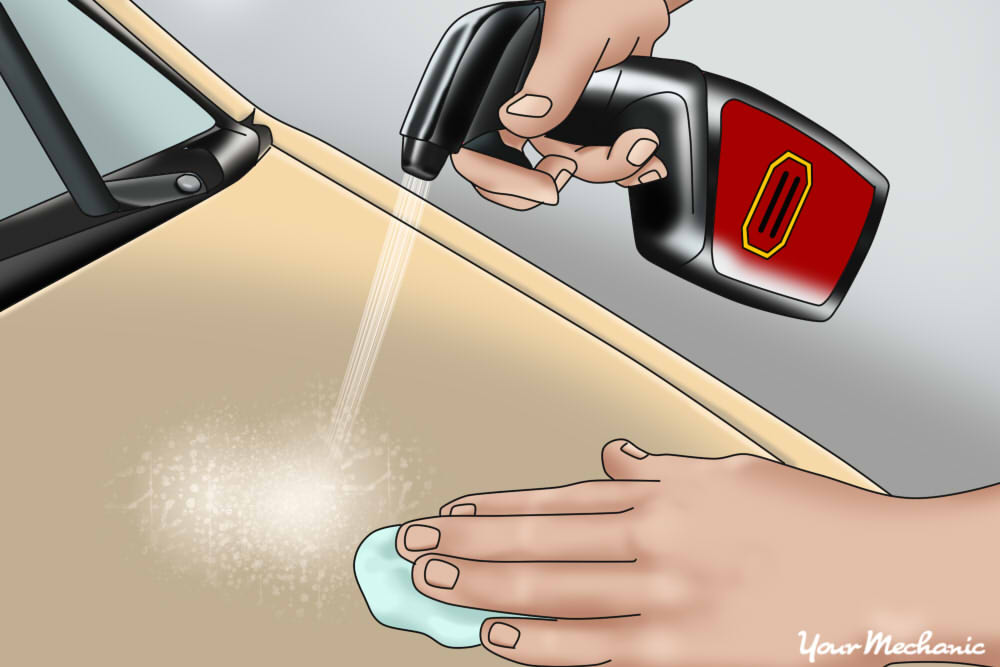
Step 2: Spray the surface to be cleaned with clay lubricant. Most clay bars come with a lubricant, but it can also be purchased separately at an auto supply store.
Spray the lubricant on evenly across the work surface.
- Tip: Work in small surface sections when working with detailing clay. Stick to roughly two square feet at a time.
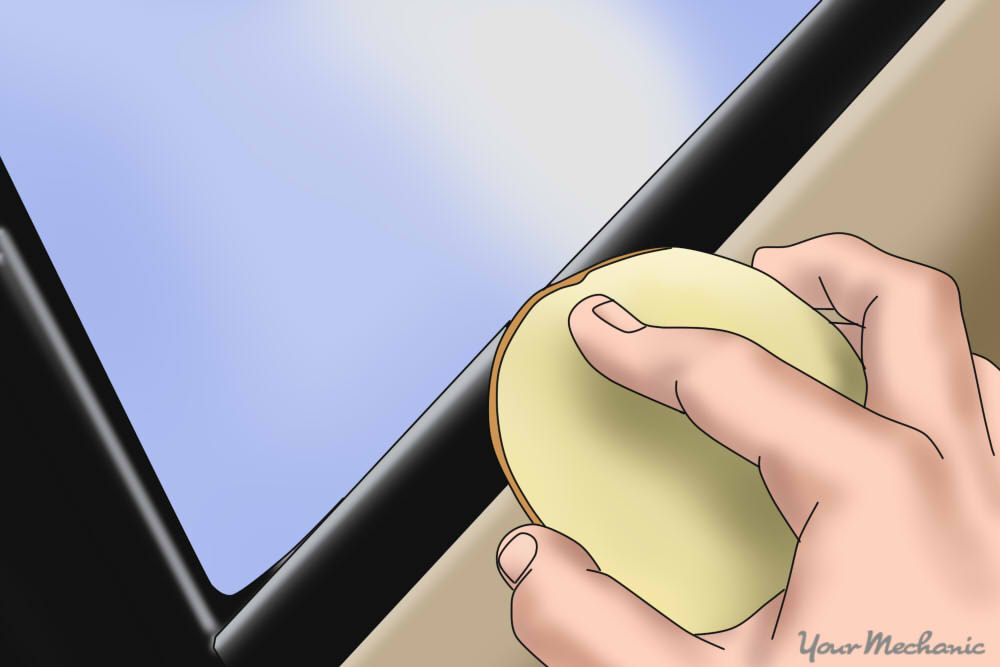
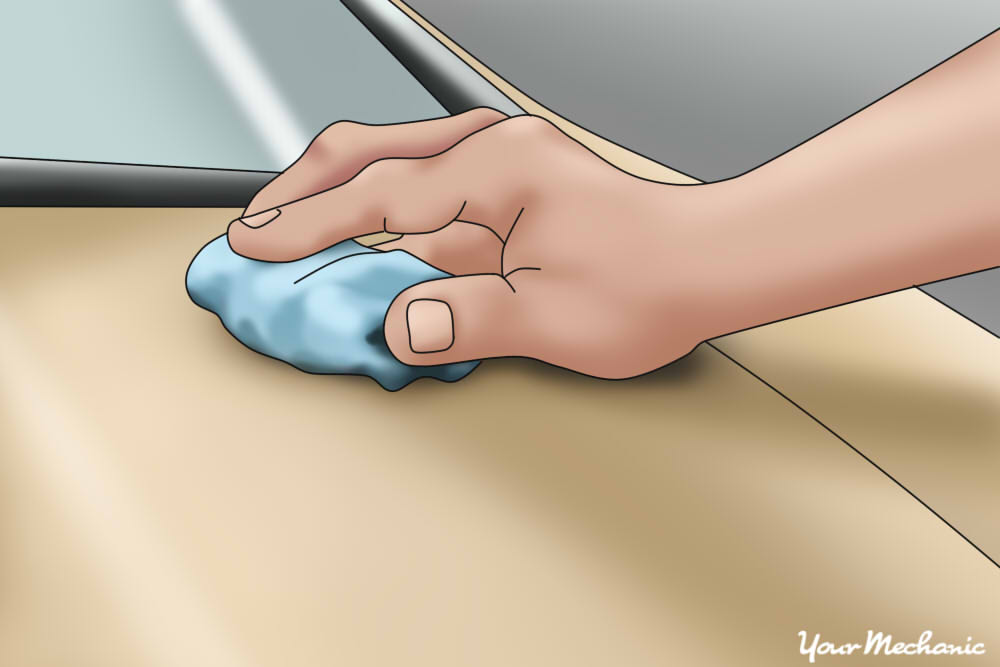
Step 3: Rub the clay bar gently back and forth across the wet area. The bar should grab at first as it is pulling wax and contaminants out of the paint.
When the bar glides freely across the paint, the wax has been removed.
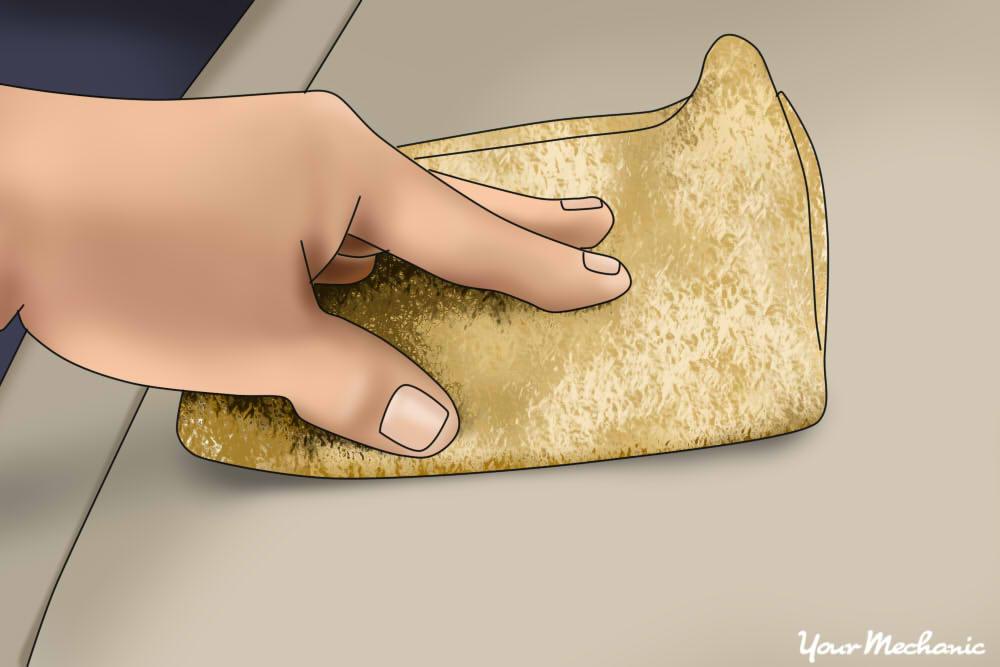
Step 4: Wipe off any remaining clay residue with a microfiber towel. Use the clay lubricant to remove any stubborn clay spots. The paint should now be smooth to the touch.
Step 5: Repeat until complete. Continue this process across the rest of the vehicle until the entire car has been clayed.
Your vehicle should now be clear of old wax. The car should be cleaned and rewaxed as soon as possible after stripping the old wax off.
Removing old wax is imperative to properly and effectively applying new wax, and thus also imperative to keeping your car looking its best. Be sure to use the guidelines and recommendations above when it comes time to wax your car again.


