
While many cars just have a rear license plate, some states require you have one installed on the front of your vehicle as well. While you could have the front license plate bracket installed at the factory, you can save yourself the expense by doing it yourself.
When doing the job yourself, make sure to follow some simple instructions to successfully install a front license plate bracket on your Tesla. These luxury vehicles are fully electric and produce zero emissions, which is a major benefit for environmentally conscious drivers.
- Warning: Make sure to check the local laws in your area about front license plate brackets. Most states that require them have very specific laws about how and where they are attached.
Method 1 of 2: Zip tie mounting method
Materials Needed
- Drill with a 1/4- or 3/8- drill bit (if you need to drill additional holes)
- Front license plate bracket
- Level
- Measuring tape
- Pencil
- Tesla front license plate bracket
- Two plastic zip ties
Zip ties are an easy way to attach a front license plate bracket to your Tesla. Keep in mind that the plastic nature of the ties means they are more open to fail at some point in the future. It is important that you inspect the zip ties every so often and replace them if they look worn.
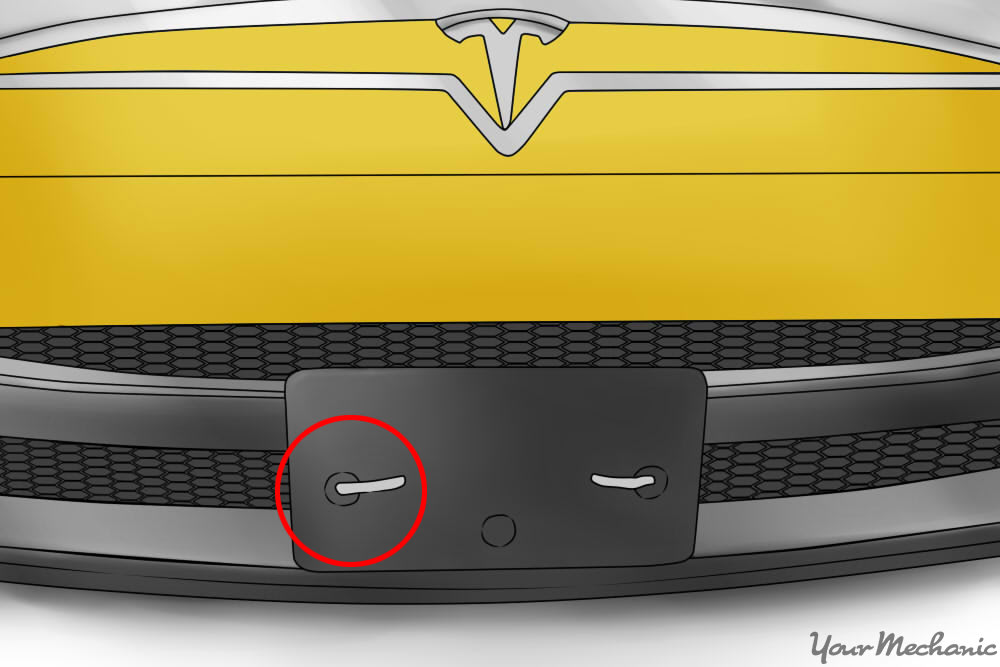
This particular method requires a front license plate bracket with two mounting holes per zip tie on the face of the bracket, as opposed to the sides or corners. A Tesla factory front license plate bracket should have the holes where they are needed.
- Tip: If the front license plate bracket does not have the number of holes you need in the face of the bracket, you may have to drill additional holes. Mark the spot where you want to drill the holes with a pencil and use a 1/4- or 1/8-inch drill bit to drill the holes.
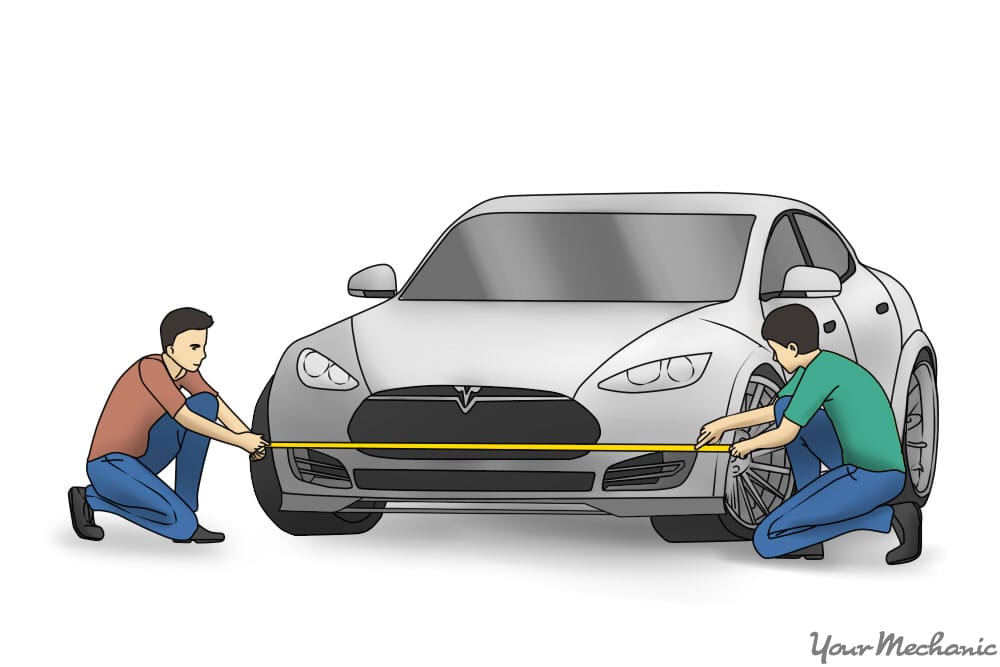
Step 1: Find the center of the bumper. Measure from side to side on the front bumper to find the center. Mark the center with a pencil for later reference.
Step 2: Test the position. Position the front license plate bracket over the front grille, or bottom grille if your Tesla model has both, using the center line you made with the pencil.
Make sure that the license plate bracket sits square on the grille area, using a level if necessary.
Step 3: Pass the zip tie through both holes on one side of the bracket. Pass the zip tie through the grill and secure the zip tie behind the grill. This requires you to crawl underneath the vehicle.
Step 4: Repeat for the other side of the bracket. Pass the other zip tie through the holes on the other side of the bracket and then through the grille. Secure the zip tie.
Method 2 of 2: Metal J-hook mounting method
Materials Needed
- Foam (to keep the bracket from scratching your vehicle's finish)
- Glue (to affix foam to the backside of the bracket)
- Measuring tape
- Pencil
- Tesla factory front license plate bracket
- Nuts (two 1/4 to 3/8 inch)
- J-hooks (two 1/4 to 3/8 inch)
You can also use J-hooks to attach the front license plate bracket to your Tesla. This method might require you to cut the J-hooks down to size so that they don't stick out too far on the front of the bracket where the license plate attaches.
Step 1: Attach the foam to the backside of the bracket using glue. This includes a long strip along the bottom and two smaller pieces at each of the upper corners.
This is to keep the bracket from scratching the finish of the bumper. You might have to double up on the foam to make sure you have enough clearance for airflow.
Step 2: Measure the front bumper. Find the center of the bumper and mark the location with a pencil. Alternately, you can line up the bracket with the Tesla symbol on the hood if your particular model has one.
Step 3: Pass the J-hook through the grille. Make sure to hook the grille.
Pass the J-hook through the hole in the license plate bracket.
Place a bolt on the end of the J-hook and tighten it.
- Tip: Make sure not to tighten the bolt too much or you will bend the grille.
Step 4: Repeat for the other side of the bracket. Pass the other J-hook through the grille on the other side of the bracket.
Pass the J-hook through the bracket hole and place the bolt on the end of the hook, making sure not to over tighten.
Attaching a front license plate bracket to your Tesla yourself can save you money. While you might think the task is difficult, it is actually pretty easy as long as you have the tools and material to complete the task. If you still don't feel confident enough to install a front license plate bracket yourself, you can always call an experienced mechanic to do the job for you.


