There aren’t many things more annoying than having noisy brakes. You are driving down the street, and need to come to a stop. You apply the brakes to slow the vehicle down and it appears: a loud, annoying squeal, squeak, grind, or any number of other noises. This noise can grab the attention of everyone around you, making you want to slouch down in your seat and hide. It can be even more unnerving when you know that your brakes are fairly new and should not yet need to be replaced. If the brakes are still in good shape, they can be repaired to eliminate the noise without replacing the brakes.
Part 1 of 8: What causes brakes to make noise
Your brakes can make noise for a number of reasons. Both drum brakes and disc brakes can be noisy for any of the following reasons:
Reason 1: The brakes are worn out. If the pad material on the brake pads or shoes is worn below the specified limit, they can make noise.
If the brake pad material is low, it causes excessive heat to build up in the braking system which will cause glazing. This causes the pad and the rotor or drum to become hardened and shiny, which in turn causes noise.
Low pads can also make the wear sensor on many pads contact the rotor, causing a high pitched squeal. If the brake pad material is completely gone, this will cause a grinding noise.
Reason 2: Dirty brakes. If the disc and drum brake systems are very dirty, this can cause noise.
Brake dust, as well as other road contaminants, can cause uneven brake applications - which in turn results in noise. This most commonly occurs on drum brakes as the brake dust gets trapped within the drum itself.
Reason 3: Improper brake pads were installed. If the wrong brake material was used, then this can cause noise.
The brakes need to be replaced if this is the case.
Reason 4: Lack of lubrication. The brakes were not properly lubricated when they were installed.
Reason 5: The brakes are getting too hot. Heat will cause the brakes to glaze over and make noise.
This can occur if the vehicle is driven excessively hard, or if the drum brakes are not properly adjusted.
If the brakes are worn out, or if the the wrong brake material was used, then the brakes need to be replaced according to the manufacturer’s recommendations.
Part 2 of 8: Preparing to work on your brakes
Having all of the necessary tools and materials prior to starting the work will allow you to get the job done more efficiently.
Materials Needed
- Allen-head and torx-head sockets
- Brake cleaner spray
- Flat-head screwdriver
- Floor jack
- Jack stands
- Pliers (adjustable)
- Sandpaper (800 grit)
- Silicone brake grease
- Ratchet w/metric and standard sockets
- Torque wrench
- Wheel chocks
- Wire brush
- Wire hanger
Part 3 of 8: Identifying the location of the noise
It is important to identify which corner of the vehicle that the noise is coming from. You will need an assistant to do this.
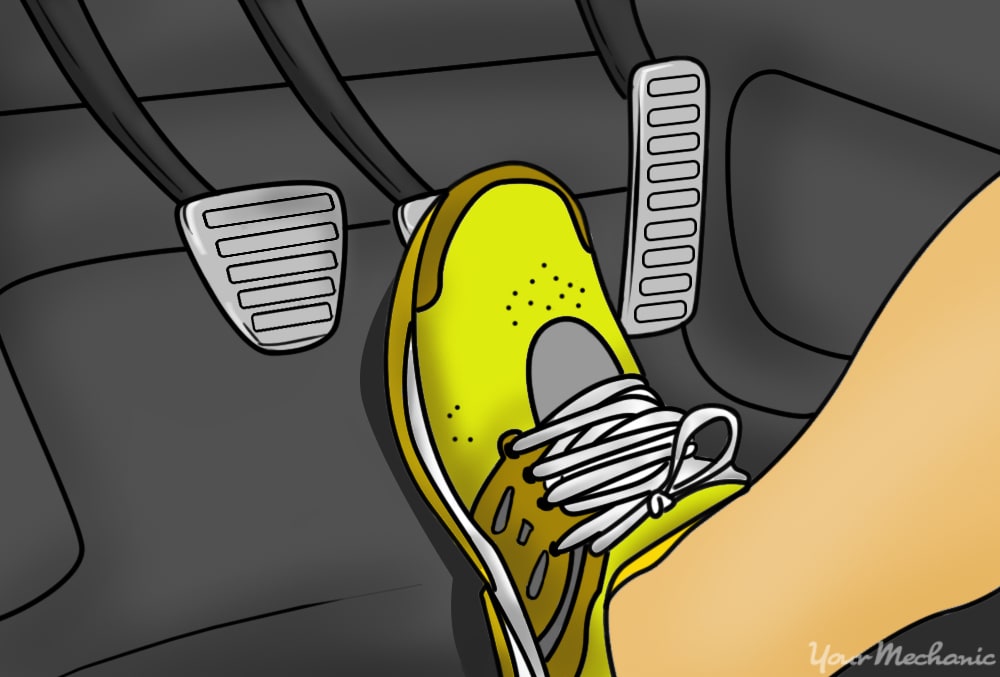
Step 1: Have your assistant drive the vehicle on a street that is not busy. Stand on the curb and have your assistant drive by your location and apply the brakes.
Listen closely to the location of the noise.
You may need your assistant to drive the vehicle in both directions to listen to both sides of the vehicle.
Once you identify whether the noise is coming from the front or the rear brakes, you can proceed to the repair. Make sure that any work that you do is done to both sides of the vehicle. (eg: if the noise is coming from the right front, make sure that any repairs are done to the left front also)
Part 4 of 8: Preparing the vehicle
Step 1: Park the vehicle on a flat, hard surface. Make sure the transmission is in “Park.”
Step 2: Place the wheel chocks around the tires that will remain on the ground.
Step 3: Loosen the lug nuts ¼ turn on the wheels that are to be removed.
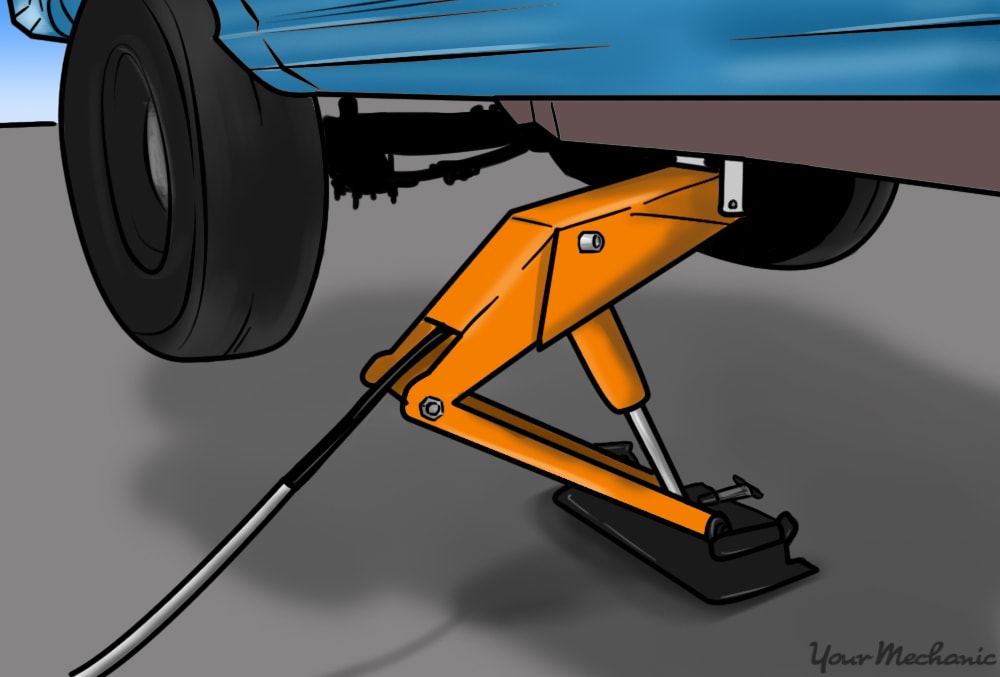
Step 4: Raise the vehicle. Using the floor jack, lift the vehicle at its specified jacking points until the wheels are off of the ground.
Step 5: Place the jack stands. The jack stands should go under the jacking points. Then lower the vehicle onto them.
Step 6: Remove the lug nuts and remove the wheels.
Part 5 of 8: Noisy disc brakes
Step 1: Remove the two caliper mounting bolts. Use the ratchet and the appropriate socket.
- Tip: It may be necessary to hold the caliper slide pin in place with the adjustable pliers if the mounting bolt is spinning with the slide.
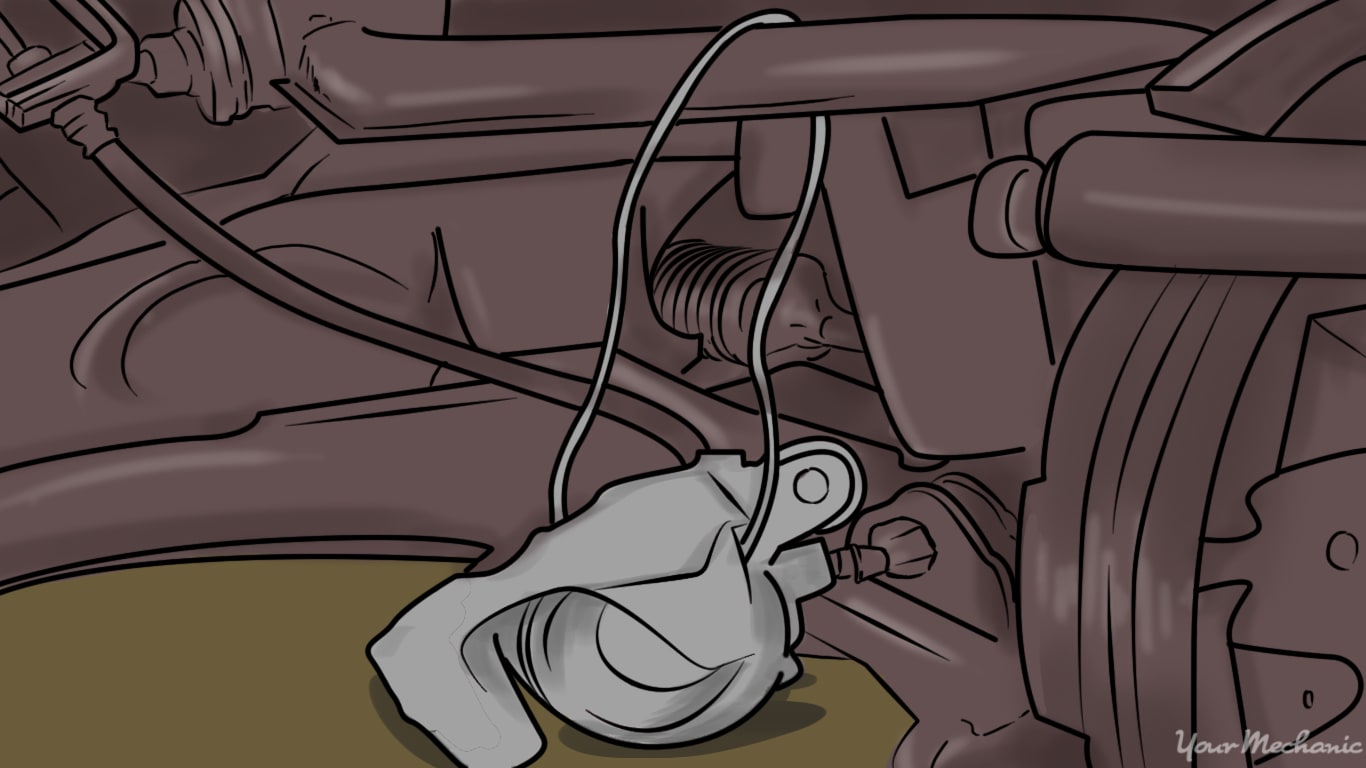
Step 2: Hang the caliper from the suspension with the wire hanger. Make sure that there is no tension on the brake hose.
Step 3: Remove the brake pads from the caliper or from the brake pad bracket.
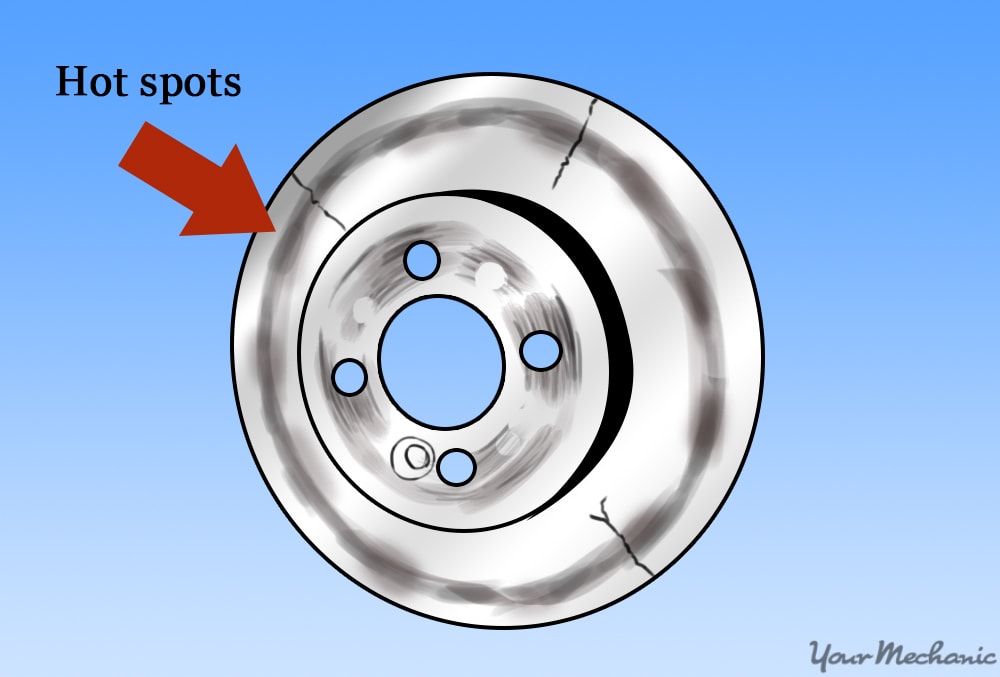
Step 4: Inspect the brake pads and rotors for any cracks or hot spots. If they are present, then you must proceed to replacing the brakes.
Step 5: Sand down the brake pad. Using the 800-grit sandpaper, evenly sand down the friction surface of the brake pad.
Step 6: Spray down the brake pad with the brake cleaner. Allow it to dry.
Step 7: Clean the brake area. Using the wire brush clean the brake pad mounting surface and brake pad clips.
Step 8: Lubricate the brakes. Apply a thin layer of silicone brake grease to the back side of the brake pads and to the brake pad clips.
Step 9: Reinstall the brake pads.
Step 10: Reinstall the brake caliper. Torque the caliper mounting bolts to specifications.
Part 6 of 8: Noisy drum brakes
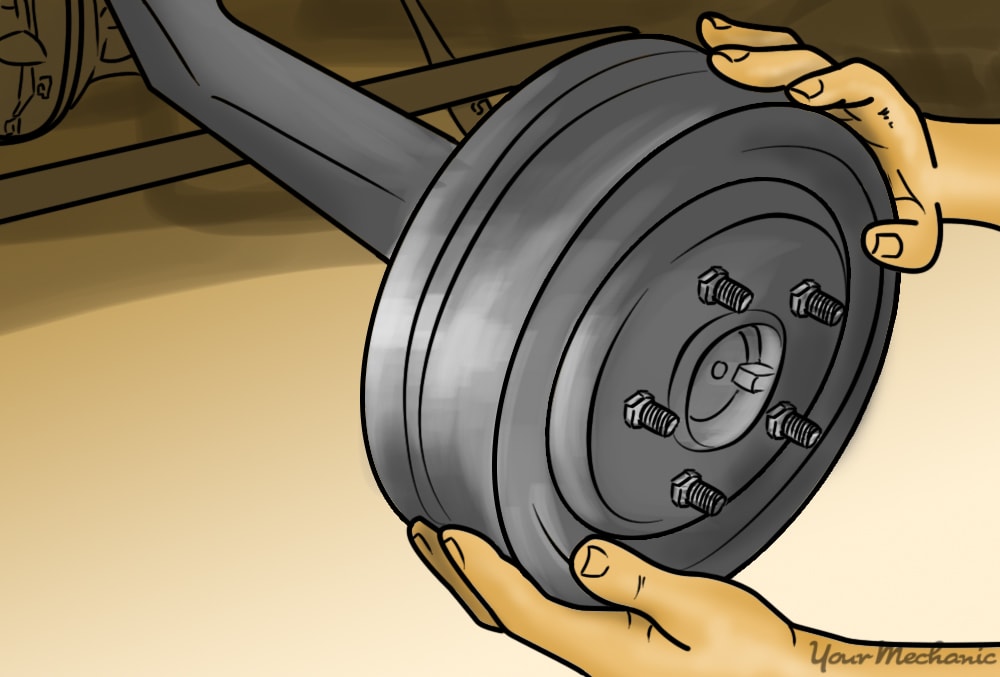
Step 1: Remove the brake drum by pulling it from the hub or axle. If the drum will not slide off, strike it with the hammer between the lug studs to break the corrosion loose.
Do not hit the lug studs.
- Tip: Some brake drums will require that the bearings be removed and reinstalled. Follow the manufacturer’s instructions on how to pack and adjust the bearings on your vehicle.
Step 2: Empty the brake dust from the drum. Put the dust into a suitable trash container.
- Warning: When removing a brake drum you may get brake dust that becomes airborne. Try not to inhale this brake dust.

Step 3: Clean the brakes. Using the brake cleaner, thoroughly clean the drum brake shoes and hardware.
Step 4: Sand down the brake shoe. Using the sandpaper, sand down the brake shoe friction material evenly until it is smooth.
Step 5: Spray cleaner on the brake shoes again. Using the brake cleaner, spray off the brake shoes one more time and allow them to dry.
Step 6: Install the brake drum. If the brake drum fits loosely or if it can be easily turned without any drag, then the drum brakes need to be adjusted as described below.
- Note: Not all drum brakes are manually adjustable.

To adjust your drum brakes:
Remove the brake drum.
Locate the brake adjuster. It looks like a wheel with teeth on it.
Using a flat-head screwdriver, turn the toothed adjuster. It should only spin in one direction and should click when turning it.
Turn it only a few clicks at a time, reinstalling the brake drum between intervals.
- Repeat this until you feel a slight drag of the brake shoes contacting the brake drum.
Part 7 of 8: Completing the service
Step 1: Reinstall the wheels. Tighten the lug nuts in a star pattern until they are snug.
Step 2: Lower the vehicle to the ground.
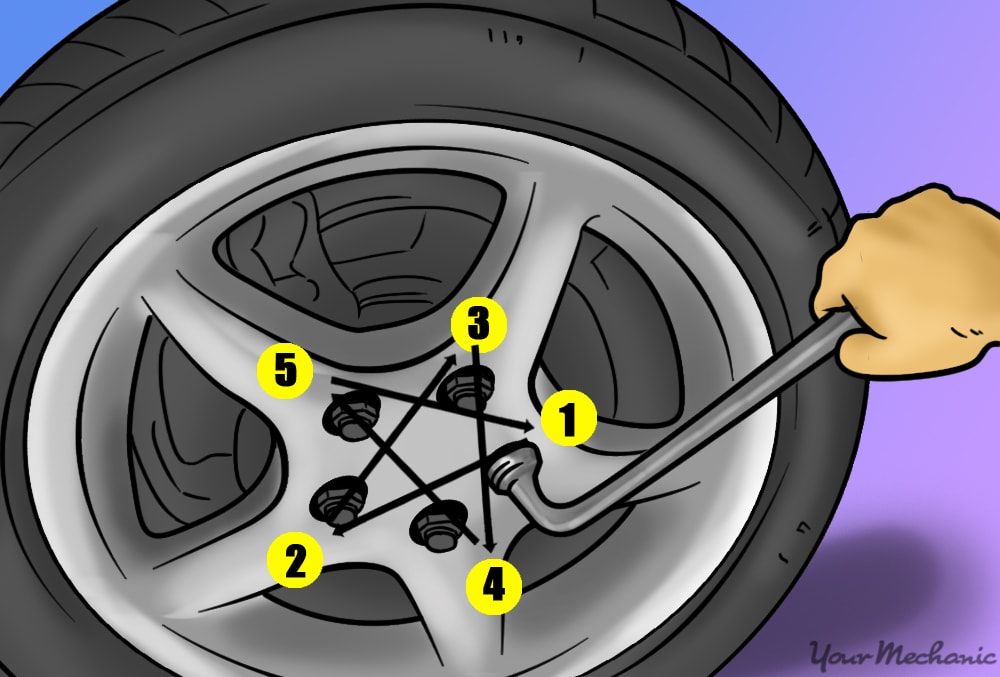
Step 3: Fully tighten the lug nuts. Using a star pattern, torque the lug nuts to manufacturer’s specifications.
Step 4: Test your brakes. Drive the vehicle and make sure that the brakes are functioning properly.
Part 8 of 8: If the problem continues
If the brake noise continues or returns, then that is an indication of unforeseen problems.
The brakes will need further inspection and may need replacement.
There may be another underlying issue such as a hub bearing, axle, or even a transmission problem.
If the problem persists, then you should enlist the help of a certified mechanic that can inspect your brakes and diagnose the problem.
