
The radiator hose is an important part of your vehicle’s cooling system. The hose carries the coolant to the radiator, where the fluid is cooled, then back to the engine to keep the vehicle from overheating. This allows your vehicle to operate at the perfect temperature and provides you with a smooth ride.
There are two hoses that connect to the radiator. The upper hose attaches from the top of the radiator to the top of the engine. The lower hose attaches to the bottom of the radiator to the water pump of the engine.
If the radiator hose of your car fails, it can lead to loss of coolant and subsequent engine overheating. Overheating can lead to further engine damage. If you suspect that either radiator hose is failing, replace the faulty hose as soon as possible.
Part 1 of 2: Remove the leaking radiator hose
Materials Needed
- Cooling system funnel(optional)
- Container or drain pan
- Protective gloves
- Autozone or Chilton repair manuals
- Replacement radiator hose
- Safety glasses
- Vacuum cooling system refiller(optional)
- Wheel chocks
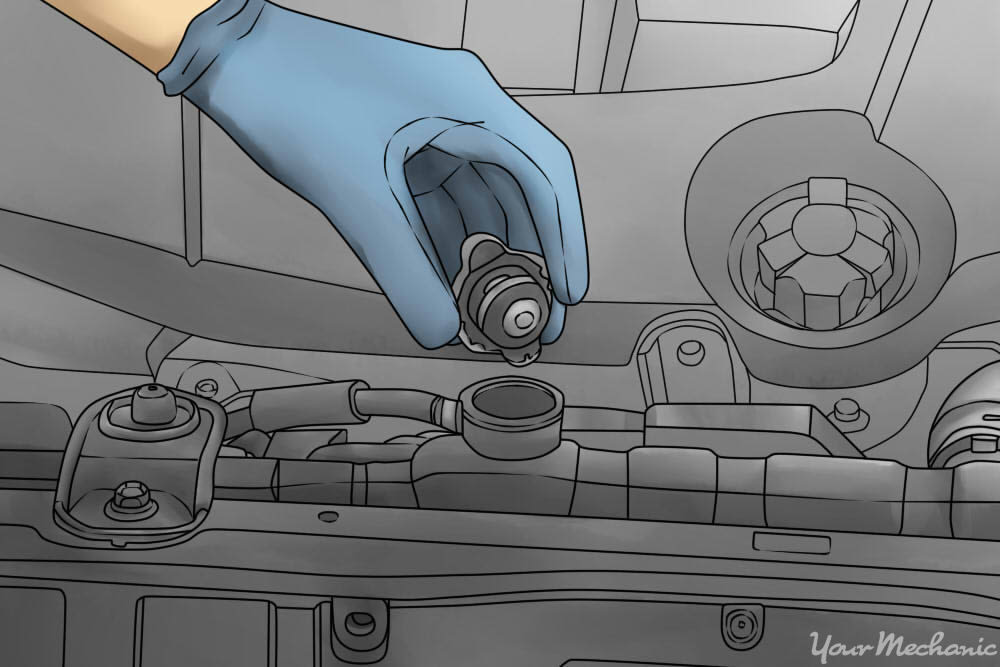
Step 1: Remove the radiator cap. Wait until the radiator cap is cool to the touch. Then remove it and set it aside.
- Warning: Do not remove the radiator cap when it is hot! The system is under pressure and the cap may burst off, burning you with hot coolant.
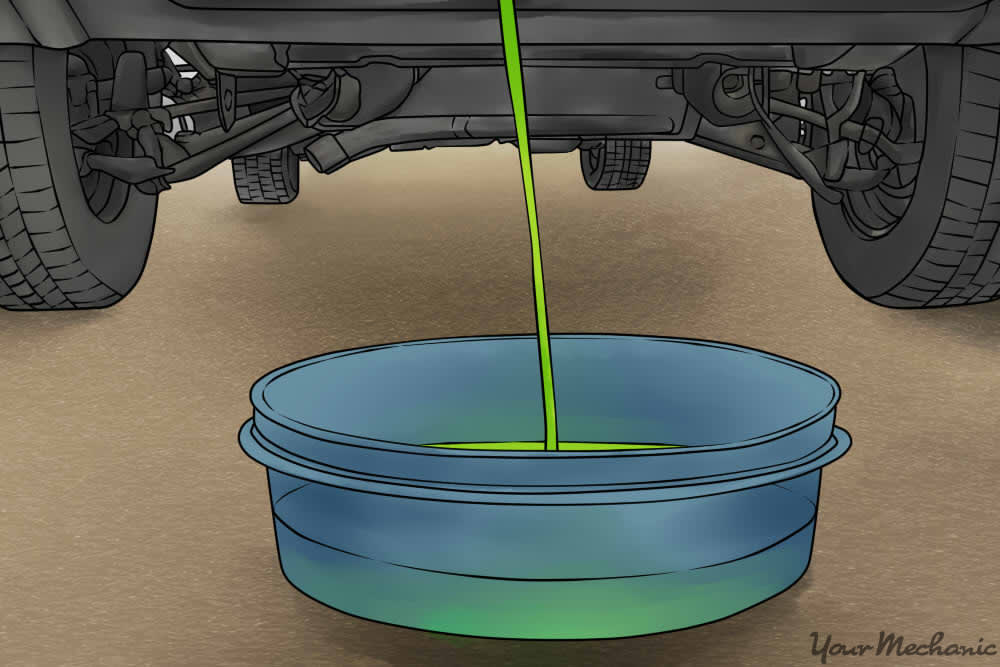
Step 2: Drain the coolant. Place a clean container below the vehicle, right under the radiator.
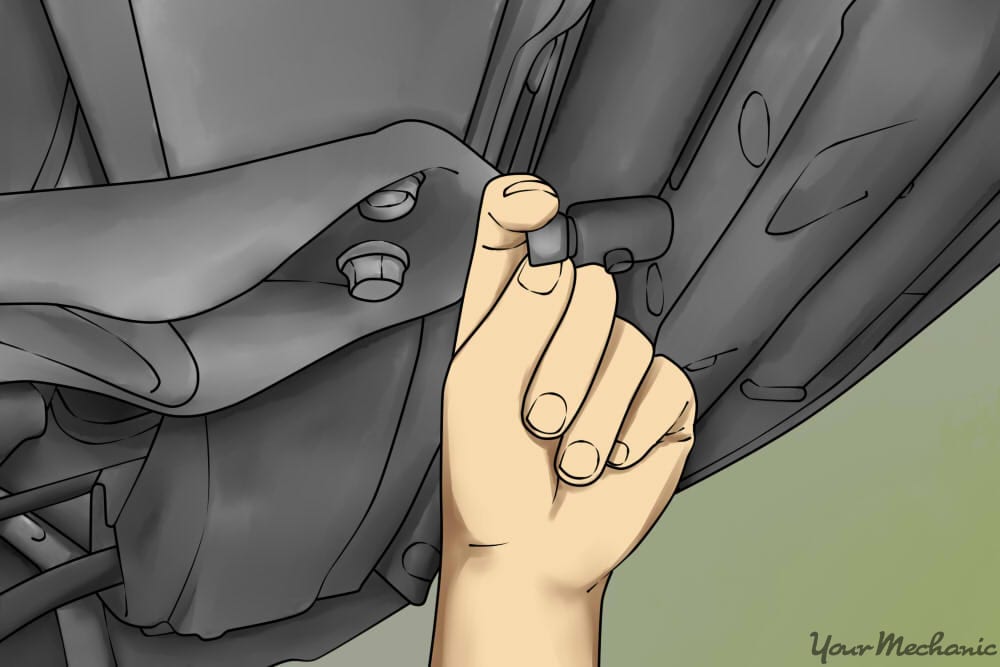
Drain the coolant either by opening the drain petcock or by sliding back the clamp on the lower radiator hose (see the following step for the hose removal procedure).
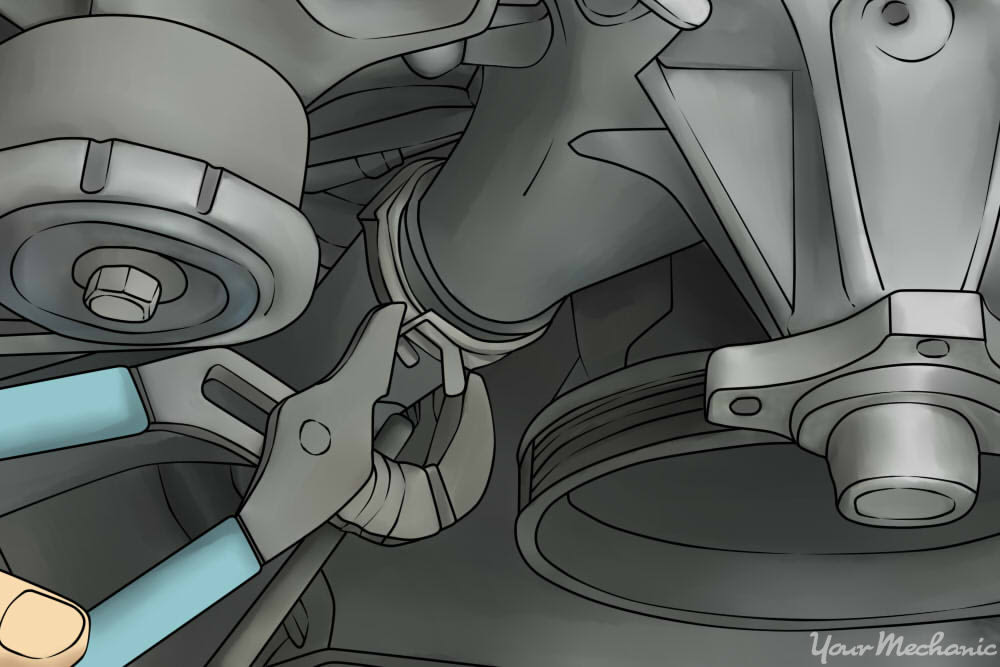
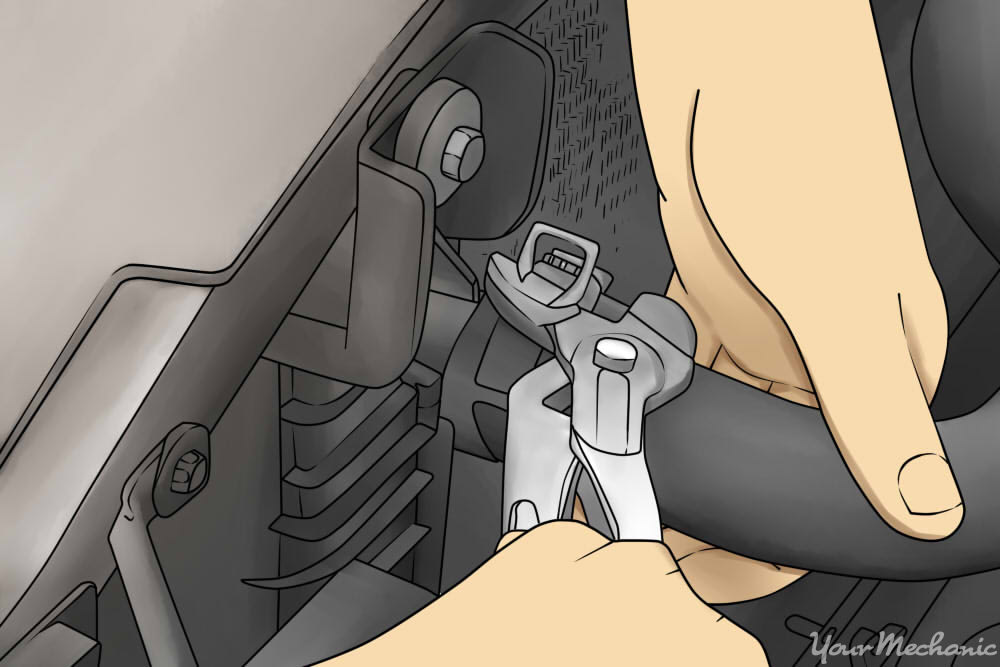
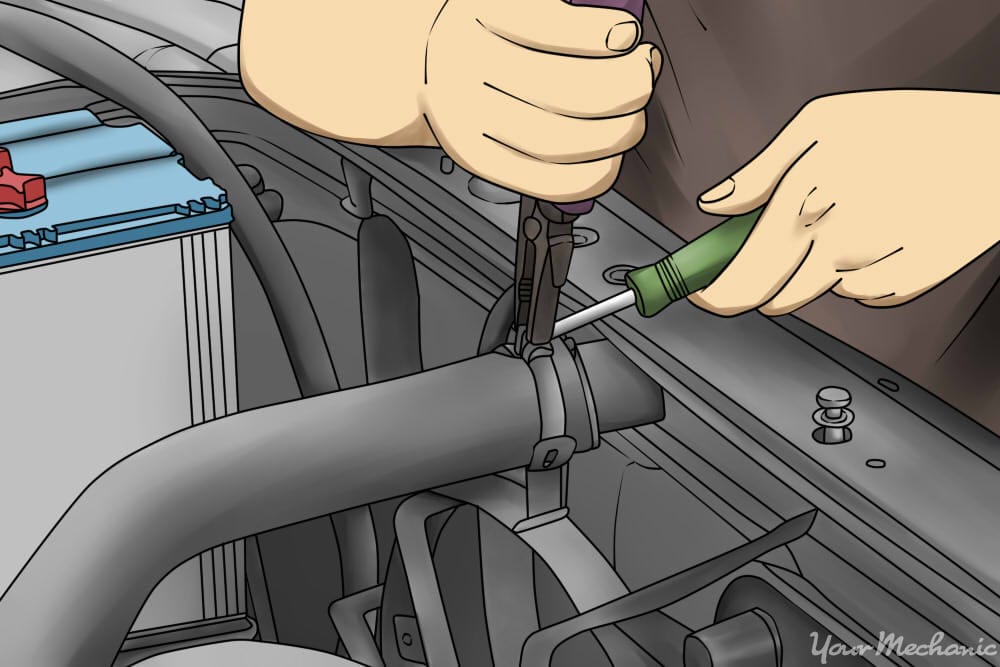
Step 3: Loosen the hose clamps. Loosen the clamps at each end of the hose. The hose clamps are typically either of the spring tension or screw tension design.
To remove a spring tension clamp, squeeze it with pliers and pull it back on the hose, away from the connection. To remove a screw tension clamp, simply loosen the clamp with a screwdriver, then pull it back on the hose, away from the connection.
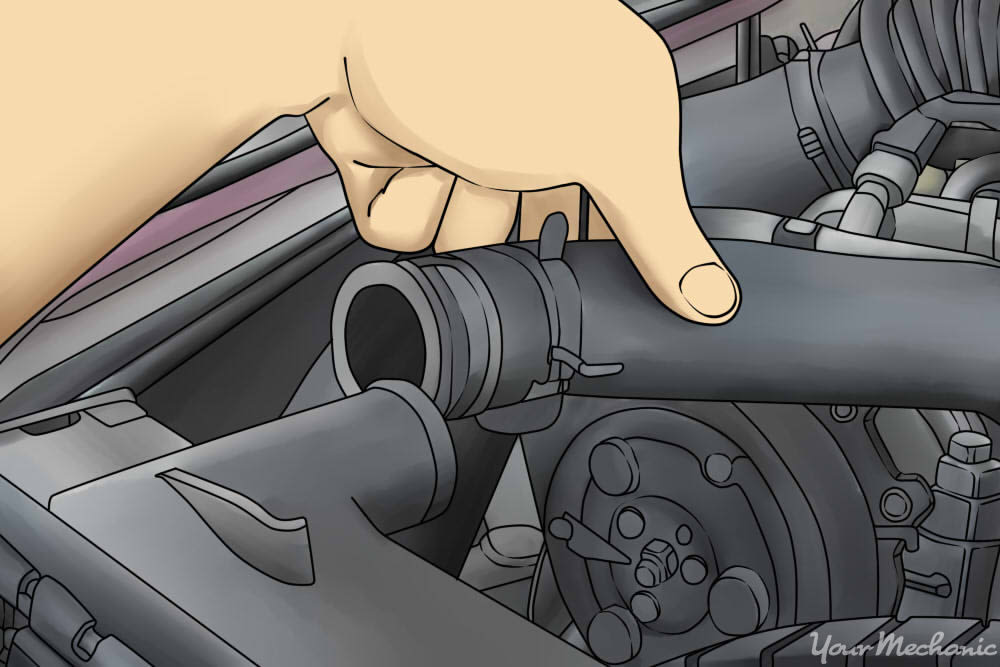
Step 4: Remove the radiator hose. Once you have the clamp off, you can remove the radiator hose by twisting and pulling it off the fitting.
- Tip: If the hose is stuck on the connection, slit it with a razor blade. Do not cut so deep that you damage the connection. After being cut, the hose can be peeled back and discarded.
Part 2 of 2: Install the hose
Step 1: Slide clamps over the replacement hose. Slide the hose clamps over the replacement radiator hose but do not tighten them down.
Step 2: Install the radiator hose. Slide the hose onto the connector.
Then, position and secure the clamps at least 1/4 in. (6.35mm) from the ends of the hose. Check to ensure the clamps are located beyond the raised bead of the connector and then tighten them down.
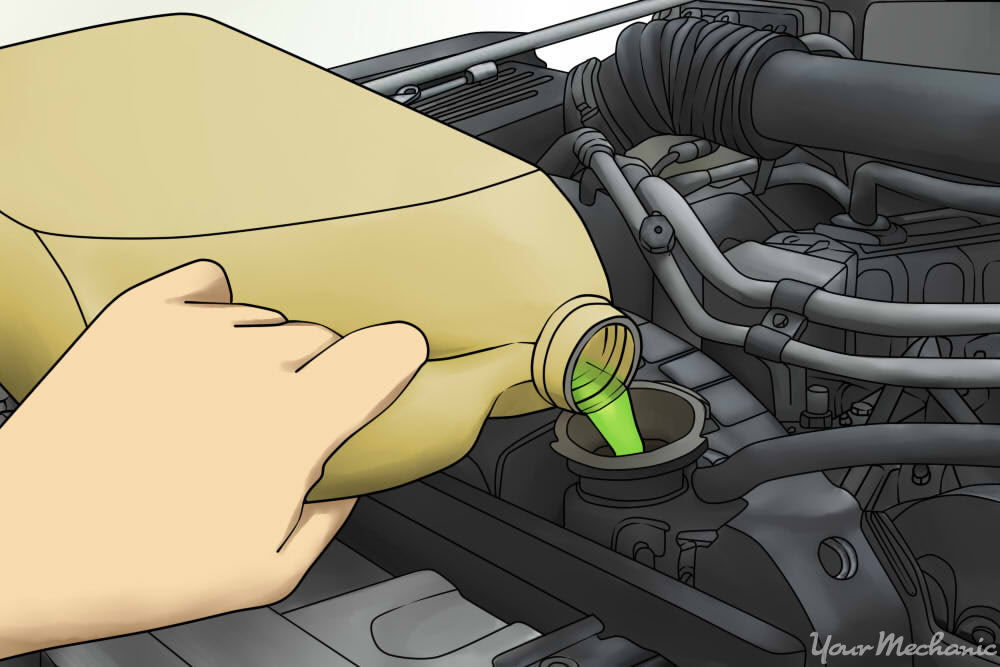
Step 3: Refill the radiator. Close the drain petcock or reinstall the lower radiator hose. Then fill the cooling system with a 50/50 mixture of coolant and distilled water.
Tip: The easiest way to ensure you are getting the proper radiator fluid mixture is to buy pre-mixed radiator fluid.
Note: Some methods for bleeding the cooling system require filling the system during the bleeding process.
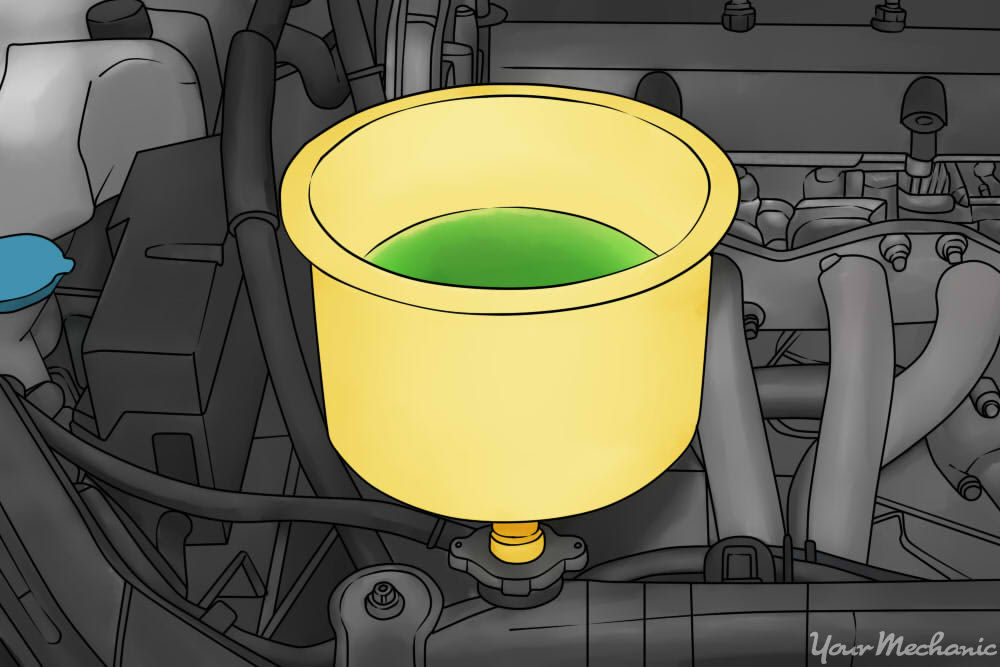
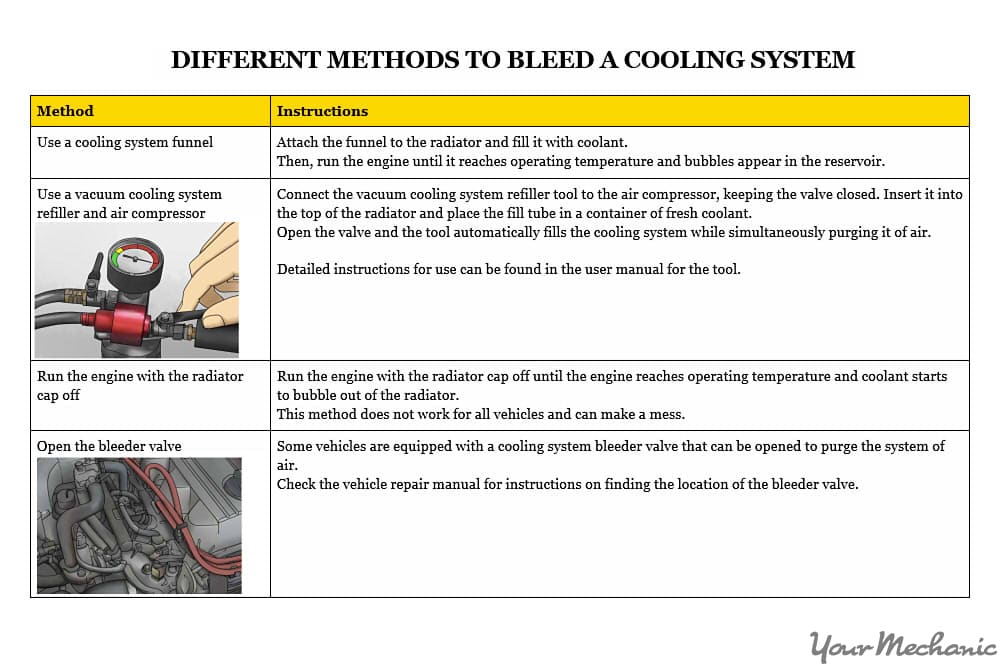
Step 4: Bleed the cooling system. Whenever you service the cooling system, you must bleed it to remove air, otherwise overheating may result.
There are a few different methods for bleeding the cooling system:
Step 5: Top off the coolant. Top off the coolant in the radiator and reservoir. Then, reinstall the radiator cap. Run the engine and check for leaks.
It is a good idea to replace the hoses every 5 years or for every 40,000 miles. If you see coolant (red, yellow or green fluid) on your driveway, get the car inspected for leaks immediately. Driving with leaking radiator hoses can cause severe damage to the engine.
It is important to replace worn or leaking hoses to prevent future failure of these hoses where they may burst, causing engine overheating. Since replacing a radiator hose on your own can be messy, you may want to request a professional mechanic, such as one from YourMechanic, to do it for you.


