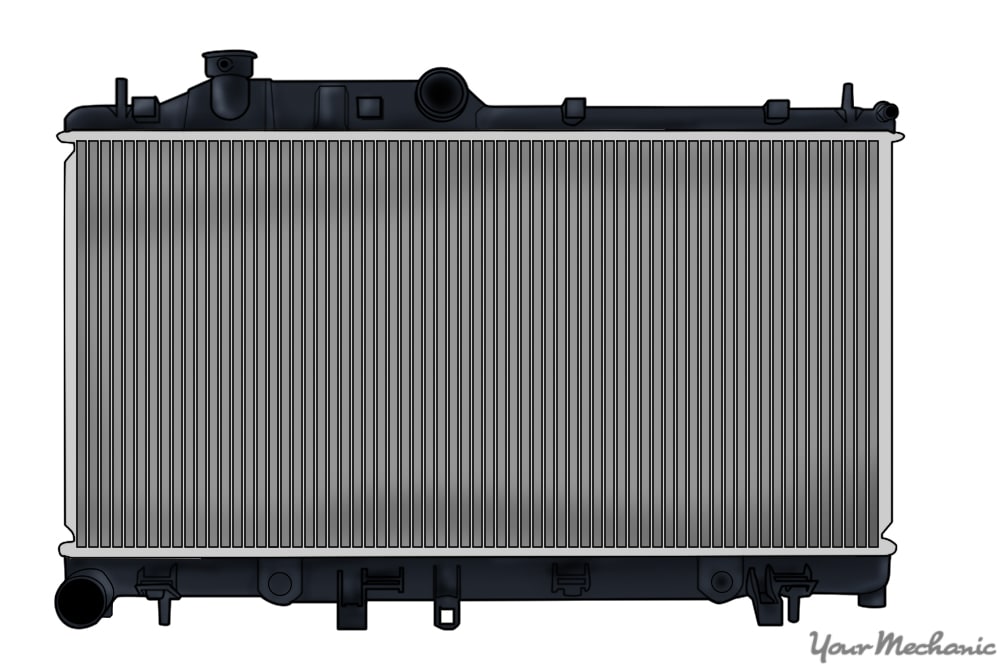

The radiator is a main part of the cooling system. Coolant flows through the tubes inside the radiator, which are surrounded by fins that direct airflow. When the vehicle is moving down the road, air flows through these fins and cools the coolant. The lower temperature coolant is then sent back to the engine. A failed radiator can lead to engine overheating and potential engine damage.
Part 1 of 1: Replacing the radiator
Materials Needed
- Air compressor (optional)
- Cooling system vacuum fill tool (optional)
- Flare nut wrench of the appropriate size
- Free repair manuals - Autozone provides free online repair manuals for certain makes and models
- Jack and jack stands
- Pliers
- Protective gloves
- Ratchet and sockets of the appropriate size
- Ratchet extension
- Safety glasses
- Screwdriver
- Wrenches of the appropriate size
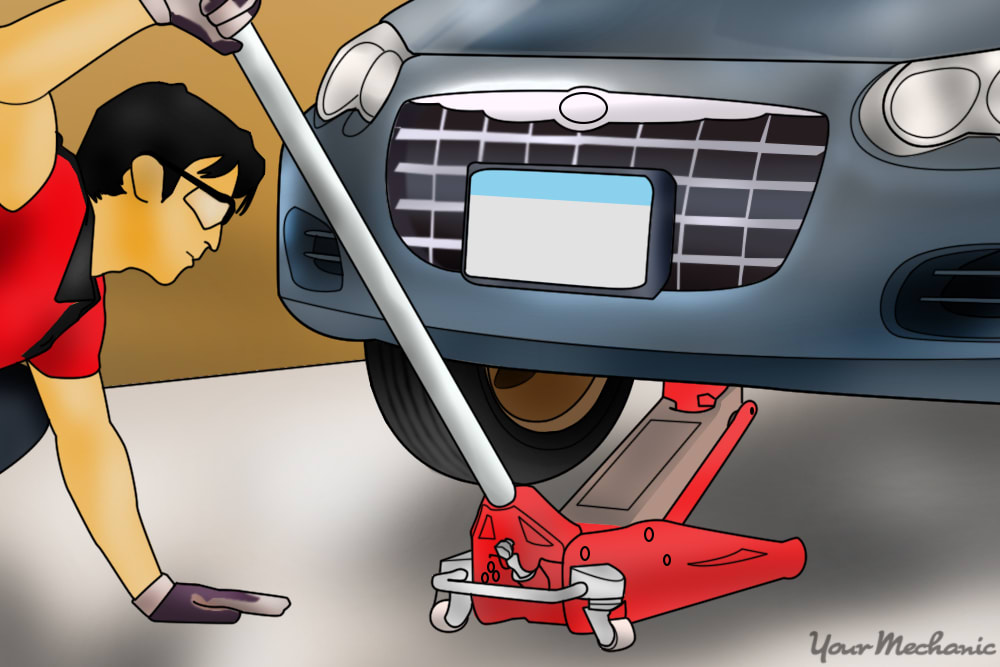
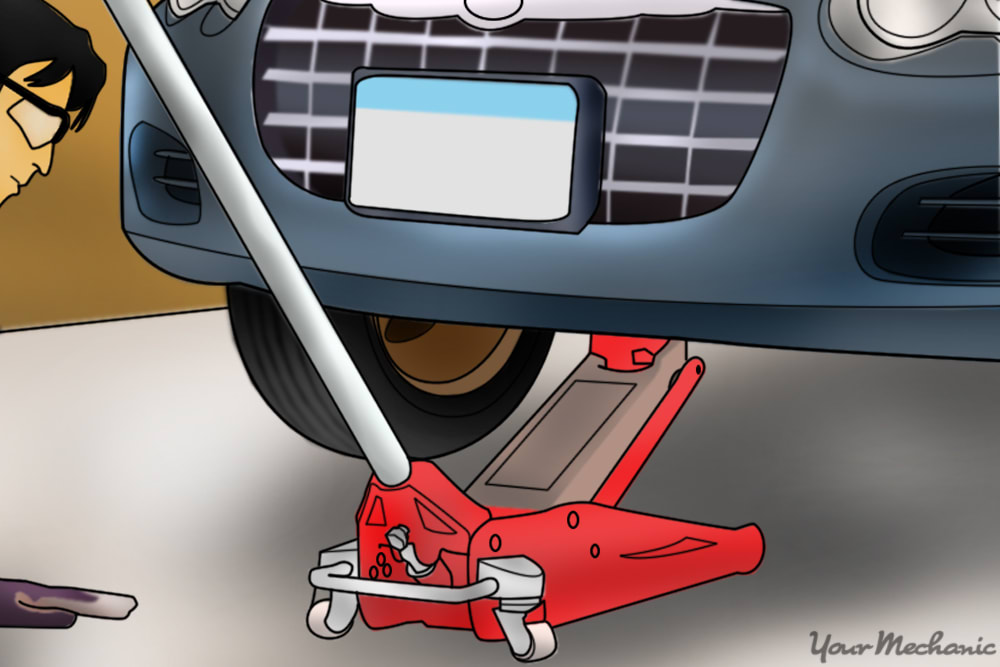
Step 1: Raise and support the vehicle. Safely support the vehicle by jacking it up and supporting it with jack stands. Place a wheel chock behind the rear wheels and set the parking brake.
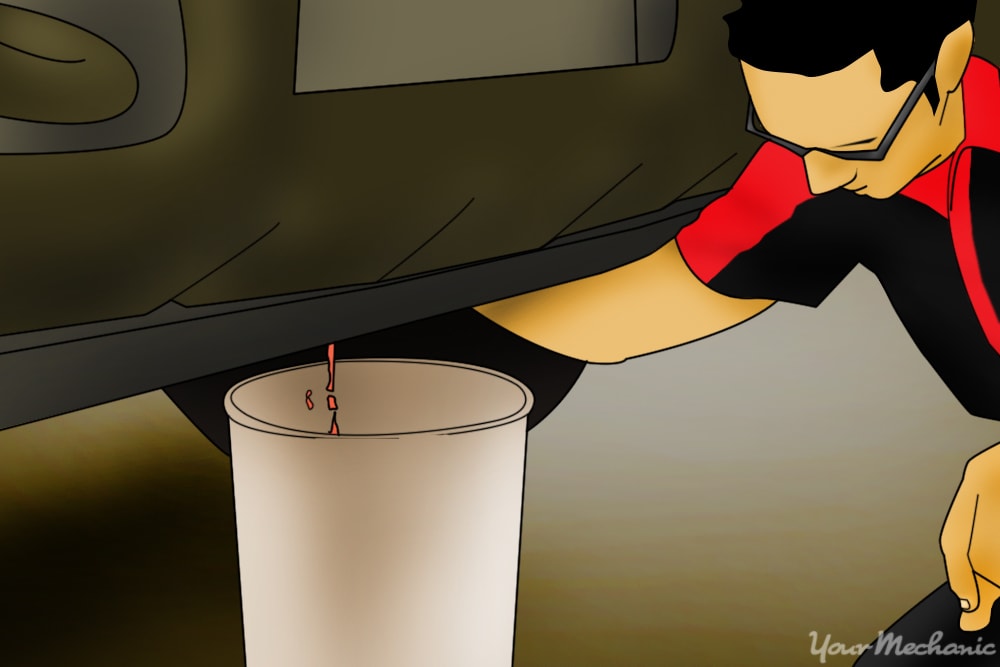
Step 2: Drain the coolant from the radiator. Open the petcock valve or remove the lower radiator hose to drain the coolant from the radiator.
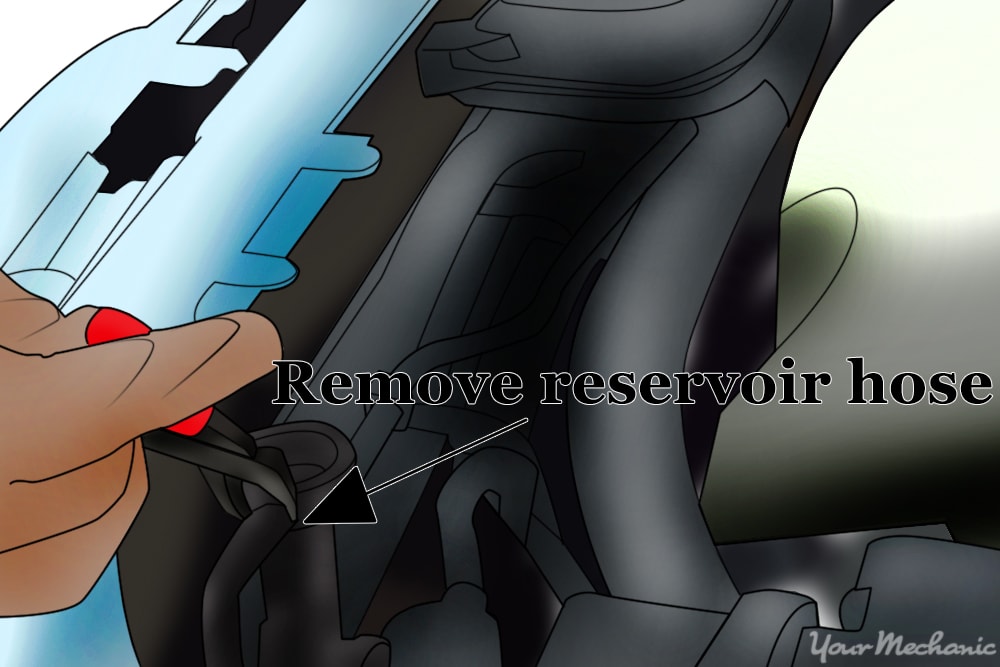
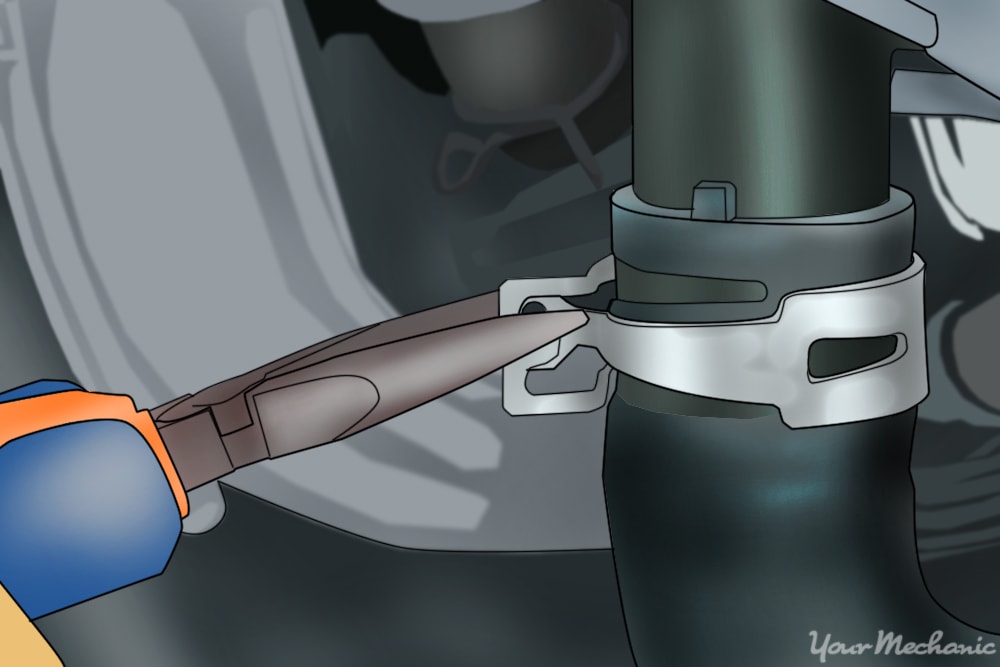
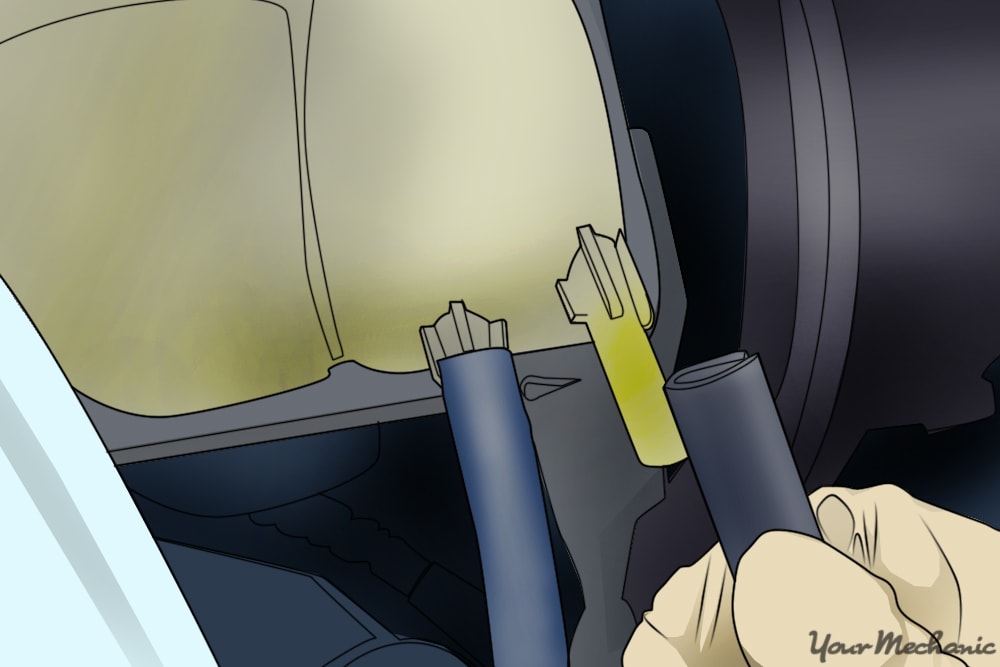
Step 3: Disconnect the radiator reservoir hose. Loosen the hose clamp using either pliers or a screwdriver, depending on the clamp design. Disconnect the hose by twisting and pulling it away from the radiator.
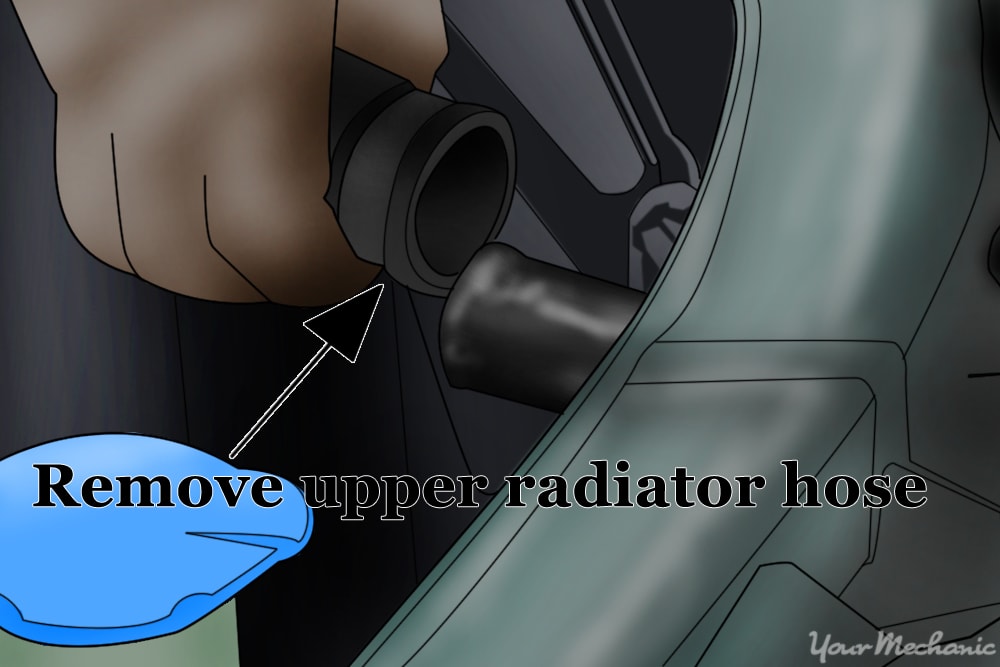
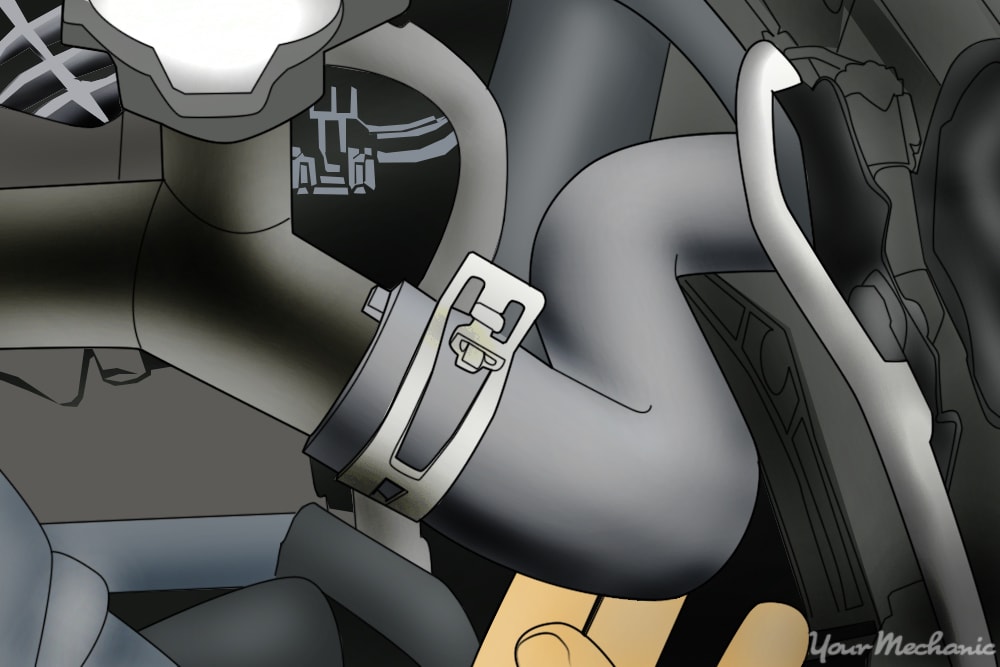
Step 4: Remove the upper radiator hose. Loosen the hose clamps using either pliers or a screwdriver, depending on the clamp design. Then remove the hose by twisting and pulling it away from the connection.
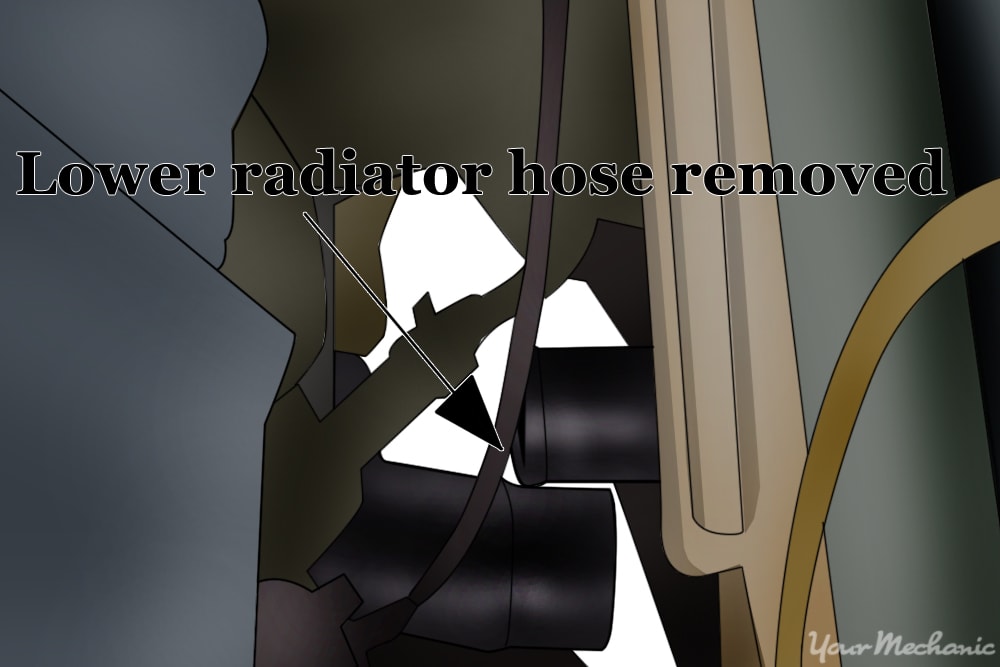
Step 5: Remove the lower radiator hose. Loosen the hose clamps using either pliers or a screwdriver, depending on the clamp design. Then remove the hose by twisting and pulling it away from the connection.
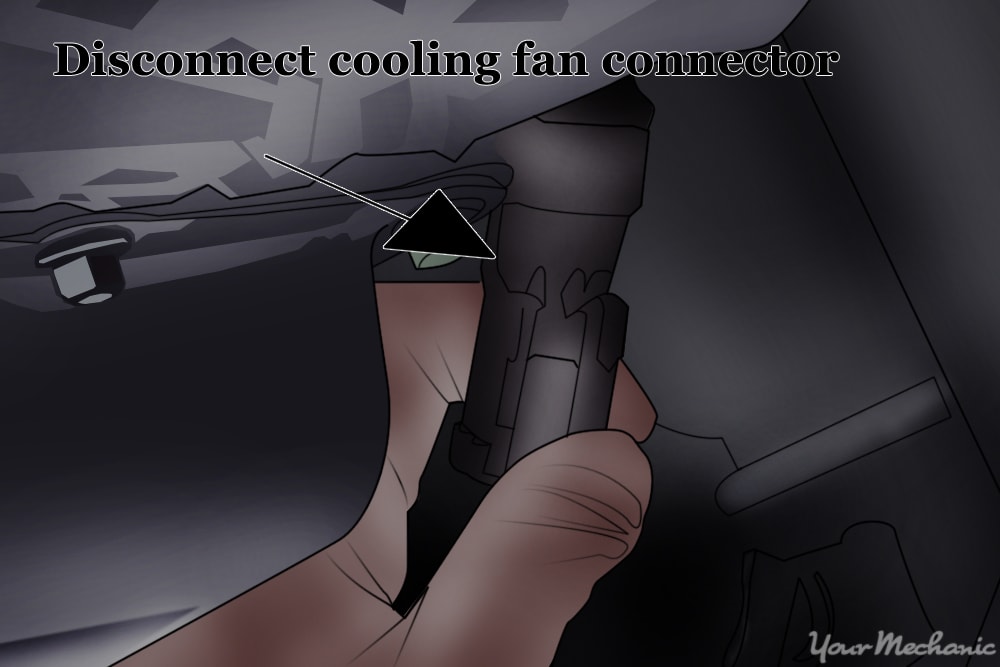
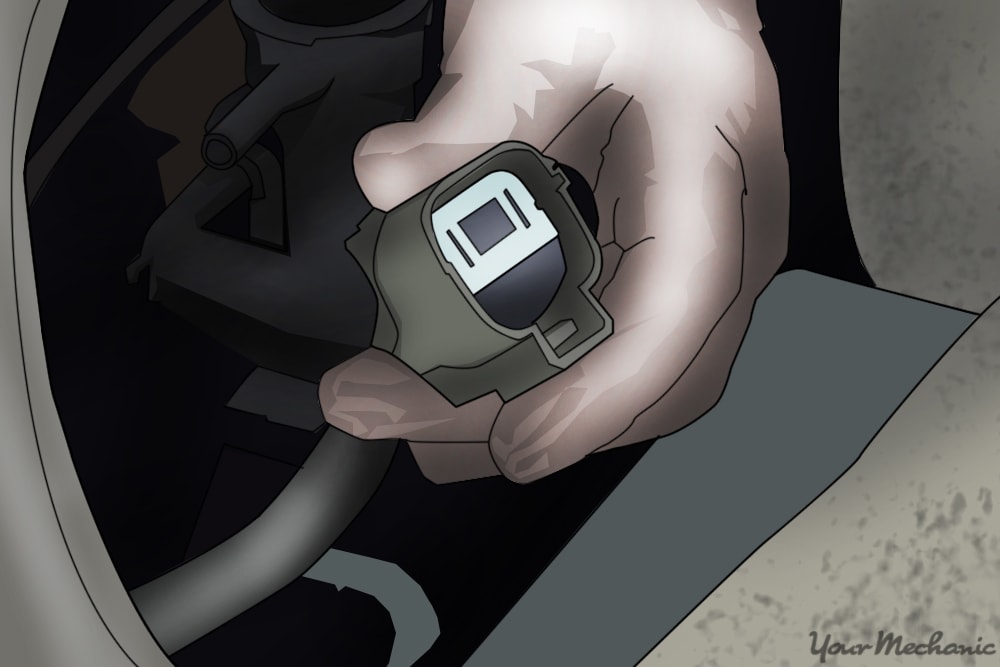
Step 6: Disconnect the cooling fan electrical connector. Disconnect the cooling fan electrical connector by pushing on the tab and pulling it back.
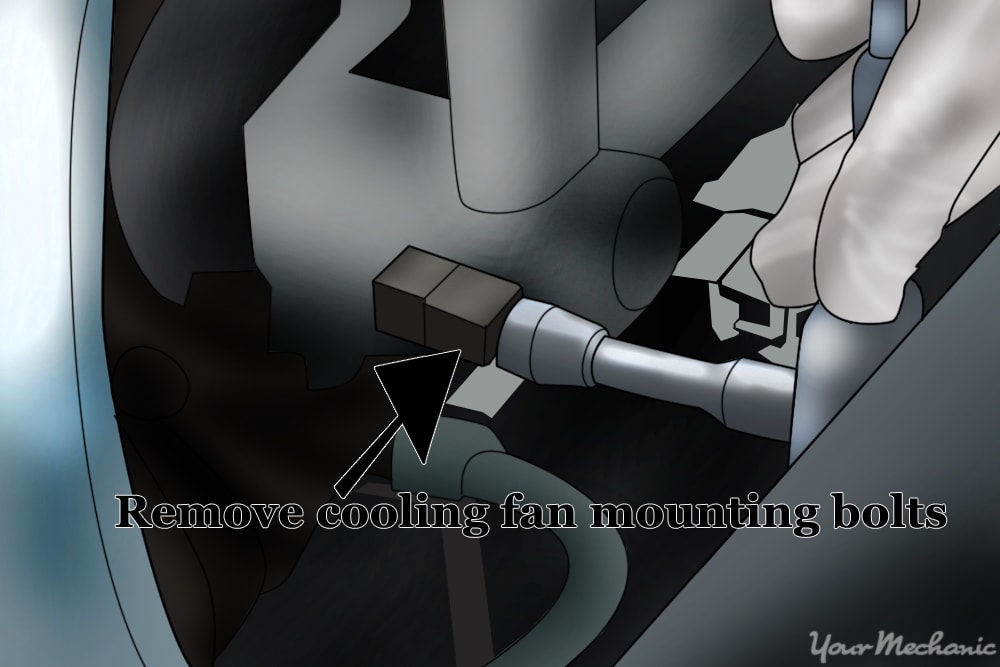
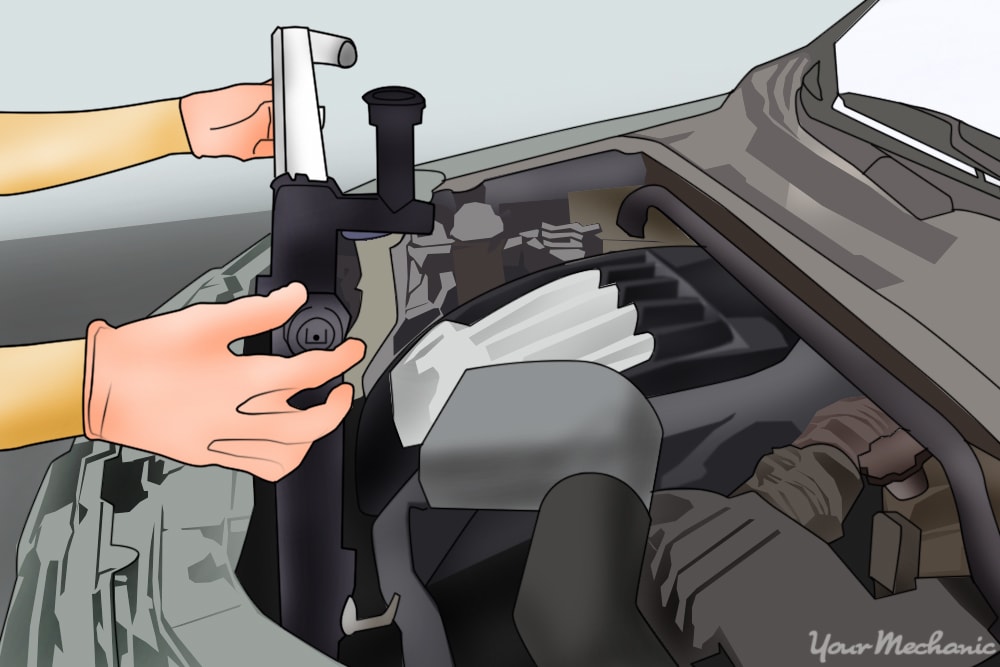
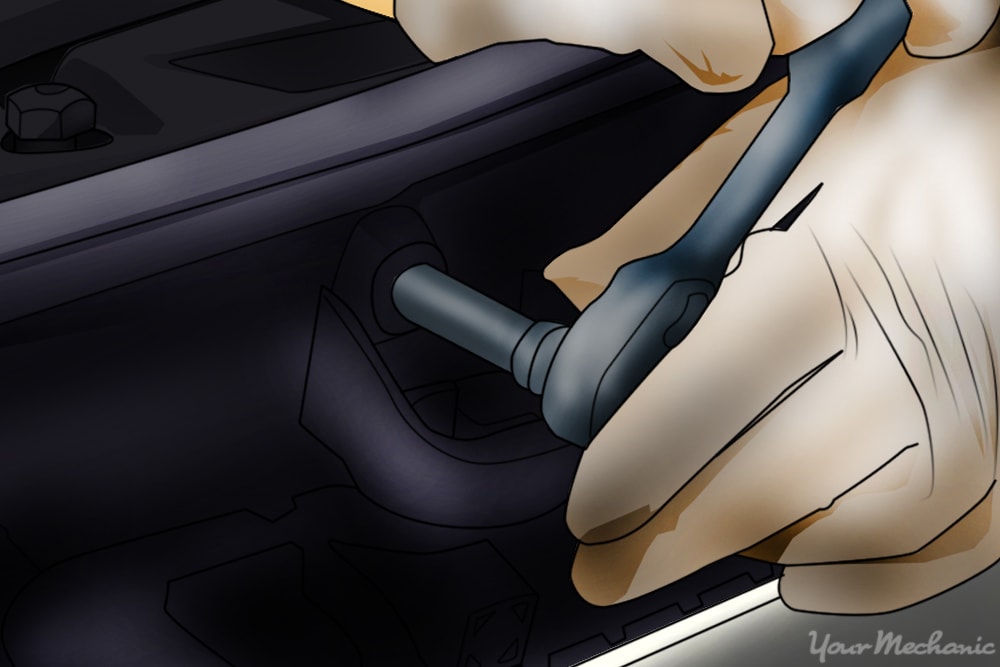
Step 7: Remove the cooling fan mounting bolts. Remove the cooling fan mounting bolts using a ratchet, extension and socket of the appropriate size.
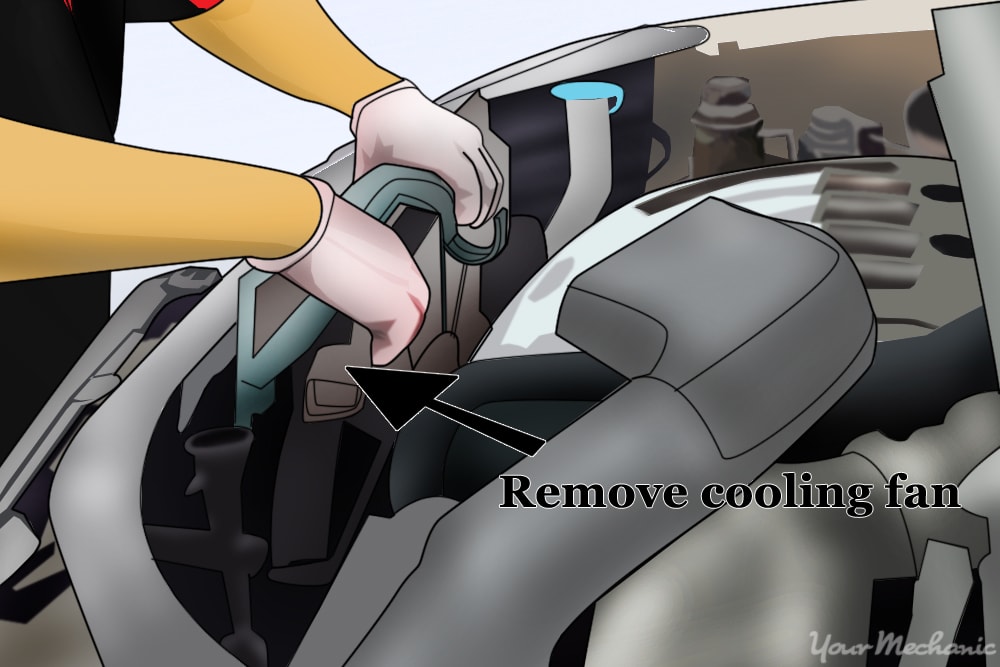
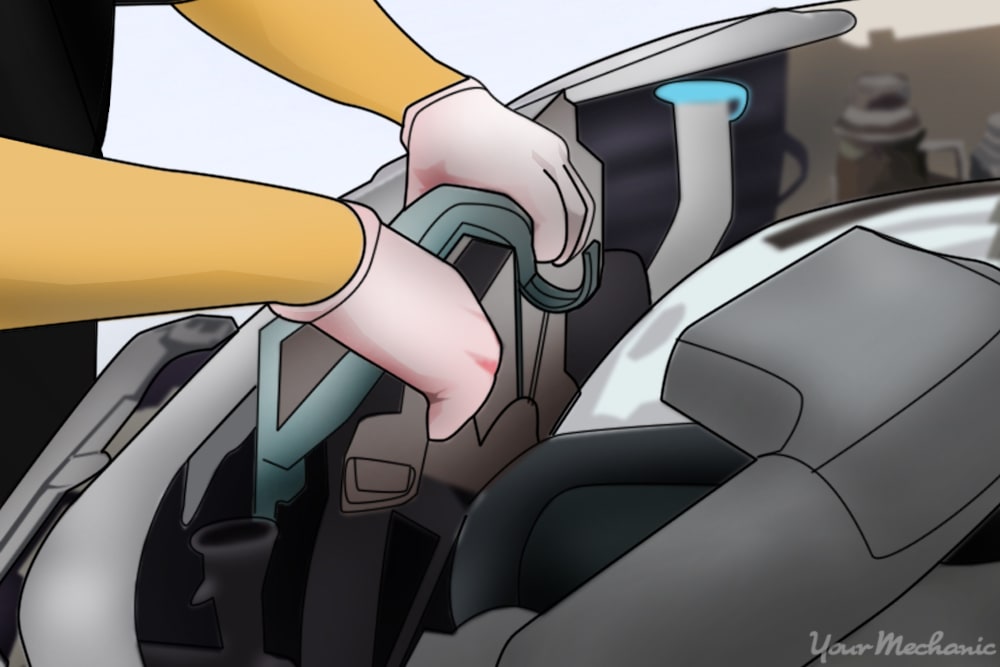
Step 8: Remove the cooling fan. Remove the cooling fan from the vehicle.
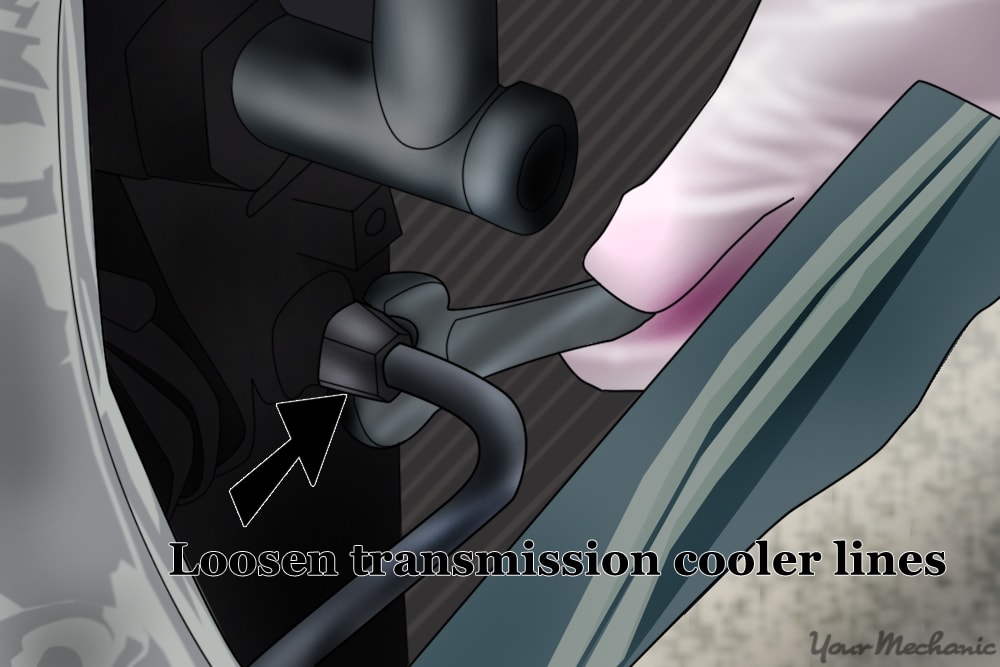
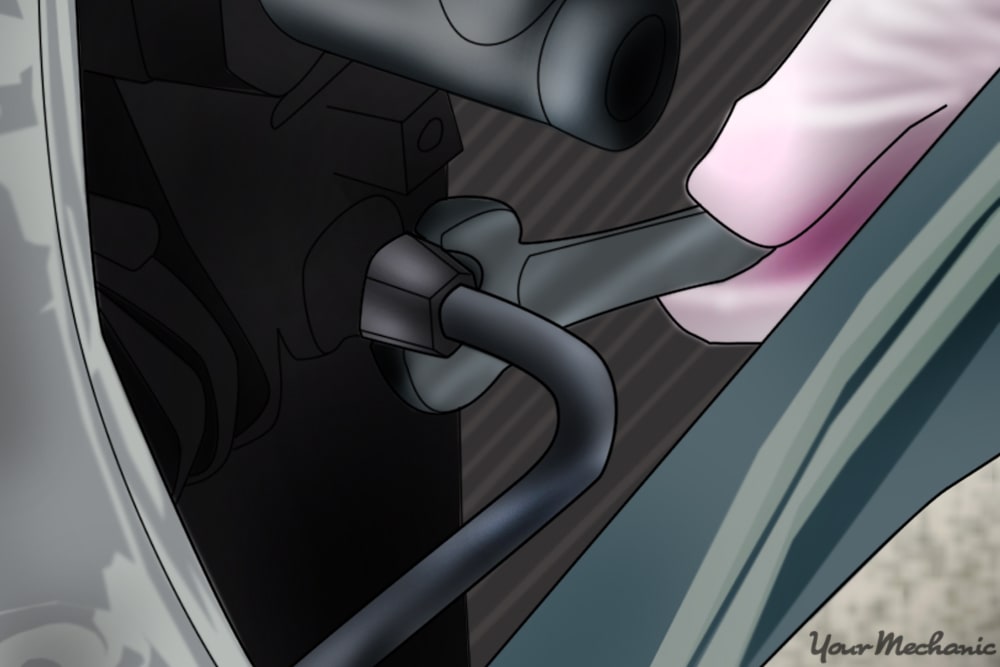
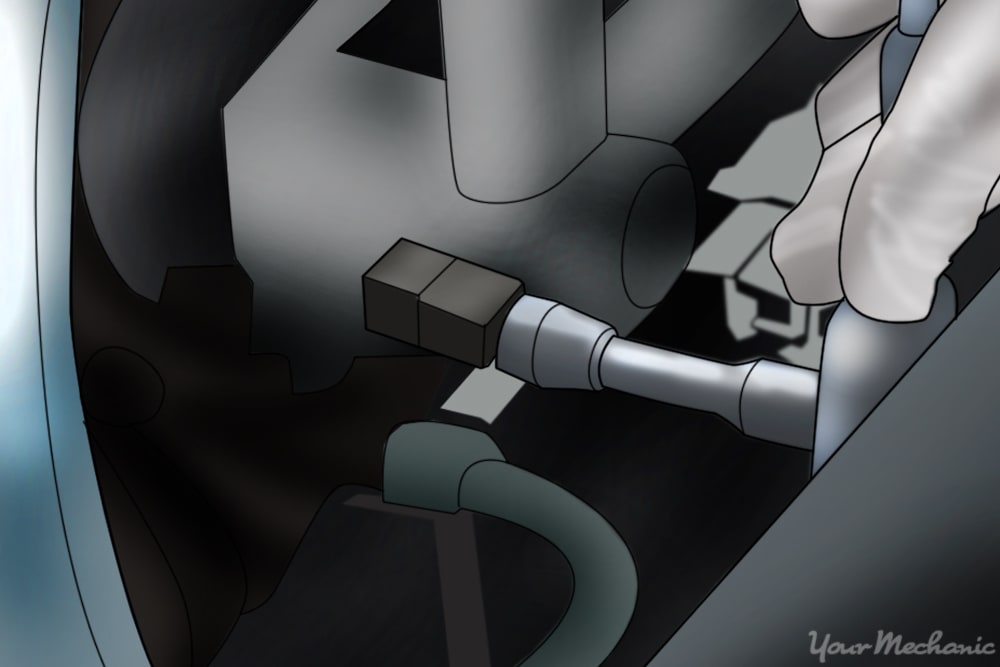
Step 9: Disconnect the transmission cooler lines. Disconnect the transmission cooler lines from the radiator using a flare nut wrench to prevent rounding off the fittings.
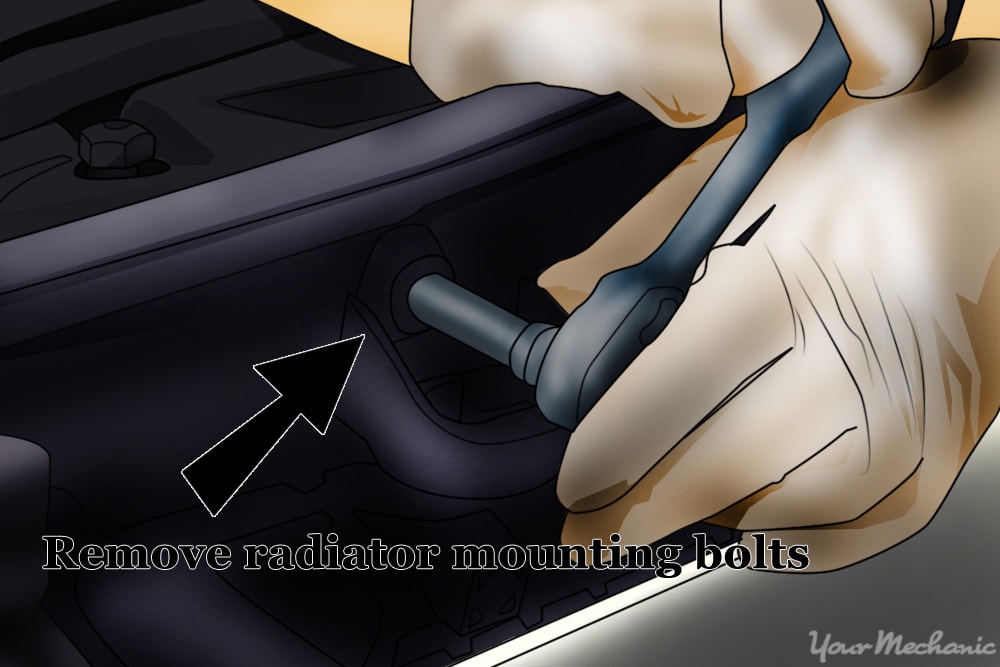
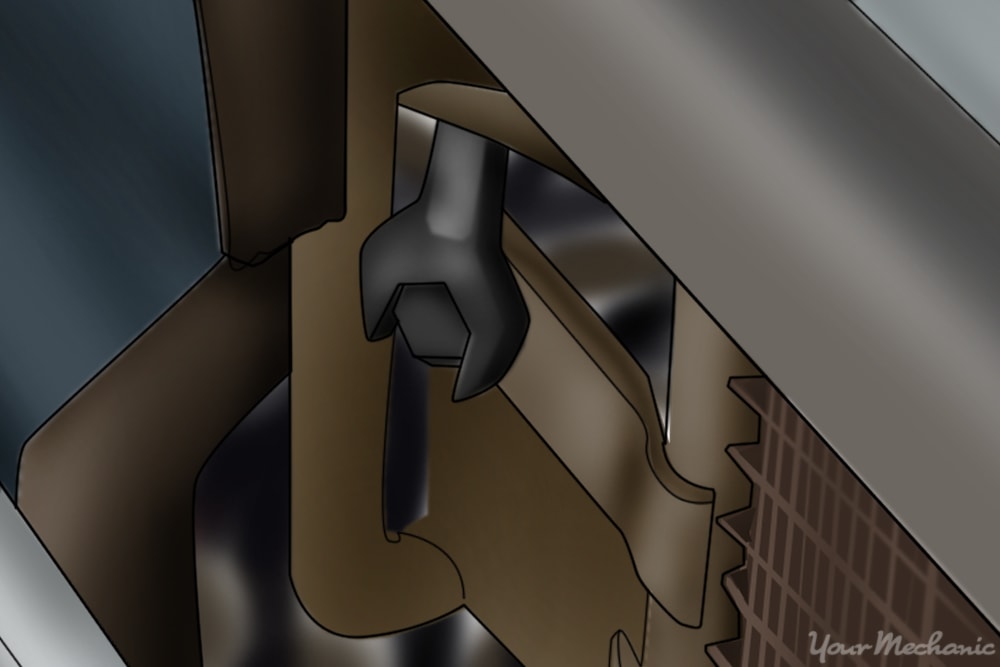
Step 10: Remove the radiator mounting bolts. Remove the radiator mounting bolts using a wrench or ratchet and socket of the appropriate size.
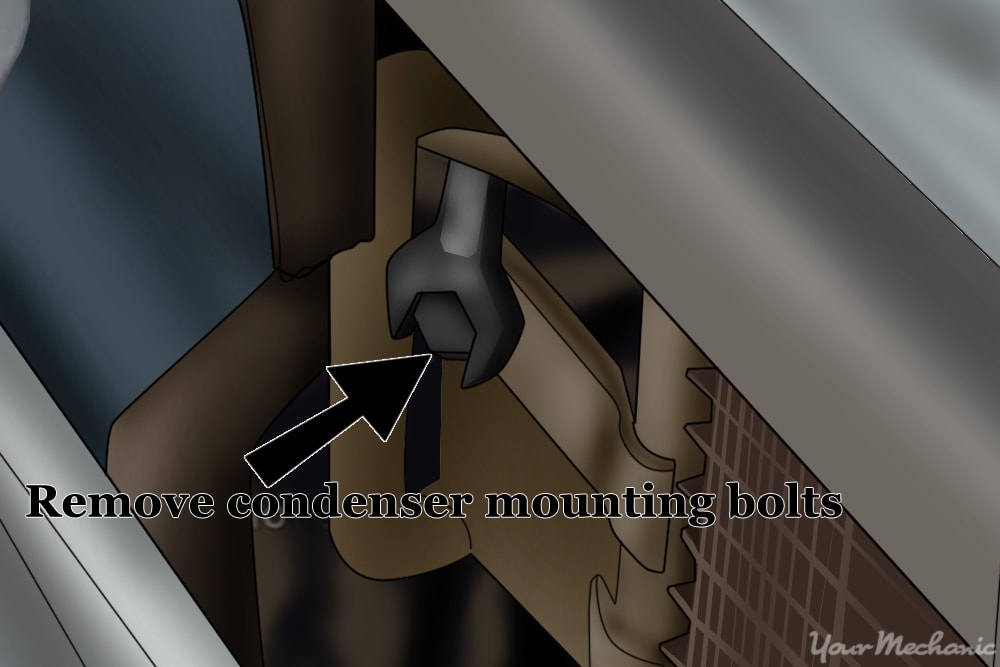
Step 11: Remove the condenser mounting bolts. Remove the condenser mounting bolts using a wrench or ratchet and socket of the appropriate size.
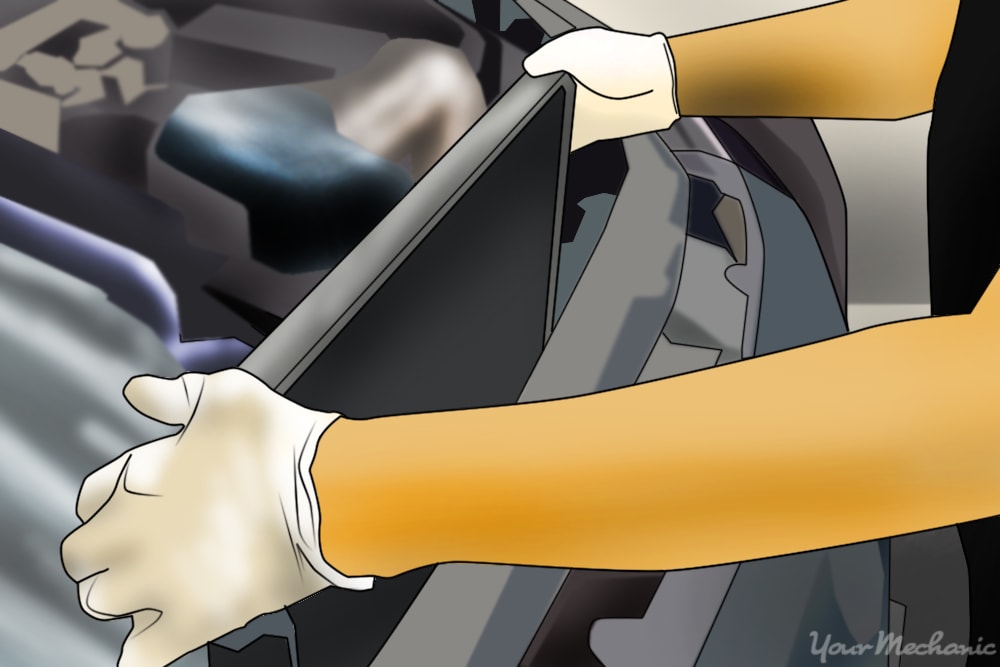
Step 12: Remove the radiator. Remove the radiator from the vehicle.
Step 13: Mount the radiator. Mount the new radiator in position.
Step 14: Install the condenser mounting bolts. Install the condenser mounting bolts and tighten them down.
Step 15: Install the radiator mounting bolts. Install the radiator mounting bolts using a wrench or ratchet and socket of the appropriate size.
Step 16: Connect the transmission cooler lines. Connect the transmission cooler lines to the radiator using a flare nut wrench to prevent rounding off the fittings.
Step 17: Mount the fan. Mount the cooling fan in position.
Step 18: Install the cooling fan mounting bolts. Install the cooling fan mounting bolts using a ratchet, extension and socket of the appropriate size.
Step 19: Reinstall the connector. Reconnect the cooling fan electrical connector.
Step 20: Install the lower radiator hose. Slide the hose onto the connection. Using either pliers or a screwdriver (depending on the clamp design), slide the hose clamps into position and tighten them down.
Step 21: Install the upper radiator hose. Slide the hose onto the connection. Then, using either pliers or a screwdriver (depending on the clamp design), slide the hose clamps into position and tighten them down.
Step 22: Connect the radiator reservoir hose. Slide the hose onto the connection. Then, using either pliers or a screwdriver (depending on the clamp design), slide the hose clamp into position and tighten it down.
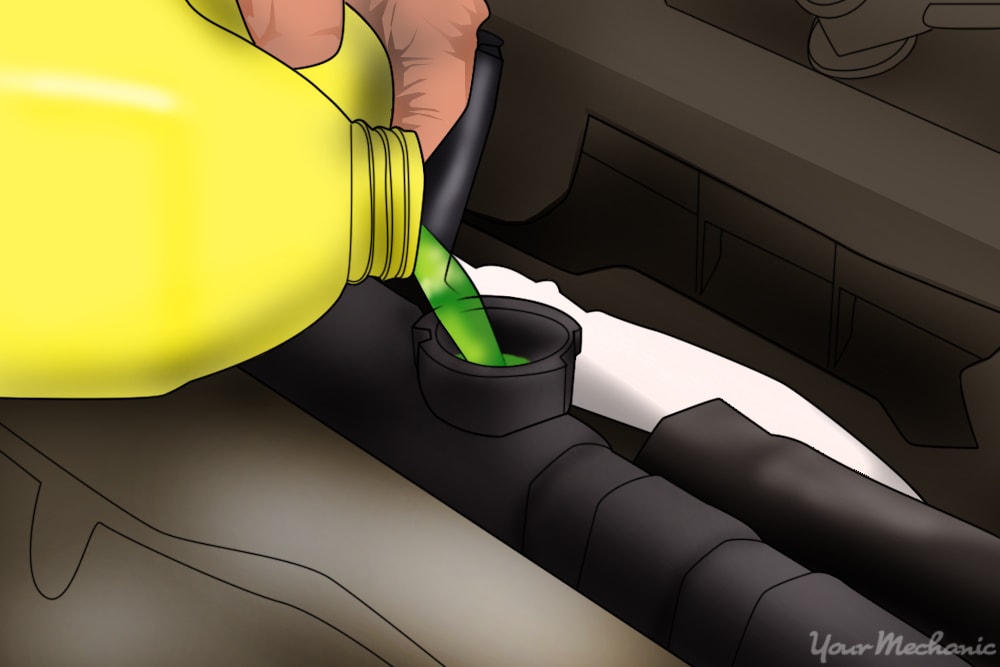
Step 23: Fill the radiator with coolant. Close the drain petcock as needed. Then fill the radiator with coolant.
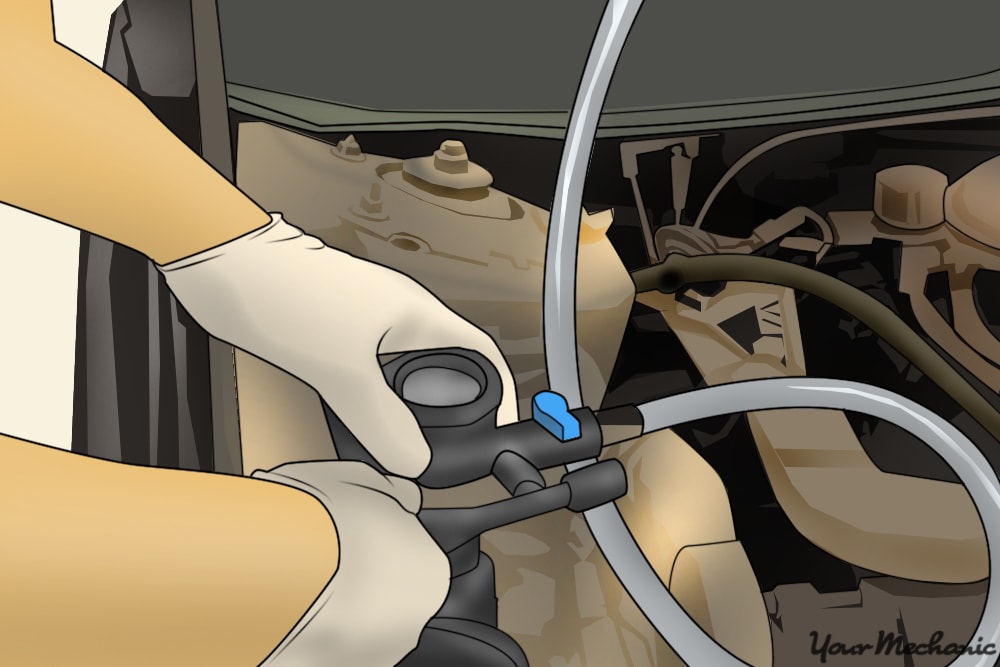
Step 24: Bleed the air from the cooling system. Air can be bled from the cooling system either by opening the bleeder valve if equipped, or using a cooling system vacuum fill tool attached to shop air. On some vehicles, it is possible to bleed the cooling system of air by running the engine with the radiator cap off and allowing coolant to puke out.
Step 25: Lower the vehicle. Jack up the vehicle and remove the jack stands. Then lower the vehicle and remove the wheel chock.
Radiator replacement is a big job. If this seems like a task you’d prefer to leave to a professional, YourMechanic offers expert radiator replacement completed at your home or office.


