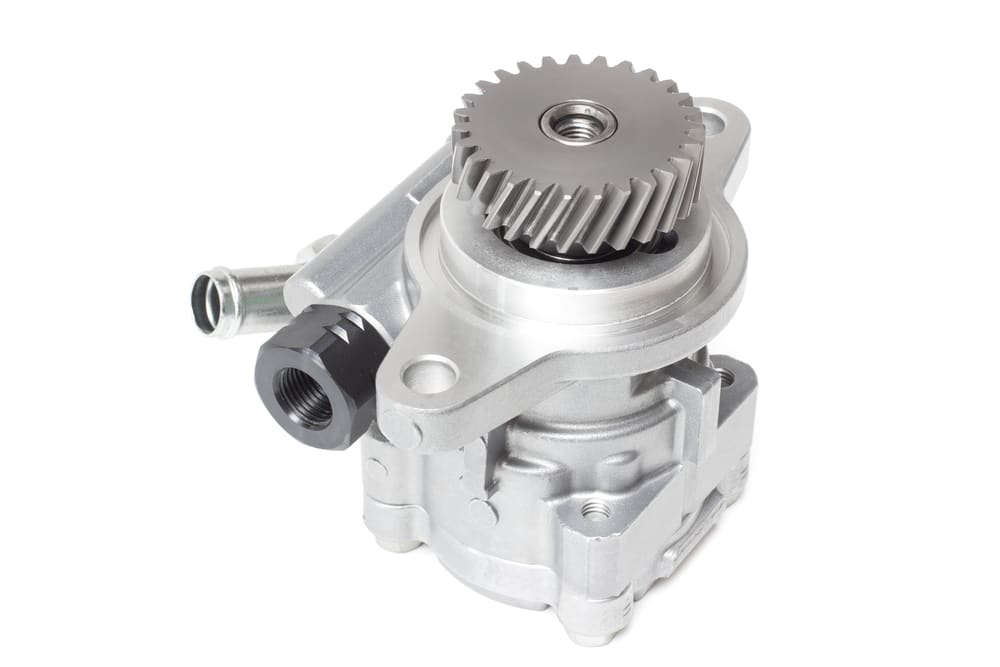

To the running engine, the lubrication system is much like the heart and blood of the entire operation. The pump, valves, bearings and oil play a large role in bringing modern engines to the couple hundred thousand miles plus they see these days. The high pressure safety valve, or oil pressure relief valve, is just one of the devices implemented to keep things running smoothly.
While the engine is running, oil is picked up from the reservoir or oil pan for most vehicles. The oil is drawn into the pump, compressed and distributed throughout the engine. At lower speeds the pump generates enough volume to support the rotating assembly. As the engine speed increases, so does pump output. At a certain point the pump is moving more oil than the engine is demanding and the pressure inside the system can reach a level where it can blow seals. The pressure relief valve opens to send oil back to the reservoir and keep the volume and pressure steady.
Oil cools the engine as well so a consistent flow allows the oil to do it’s job, drain and cool off in the pan before returning to the engine. Heavy-duty vehicles generally require an added oil cooler because of the added load.
Problems arise when the demand for oil is greater than the available supply. In this case, the pressure relief valve may be stuck open and allowing too much oil to bypass the system and dump back into the reservoir. If the oil pressure relief valve sticks closed, pressures inside the system can spike high enough to burst oil filter housings or damage oil cooler cores and seals. A stuck-closed valve and low oil level together can run the reservoir dry as well and cause damage to all of the components of the lubrication system including the pump itself.
Modern vehicles include the pressure relief valve in the oil pump housing which can be found inside the engine behind the timing cover or the oil pan. Because of this, a vehicle service manual is mandatory to find the location of the valve as the design varies.
Method 1 of 1: Replacing the oil pressure relief valve
Materials Needed
- Drain container for used oil
- New oil and filter
- Tool set with wrenches
- Vehicle service manual
Step 1: Do some homework. Familiarize yourself with the instructions in the manual and the locations of the parts on the vehicle before tearing anything apart. Doing this beforehand may enlighten you about any possible special tools required for the job.
Step 2: Prepare your safety materials. Always wear eye protection when working on a vehicle and it is necessary to use protective gloves to keep the chemicals off of your skin.
Step 3: Prepare the vehicle for the work. Set the vehicle's parking brake and keep the key out of the vehicle. Disconnect the battery negative terminal to open the electrical circuit in an attempt to make sure it does not start on it’s own.
Step 4: Drain the engine oil. Drain the engine oil and replace the drain plug now so it doesn’t get lost. Remove the engine oil filter. Once the work is done, you will add new oil and a new filter.
Step 5: Gain access to the pressure relief valve. Locate and remove the relief valve if your vehicle is equipped with an external unit near the oil filter housing. It may be necessary to remove the oil filter housing or oil pan to access the relief valve on some models.
Step 6: Compare the old and new parts. Some kits include upgrades or modifications to improve on common failures, but the new parts will share similar form and function.
Step 7: Reassemble the oiling system. Reattach the oil filter housing with new gaskets. Install the oil pan with a new seal if it was removed.
- Note: Never reuse an old oil seal as many are made of rubber and petroleum products will weaken rubber materials over time. The seal may not have been leaking before you removed the part, but it surely will leak if the old gasket is used again.
Step 8: Check your work. Look over all of the areas you were working in and look out for loose or missing fasteners. Let’s take care of these now before moving forward to avoid an accidental spill or worse.
Step 9: Top off fluids. Fill the engine with oil and if you haven’t done so, put on the new oil filter. There are few things worse than starting a vehicle with no oil filter and wasting a gallon of fresh oil.
- Note: If the oil filter mounts vertically with the open side up, fill the oil filter with fresh oil. This method avoids a dry start and get the oil moving quickly.
Step 10: Start the car. With the fluids full and all fasteners tight, you are ready to start the vehicle. Start the vehicle and allow it to run for about 10 seconds. After 10 seconds turn the vehicle off and check the oil level. Top off if necessary.
The engine's lubrication system is back in working order with the proper safety measures intact. Always use the type of oil recommended by the manufacturer to avoid fluctuations in oil pressure that may cause major damage to the engine assembly. The oil pressure relief valve is designed to the grade of oil to be used in the engines service life and you must adhere to the proper recommendations for the best results and longevity of the engine.


