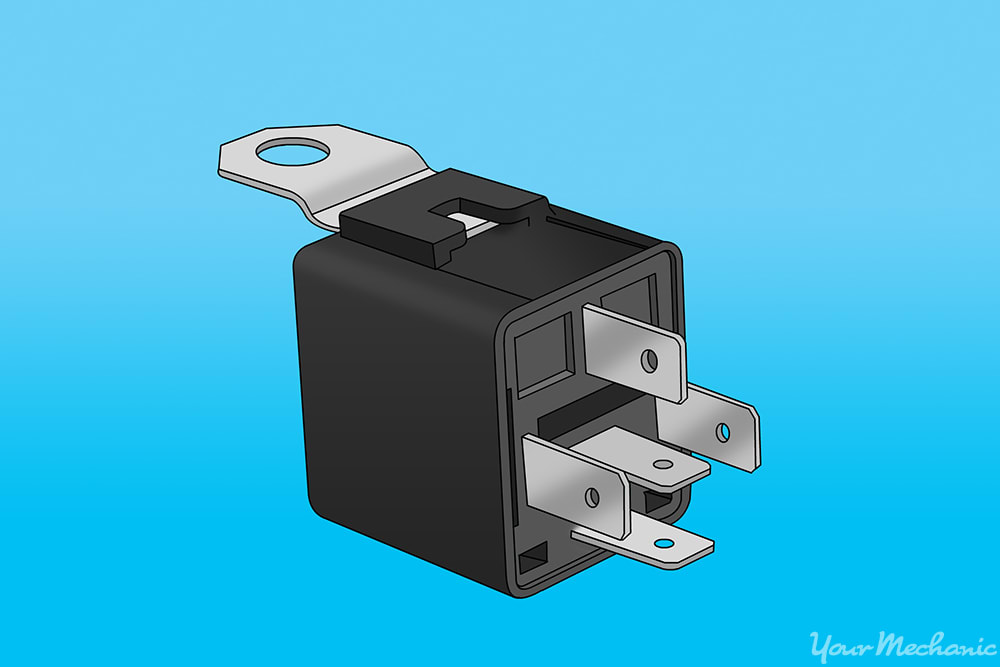
A relay is an electromagnetic switch operated by a relatively small electric current that can turn a much larger electric current on or off. The heart of a relay is an electromagnet (a coil of wire that becomes a temporary magnet when electricity flows through it). You can think of a relay as a kind of electric lever: switch it on with a tiny current and it switches on (“leverages”) another appliance using a much bigger current.
As the name suggests, many relays are incredibly sensitive pieces of electronic equipment and produce only small electric currents. But often we need them to operate bigger pieces of apparatus that use bigger currents. Relays bridge the gap, making it possible for small currents to activate larger ones. That means relays can work either as switches (turning things on and off) or as amplifiers (converting small currents into larger ones).
When power flows through the first circuit, it activates the electromagnet, generating a magnetic field that attracts a contact and activates the second circuit. When the power is switched off, a spring pulls the contact back up to its original position, switching the second circuit off again. The input circuit is switched off and no current flows through it until something (either a sensor or a switch closing) turns it on. The output circuit is also switched off.
A door lock relay can be located in four different places on a vehicle, including:
- Under the dash on the wall by the brake pedal
- Under the dash in the middle of the cab behind the stereo
- Under the dash behind the passenger air bag
- In the engine compartment on the firewall on the passenger side
It is a sign of door lock relay failure when you’re trying to operate the door lock switches on the door panel and the door locks will not activate. Commonly the computer will override the relay circuit when using a keyless remote access to the locks, routing the power through the alarm system provided that the vehicle is equipped with an alarm of some sort. A key can still manually unlock the doors.
Some computer codes that may be displayed for a failed door lock relay include:
The following step-by-step guide will walk you through replacing this part in the event that it fails.
Part 1 of 3: Preparing to replace the door lock relay
Having all of the necessary tools and materials prior to starting the work will allow you to get the job done more efficiently.
Materials Needed
- Allen wrench set
- Boxed end wrenches
- Cross tip, or phillips head, screwdriver
- Disposable gloves
- Electrical cleaner
- Flat tip screwdriver
- Needle nose pliers
- New door lock relay
- Nine-volt battery saver
- Ratchet with metric and standard sockets
- Torques bit set
- Wheel chocks
Step 1: Position the vehicle. Park your vehicle on a flat, hard surface. Make sure that the transmission is in park.
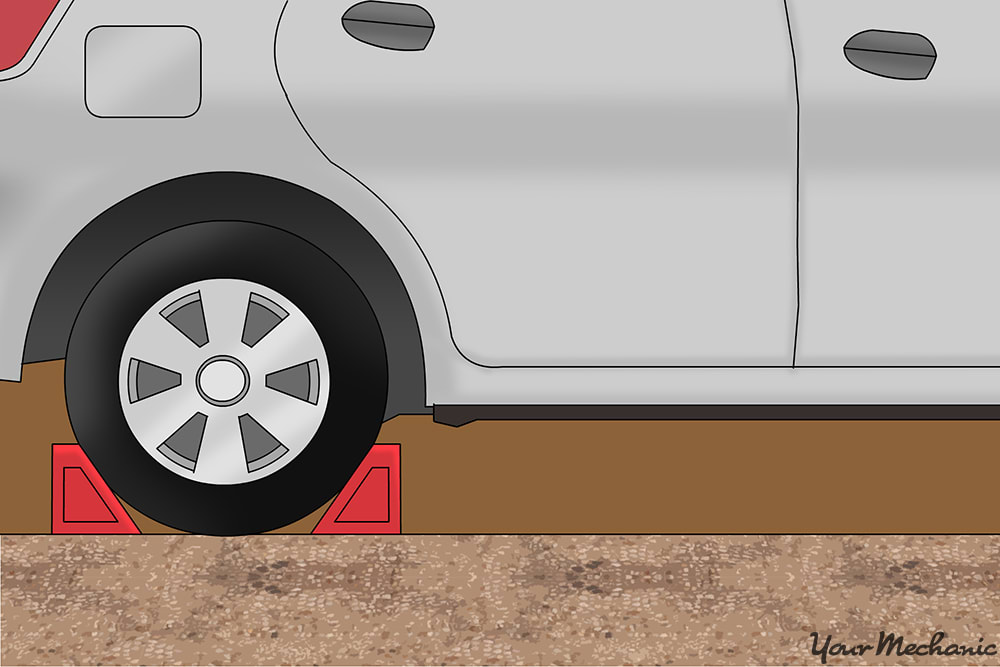
Step 2: Secure the vehicle. Place wheel chocks around the tires. Engage the parking brake to the lock the rear tires and keep them from moving.
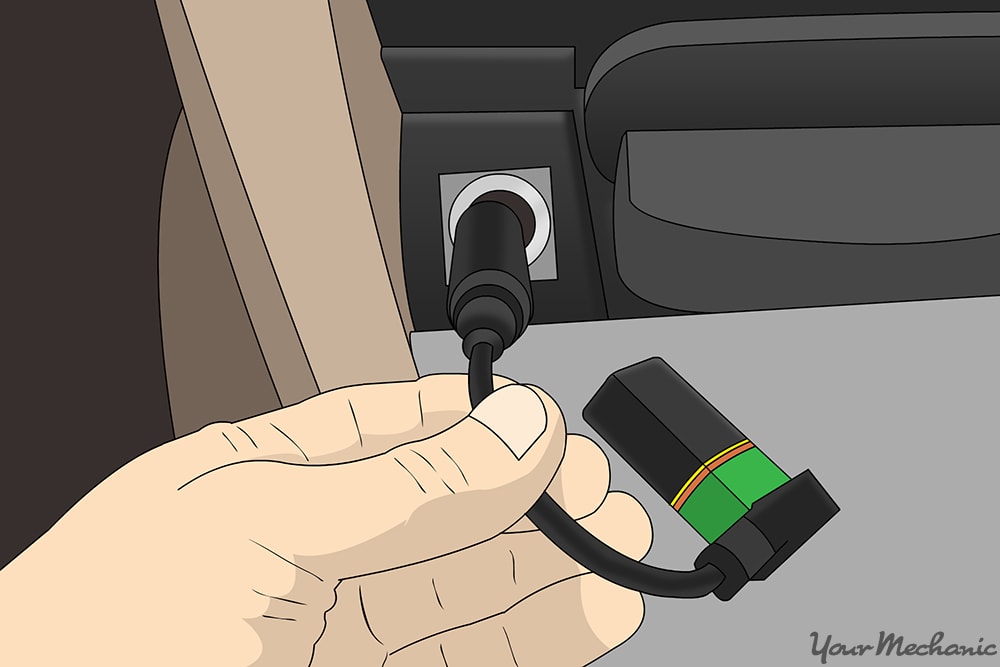
Step 3: Install a nine-volt battery saver. Plug the battery saver into your cigarette lighter.
This will keep your computer live and keep your settings current in the vehicle. If you do not have a nine volt battery saver, though, that’s okay.
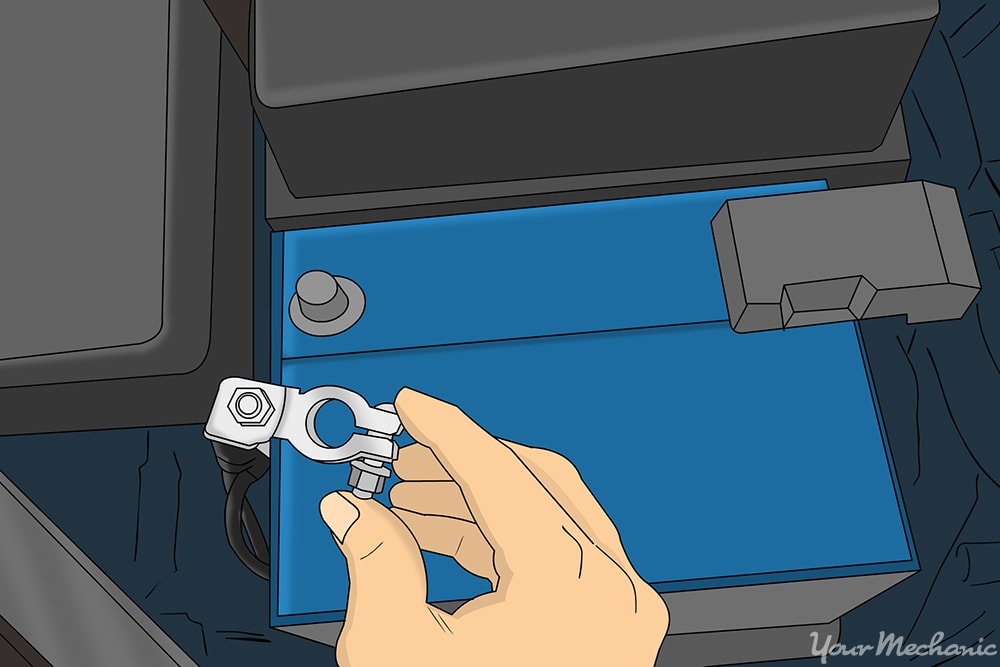
Step 4: Open the hood and disconnect the battery. Remove the negative post from the battery terminal. This disconnects the power to the door lock relay.
Part 2 of 3: Replacing the door lock relay
For those located under the dash by the brake pedal:
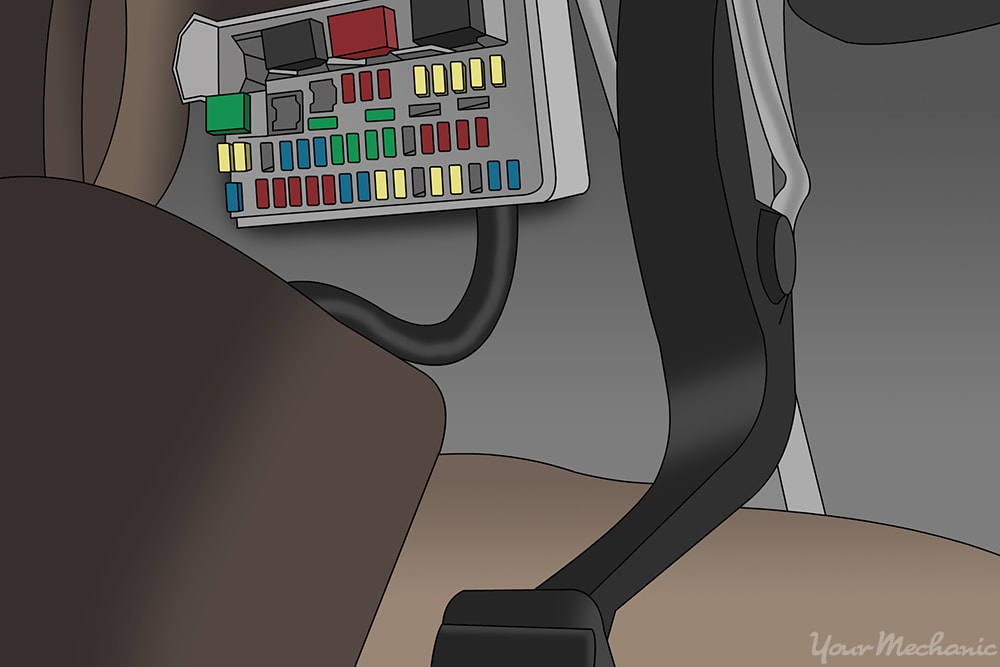
Step 1: Find the door lock relay. Go to the breaker panel on the wall next to the brake pedal. Using a diagram, locate the door lock relay.
Step 2: Remove the old door lock relay. With a pair of needle nose pliers, pull out the relay.
Step 3: Install the new door lock relay. Get the new relay out of its package. Install the new relay into the slot in which the old one sat.
For those located under the dash in the middle of the cab behind the stereo:

Step 1: Find the door lock relay. Remove the panel that covers the area under the stereo. Locate the door lock relay next to the computer.
Step 2: Remove the old door lock relay. Using a pair of needle nose pliers, pull out the old relay.
Step 3: Install the new door lock relay. Get the new relay out of its package. Install it into the slot in which the old one sat.
Step 4: Replace the panel. Reinstall the panel that covers the area under the stereo.
For those located under the dash behind the passenger air bag:
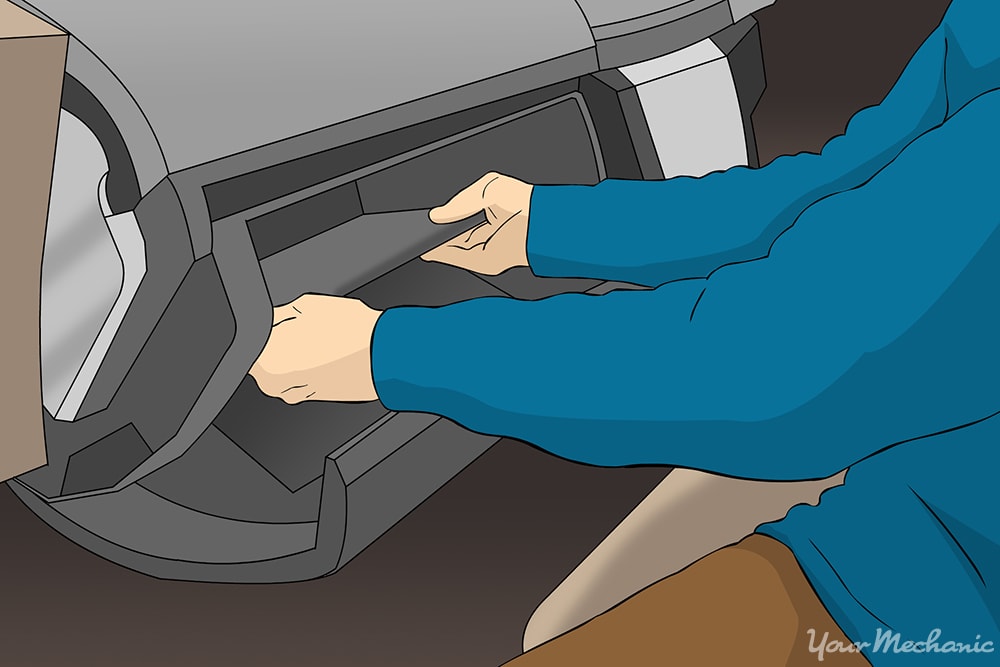
Step 1: Remove the glove box. Remove the glove box so that you can get to the screws that hold the finishing panel above the glove box in place.
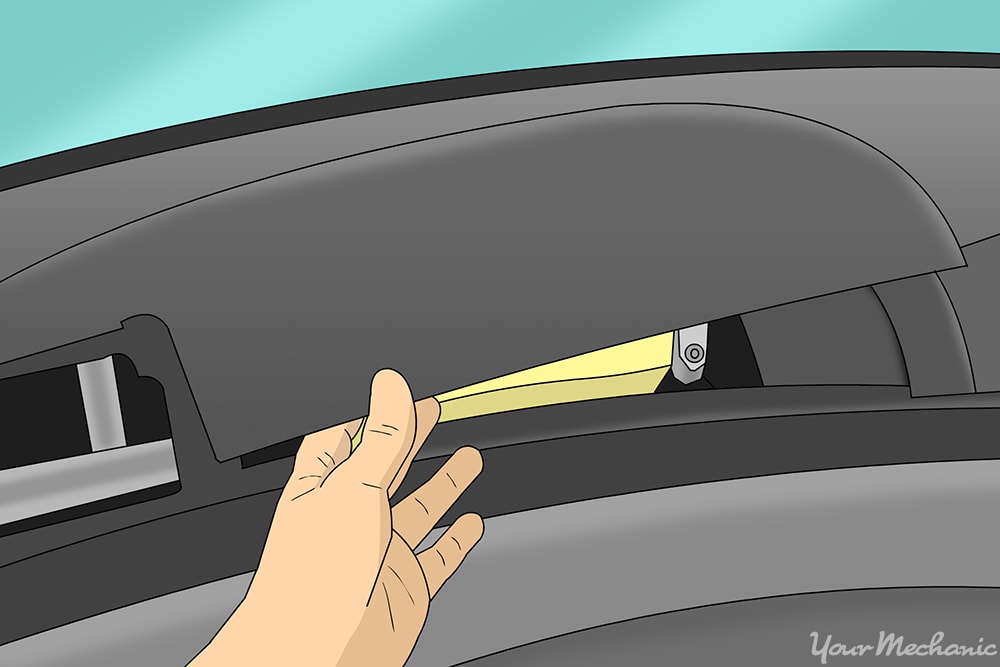
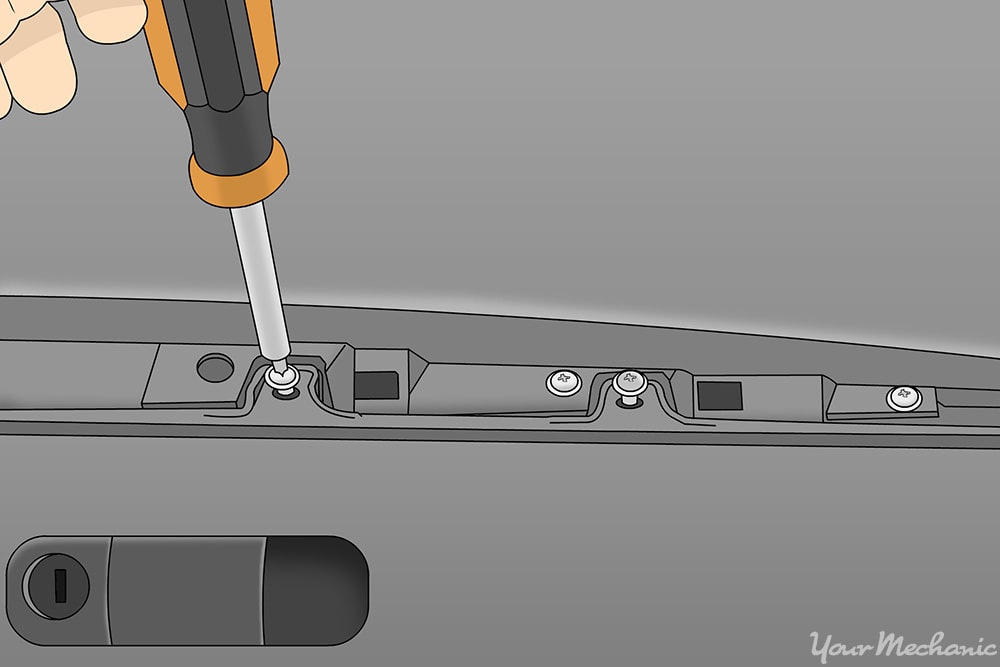
Step 2: Remove the finishing panel above the glove box. Undo the screws holding the panel in place and remove the panel.
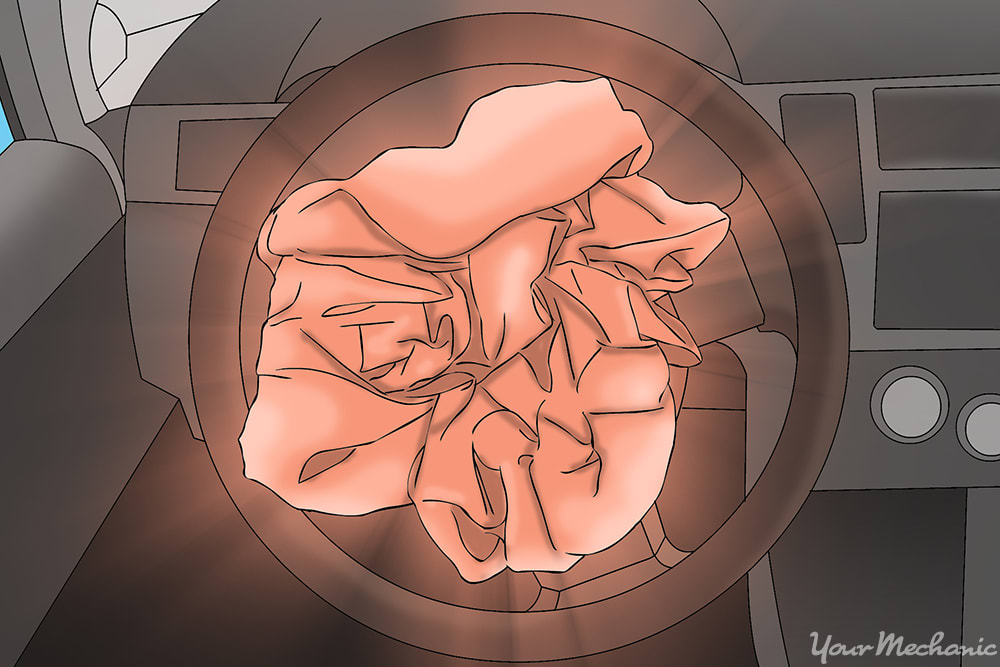
- Warning: Make sure that the battery has been disconnected prior to removal of the air bag or serious injury may occur.
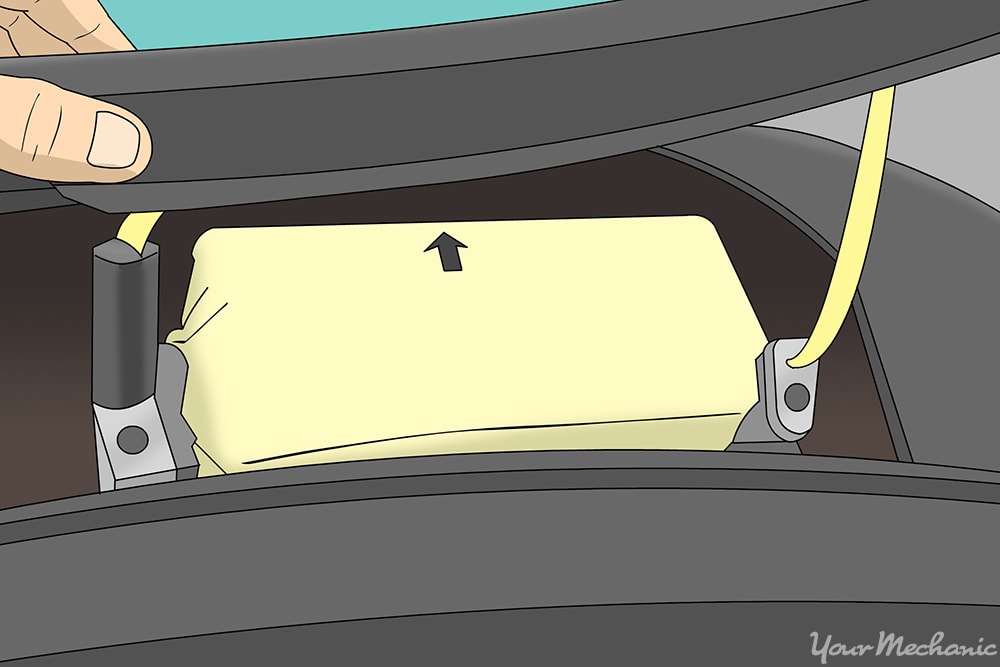
Step 3: Remove the passenger air bag. Undo the bolts and nuts that hold the passenger air bag in place. Then lower the air bag and disconnect the harness. Take the air bag out of the dashboard.
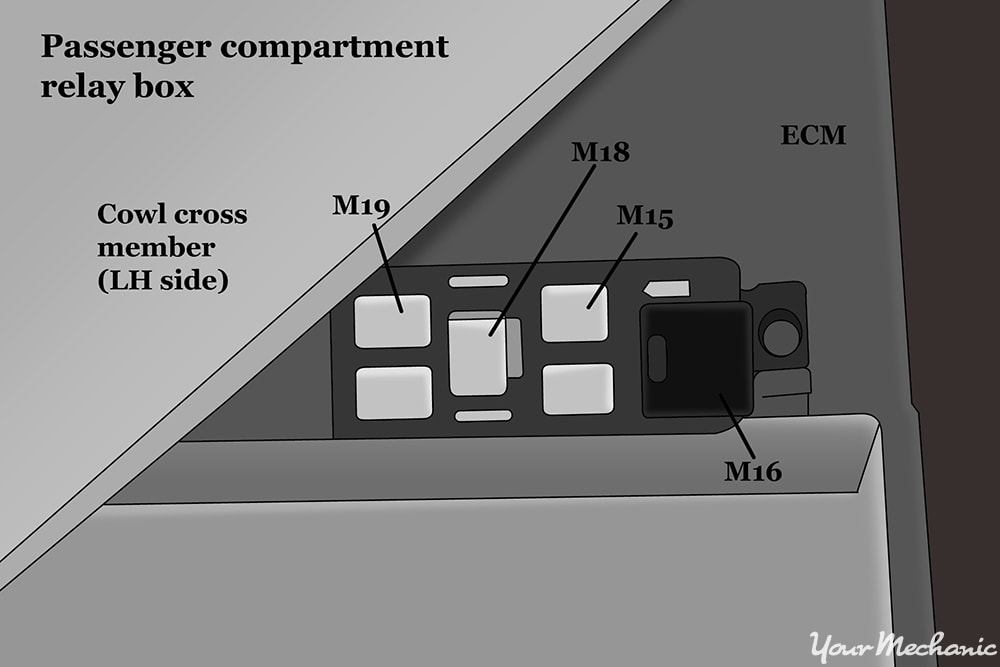
Step 4: Locate the door lock relay. Find the relay within the dash area you just opened up.
Step 5: Remove the old door lock relay. Using a pair of needle nose pliers, pull out the old relay.
Step 6: Install the new door lock relay. Get the new relay out of its package. Install it into the slot in which the old one sat.
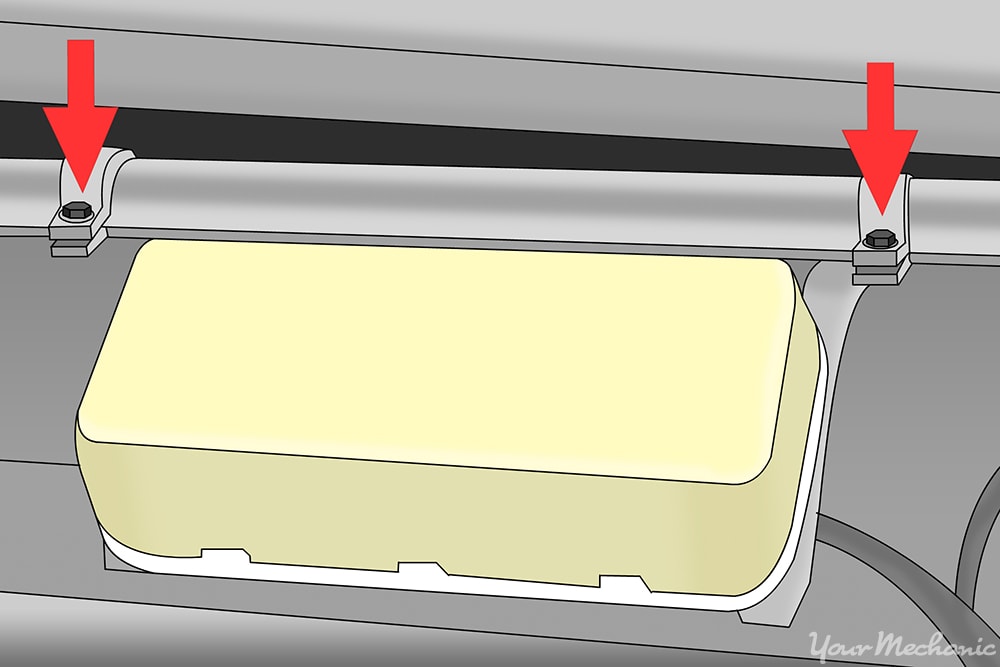
Step 7: Replace the passenger air bag. Plug in the harness to the air bag and lock the tab. Reinstall the bolts and nuts to secure the air bag.
Step 8: Reinstall the finishing panel. Place the finishing panel back into the dash above the glove box compartment and screw in all the fasteners that were used to hold it in.
Step 9: Replace the glove box. Reinstall the glove box back into its compartment.
If you had to remove the air cylinders, be sure to put them back on the correct height adjustment setting.
For those located in the engine compartment on the firewall on the passenger side:
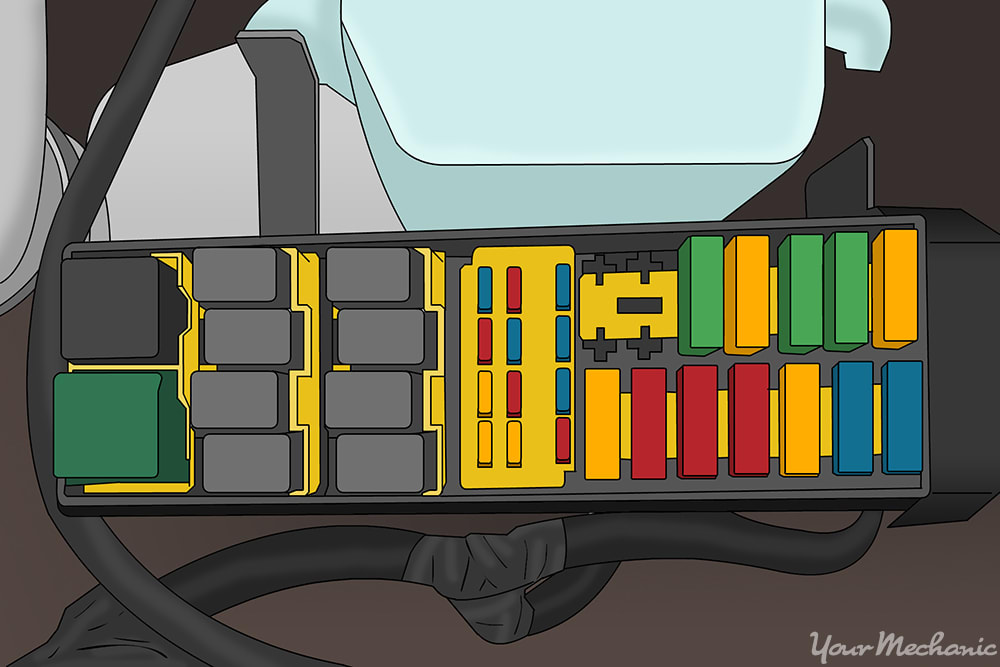
Step 1: Find the door lock relay. Open the hood if it is not already open. Locate the relay next to the cluster of different relays and solenoids.
Step 2: Remove the old door lock relay. Using a pair of needle nose pliers, pull out the old relay.
Step 3: Install the new door lock relay. Get the new relay out of its package. Install it into the slot in which the old one sat.
Part 3 of 3: Testing the new door lock relay
Step 1: Reconnect the battery. Hook up the negative battery cable to the negative terminal. This will supply power to the new door lock relay.
You can now remove the nine-volt battery saver from the cigarette lighter.
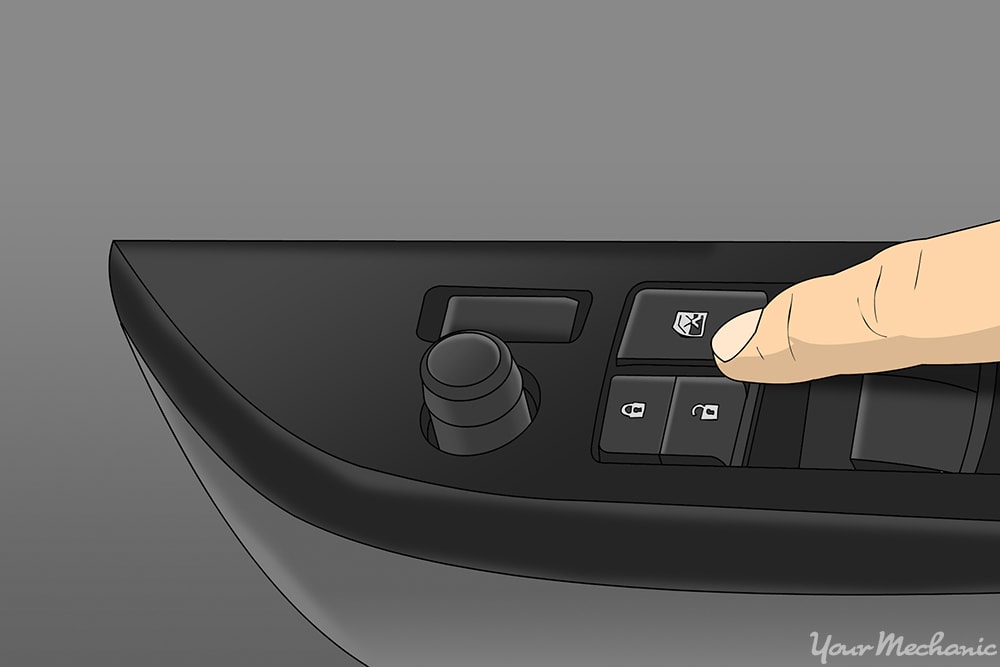
Step 2: Operate the door lock switches. Locate the door lock switches on the front doors and try the switches. If everything was done properly, the locks should now operate correctly.
If you still cannot get the door locks to work after replacing the door lock relay, then there may be further diagnosis of the door lock switch or a possible electrical failure of the door lock actuator. You can always Ask a Mechanic to recieve quick, detailed advice from one of the certified mechanics at YourMechanic.
If the problem does lie with the door lock relay, you can use the steps in this guide to simply replace the part yourself. However, if you would feel more comfortable having a professional do the job, you can always contact YourMechanic to have a certified technician come and replace your door lock relay for you.