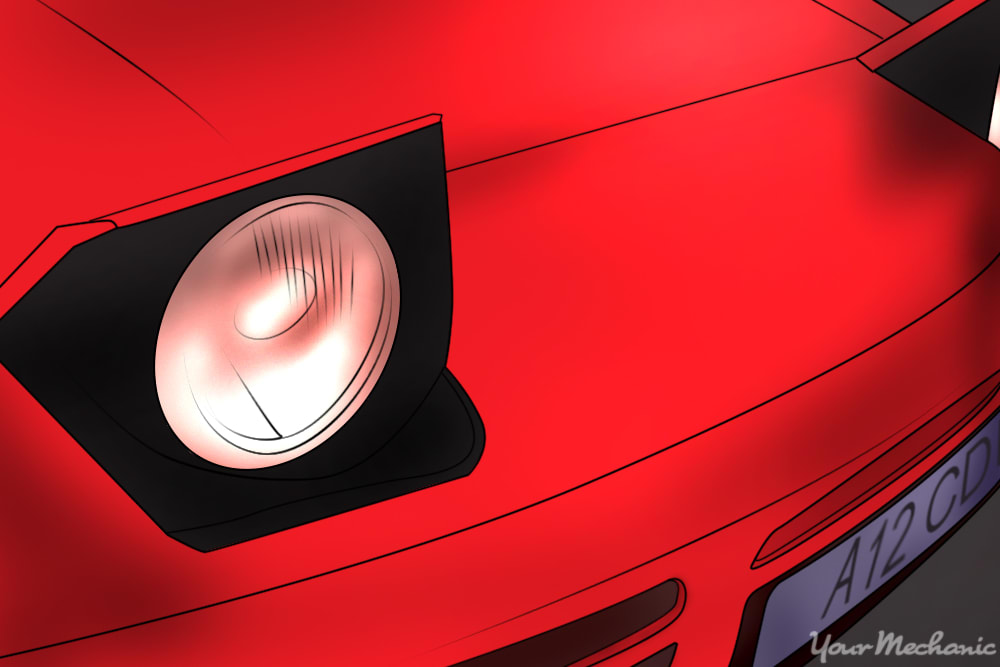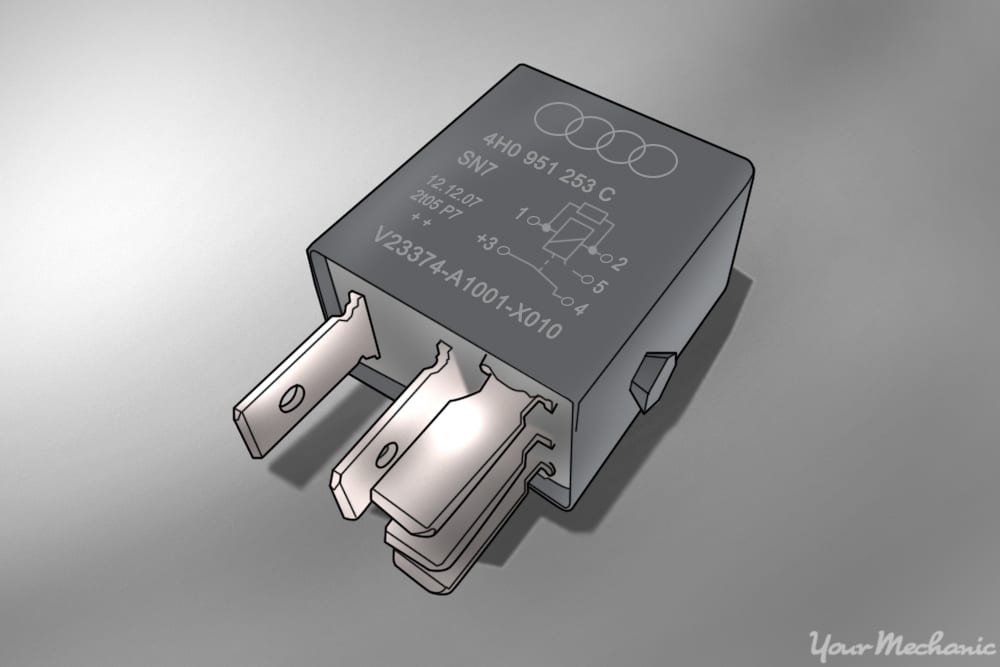

All relays, including your headlight closure relay, are used to keep high amperage and voltage systems away from the driver as a safety measure. Used in “flip-up” lights, which fold out of the body of the vehicle, headlight closure relays are essential for headlight operation. This relay is located in your main fuse box or panel.
Any relay that supplies power to an electrical system that is used as frequently as the headlights are is going to need replacing eventually; you may even need to do it more than once in the lifetime of your vehicle. Symptoms of a failing relay include headlights that fail to open or close and possibly intermittent functioning of the headlight motors.
Part 1 of 1: Replacing the headlight closure relay
Materials Needed
- Pliers (if needed)
- Replacement relay
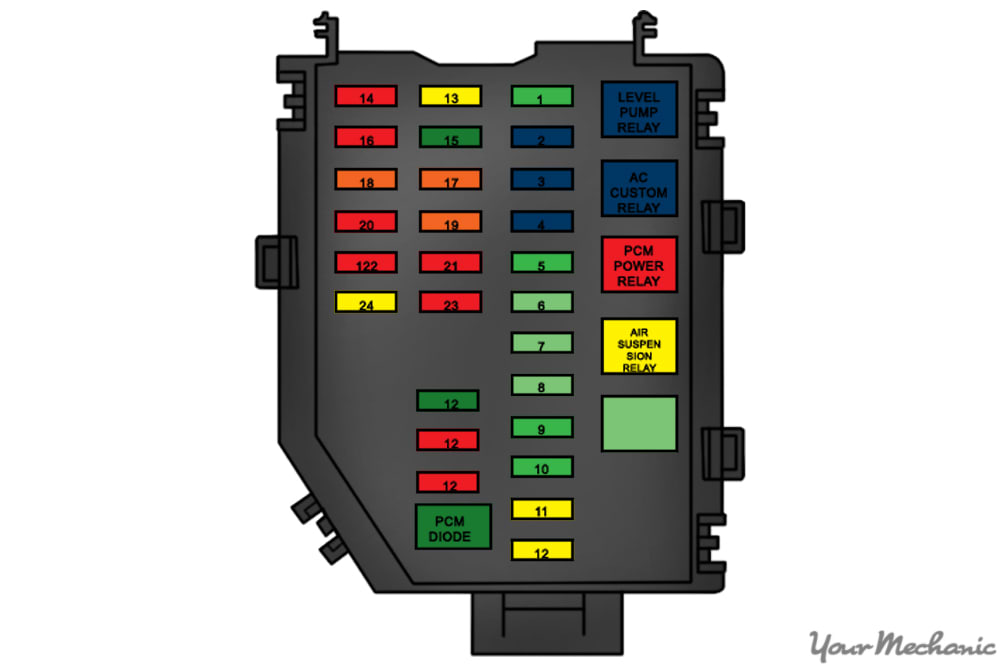
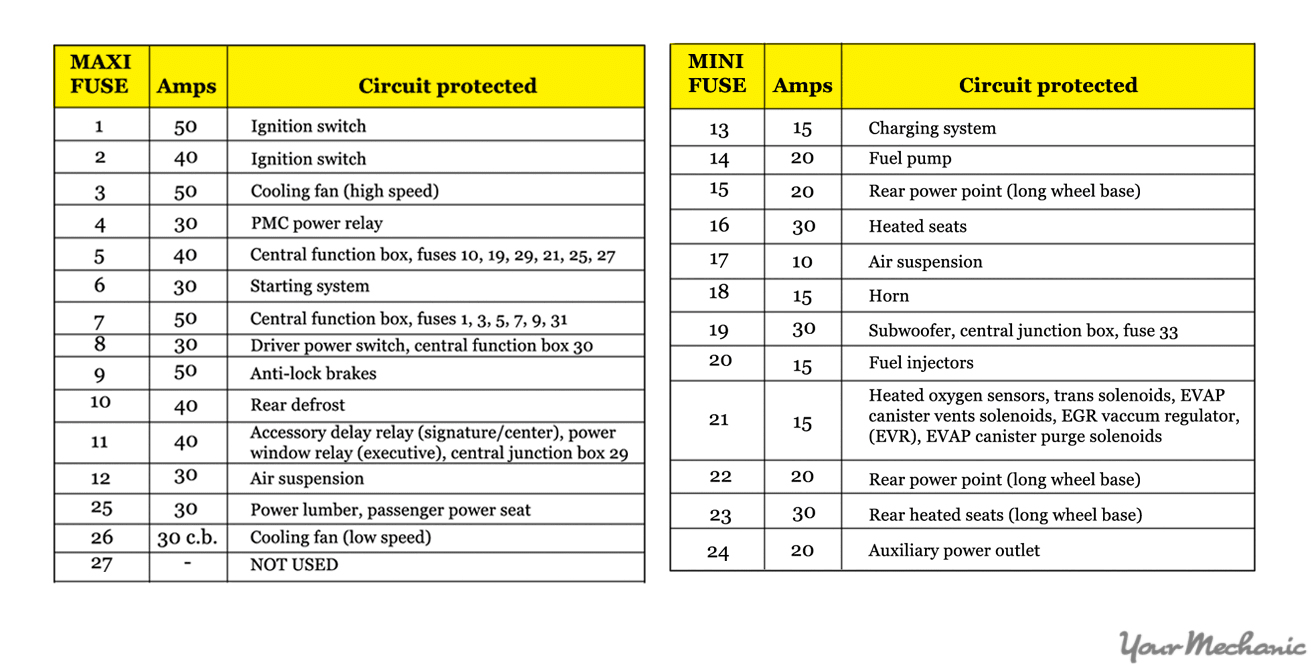
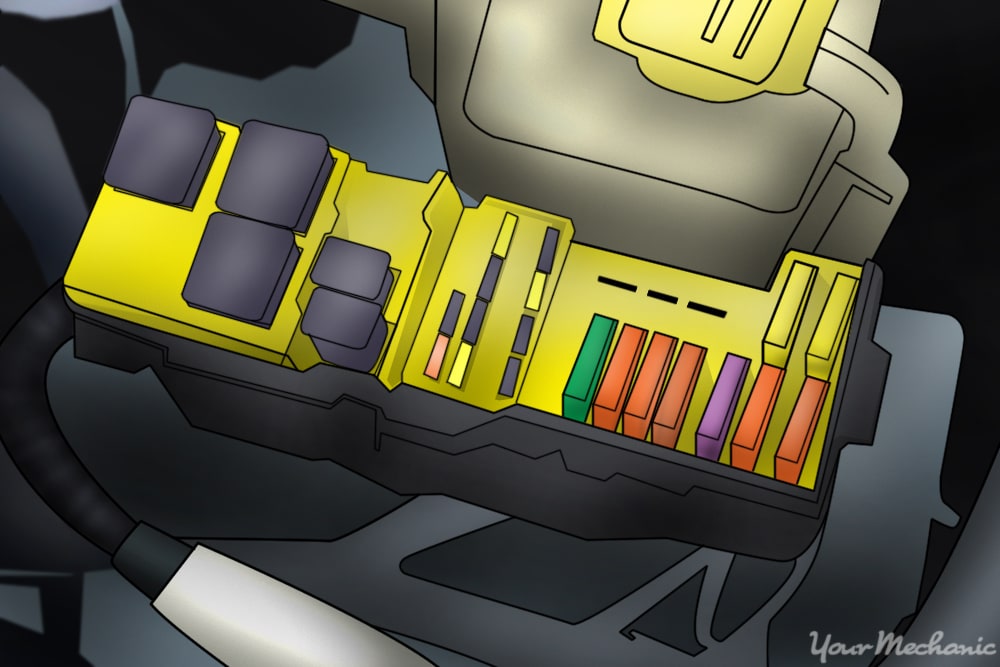
Step 1: Locate the headlight closure relay. Check in your vehicle’s owner’s manual for the location of the headlight closure relay. It will most likely be under the hood of your vehicle where your main fuse panel is located. However, it may be located inside the cab of the vehicle if you vehicle is equipped with an interior fuse box.
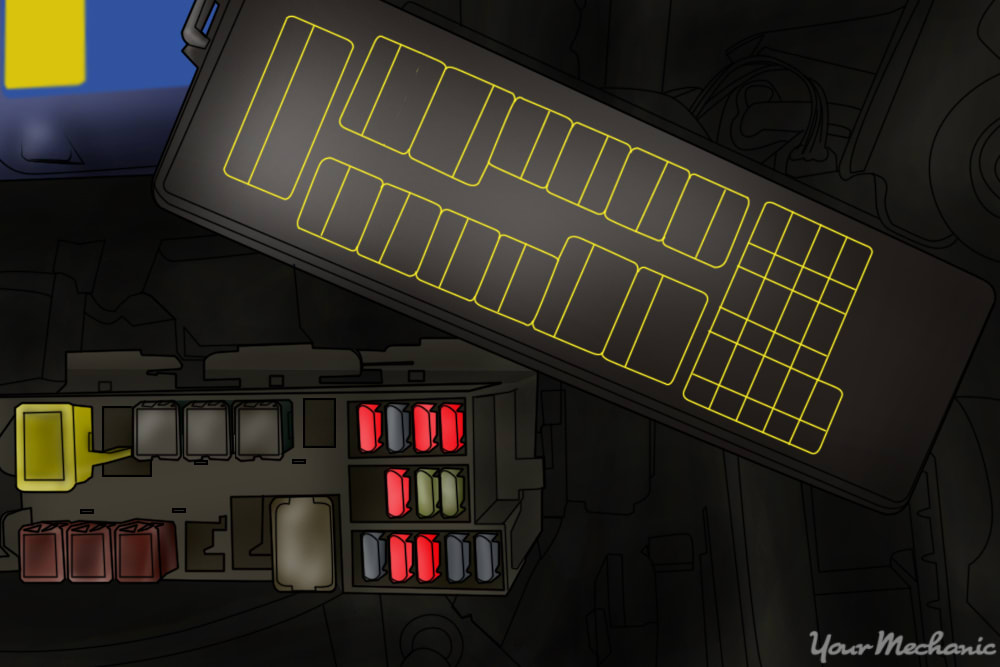
Step 2: Remove the fuse box cover or lid. To access the headlight closure relay, you will need to remove the cover or lid from the fuse box.
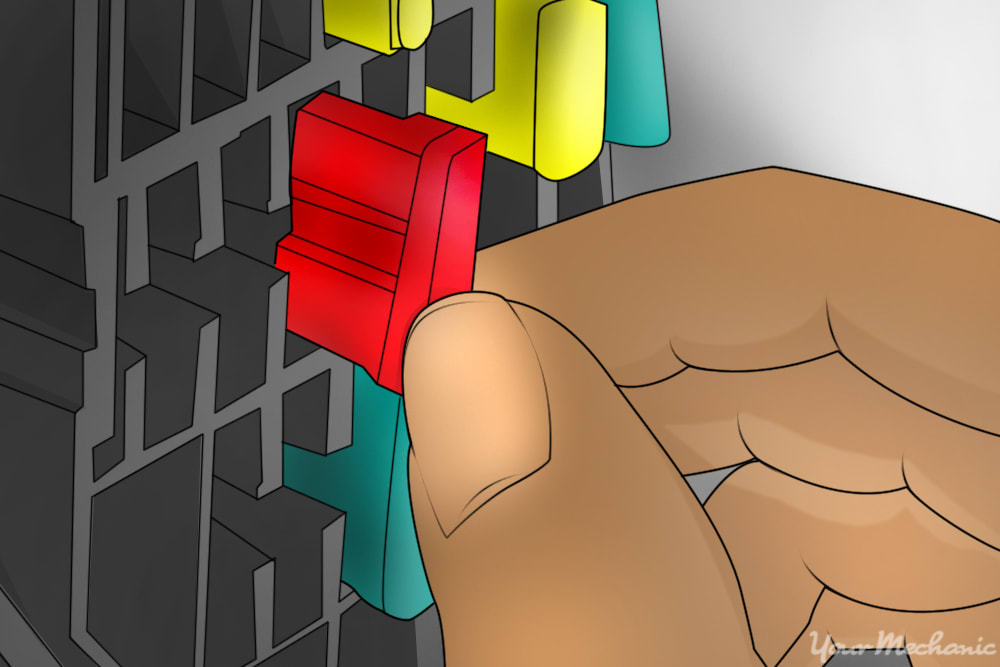
Step 3: Remove the old relay. The headlight closure relay will pull directly out from its terminal. If it is hard to grasp, you can use a pair of pliers, needle nose or otherwise. Verify that it is the same style of relay as the replacement relay.
- Tip: Check the terminal that connects to the relay. Make sure that it is clean and will make a good connection before you install the new relay. Check the old relay for any damages. Major damage may be caused by other components related to the function of the headlight closure relay. If this is the case, these issues will need to be resolved before the installation of the new relay can be completed.
Step 4: Insert the new relay. Insert the new headlight closure relay where the old relay was removed. Push firmly down on the relay to properly connect it.
Step 5: Test the headlights. Turn on the vehicle and test the headlights. Make sure the headlights pop up and turn on in a timely manner. Then turn them off to ensure that they close properly. Run this test three or four times to confirm proper functionality.
Step 6: Reattach the fuse box cover. Reattach the fuse box cover you had to remove to access the relay. You can then recycle your old relay as long as it is in good condition (i.e., no melted plastics, melted metal, or major destruction).
Old fashioned “pop-up” headlights add a certain appeal to many vehicles old and new. They do involve more moving parts, including additional sets, motors, and electrical systems, to make them function. If your headlight closure relay leaves you in the dark, or you would simply rather have a professional perform this repair for you, you can always contact a certified technician, such as one from YourMechanic, to come and replace your headlight closure relay for you.


