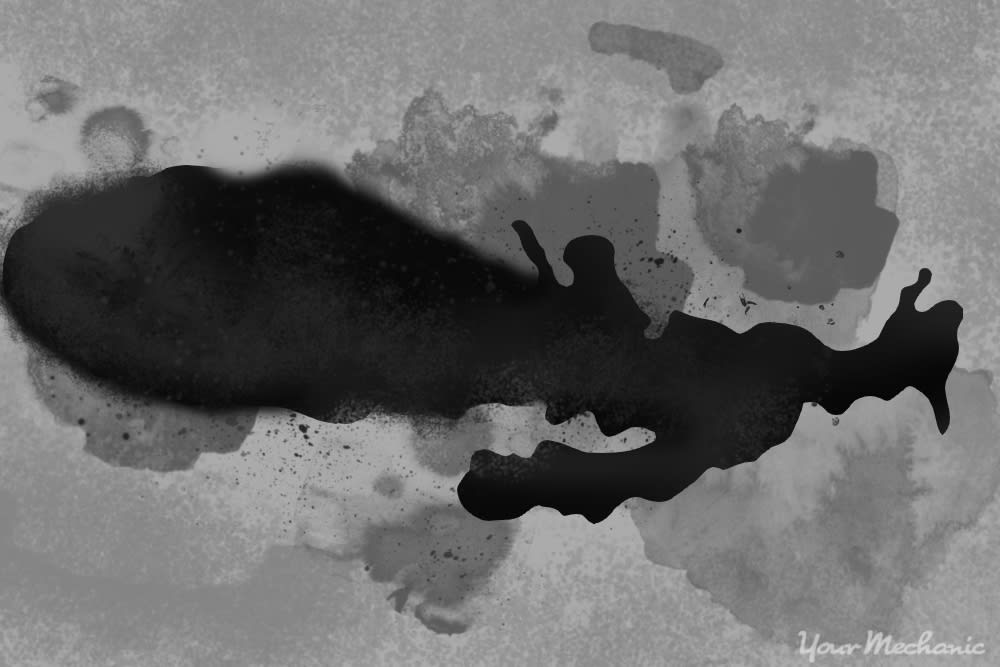
Tar is the sticky, black substance that usually appears on the lower part of your car. Often it is seen behind your wheel wells and on the lower half of the side doors, though in extreme cases it can be on the hood, grille, roof, and windows of your vehicle.
Where does all this tar come from? It is a substance used in asphalting, and when you drive on recently laid asphalt or drive over recently filled potholes tar can splash up onto your car. Or, if you drive past equipment that is performing roadwork, you may even get tar splashed onto your vehicle.
Removing tar from your vehicle is a different process than removing bugs or sap, because tar is an oil-based substance. It doesn’t fully harden for several years and doesn’t come off well with natural cleaners. A solvent-based cleaner is needed to properly remove tar, though tar removers often also work well to remove bugs and sap from a vehicle's surface. After removing the tar, you should also wash and wax your car to make it shine.
Method 1 of 2: Using a tar remover spray
Materials Needed
- Bucket
- Car wax
- Microfiber towels
- Mild soap or detergent
- Tar remover
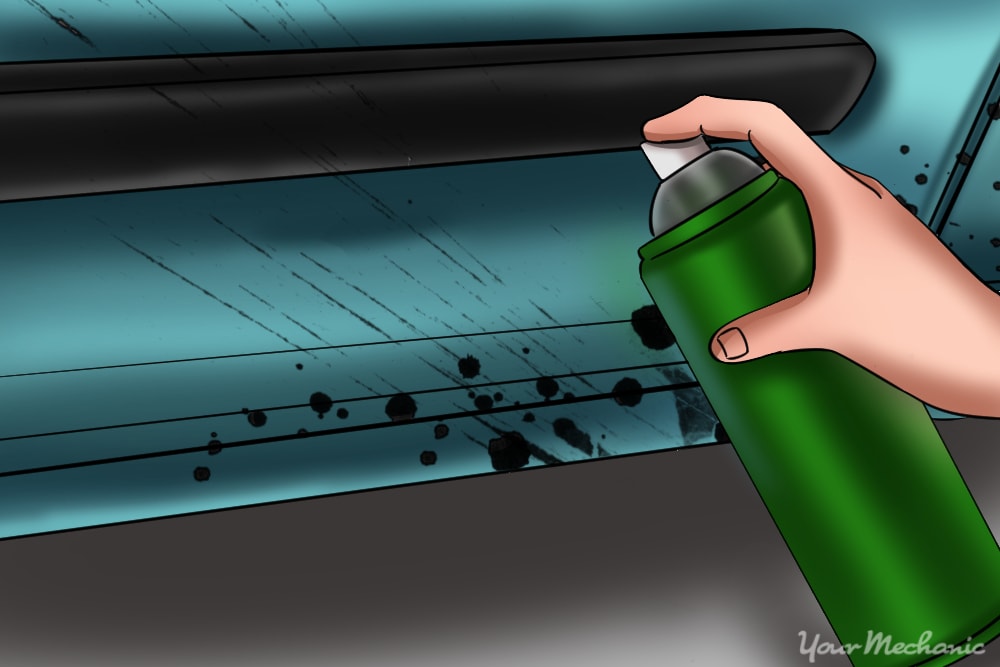
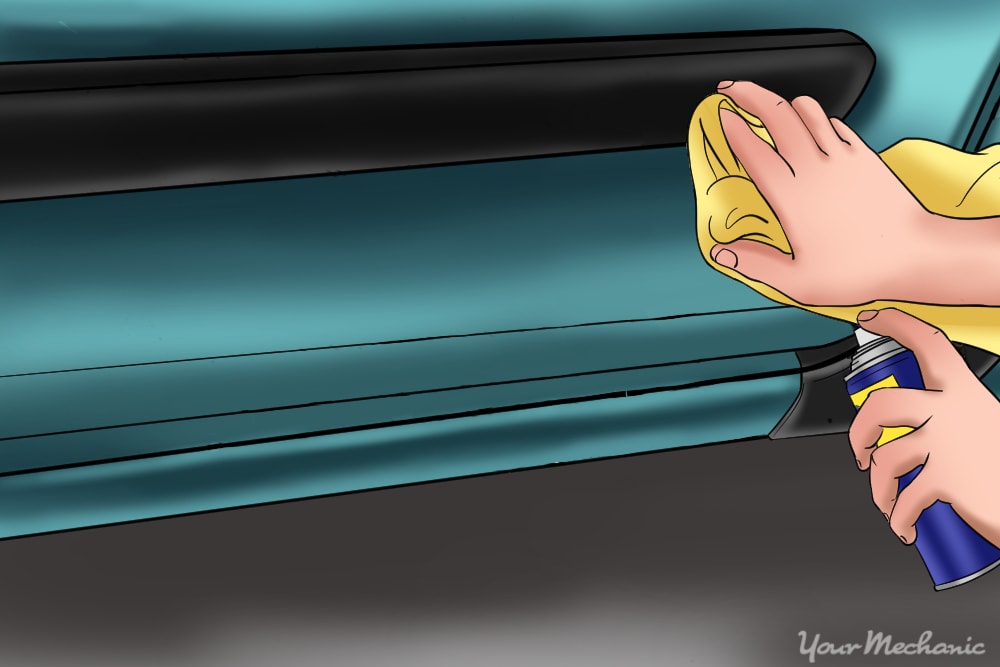
Step 1: Wet your cloth with tar remover. The cloth shouldn’t be saturated to the point of dripping.
If there is a large area with tar spots, you can apply your tar remover directly onto the car.
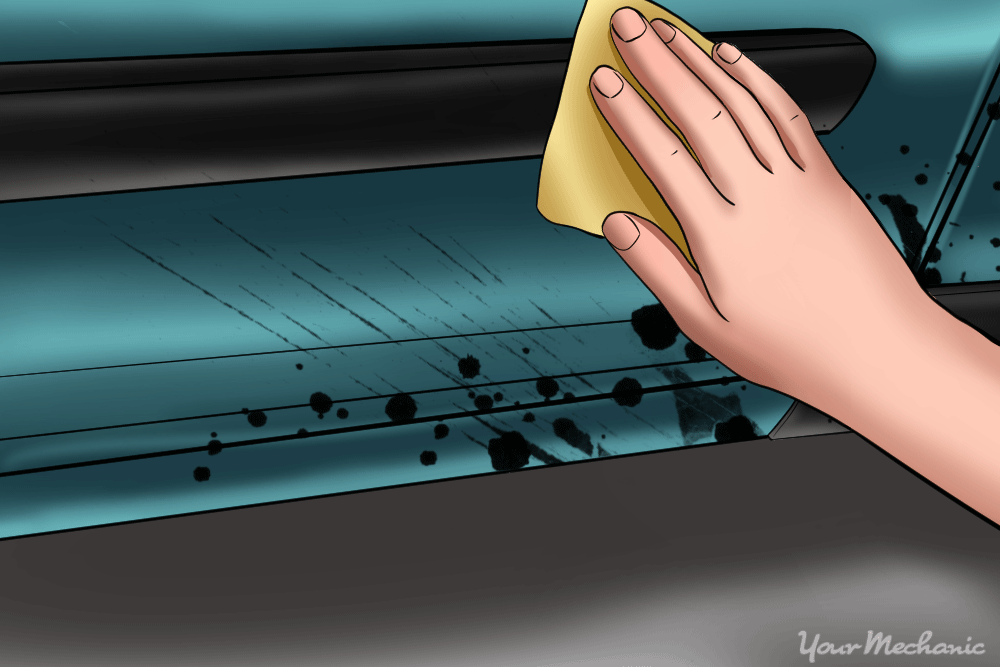
Step 2: Wipe over the tar spots. Move your cloth in small circles over the spots of tar.
When your cloth is dirty, flip it over and use a clean section. The tar spots will soften and come off with light pressure. As they dissolve, wipe any streaks that are left behind on your car.
Step 3: Repeat wherever needed. Apply these steps to any other areas that have tar spots.
Make sure to use the same small circular motion when cleaning.
Step 4: Wash your car. Once all of the tar spots have been removed, wash your car.
Using a mild detergent and warm water, wash your vehicle, starting at the top and moving down to the bottom. Rinse with clean water.
Step 5: Check your vehicle for any remaining tar spots. Repeat Steps 1 and 2 to perform additional spot touchups.
Step 6: Wax your car. Once you make sure all tar spots are gone and your car looks clean, wax it.
This helps seal and protect the paint of the vehicle.
Method 2 of 2: Using household products to remove tar
Materials Needed
- Bucket
- Car wax
- Household product (such as peanut butter or WD-40)
- Microfiber towels
- Mild soap or detergent
In addition to professional cleaning products, you can use a variety of household items to remove tar from your vehicle's surface. Some of the more common substances include peanut butter or WD-40.
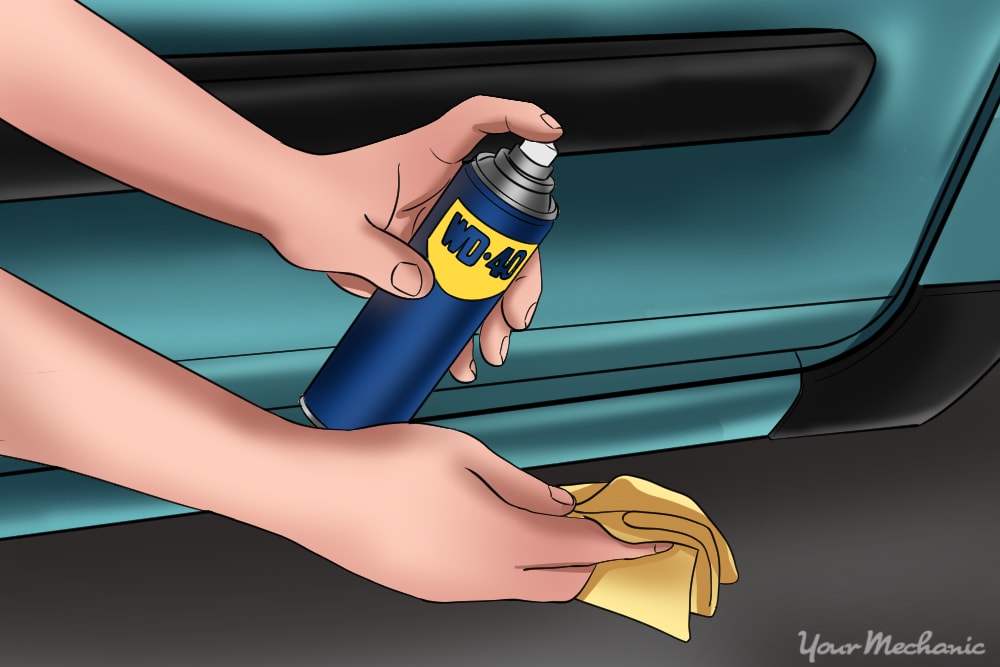
Step 1: Apply the household product. Depending on what type of product you use, either spray it directly on the tar or apply it using a microfiber towel.
When using WD-40, spray it directly on the area containing the tar. Allow the WD-40 to sit on the tar for at least 30 seconds so that it completely soaks in.
As an option, you can spray the WD-40 directly onto the microfiber towel and apply it that way.
If using a household product, such as peanut butter, use a microfiber towel to apply a liberal amount of creamy, not chunky, peanut butter to the area containing tar. Allow to sit on the tar for at least 30 seconds.
Step 2: Wipe area with a microfiber cloth. Using a soft, microfiber towel, wipe the area clean of both the household product and the tar.
Make sure to use a soft cloth, because an abrasive cloth can scratch the vehicle's surface. Repeat the process until all of the tar comes off.
Step 3: Wash your vehicle. Using mild detergent and water, thoroughly wash the exterior of your vehicle.
Once you have washed your vehicle, rinse it off using clean water. Wax your vehicle if necessary.
To remove tar from your vehicle's surface takes a few basic steps. You have a few options to choose from when doing this process, including using a professional tar remover or even an item from within your household, such as WD-40 or peanut butter. If you have any questions about removing tar from the outside of your vehicle, Ask a Mechanic to find out more.
