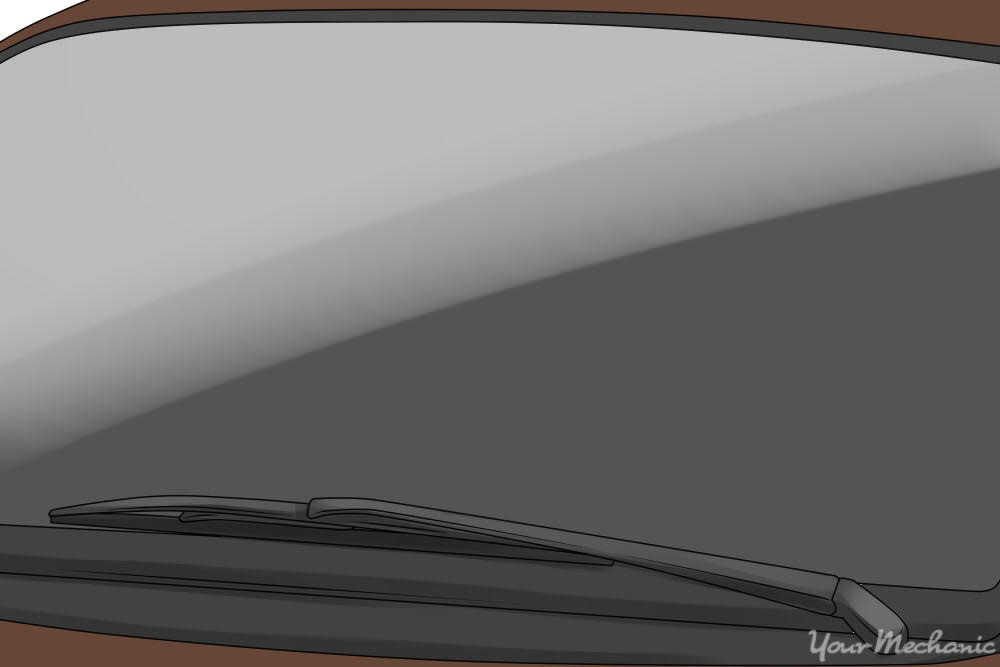

Windshield streaking is not only annoying, it can actually build up a real visual obstruction when driving. Before throwing in the towel and having the streaks professionally cleaned, there are steps you can take to care for the window streaking yourself.
Windshield streaking often occurs when windshield wipers get overworked. This happens most often on particularly rainy days, or days where it has been raining on and off and you’ve been using your wipers. Luckily, windshield streaking removal is simple when you follow the steps below.
Part 1 of 1: Removing Windshield Streaking
Materials Needed
- Glass Cleaner
- Cloth
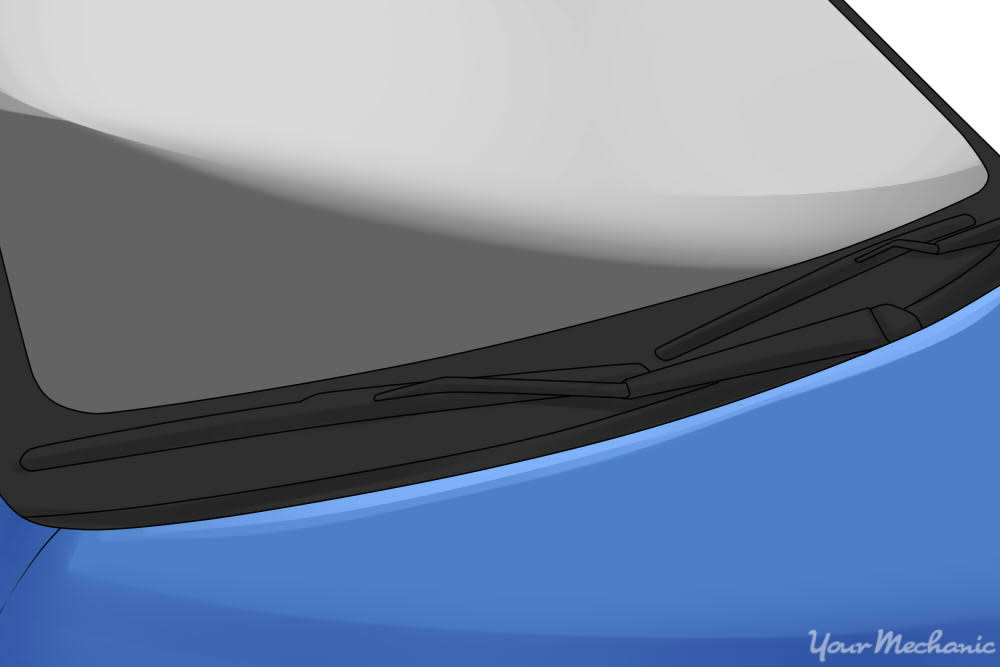
Step 1: Prepare the windshield. Before beginning, be sure to turn your vehicle’s engine off entirely, taking special care to ensure the windshield wipers are in the resting position.
If the wipers are raised from their resting position, you may have trouble lifting them up, which you will need to do in later steps of this process.
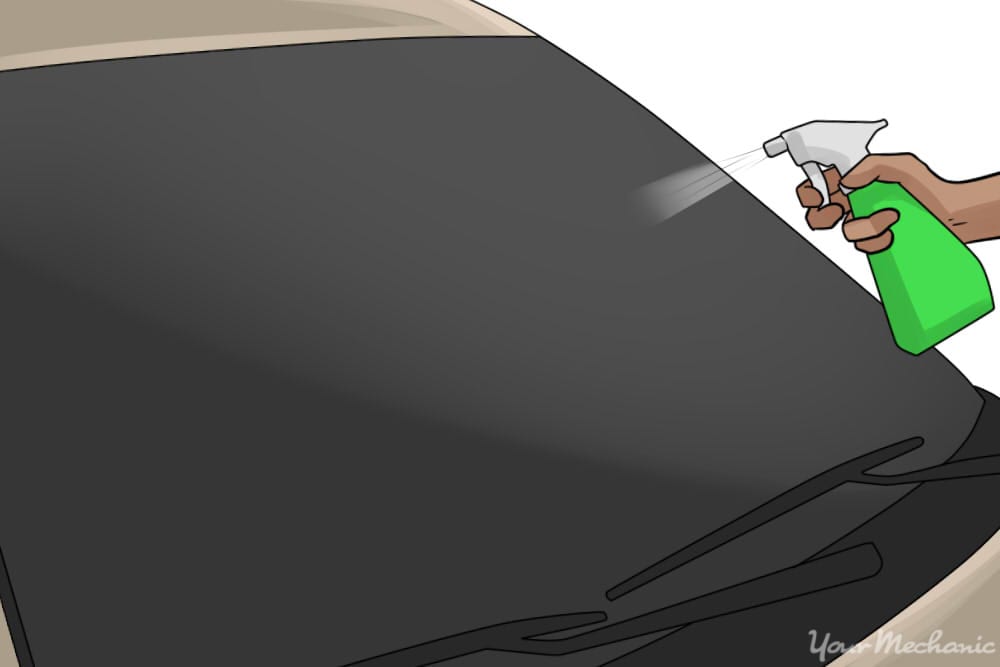
Step 2: Spray the glass cleaner. Spray your windshield generously with your glass cleaner of choice, coating the entire windshield.
Start spraying from the top of the windshield and work your way down, making sure that you cover the whole surface.
Don’t worry if the product is dripping down rapidly, as this will actually aid in the cleaning process.
- Tip: Try to keep the cleaner spray bottle less than a foot away from the windshield glass. This is to make sure the majority of the cleaning product ends up on the windshield, and not wasted in the air or anywhere else!
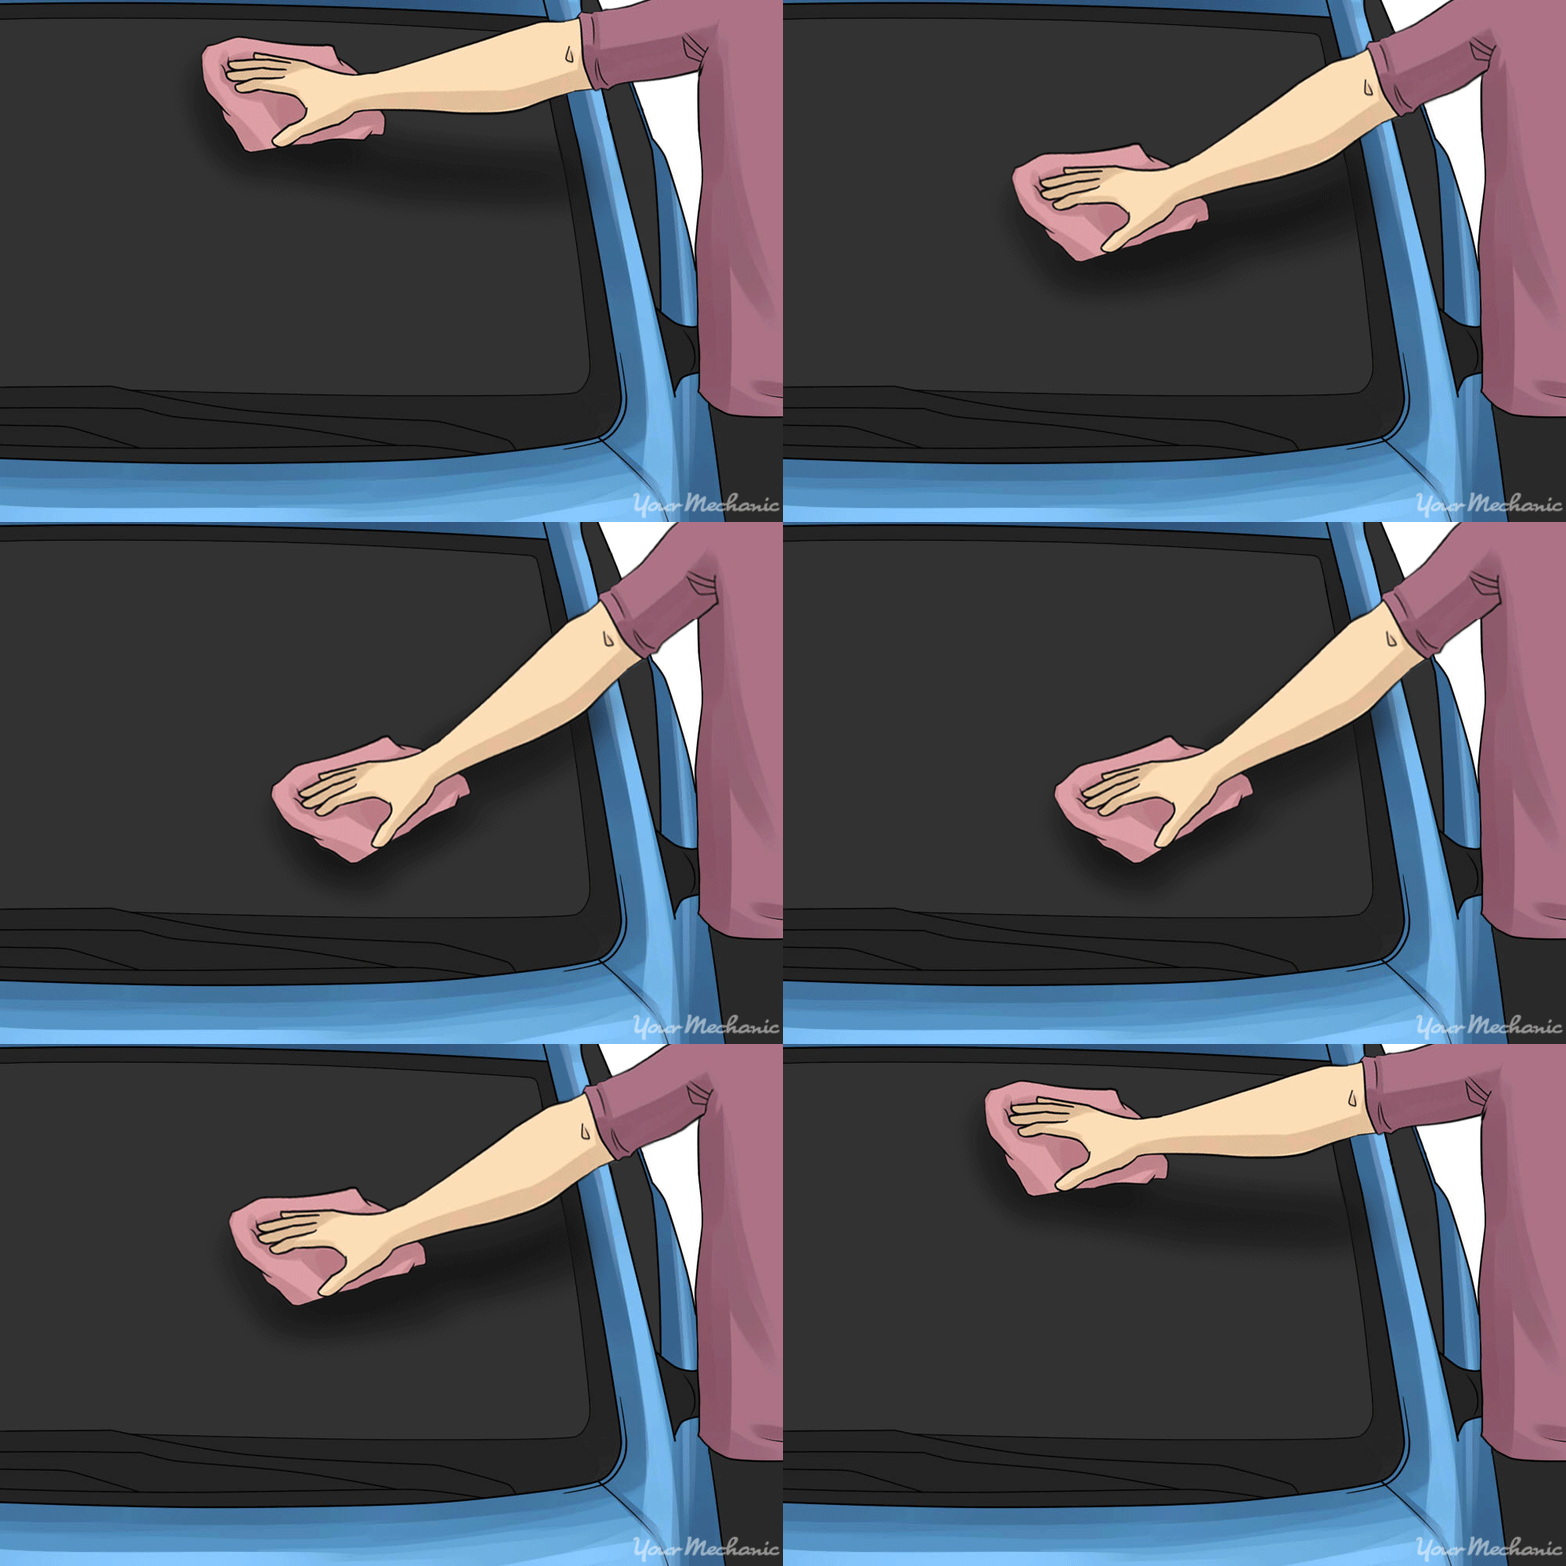
Step 3: Wipe away the cleaner. Using a soft, clean microfiber cloth, rub the cleaner into the glass with strong, up-and-down motions along the entire length of your windshield.
Be sure to start at the top of the windshield on one side, making your way across while using extra pressure when wiping over any streaking.
The use of these straight up-and-down motions when wiping not only ensures complete coverage, but minimizes any additional streaking from cleaning.
- Tip: You don’t want the cleaner to dry before you get a chance to wipe the glass clean, so it may be best to only spray down the half of the windshield you can reach before moving on to the next side.
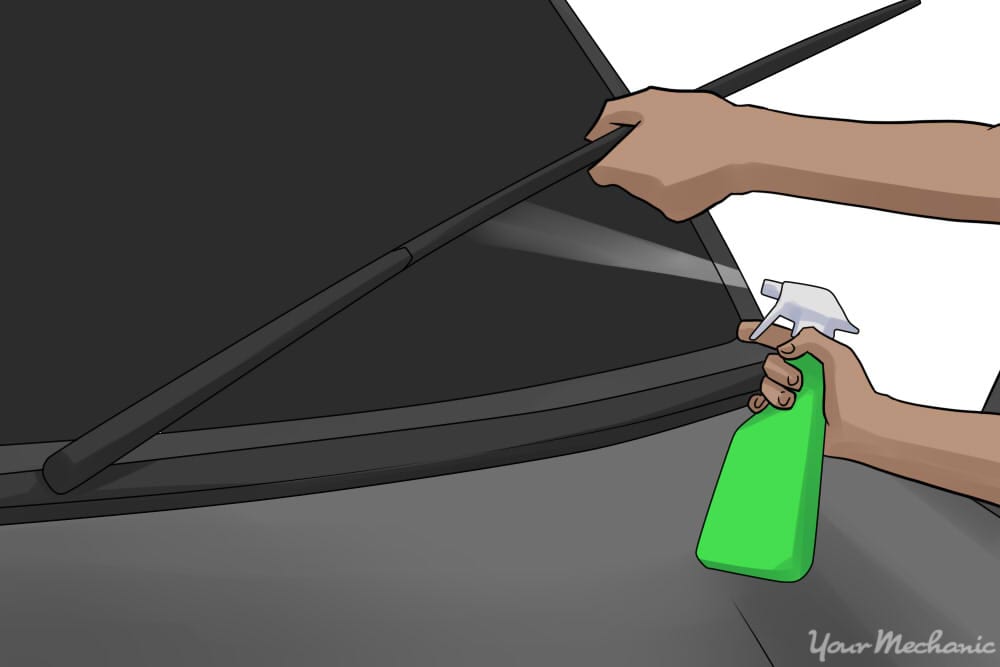
Step 4: Clean under the blades. Lift your windshield wipers away from your windshield to expose any streaking that may be underneath.
Use your cloth to clean in this area while still maintaining the straight up-and-down motions outlined in Step 3.
Step 5: Wipe the blades. Spray your window cleaner directly onto your soft cloth and then wipe the blades themselves thoroughly to remove any dirt, debris, or buildup on the blades that may be causing the streaking.
Step 6: Repeat if streaking remains. If the streaking remains once the cleaner has completely dried, try cleaning once more with additional pressure and excess product.
- Tip: Sometimes, what appears to be a streak is actually damage on the windshield’s surface. Double check and make sure there are no true scratches or defects in the windshield's glass.
Finally, if the streaking still persists, you may need to replace your windshield wipers. When windshield wipers are old and worn, the metal may actually end up dragging and digging into the glass of the windshield when operating. If you need to have your windshield wipers replaced, consider YourMechanic, as a certified mechanic can come to your home to take care of this job, as well as any other car services you may need.
For more information about cleaning your windshield, visit our article for general windshield care.


