
Somebody egging your car is one the worst pranks ever. It can permanently damage the paint job and if you don’t discover the egg before it dries, getting it off of the car is going to be a big job.
Regardless of whether it was a Halloween prank or just someone with an axe to grind, if your vehicle has been egged, time is of the essence. When the egg white has time to harden it can eat into the top layer of your vehicle's finish and etch into the clear coat. In addition, the impact of the egg may chip the paint. The damage will need to be repaired and the egg will need to be removed as soon as possible.
Following are a few methods for how to deal with this most dastardly of deeds.
Method 1 of 5: Spray it off
If you notice the prank before the egg has time to dry, simply get out the hose and spray it off.
Materials Needed
- Bucket
- Powerwasher
- Car wash solution
- Washing mitt
- Water
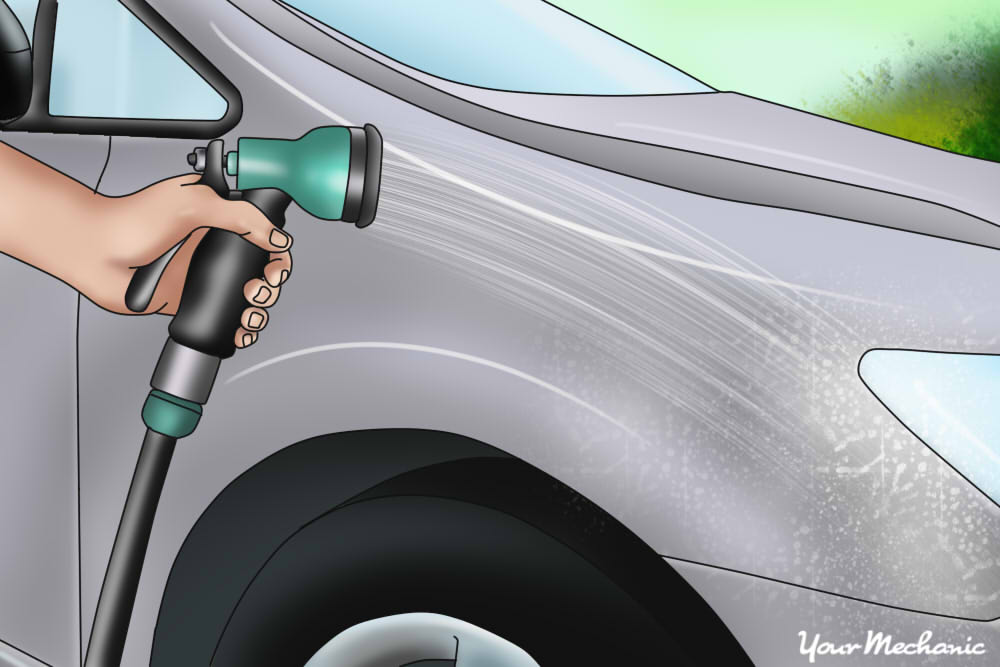
Step 1: Get out a hose or power washer and spray the affected parts of the car. If using a power washer, set it on a medium setting so as to not damage the paint. Spray off the egg and rinse the side of the car.
Step 2: Wash the car with the mitt. Mix car wash solution with water in the bucket per the manufacturer's instructions.
Use the washing mitt rinse the side of the car and make sure all of the shell has come off. If none of it has dried, removing the egg is pretty simple.
Step 3: Spray off the soap with the hose or power washer. Make sure all of the egg has been removed.
Unfortunately, rarely do you notice the damage before it has time to dry and if the egg has baked on in the hot sun, you have your work cut out for you. Let’s move on to some more rigorous removal methods.
Method 2 of 5: Soak the stain
Materials Needed
- Hot water
- Scrub brush or mitt
- Spray bottle
- Soap
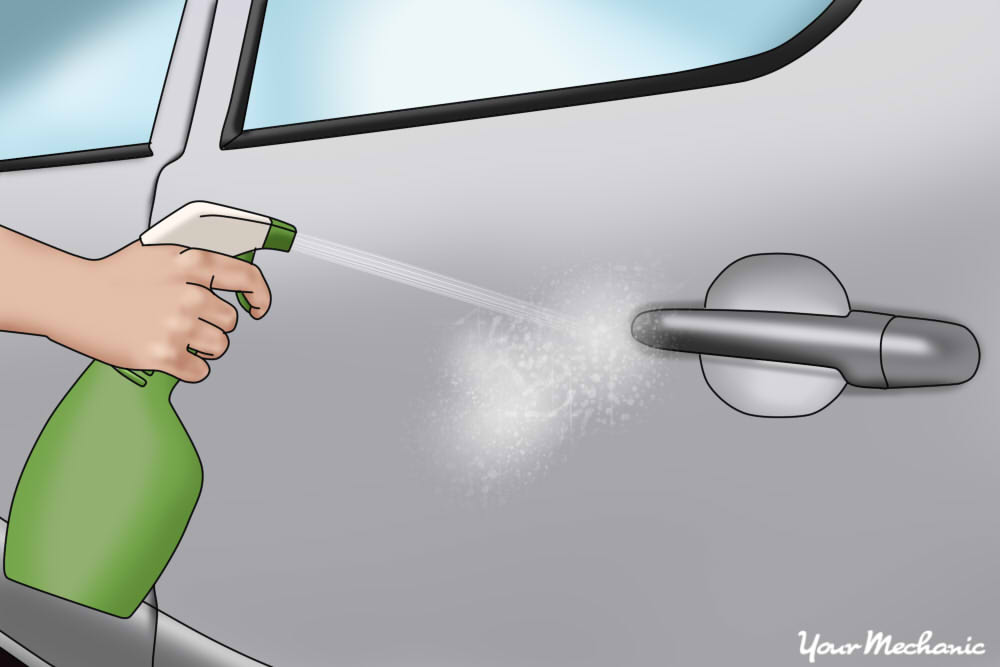
Step 1: Put very hot water combined with car washing soap into a spray bottle. Spray the solution on the dried egg.
Make sure it is soaked completely through. Allow the water and soap solution to sit on the egg until the egg starts to soften up.
Step 2: Use a soft scrub brush or a washing mitt to remove the egg stain. This may take some scrubbing, and you may need to re-soak the egg stain with the water and soap solution.
- Tip: If the water and soap solution doesn’t do the trick, you can try a 50/50 mixture of water and white vinegar. However, it is possible that this solution will do slight damage to the clear coat.
Method 3 of 5: Use FW1 Cleaning Waterless Wash & Wax
Materials Needed
- Cloth, microfiber
- FW1 Cleaning Waterless Wash
- Plastic scraper
Step 1: Spray the product directly on the egg stain. Allow it to sit for roughly 10 minutes.
Step 2: Wipe off the egg stain. If necessary, scrape off the stain with a plastic scraper until it is all gone.
Step 3: Wipe off any remaining residue with a microfiber cloth.
Step 4: If necessary, repeat these steps until the stain is completely gone.
Method 4 of 5: Using brake fluid
Brake fluid can be effective at removing dried egg stains. It can be purchased at any auto supply store. Use a heavy-duty paper towel or dishtowel folded into a square to apply the brake fluid.
Materials Needed
- Brake fluid
- Towel or heavy-duty paper towel
Step 1: Spray the brake fluid onto the towel and use it to wipe the egg off. You may have to wipe it a couple of times.
- Warning: The brake fluid may damage the paint slightly. It if does, move to Method 5.

Method 5 of 5: Buff it out
If any of the above removal methods have damaged the paint, or the egg chipped the paint, you may need to sand and buff the damage.
Materials Needed
- Buffing compound
- Buffing pad, 100 percent wool
- Polishing pad and product
- Sandpaper, 1,000-grit
- Spray detailer
- Variable speed polisher
Step 1: Sand the damaged or stained spot with wet 1,000-grit sandpaper. Sand it lightly until the stain or chip in the paint is gone.
Step 2: Buff the sanding marks out. Use a variable speed polisher.
Start the process with a 100 percent wool buffing pad and a buffing compound. This can be purchased at most auto supply stores.
Step 3: Polish over any marks left from buffing. The sanding scratches should now be gone but there will be swirl marks on the surface left from the wool buffing pad.
Switch to a soft polishing pad and a finishing polish product. Run the buffer at high speed to remove the swirl marks.
Step 4: Use a spray detailer to finish off the job. This will give the damaged area a final clean.
If the damage is severe and buffing it out does not work, you may need to take the vehicle to professional body shop to have it assessed and the spot repainted.
