
As you drive your car, your engine draws in massive amounts of air which it then mixes with gas and ignites it to keep the engine running. The vacuum created as a result is fairly constant depending on throttle position, and automakers use this to assist with many different functions of the car.
The most common use of vacuum is for your brakes. The vacuum from the engine helps push the piston inside the master cylinder to apply the brakes. This is why the brakes are much harder to depress with the engine off.
In older cars, the vacuum was used for the heater and cruise control, but nowadays computers are more reliable, eliminating the need for using vacuum to control devices on cars.
The engine uses rubber hoses to transfer the vacuum to various components. Over time, these hoses wear out and develop leaks, causing other issues with your vehicle. If you think there is a vacuum leak in your car, check the engine vacuum hoses using the following steps.
Part 1 of 2: Perform a visual inspection
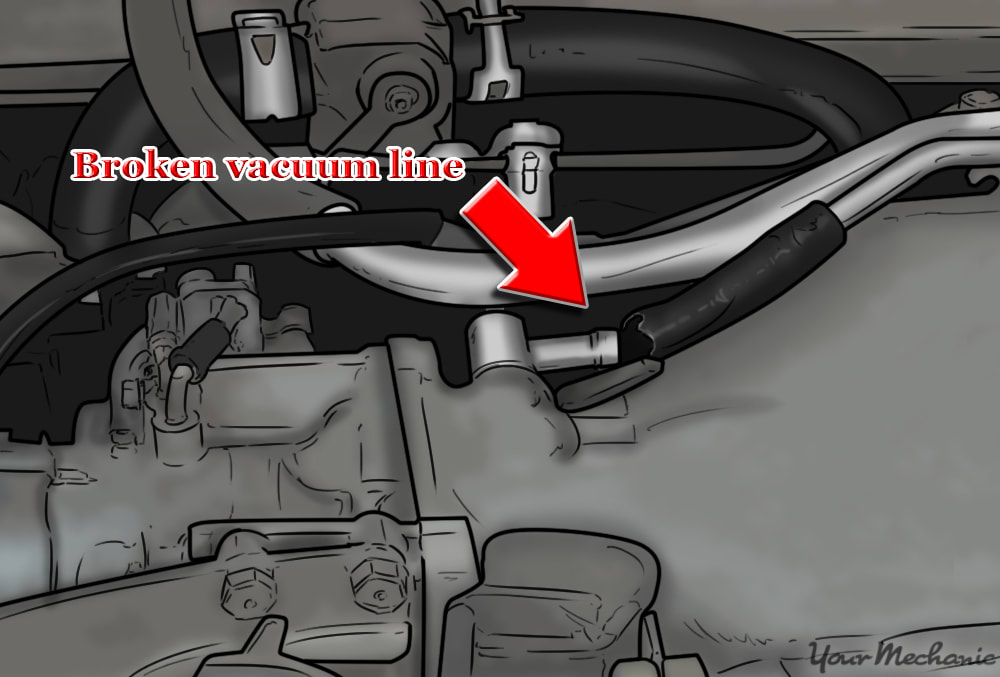
Step 1: Inspect the ends of the hoses for tears. Over time, splits and tears can start to form on the ends of the hoses.
Any tears ruin the vacuum seal and allows air to pass through the hose walls.
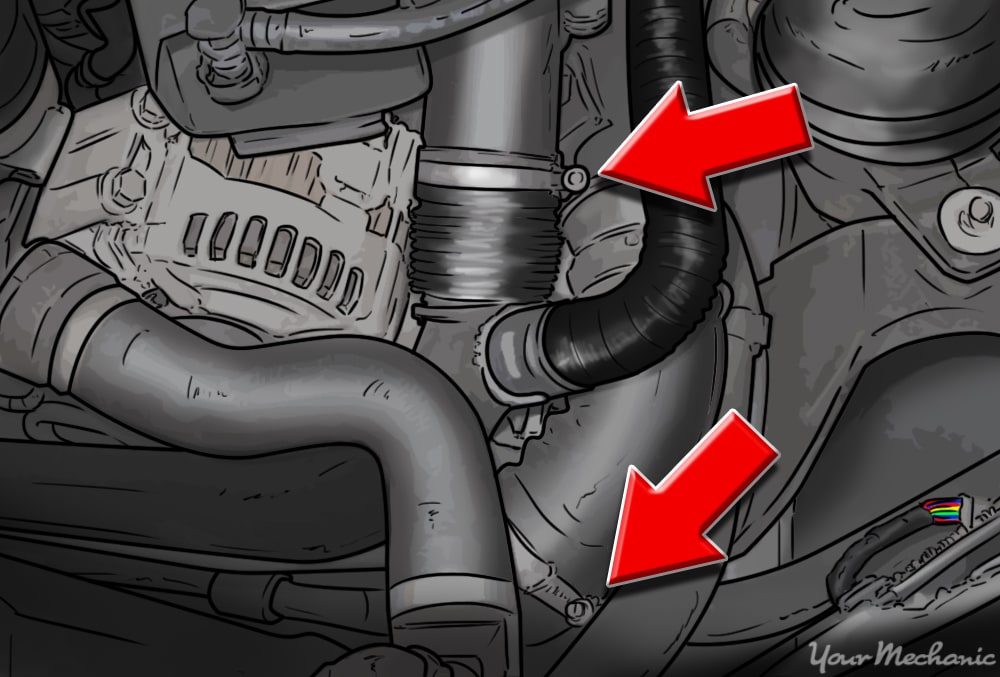
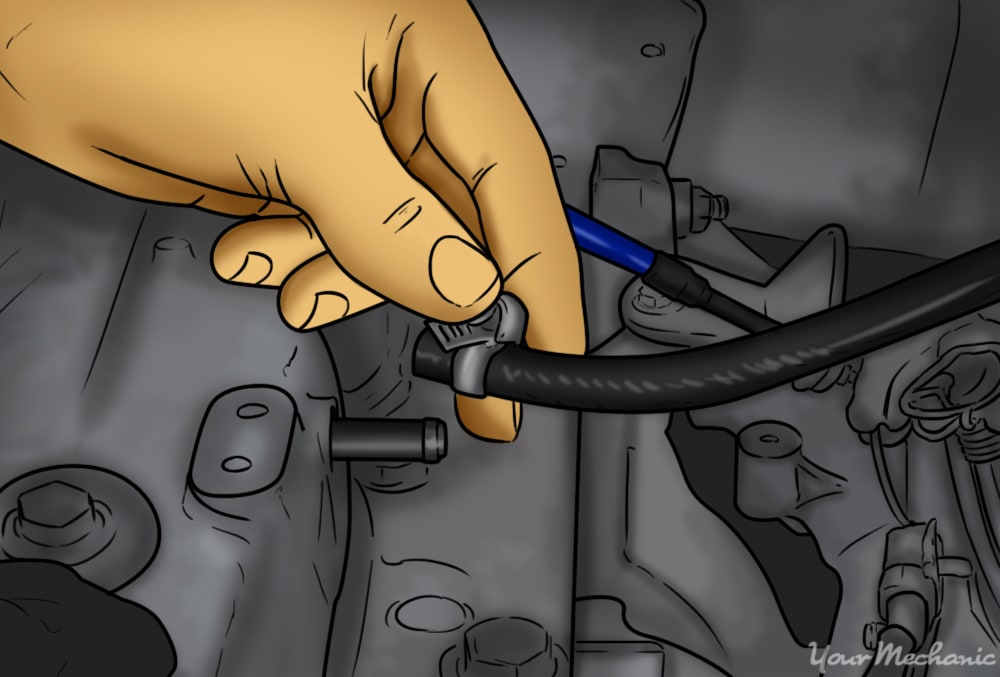
Step 2: Twist the hose clamps. Try twisting the hose clamp back and forth and check that it does not move easily.
If it moves freely, try tightening it down to make sure the hose doesn’t come off. If the clamp still moves around even after it is as tight as it can go, then it needs to be replaced.
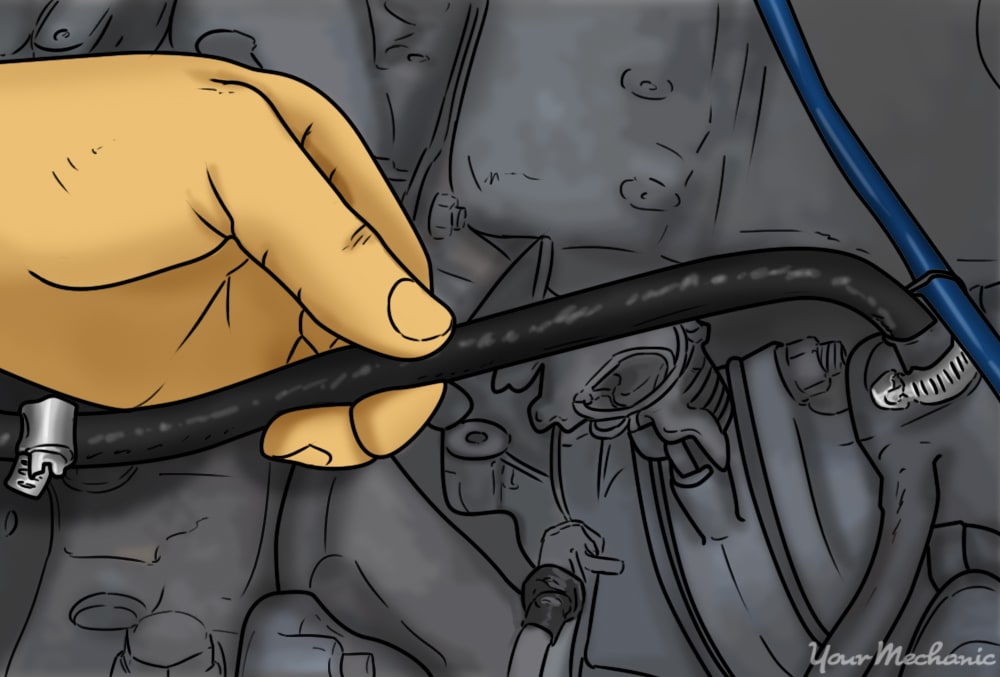
Step 3: Pinch the hose and look for any bulges. The hose is designed to keep it’s shape even when bending to maintain airflow.
Go down the whole length of the hose to feel for any abnormal spots. The hose should be flexible, but sturdy enough so that it doesn’t crink.
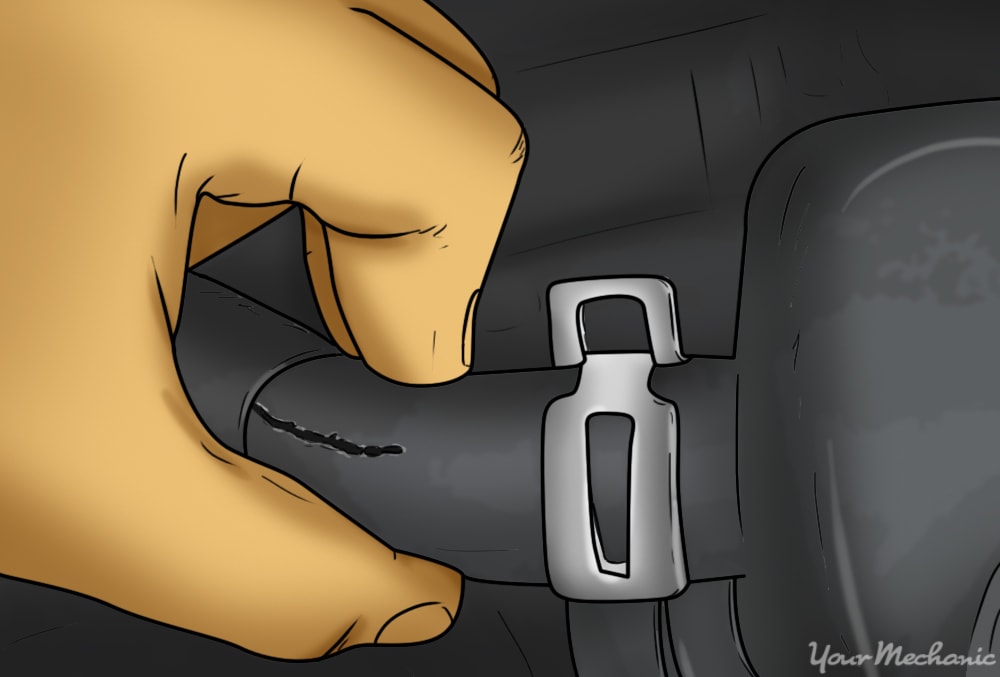
Step 4: Examine the hose for exterior damage. Any cracks or tears on the hose’s outer lining will turn into a leak if it hasn’t already done so.
Cracks indicate that the hose is getting old and should be replaced. Tearing or rips usually indicate the hose is rubbing against metal and wearing itself out. Make sure the hoses are routed properly and are clamped down to prevent them from rubbing against other components.
Part 2 of 2: Use a vacuum gauge
Materials Needed
- Flashlight
Tip: Larger gauges are easier to read as everything is a little bigger. It’s also easier to detect minute movements with a bigger indicator.
Step 1: Detach the suspect hose from the component. Make sure that the hose is still connected to the engine vacuum.
For example, if you are checking the Exhaust Gas Recirculation (EGR) hose, unplug it at the EGR valve.
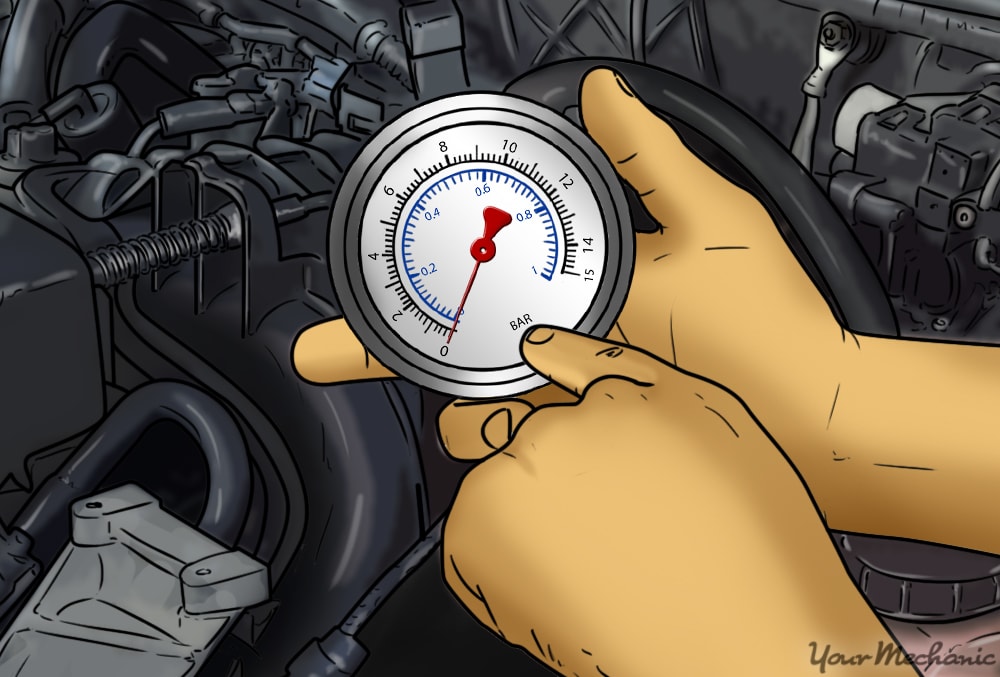
Step 2: Attach the vacuum gauge to the hose. Make sure the hose and gauge are sealed properly, otherwise you will get a false reading.
Step 3: Start the engine. Let your car idle for a few minutes, if the engine isn’t already warmed up.
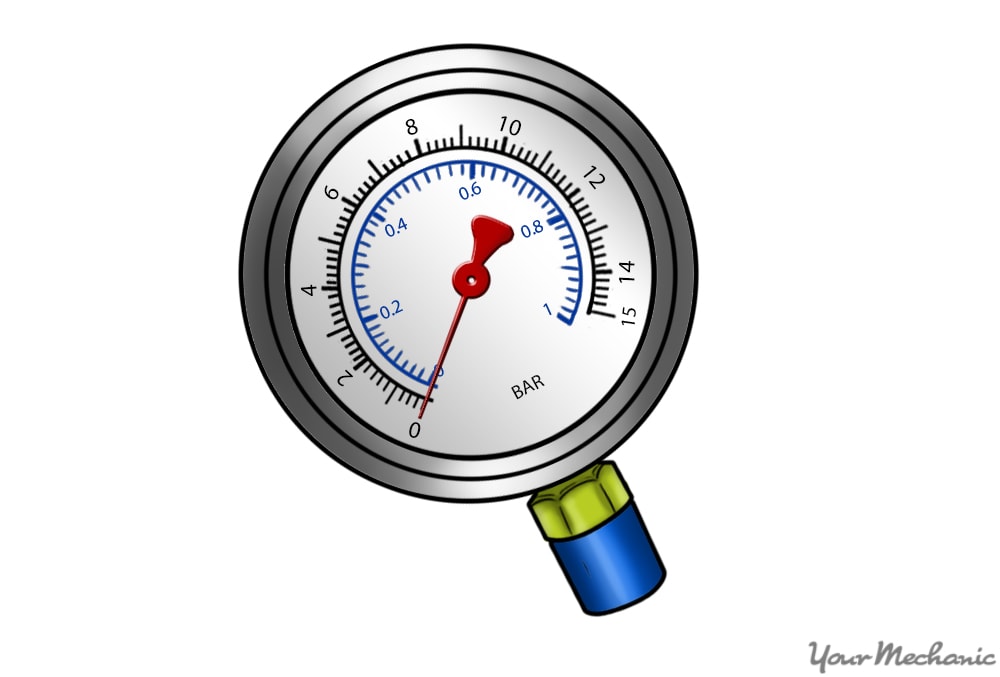
Step 4: Read the gauge. Once the engine has warmed up, the vacuum levels should be normal.
Engines typically produce around 17-20 inches of vacuum at idle. A low vacuum gauge reading indicates a blockage or leak in the hose.
Making sure your vacuum hoses are intact is important to keeping your car running in good shape. Even small leaks can cause rough idling and other running issues, so keeping the hoses intact, will keep up your car’s performance on the road.


