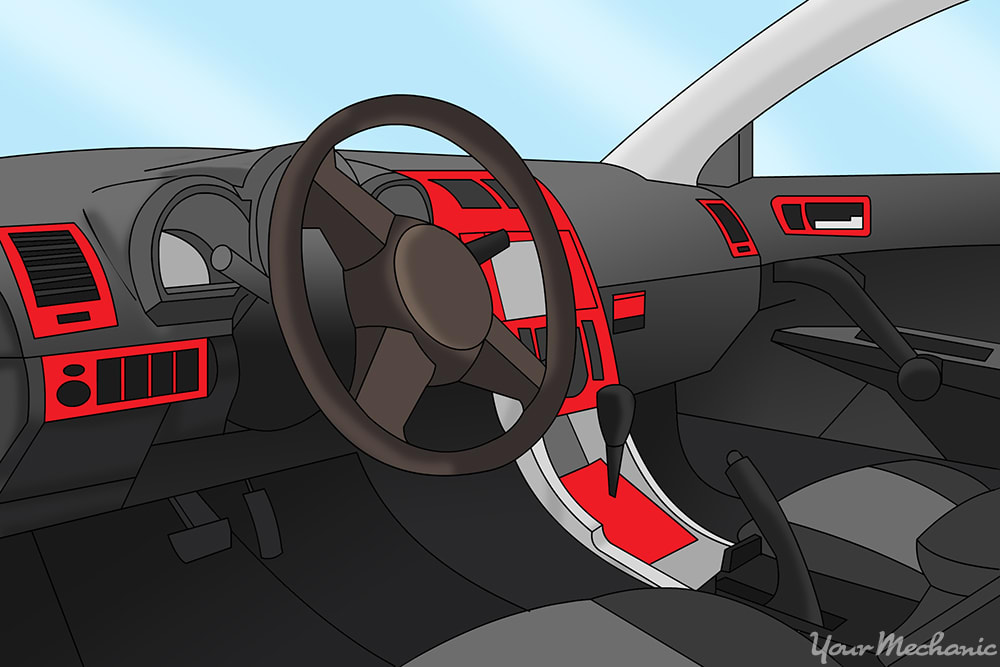

Sometimes the dashboards that come with your car can appear bland and uninteresting. Customized dashboard sticker kits are a great option for you if you are looking to give your interior a temporary new style. This guide will show you how you can add vinyl stickers to your dash to give the car a completely brand new feel.
Part 1 of 3: Prepare for installation
Materials needed
-
Clean microfiber towel
- Custom dashboard sticker kit
- Dashboard cleaner
- Isopropyl alcohol
- Water
- Wax or grease remover
Step 1: Purchase a dashboard sticker kit that you like. Use a search engine to conduct an online search for “dashboard sticker kits.”
When you find a website that offers products you like, search the site for your vehicle’s make, model, and manufacture year.
There are many kinds of dashboard stickers, with styles ranging from wood and metal finishes to bright colors and carbon fiber.
Choose the product you like best, purchase, and have them in hand before continuing to the next steps in this article.
- Note: Although possible, it’s not as likely that you’ll find a custom sticker set that is specific for your car at your local auto store. Searching online will give you the widest variety of options.
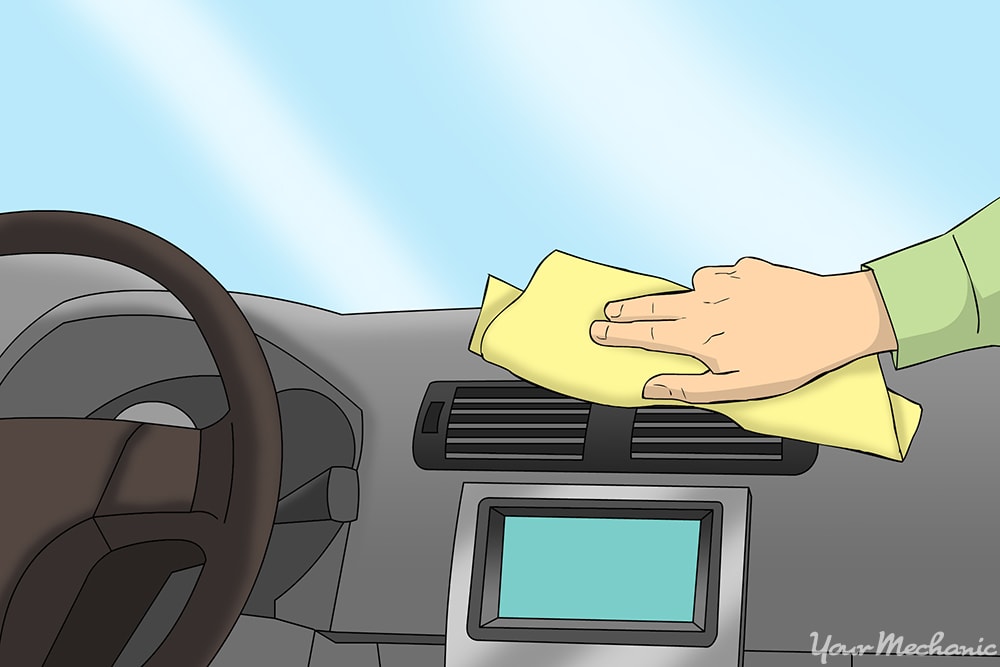
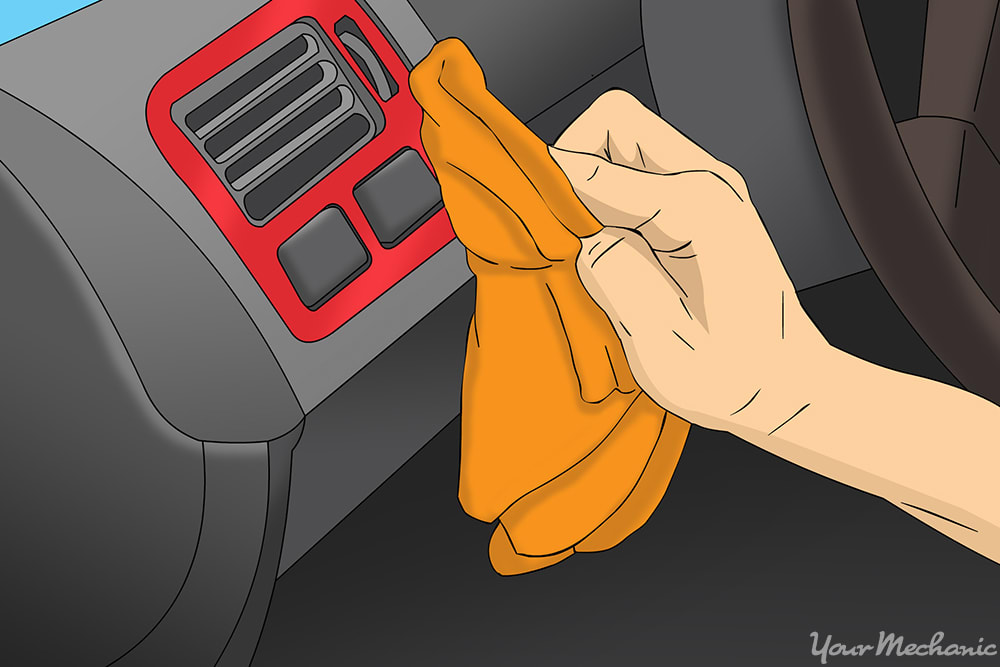
Step 2: Clean and prepare your dashboard. To begin, clean your car’s interior as you normally would using dashboard cleaner.
Then, use a clean microfiber cloth to apply a mixture of one part isopropyl alcohol and one part water (a 50/50 mixture).
Adding this mixture to your dashboard to remove any oil, grease, or dirt that may keep your adhesive from sticking to your dash.
- Warning: Isopropyl alcohol may wear down certain plastic dashboard panels and vehicle interiors. Make sure that you are the alcohol is sufficiently diluted in the water before applying and make sure to wipe the surface dry afterwards.
Step 3: Remove old products. If protective dashboard treatment, waxes, or stickers were previously used in the vehicle, all traces of them will need to be removed before the installation can begin.
Use a wax and grease remover to remove old residue and make room for the upcoming sticker adhesive.
Use a clean cloth to wipe the area dry after applying the residue remover.
Part 2 of 3: Installing your dashboard sticker kit
Before reading the general instructions for installing a dashboard sticker kit below, take a look at the your specific kit’s instructions beforehand. Most sticker kits will follow the same general instructions as below, but there could be slight differences from kit to kit.
Step 1: Assemble your kit components. Lay everything from your customer dashboard sticker kit out in front of you to see which stickers belong where.
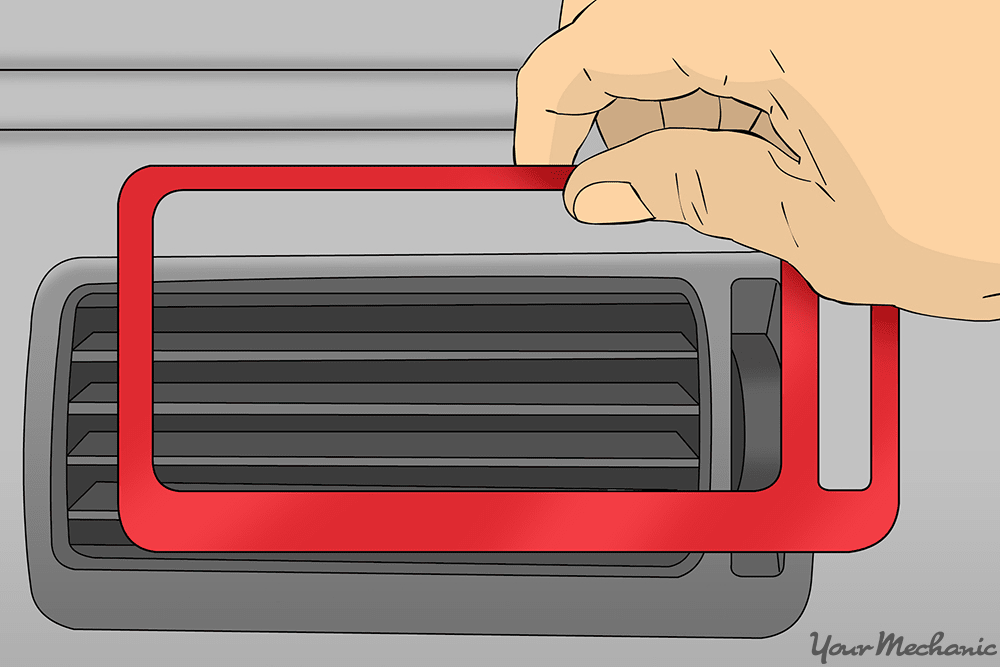
Test each sticker by laying each piece over the area it will cover, with the backing still attached to make sure the pieces correctly fit with your dashboard.
- Tip: Make sure that all of your dashboard’s controls, knobs, buttons, and vents are easily-movable when the sticker pieces are in place to avoid annoying dashboard control issues later on.
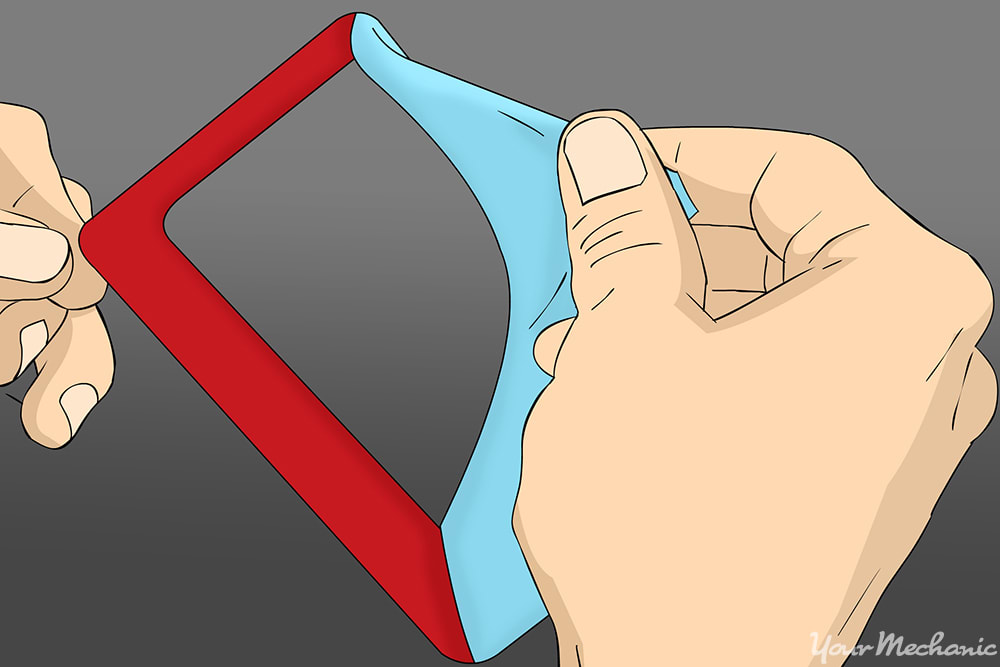
Step 2: Begin to apply the dashboard stickers. Remove the backing of one dashboard sticker and cautiously apply it to its position on the dashboard.
Repeat this process one-by-one so that none of the stickers stick together.
- Tip: If you’re not sure where to start, begin with the small pieces so you don’t have to worry about messing up a significant piece on your first try. When the time finally comes to apply larger finishes, apply the sticker from left to right, smoothing out air bubbles as you go before moving onto a new piece.
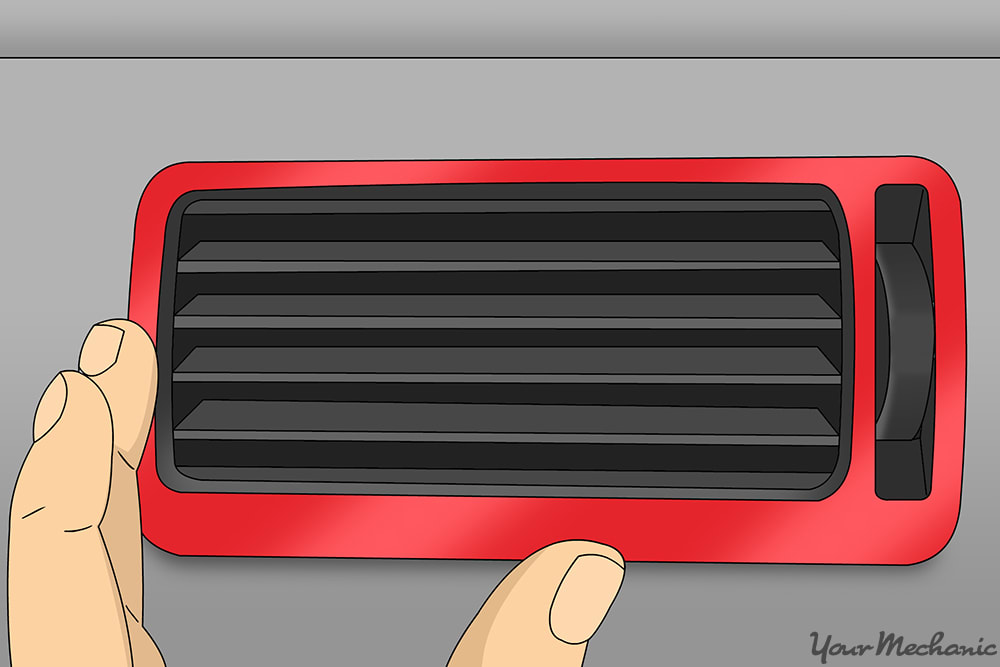
Step 3: Press the sticker down tightly. Press down each sticker piece for an additional 5-10 seconds after initial application.
This will help ensure that all the edges are in place and will help prevent additional air bubbles from forming.
Step 4: Leave the stickers out to sit. Leave your stickers out to sit for 72 hours without touching them to ensure the adhesive fully dries and solidifies.
- Tip: You might want to begin this process on a weekend or before a trip. (In other words, a period of time in which you will not be inconvenienced by not being able to use your car for 72 hours.
Part 3 of 3: Dashboard sticker maintenance and upkeep
Since you put the effort and time to place the stickers on, you’ll want to make sure your stickers last as long as possible. To ensure this, follow the steps below.
Step 1: Clean your stickers. Clean your new dashboard stickers with water or window cleaner using a clean microfiber towel. (This can be the same towel you used before as long as it is now clean).
Step 2: Avoid automotive waxes and protectants. Never apply automotive waxes or protectants on your vinyl dash kit to avoid any potential wear or damage.
If you use these products then you will need to avoid contact with your stickers. These cleaners may get beneath your sticker and may cause them to loosen up over time.
With your new custom dashboard sticker set, you can now enjoy your interior’s new personalized look! By proper installation and maintenance of the stickers, your new decor can last your cars for years to come.


