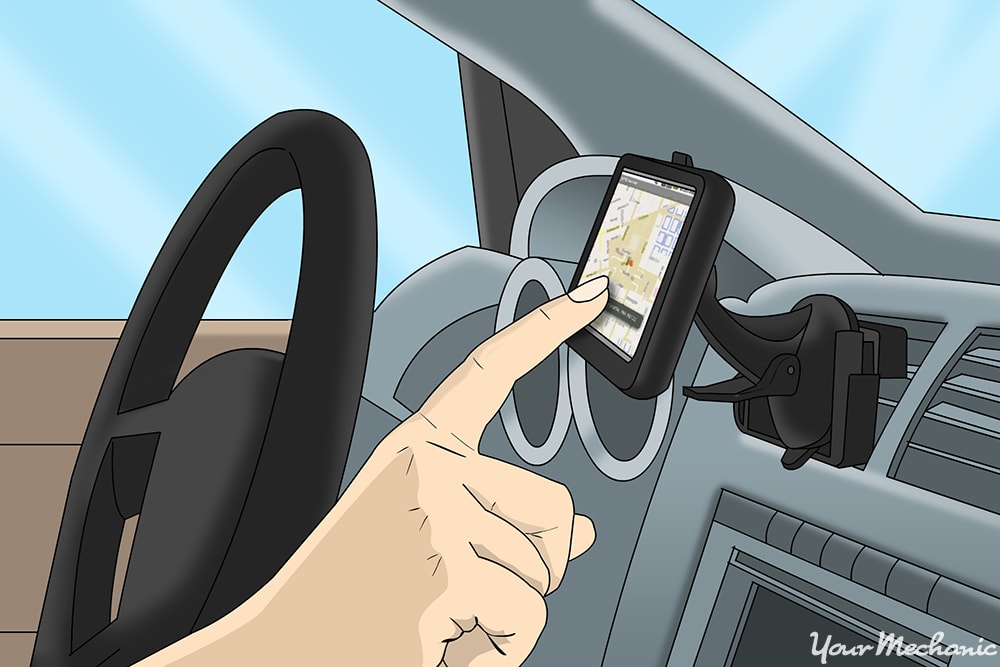

An in-car navigation device, or Global Positioning System GPS device, helps you find your way to various destinations. In addition to guiding you on the streets and highways, newer GPS models also give you the ability to search for gas stations, restaurants, and other locations with a few button pushes. When searching for a GPS, you must first determine what features you want and how much you want to spend. Then, learn how to install the device in your vehicle by following a few quick and easy steps.
Part 1 of 2: Finding a GPS
To find a wide selection of GPS devices, search online or in retail stores. When shopping for a GPS device, you need to first figure out how much you are willing to spend. The cost of a GPS depends mainly on size, where it is installed, and the different features it offers.
Step 1: Consider type and size. When it comes to size and type, you can choose from a few different models.
The different GPS types include window and dash-mounted versions, as well as in-dash models that require you (or an automotive mechanic) to place the GPS in the dash of the vehicle.
You can also find a wide variety of screen sizes, from smaller 3-to-5-inch dash-mounted GPS to larger in-dash models that range in size from 6 to 8 inches, or even larger.
- Tip: Before choosing a GPS type and size, make sure you have room in your car to install it. Also, keep in mind local laws about where you can place a GPS in your vehicle. Some states prohibit the placement of a GPS on the window because they can block visibility while driving.
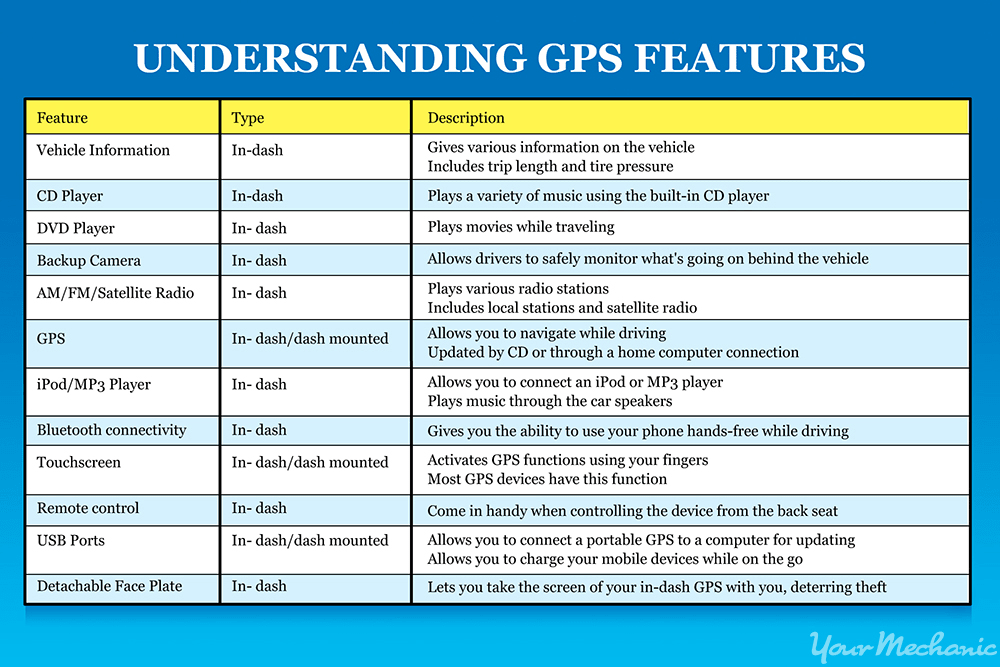
Step 2: Evaluate features and other functions. Another key factor that comes into play when choosing a GPS device is the features offered.
Part 2 of 2: Installing a GPS in your vehicle
Material Needed
- Screwdrivers (flathead and Philips head)
Once you find the GPS device you want at a satisfactory price, it is time to install it. Portable GPS devices are relatively easy to place in your vehicle. Most come with a suction device, allowing you to place it at various points on the vehicle dash or front windshield.
After installing the portable GPS, either plug the cable into the 12-volt auxiliary plug or a USB port. In-dash GPS devices require a little more effort on your part during installation. Of course, you can have an expert mechanic do the job for you if you prefer.
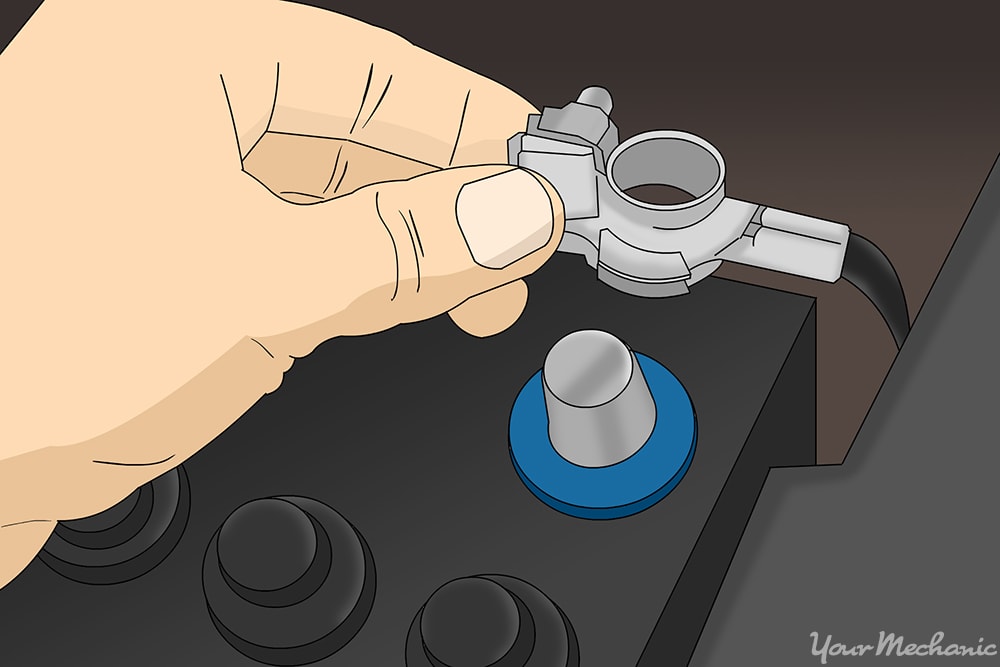
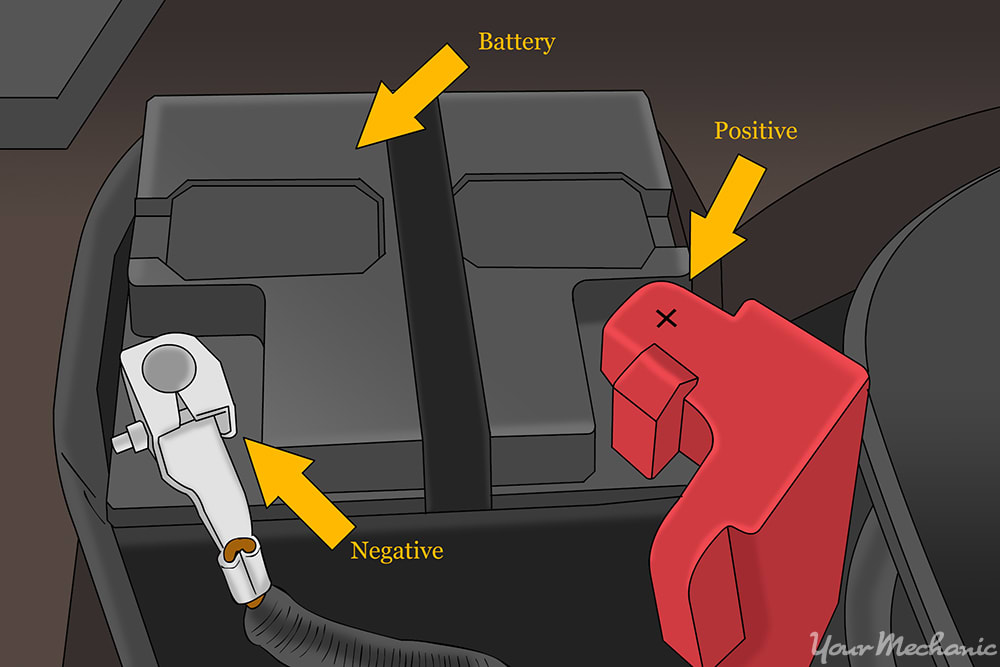
Step 1: Disconnect the battery. First, disconnect the battery.
This is to ensure that none of the other equipment in the car is shorted out.
Step 2: Remove trim panel. Remove the dash trim panel from around the outside of the old unit.
You can do this by using a flathead screwdriver to gently pry the panel back, starting at the small gap where the radio ends and the dash begins.
After it is loose enough, remove the panel by hand.
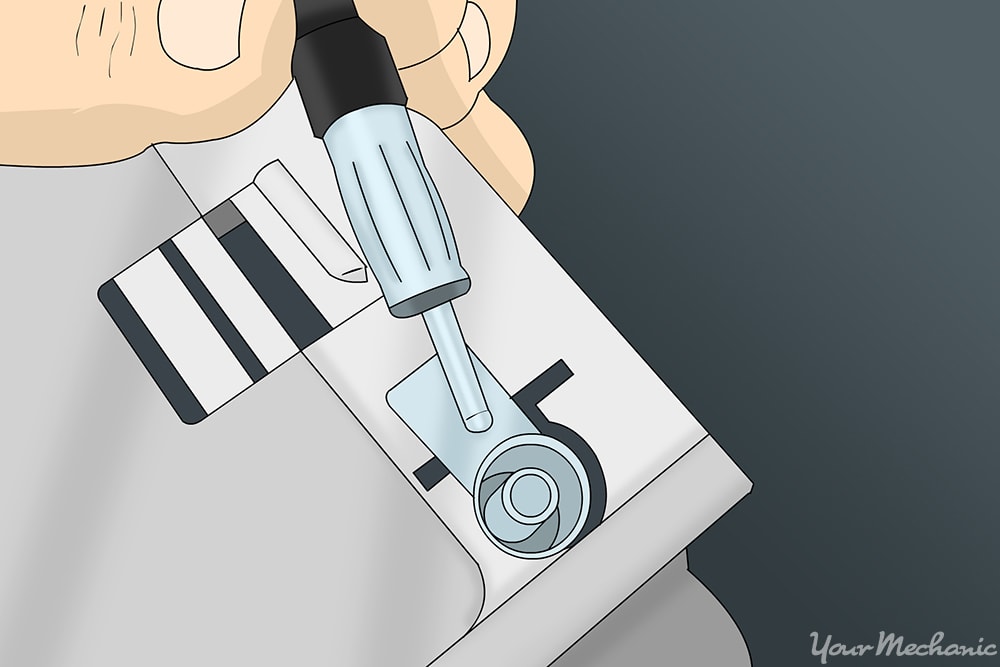
Step 3: Pull old unit out. Use a screwdriver to remove the screws holding the old unit in.
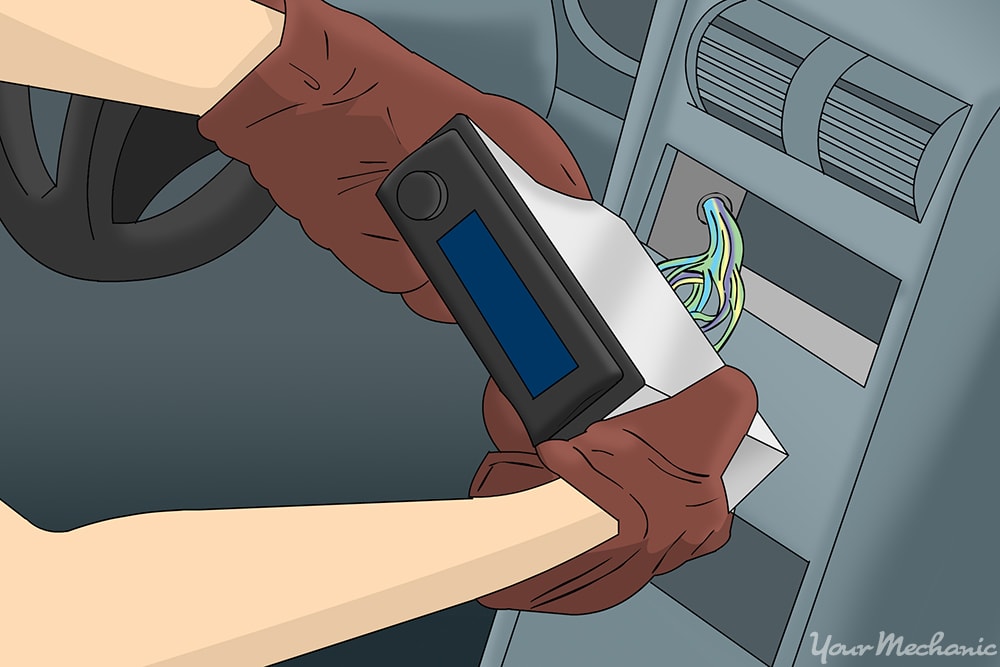
Pull the old unit out, disconnecting any attached wires as you do. Also, remove any wire clips attached to the unit. Pull out the antenna from the unit and set it aside.
Step 4: Attach the wire harness. Attach the wire harness onto the new unit by clipping it to it.
Connect the other end to the wire clips of the vehicle. Reinsert the antenna into the antenna port of the new GPS unit.
Step 5: Install the in-dash GPS. Once in place, screw the GPS unit into place.
Reattach the dash trim and pop it back into place.
Step 6: Reconnect the battery. After the battery is reconnected, test the new unit.
- Warning: Make sure to attach the positive cable first, followed by the negative battery cable. You can discern the positive by its red color.
Finding and installing a GPS unit is easy if you know how. The important part is to make sure you have a big enough space to install the unit, especially an in-dash GPS. Also remember to find out your state's laws concerning the placement of portable GPS units within your vehicle. If you have any questions about installing a GPS unit, make sure to Ask a Mechanic for more information.


