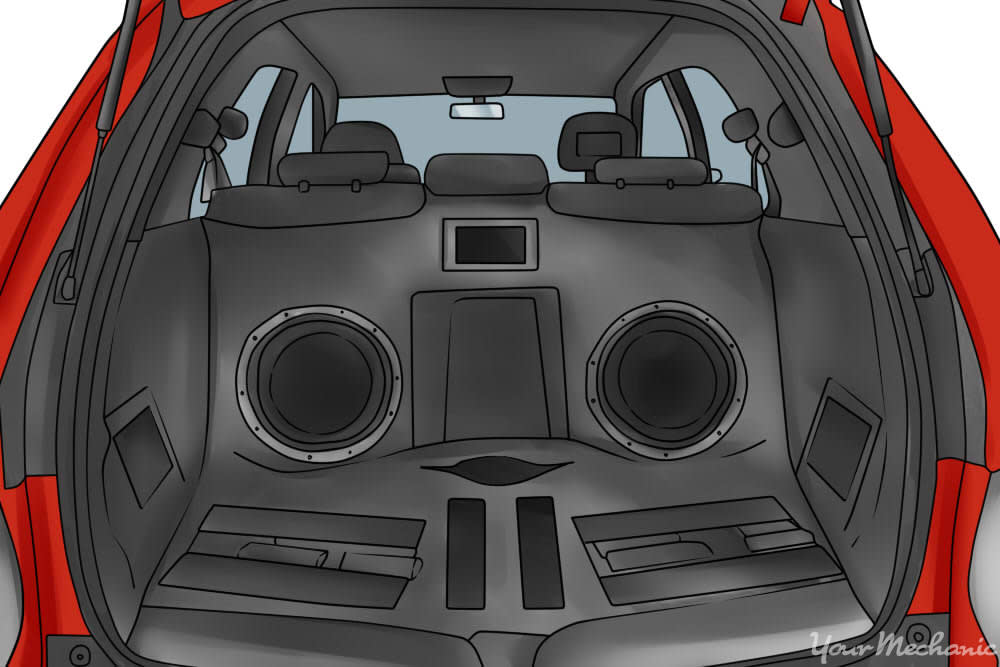

When you install a quality sound system, you want to enjoy your music without road noise, not disturbing those outside of the car. Sound deadening allows you to eliminate much of the vibration which comes with higher levels of sound.
Soundproofing uses certain materials to block outside noise. Even though it can’t eliminate all noise, the right materials greatly reduce it. This process can also reduce the sounds from vibrations on the frame or resonating panels. The materials are placed behind the door panels, under the carpet in the floor and in the trunk and even in the engine compartment.
Part 1 of 5: Decide on a material to use
Choose the materials you plan to use to sound deaden your car. You may need to use more than one type of material to get the best results. Make sure the materials used will not damage the vehicle or any wiring in the process of installation.
Step 1: Choose your materials. The decision you make will ultimately determine the extent to which your car is soundproofed.
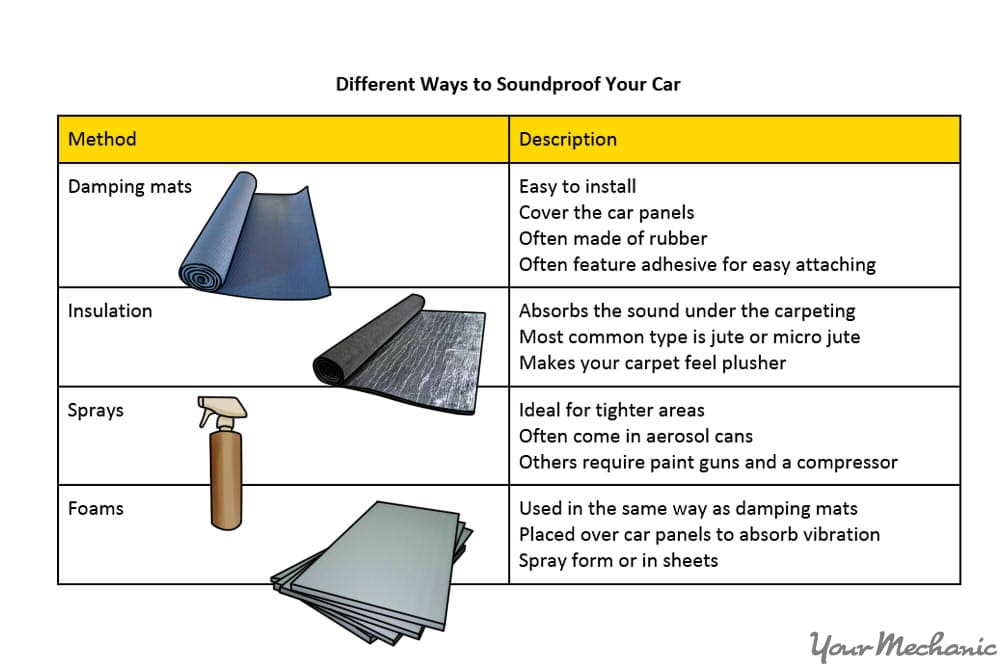
Here is a table to help you make an informed decision:
Part 2 of 3: Use damping mats
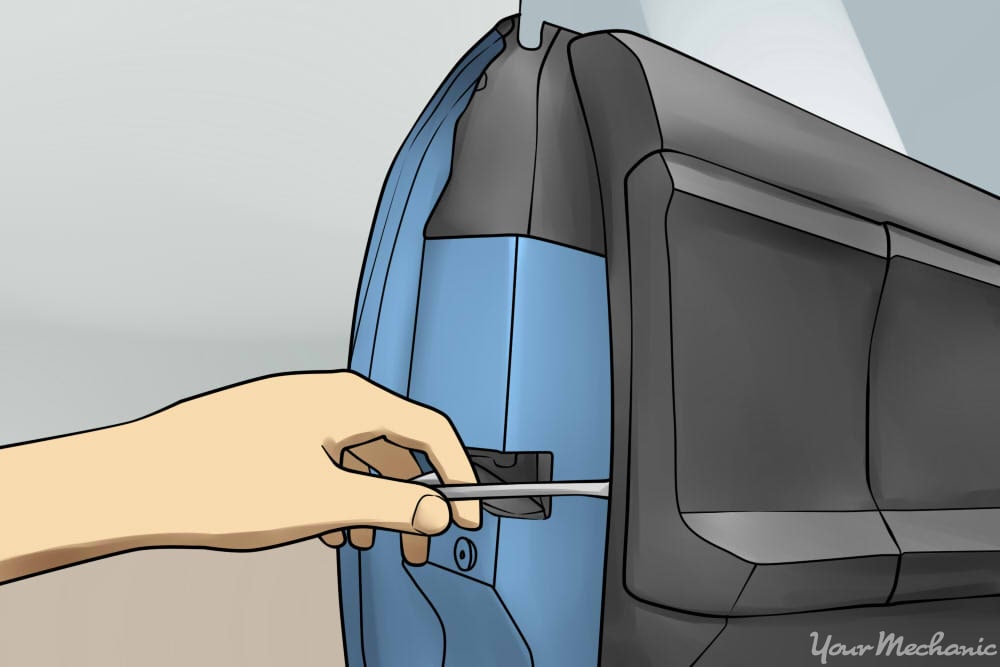
Step 1: Remove the door panels. Pop off the door panels to provide access to for the mats.
Step 2: Clean the metal area. Clean the metal area of the door panels with acetone to ensure the adhesive or glue sticks properly.
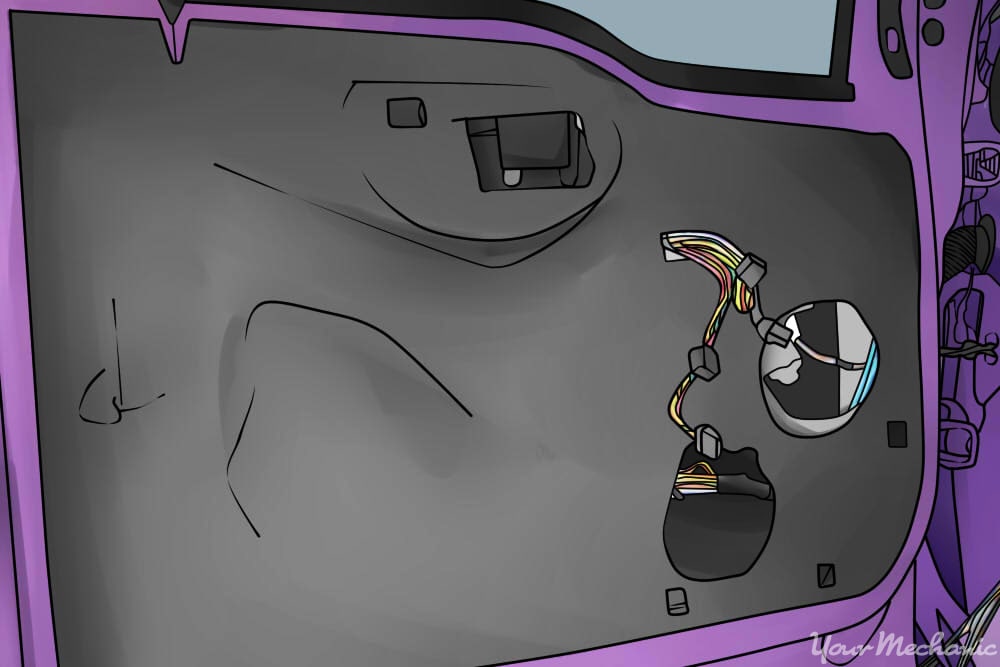
Step 3: Use an adhesive. Either apply glue to the surface or remove part of the adhesive covering from the back of the damping mats.
Step 4: Place the damping mats in between two door panels. This will help reduce vibrations along those two panels because there is less empty space.
Step 5: Place a mat inside the engine. Open up the hood and place another mat inside the compartment with the engine, which will reduce rattling sounds that accompany some frequencies. Use a special adhesion glue designed specifically for cars in heated areas.
Step 6: Spray exposed areas. Look for small spaces around the panels and use either spray foam or insulating sprays in those areas.
Spray around the door and within the engine compartment, but make sure the foam or spray is designed for these areas.
Part 3 of 3: Use insulation
Step 1: Remove seats and panels. Remove the seats and the door panels from the car.
Step 2: Make measurements. Measure the door panels and the floor to install insulation.
Step 3: Cut insulation. Cut the insulation to the desired measurements.
Step 4: Remove carpeting from the floor. Carefully remove the carpeting from the floor.
Step 5: Clean with acetone. Clean all areas with acetone to ensure the glue adheres properly.
Step 6: Apply glue. Apply adhesive glue to the floor of the car and to the door panels.
Step 7: Press insulation in place. Place the insulation over the glue and press firmly from the center out to make sure the materials fit tight.
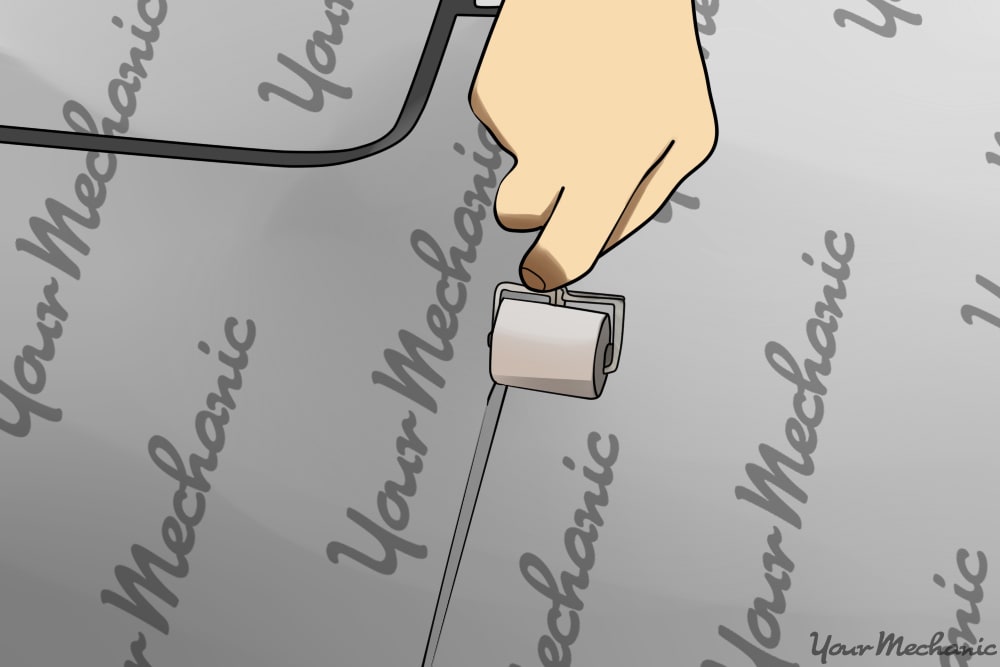
Step 8: Roll out any bubbles. Use a roller to remove any bubbles or lumps in the insulation.
Step 9: Spray foam in exposed areas. Apply foam or sprays in the cracks and crevices after installing the insulation.
Step 10: Allow time to dry. Allow the materials to dry in place before proceeding.
Step 11: Replace the carpet. Put the carpet back on top of the insulation.
Step 12: Replace the seats. Put the seats back in place.
Soundproofing your car is an important way to prevent noise from coming in and disturbing your ride, but it also prevents music from your stereo from escaping outside. If you notice that after you have soundproofed your car that your door is not closing properly, or if you want more information about the process, Ask a Mechanic for some quick and detailed advice.


