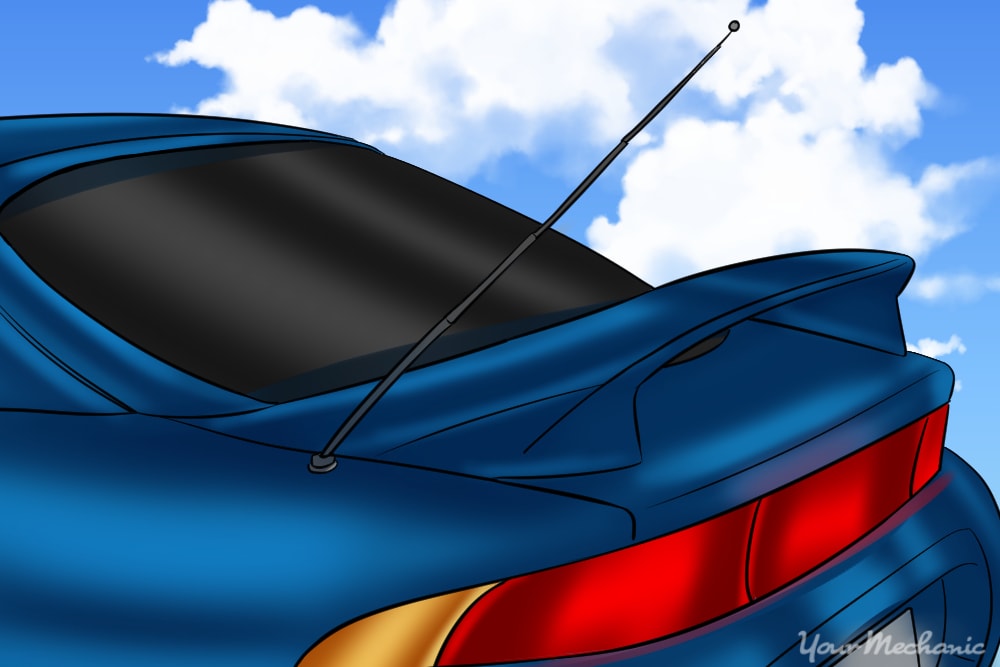
Car antennas are unfortunately open to the elements when driving, and as a result, are likely to get damaged at some point in time. To prevent this damage, manufacturers started using retractable antennas that will hide away when not in use. Nothing is perfect however, and these units can fail as well.
Inside the antenna is a nylon string that can pull and push the antenna to raise and lower it. If the antenna isn’t going up or down, but you can hear the motor working, you should try replacing just the mast first - they are cheaper than the whole motor unit. If you can’t hear anything moving when turning the radio on and off, then the whole unit should be replaced.
Part 1 of 2: Removing the old antenna motor unit
Materials
- Needle nose pliers
- Ratchet
Sockets
Note: You’ll need a socket for the battery and one for the nuts/bolts that hold the motor assembly to the car. A common size for the battery is 10 mm; the nuts/bolts that hold the motor can vary, but should be around 10 mm as well.
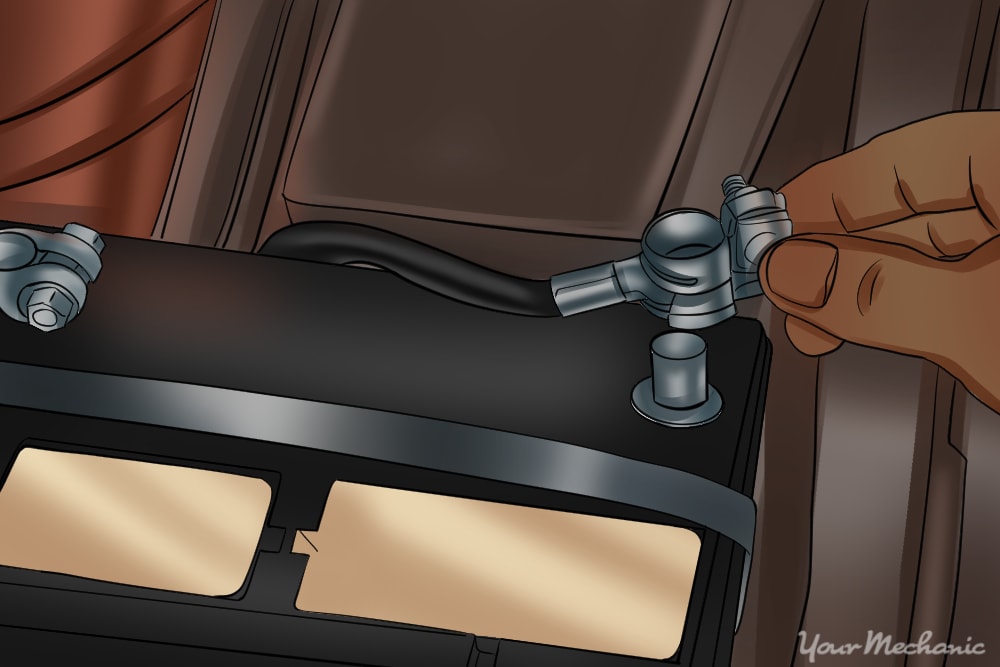
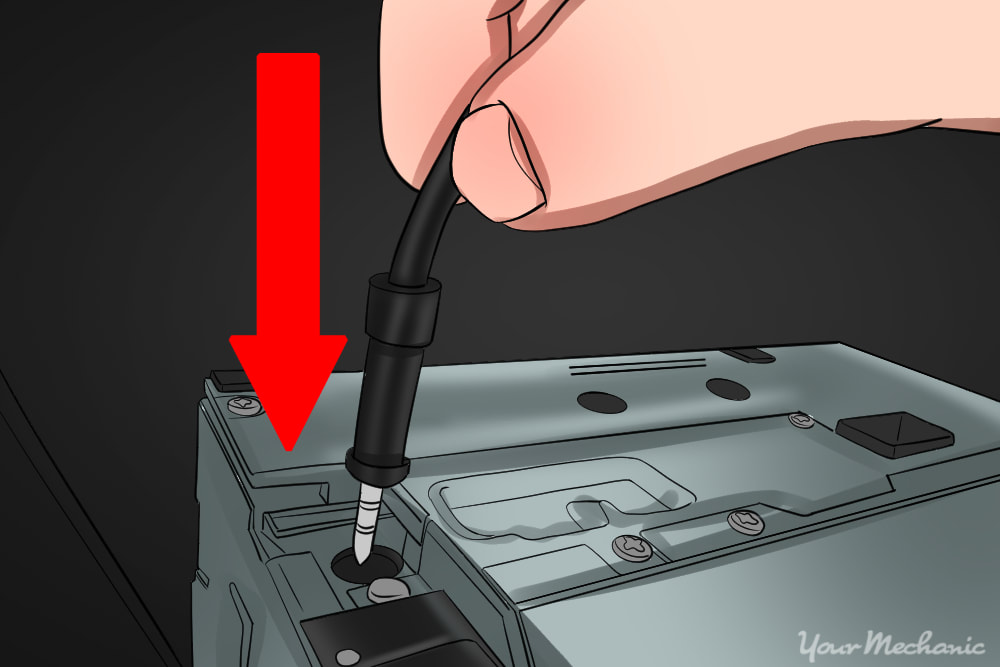
Step 1: Disconnect the negative cable of the battery. You aren’t working with any high currents, but it’s better to be safe and remove the power so nothing shorts out while you install the new motor.
Tuck the cable away so there is no chance it can come in contact with the terminal on the battery.
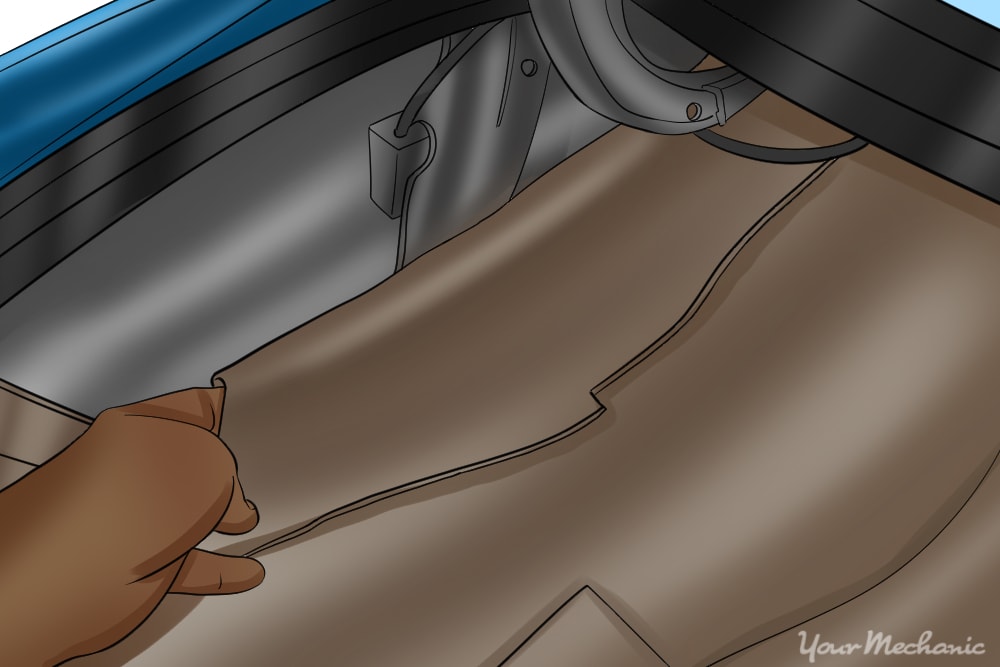
Step 2: Gain access to the antenna motor. This step will vary depending on where the antenna is located on the car.
If your antenna is next to the trunk, you’ll need to pull back the trunk lining to access the motor. The lining is typically held on by plastic clips. Pull out the center button portion of the clip, then remove the whole clip.
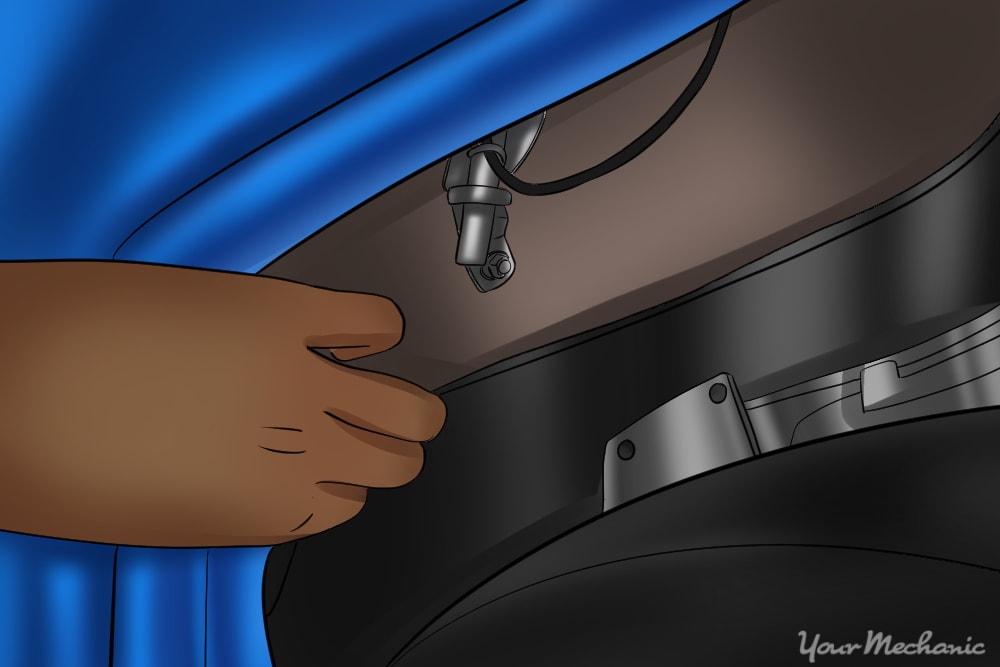
If your antenna is mounted near the engine, a common access point is through the wheel well. There will be a plastic panel to remove, and then you will be able to see the antenna.
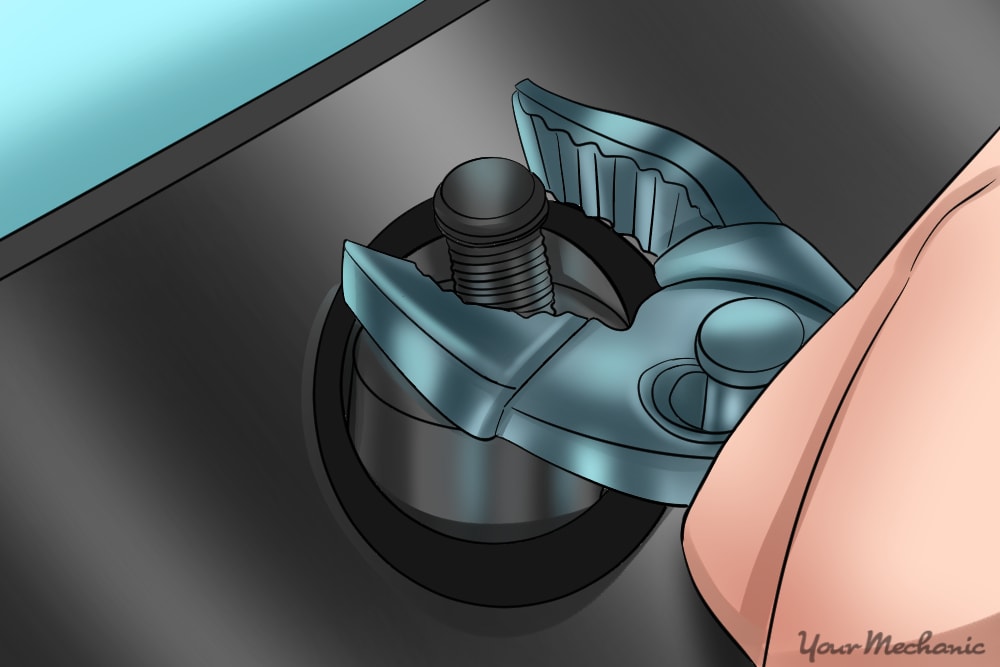
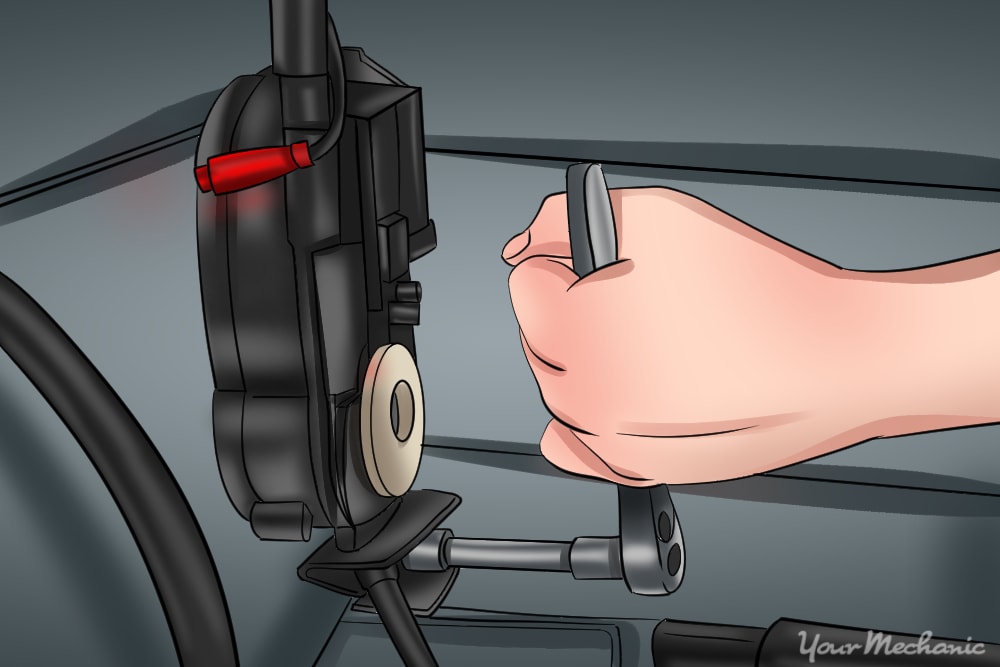
Step 3: Remove the top mounting nut. At the top of the antenna assembly is a special nut with small notches in the top.
Use some needle nose pliers to break the nut loose, then you can unscrew the rest by hand.
Tip: Put some tape on the end of the pliers so you don’t scratch the top of the nut. Make sure you have a firm grip on the pliers so they don’t slip and damage anything.
Note: There are special tools made to slot into the notches; it may be difficult to get these tools, as they are model specific.
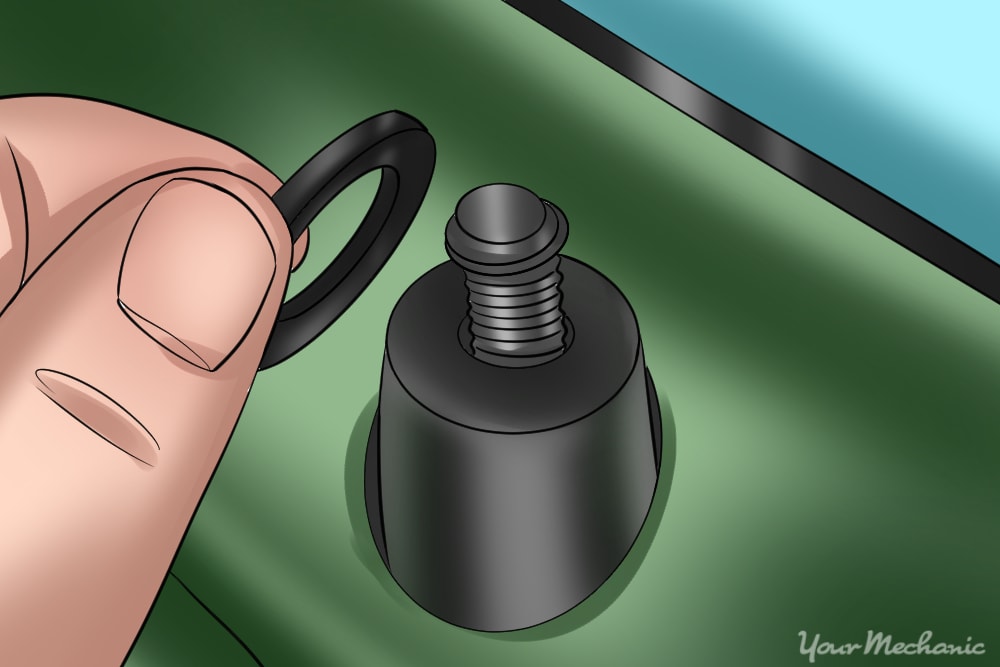
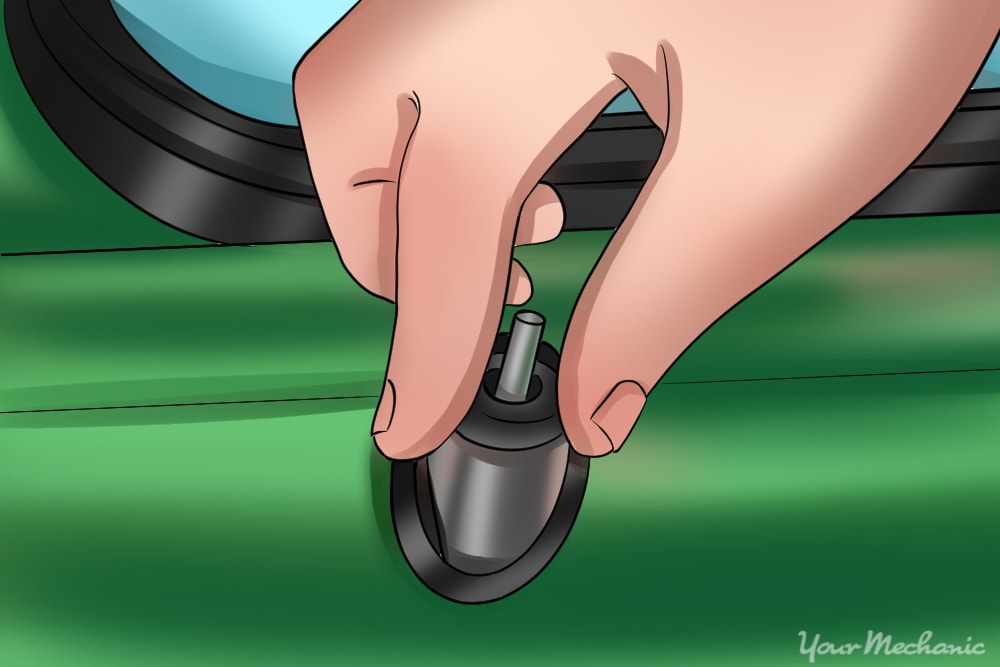
Step 4: Remove rubber grommet. This piece makes sure no water gets inside the car. Just grip the grommet and slide it up and off.

Step 5: Unscrew the motor from the car’s frame. Keep one hand on the motor before removing the last nut/bolt so it doesn’t fall. Pull it out to access the plugs.
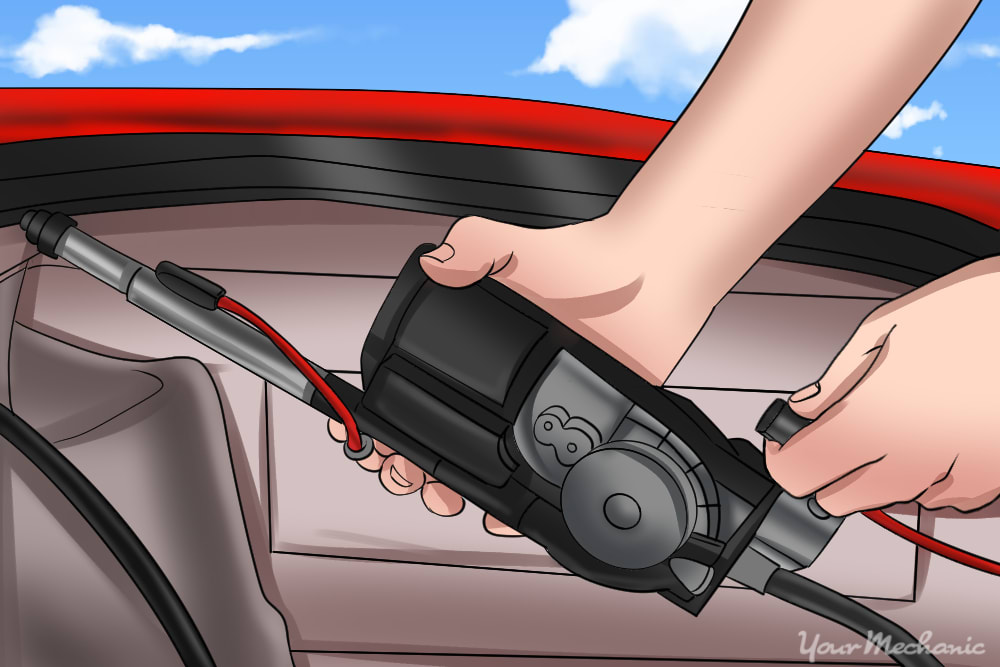
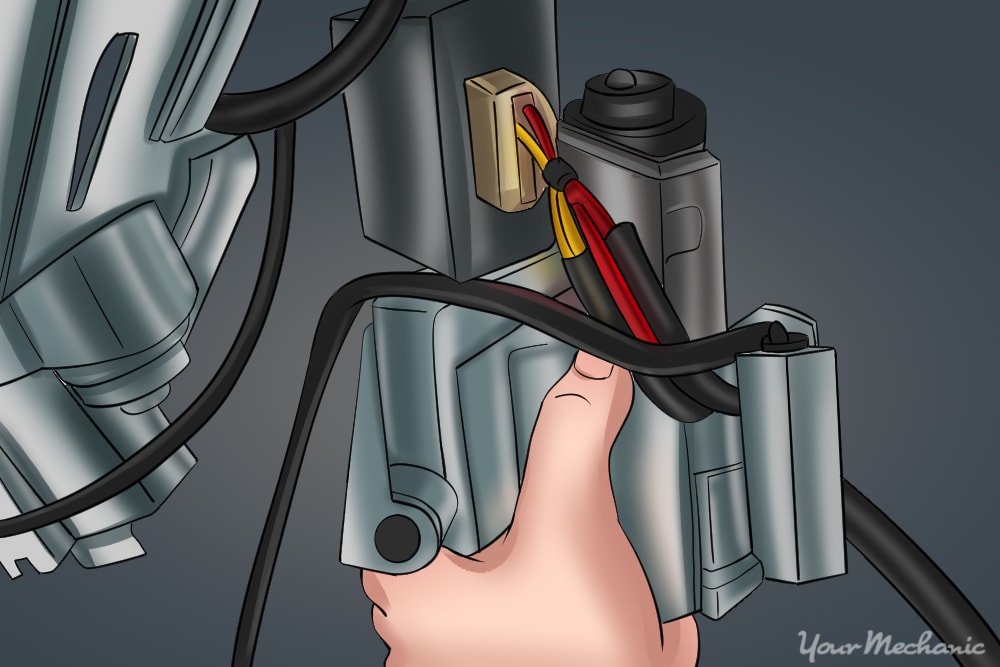
Step 6: Unplug the antenna motor. There will be two cables to unplug; one to power the motor and the signal wire that goes to the radio.
Now you’re ready to get the new motor installed onto the car.
Part 2 of 2: Installing new antenna assembly
Step 1: Plug in your new antenna motor. Reattach the two cables that you unplugged.
If the connectors don’t work together, then it may be the wrong part.
If you want, you can test the motor to make sure it works before fully installing it on the car. This would save you the trouble of taking everything apart in case the new one is faulty.
If you reconnect the battery to test the motor, you can leave the battery plugged in for the rest of the job, since you are done messing with electrical connections.
Step 2: Place your new motor into the mount. Make sure the top of the assembly is going out of the hole for the antenna, and then line up the bottom screw holes.
Step 3: Thread on the bottom nuts and bolts. Just start them by hand so that the unit doesn’t fall. You don’t need to tighten them quite yet.
Step 4: Replace rubber grommet and screw down the top nut. Tightening it by hand should be sufficient, but you can use the pliers again if you would like.
Step 5: Tighten the bottom nuts and bolts. Use your ratchet and snug them down with one hand so you don’t overtighten them.

Step 6: Reconnect the battery, if you haven’t already. Test it one more time while it’s mounted to make sure everything is okay. If it’s working as intended, reinstall any panels or lining you took off earlier.
With your antenna replaced, now you’ll be able to listen to the airwaves again to get your traffic and news. If you are experiencing any issues with this job, our certified technicians at YourMechanic are always available to help you identify any issues you have with your car antenna or radio.