
Your car’s carpet is underneath the seats, the console, and trim; it is a permanent fixture in your car. There are circumstances that can occur when you want to remove it and replace it, such as when the carpeting has worn through from the driver’s heel, the carpet is badly soiled and needs to be pressure washed or replaced, or there is a permanent foul odor like when milk is spilled and spoils.
Removing your car’s carpet can be done either to clean it or replace it. The same process can be followed if you want to remove or replace your car’s vinyl floor.
Part 1 of 3: Remove the carpeting from your car
Materials Needed
- Battery terminal wrench
- Carpeting
- Ratchet and socket set
- Screwdriver set
- Trim tool set
Step 1: Disconnect the negative battery cable. Loosen and remove the negative battery cable with your battery terminal wrench, turning counterclockwise to loosen it.
There are airbag sensors on most modern vehicle seats. If you don’t disconnect the battery, you can cause an airbag to deploy accidentally. Leave the vehicle for 10 minutes before removing the seats after disconnecting the battery.
Step 2: Remove the front seats. There will be four floor-mount bolts on the bottom rails of the front seats.
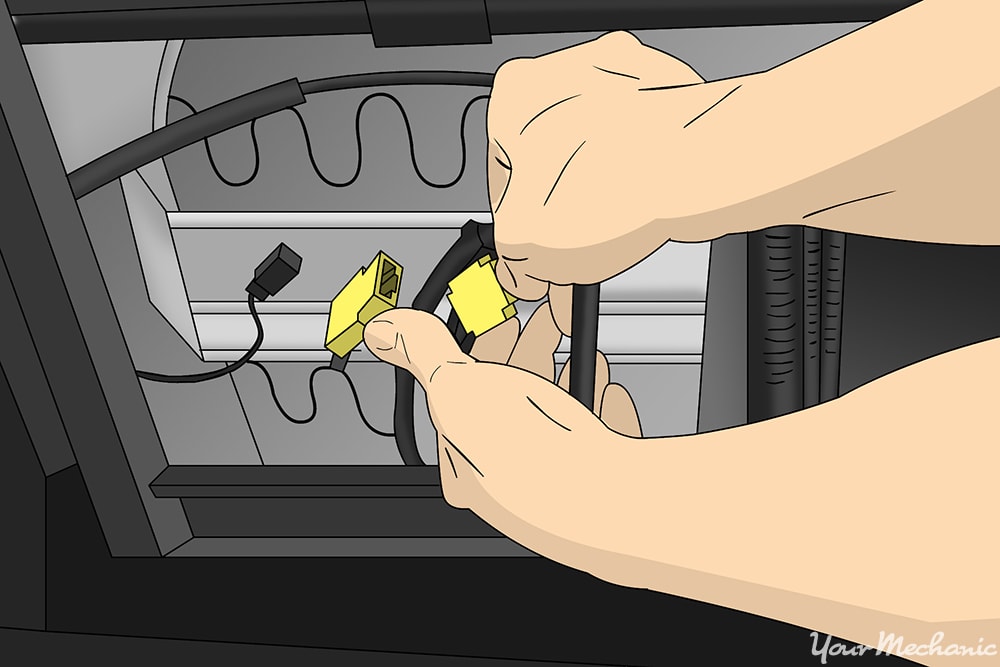
Loosen and remove the bolts with a ratchet and the appropriate sized socket, disconnecting the seat wiring harness. There will likely be one or two wiring harnesses attached to the seat that need to be disconnected before removal.
Tip the seat slightly to the side or back to access the harnesses, making sure not to pull on the wires. Press the locking tab on the connector and pull the two sides of the connector apart. Lift the seat out of the car, being careful not to scratch the trim with the seat tracks.
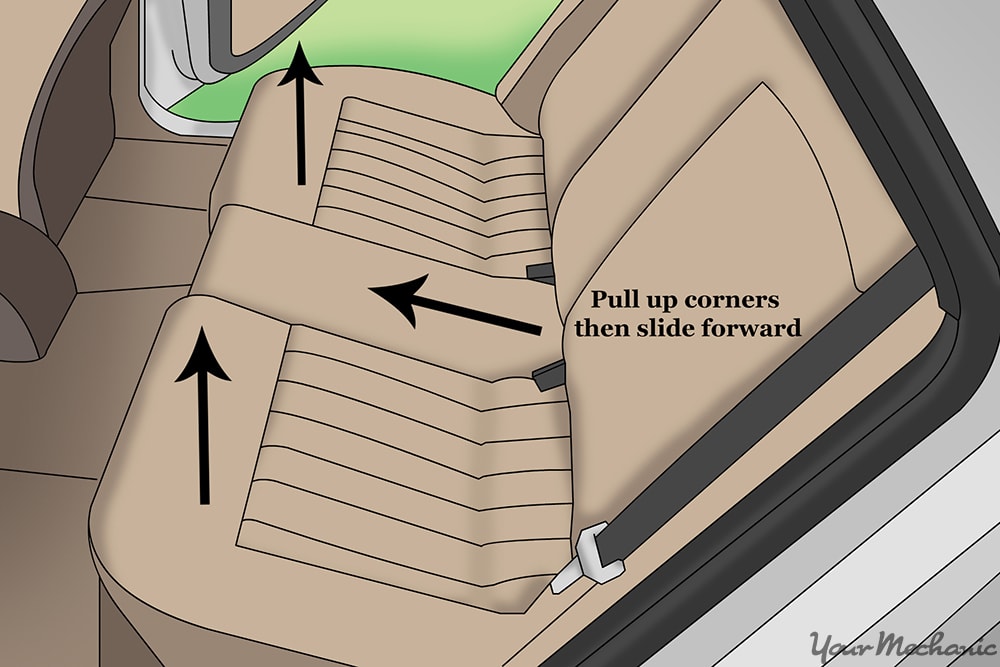
Step 3: Remove the rear seat cushion. The rear seat bottom cushion may either lift up from the front edge and slide out, or there may be two or three bolts along the front edge.
Loosen and remove the bolts if so equipped, then pull the seat out.
Step 4: Remove trim panels against the floor. There are plastic trim panels against the carpet in the front footwells, the “B” pillars beside the front seats, and along the door sills.
There may be additional trim on your vehicle as well. Remove all the trim that covers the raw edge of the carpet. Pry from the edge of the trim with a plastic trim stick until the spring clips on the back of the panel come loose.
Remove all the trim panels required in the same fashion. The trim stick prevents the panel from being scratched by a tool.
Step 5: Remove the center console if your car is equipped with one. Find the fasteners for your center console; usually there will be 2-4 in the storage compartment in your console.
There may be more around the perimeter of your console as well. You may have to remove the shifter bezel with the trim stick or the gearshift knob. Remove the screws with the appropriate screwdriver, likely a Phillips-head screwdriver.
Lift the console out carefully and set it down where it won’t get scratched.
Step 6: Remove the front seat belt buckles. Only remove the seat belts if completely necessary.
They are an extremely important safety item and are torqued in place. Unnecessary removal can result in failure in an accident.
- Warning: If you remove the seat belt buckles, tighten them to manufacturer’s specification with a torque wrench when re-assembling. Find the torque spec by calling your dealer.
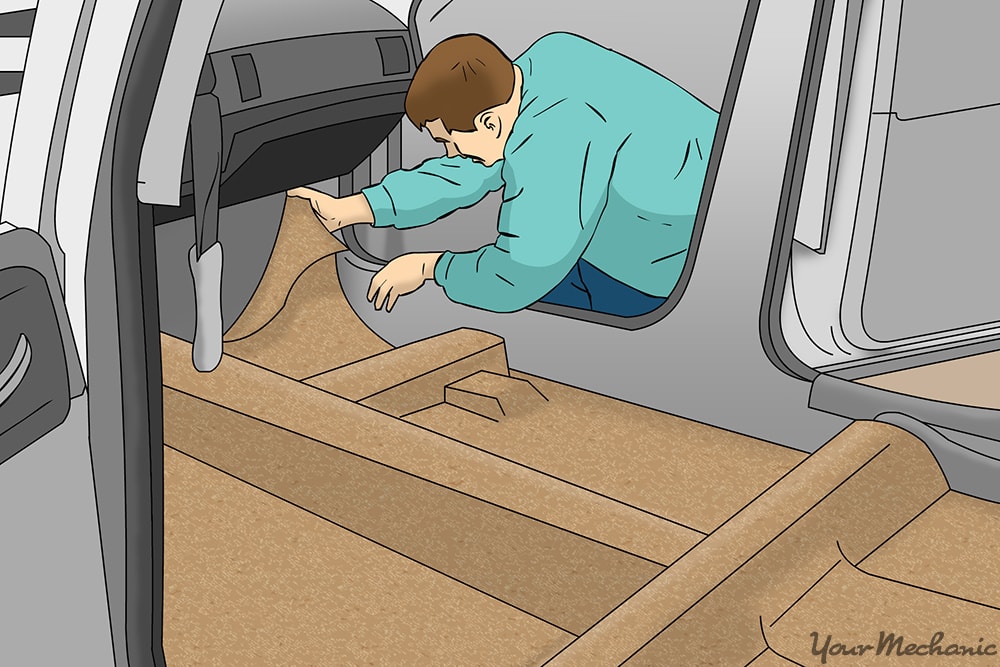
Step 7: Pull the carpet free from the vehicle. Make sure any wiring harnesses are pushed through carefully so the wires don’t get damaged.
The carpeting is pretty stiff, and can be hard to manipulate. Be careful not to scratch your interior with its rough edges.
Part 2 of 3: Fit new carpet to your floor
Most vehicles have direct-fit replacement carpet sections available from your dealership’s parts department or by ordering from retailers online. They drop in exactly like your old carpeting did and require little to no trimming or fitment.
If you want a custom floor color or you are unable to find the exact fit carpeting for your car, cut new carpet to size. Keep your old carpet pieces as a template to cut new pieces out.
- Tip: If there was a bad odor from your carpet, sprinkle baking soda on the floor while it is bare, then vacuum it out right before installing your new carpet.
Materials Needed
- Carpeting
- Chalk
- Utility knife or shears
Step 1: Lay the old carpet over the new section of carpet. Place the old carpet onto the new to act as a template.
Step 2: Outline with chalk. Use chalk to draw an outline roughly an inch wider and longer than the existing carpet.
Copy over any access holes or flaps for wiring or mounting hardware just like the original carpet.
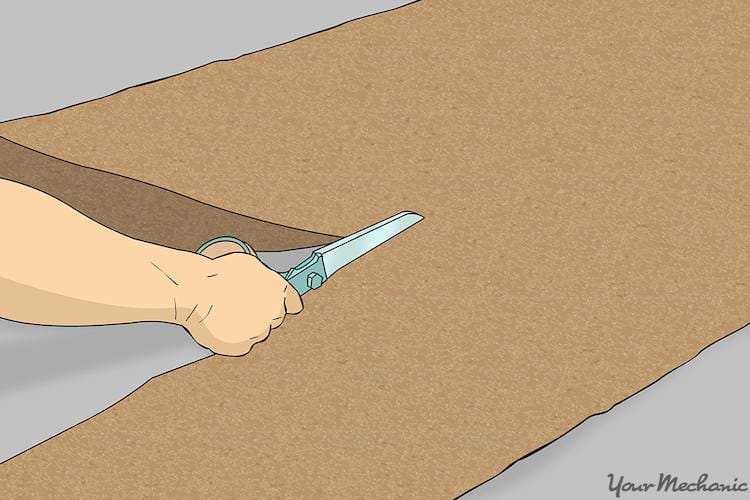
Step 3: Use shears to cut the carpet. Cut out the floor section with a sharp utility knife or shears, erring on the side of oversized than undersized.
Step 4: Test the carpet pieces. Test fit your new pieces in your car, trimming carefully for the best fit.
Part 3 of 3: Install your new carpet
Step 1: Lay the carpet sections in place. Pull wiring harnesses through the carpet before putting any fasteners or trim in place.
Make sure you have it all routed through the carpet.
Step 2: Install the center console. Install the screws in the reverse order of the removal.
Having the center console in place and tightened will hold the carpet centered in the car.
Step 3: Install the “B” pillar plastic covers. Do this by snapping the spring clips on the back of the panel into their respective holes in the sheet metal.
Step 4: Install the front seats. Place the seats in the car.
Tilt them to connect the wiring harnesses for the seats. Make sure the connectors snap together fully. Bolt down the front seats with the same hardware you removed. Tighten the seat mounting bolts as tight as you can make them.
Step 5: Install the rest of the plastic trim. Do this in the same fashion as the “B” pillar trim.
Step 6: Install the rear seat. Snap it down into place, lining up the tabs on the seat with the mount in the floor, or install the bolts if equipped.
Step 7: Reconnect the battery. Make sure it is connected properly.
- Note: You’ll need to reset the radio stations and any memory presets after reconnecting the battery. Also, don’t leave the key in the car. It’s possible the power door locks may lock when the battery is reconnected, or the alarm may be triggered.
Replacing your car’s carpet is an aesthetic upgrade which can seriously improve the look of your car and can help get rid of bad odors or stains. If you have any questions about the process, Ask a Mechanic for some quick and detailed advice to get you on the right track.


