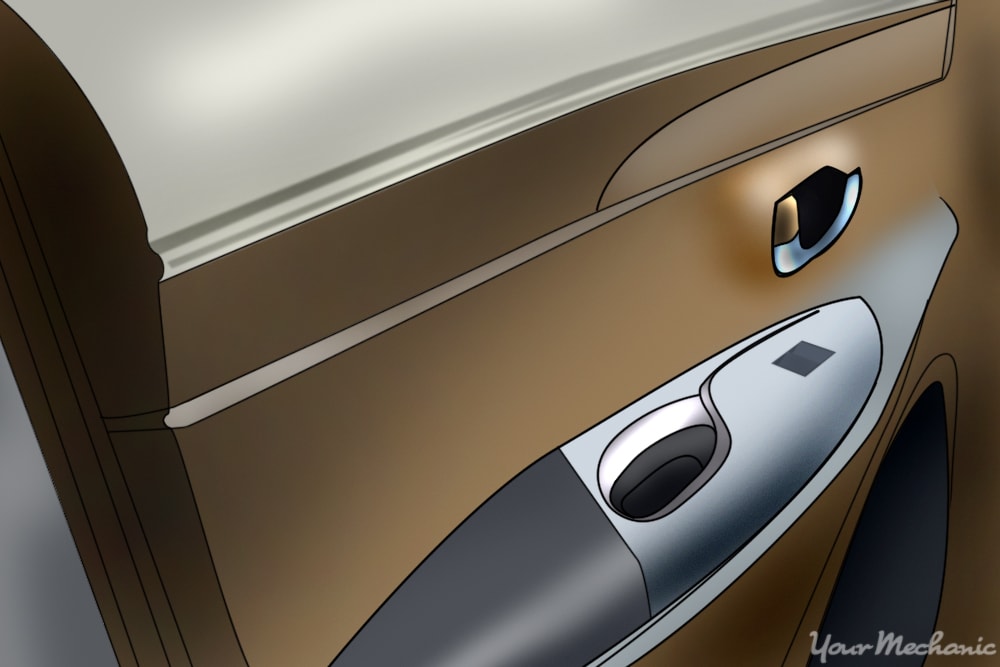

You’ve been rolling down your window and opening the door from the outside door handle for a while now. That interior door handle has not been working and you’ve been dreading replacing it. In older cars, much of what you see and touch was made from heavy metal and steel. In later model cars, much of what you see is made of lighter metals and plastics.
A commonly used part like your door handle may have lasted a lifetime in your old car, but with lighter gauge metals and plastics in modern cars, you may need to replace your door handles at least once in the lifespan of your car.
Part 1 of 1: Replacing the interior door handle
Materials Needed
- Interior trim removal tools
- Pliers - regular/needle-nose
- Ratchet
- Screwdrivers - flathead/Phillips/Torx
- Sockets
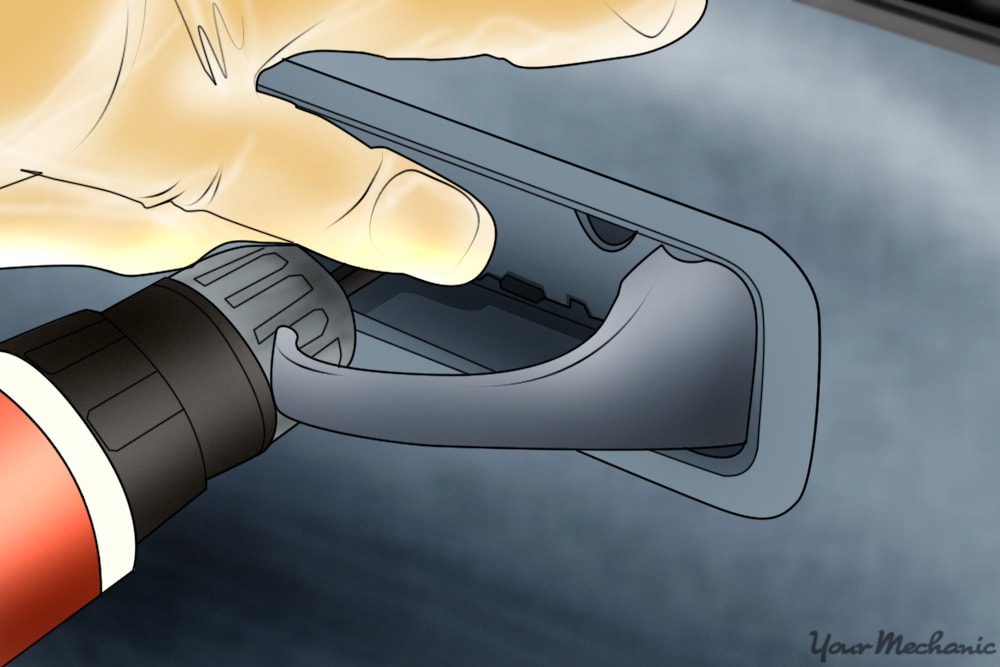
Step 1: Remove the door panel screws. Locate all the screws before you start pulling on the door panel.
Some screws are out in the open, but others may have a small trim cover on them. Some can be hidden behind the grab handle as well as around the outer edge of the door panel.
Step 2: Separate the door panel from the fasteners/clips. Using the appropriate trim panel removal tool, feel around the outer edge of the door panel.
Typically, you’ll want to feel the front edge, down along the lower edge and around the back of the door opening. There may be several clips holding the panel in place. Insert the trim panel removal tool between the door and interior panel and gently pry the door panel loose from the clips.
- Note: Be gentle as these clips can break easily.
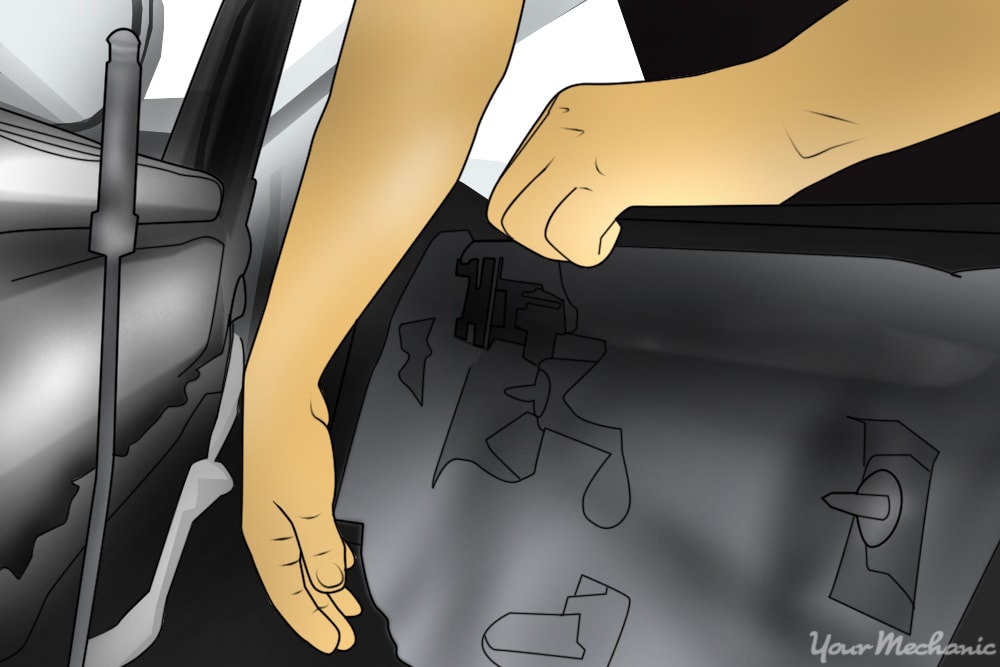
Step 3: Remove the door trim panel. Once separated from the retaining clips, gently push up on the door panel from the bottom.
The top edge of the door panel will pop up along the window. At this point, reach around behind the door panel to unplug any electrical connectors for the power window/door lock/trunk/fuel door release buttons. To fully lift the door panel out of place, you will have to angle the door panel and/or the door handle assembly to pull it back through the opening in the door panel to lift it completely off.
Step 4: Remove the plastic vapor barrier if needed. Take care to remove the vapor barrier intact and do not cut it open.
On some vehicles, the inner door must remain sealed properly as side air bag sensors may rely on pressure changes within the door for side impact airbags to deploy. If it is already damaged or damaged during replacement, replace the vapor barrier as soon as possible.
Step 5: Remove the inner door handle mechanism. Unscrew any nuts or bolts holding the door handle in place.
There will be a rod from the inner door handle to the door latch mechanism, usually held together by plastic clips. Carefully detach them, remove the broken handle, and replace it with the new one.
Step 6: Loosely reinstall the inner door panel. Test both the inner and outer door handle functions before securing anything in place.
Once you have verified the operation of both, reconnect any electrical connectors you removed and snap the door panel back into the retaining clips. If any were broken during disassembly, visit your local auto parts store or dealership for replacements.
Step 7: Reinstall all screws and trim pieces. Once the door panel is secured onto the retaining clips, reinstall all screws and trim pieces.
Hand tight is perfectly fine, no need to over-tighten them.
An operational door handle is essential for your comfort inside the vehicle and can be a serious inconvenience when broken. If you do not feel comfortable performing this job and if your vehicle needs an inner door handle replacement, be sure to have one of YourMechanic’s certified technicians come to your home or work and perform the repair for you.


