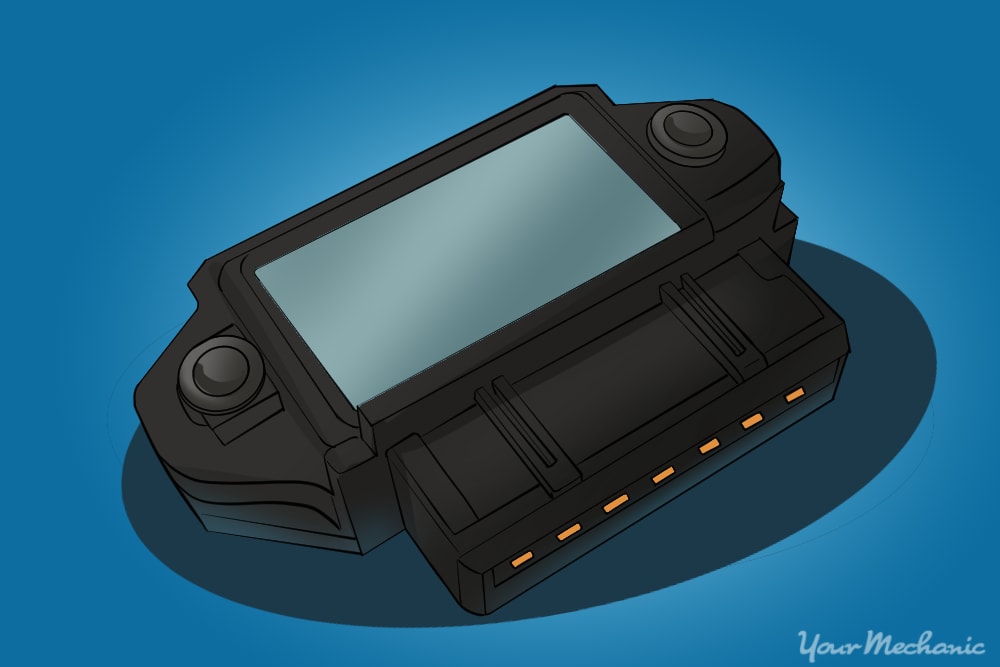
The ignition ignitor is the component that is responsible for sending a signal from the key's ignition switch to the electrical system to supply power to the spark plugs and start your engine. Once the driver turns the key, this component tells the ignition coils to fire, so that the spark can be produced for cylinder combustion to occur. In some systems the igniter is also responsible for advancing and retarding the engine’s timing.
This component is not commonly inspected during a routine service check, as it's designed to last the life of the vehicle. However, it can wear out due to extensive work or an electrical system overload that burns electrical components inside the ignition ignitor. When the ignition ignitor is damaged, it usually causes a disruption in the engine starting process. The driver will turn the key, and the starter will engage, but the engine won't fire.
Part 1 of 1: Replacing the ignition ignitor
Materials Needed
- Boxed end wrench or ratchet sets
- Flashlight or drop light
- Flat blade and Phillips head screwdrivers
- Replacement ignition ignitor
- Safety equipment (safety glasses)
Step 1: Disconnect the vehicle's battery. Locate the vehicle's battery and disconnect the positive and negative battery cables before proceeding.
The ignition ignitor is located inside the distributor. If you don't remove battery power, the potential of being shocked is extremely high.
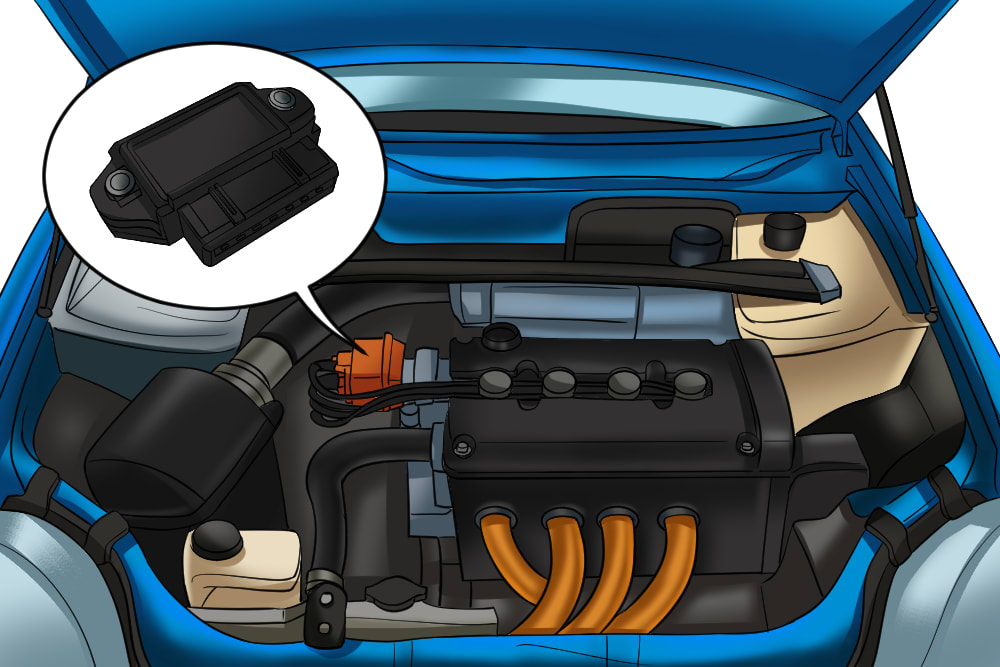
Step 2: Remove the engine cover. The distributor is commonly located in the passenger side on most smaller engines and on the driver side or behind the engine on V-8 engines.
In order to gain access to this part, it may be required for you to remove the engine cover, air filters and support hoses.
If needed, write down what components you removed in the order you completed these steps, so you can refer to this list when you're done. You should reinstall them in the reverse order for proper placement and fit.
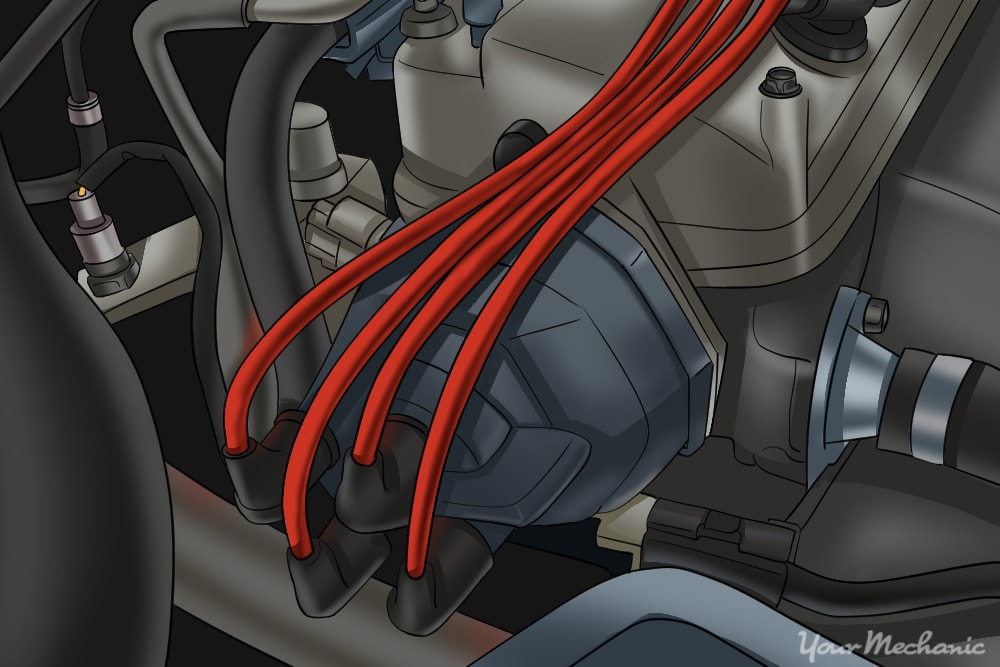
Step 3: Locate the distributor and remove the distributor cap. After you've removed any components that are obstructing your access to the distributor, remove the distributor cap.
Most of the time, the distributor cap will be held on by two or three clips or two or three Phillips head screws.

Step 4: Remove the rotor from the distributor. Depending on the type of distributor, you will also have to determine how to remove the rotor.
Please refer to the vehicle service manual before attempting to remove this component. In many cases, the rotor is held on by one small screw on the side of the distributor, or simply slides off.
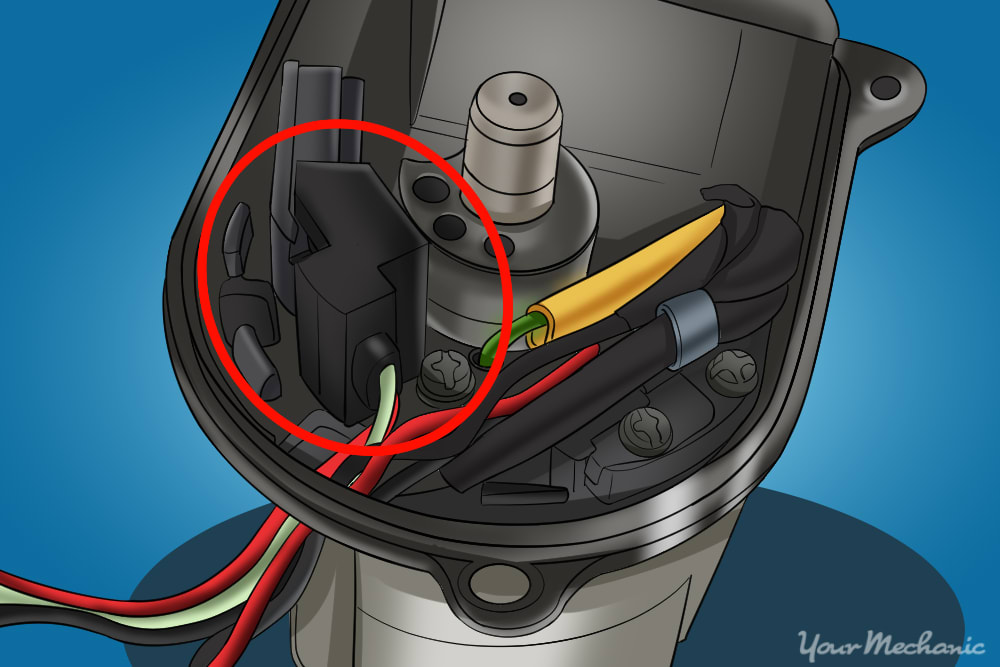
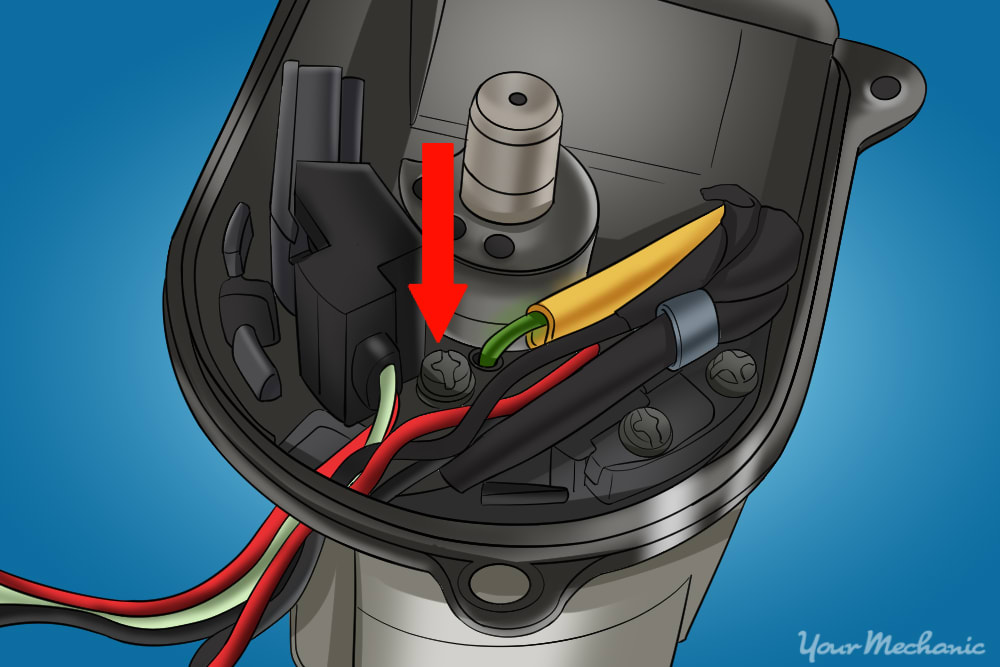
Step 5: Remove the ignition ignitor. Most ignition ignitors are connected to the distributor through a series of male to female connections as well as a ground wire attached to a Phillips head screw.
Remove the screw that holds the ground wire and carefully pull on the ignition module until it slides off of the distributor.
- Note: Make sure to inspect and verify the correct placement of the ignition ignitor to verify that you install the new one in the correct position and in the right direction.
Step 6: Inspect the ignition ignitor/module connections in the distributor. It is very difficult to verify if this component is damaged; however, in some cases, a damaged ignition ignitor will be burnt on the bottom or may be discolored.
Before you install the new part, make sure the female fittings that connect the ignition ignitor are not bent or damaged. If they are, you'll need to replace the distributor instead of just replacing the ignition ignitor.
Step 7: Install the ignition ignitor. First, attach the ground wire to the screw that held the original ignition ignitor ground. Next, slide the ignition ignitor male connectors into the female connection slots.
Make sure the ignition ignitor is solidly mounted before you begin to reassemble the distributor.
Step 8: Reconnect the distributor cap. After the rotor has been successfully attached, reconnect the distributor cap using the reverse of the method you used to remove it initially.
Step 9: Reinstall engine covers and components you removed to gain access to the distributor cap. After you've tightened the distributor cap, you'll need to reinstall all of the components and pieces you removed in order to gain access to the distributor.
- Note: Make sure to install them in the reverse order of how you removed them initially.
Step 12: Reconnect battery cables.
Step 13: Clear error codes with scanner. Make sure to clear any error codes before you test the repair with a digital scanner.
In many cases, the error code triggered the Check Engine Light on your dashboard. If these error codes are not cleared before you test fire the engine, it is possible that the ECM will not allow you to start the vehicle.
Step 14: Test drive the vehicle. It's recommended to test drive your vehicle to ensure the repair was completed right. If you turn the key and the engine starts, the repair was completed successfully.
Here are a few tips to consider while test driving:
Test drive the vehicle for about 20 minutes. When you drive, pull into a gas station or to the side of the road and turn off the vehicle. Restart the vehicle to verify that the ignition ignitor is still working.
Start and restart your engine about five times during the test drive.
As you can see from the instructions above, this job is fairly simple to complete; however, since you're working with the ignition system, there may be multiple steps to complete that are not indicated above. It's always best to refer to your service manual and completely review their recommendations before taking on this type of job. If you've read these instructions and still don't feel 100% confident in completing this repair, please contact a ASE certified mechanic from YourMechanic.com to complete the ignition ignitor replacement job for you.
