
The exhaust gas recirculation (EGR) system introduces exhaust gases to the engine combustion chamber to lower temperatures. This helps to reduce oxides of nitrogen (NOx) emissions, which are smog-forming pollutants.
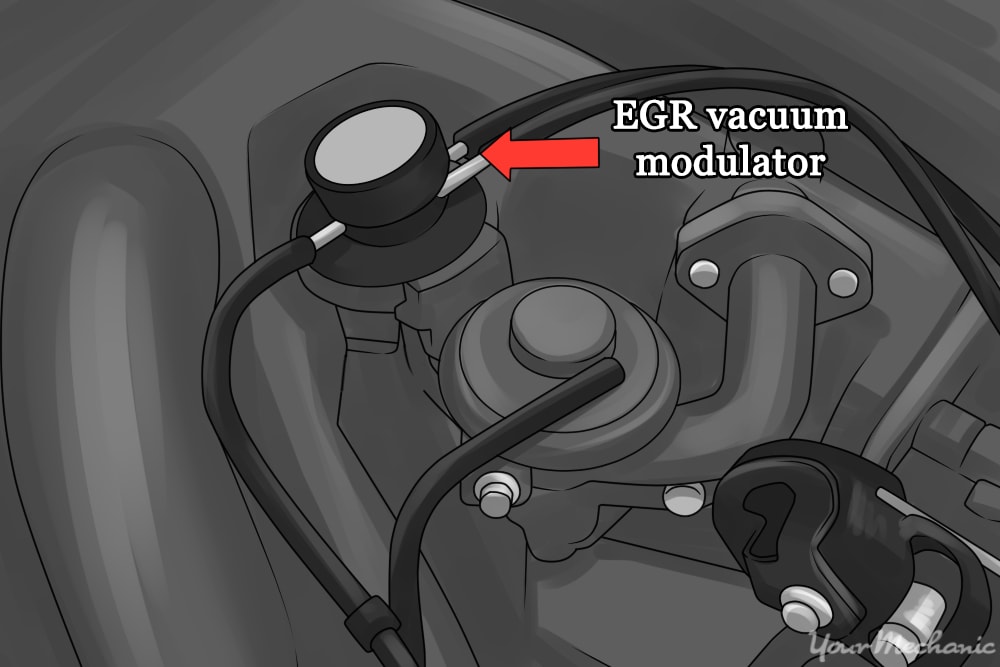
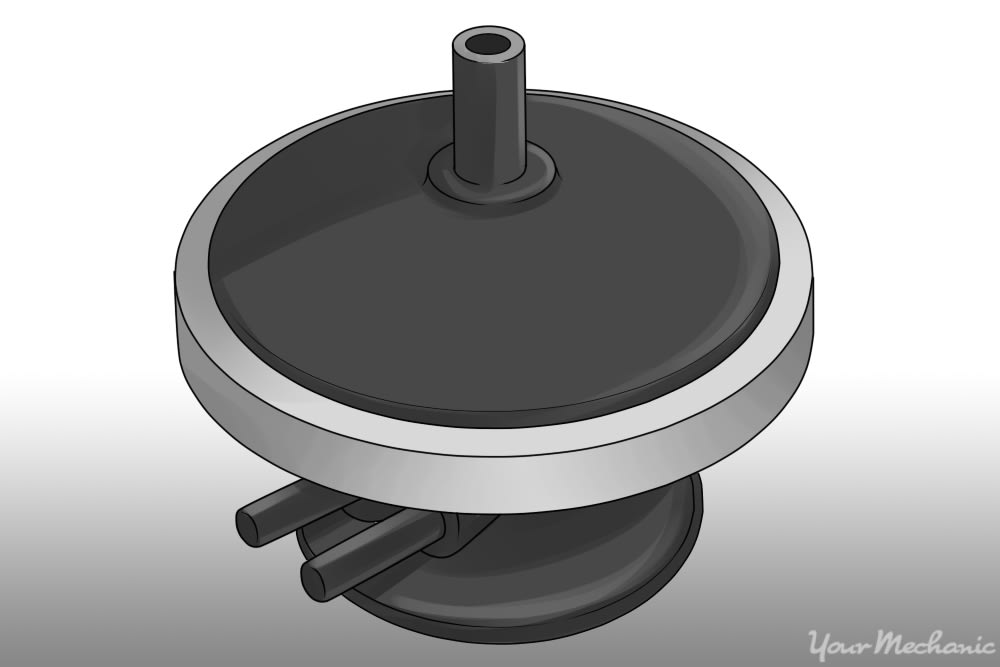
The heart of the EGR system is the EGR valve, which can be either electronic or vacuum controlled. The EGR valve is used to meter exhaust gases into the engine. On some systems, the EGR valve is regulated by a vacuum modulator. The modulator precisely controls the strength of the vacuum signal to the EGR valve by referencing exhaust back pressure or engine load.
The typical symptoms of a bad EGR vacuum modulator include stalling, surging, rough idle, increased emissions, and an illuminated check engine light. If you notice any of these symptoms, you may have to replace the EGR vacuum modulator.
Part 1 of 2: Locate and remove the EGR vacuum modulator
In order to safely and efficiently replace your EGR vacuum modulator, you will need a couple of basic tools:
Materials Needed
- EGR vacuum modulator
- Free repair manuals - Autozone
- Protective gloves
- Repair manuals (optional) - Chilton
- Safety glasses
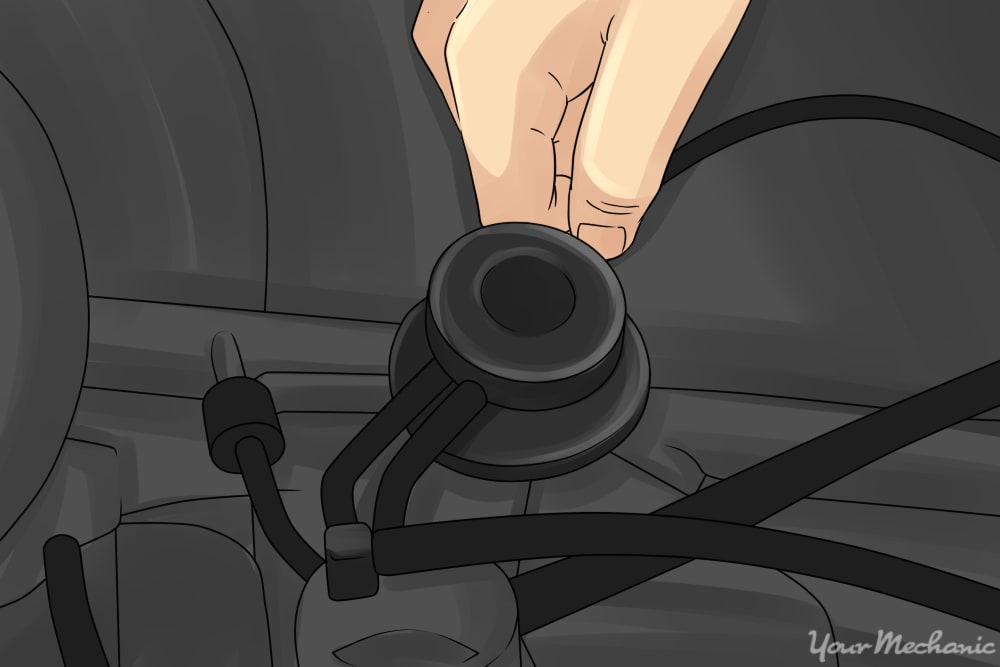
Step 1: Locate the EGR vacuum modulator. The modulator is typically mounted near the EGR valve on the intake manifold.
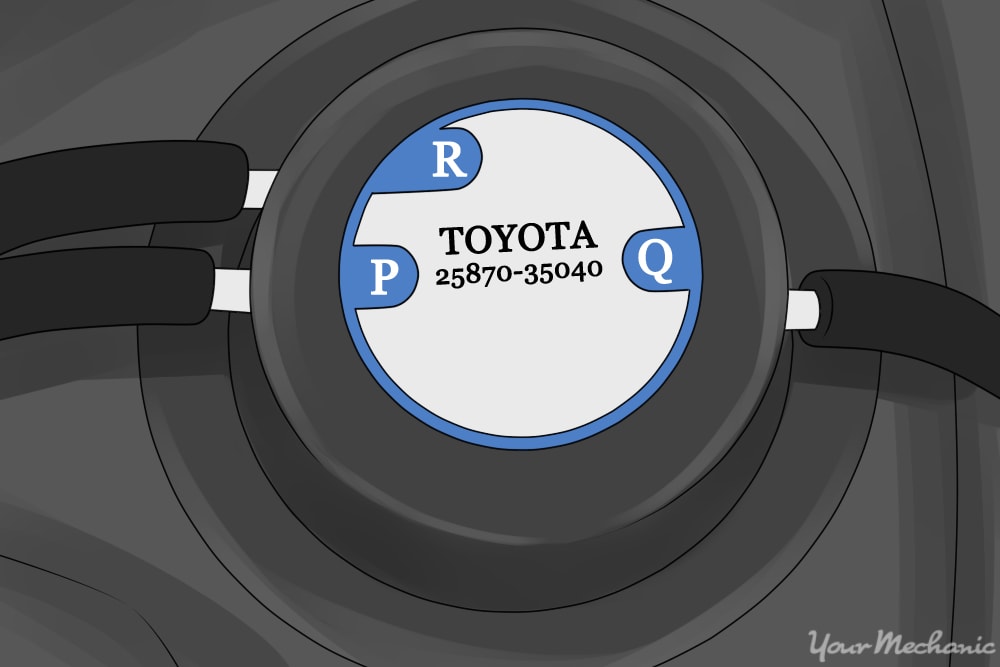
Step 2: Disconnect the modulator vacuum hoses. Typically, the modulator will have labeled ports. Label the vacuum hoses for reference during installation of the new modulator.
Disconnect the vacuum hoses by carefully sliding them off the connections.
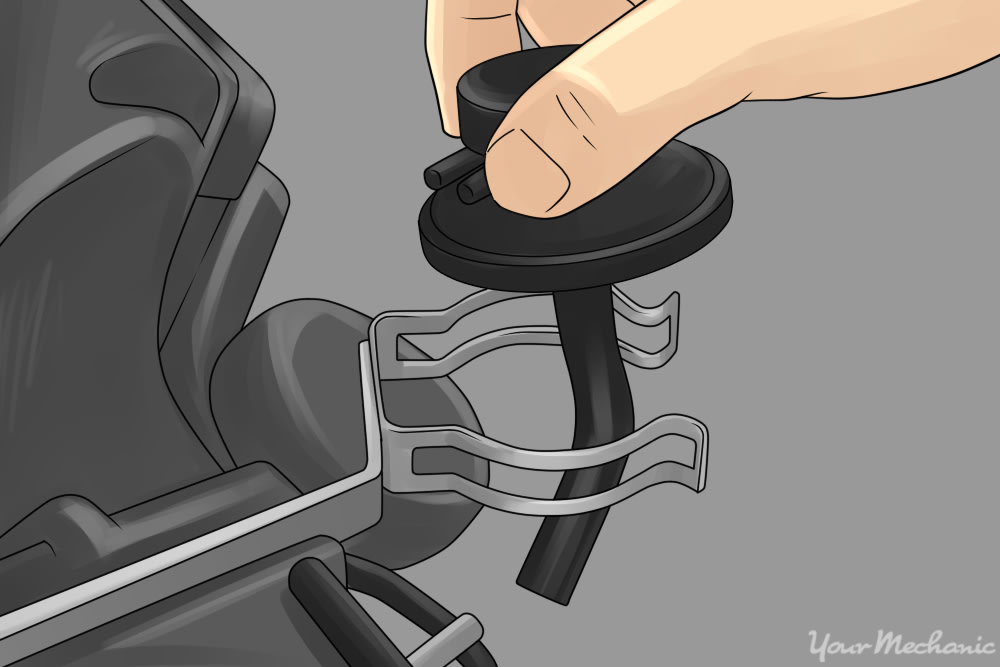
Step 3: Remove the modulator from its mounting clips. Pull the mounting bracket clips apart and remove the modulator.
Part 2 of 2: Install the EGR vacuum modulator
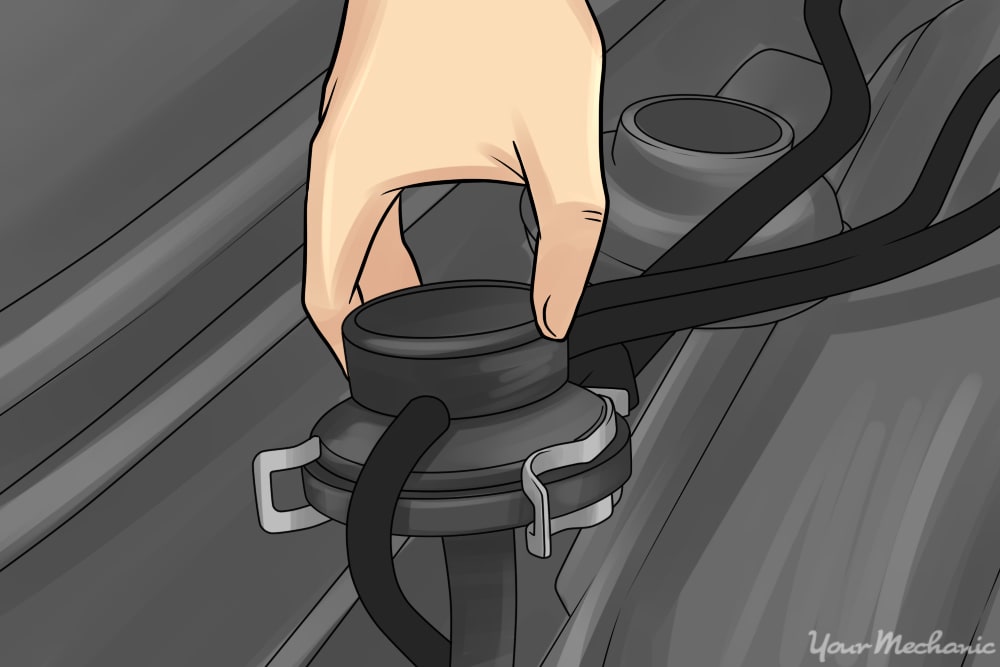
Step 1: Install the new modulator. Install the new modulator in the mounting clips.
Step 2: Put back the vacuum hoses. Reinstall the vacuum hoses in the exact order in which they were removed.
If you are not comfortable with performing this process on your own, get a certified technician from YourMechanic to replace the EGR vacuum for you.


