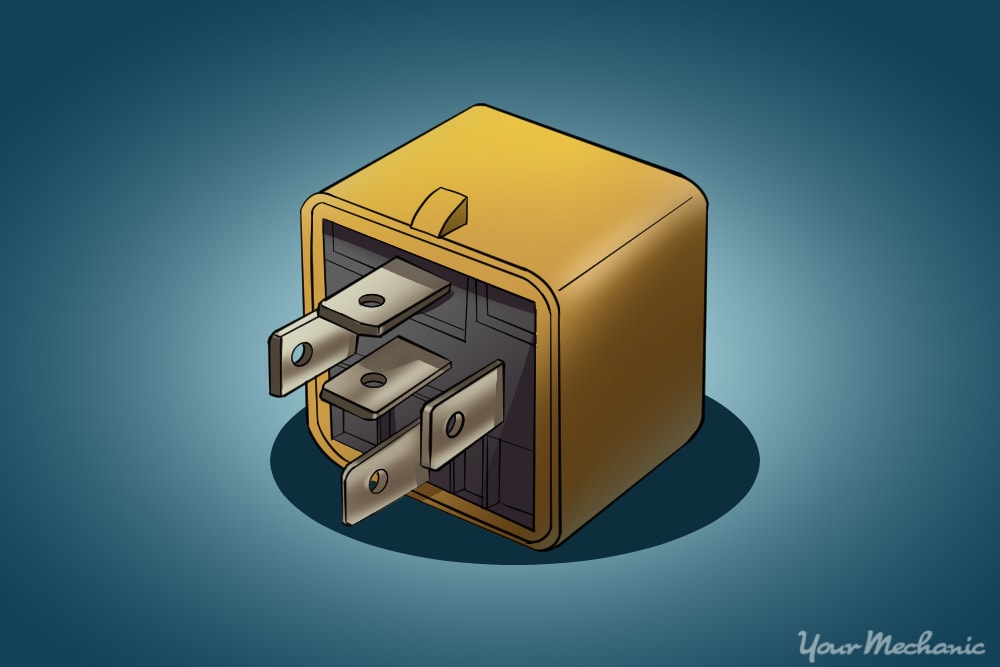

Electronic relays are used throughout your vehicle. They control everything from electric windows to the electric fuel pump. They are used as a low-voltage trigger for high voltage consuming components. By only triggering components as needed, relays help your vehicle conserve energy. Since the internals of a relay are both electronic and mechanical, think of it as a switch that uses electricity to “switch” itself on. This in turn switches on the component it controls. If one of the electronic components in your car is not working, it is possible that it is time for a new electronic control relay.
Part 1 of 1: Replacing the electronic relay
Materials Needed
- Replacement electronic relay specific to the vehicle part that is not working
- Screwdrivers
- Sockets/ratchet
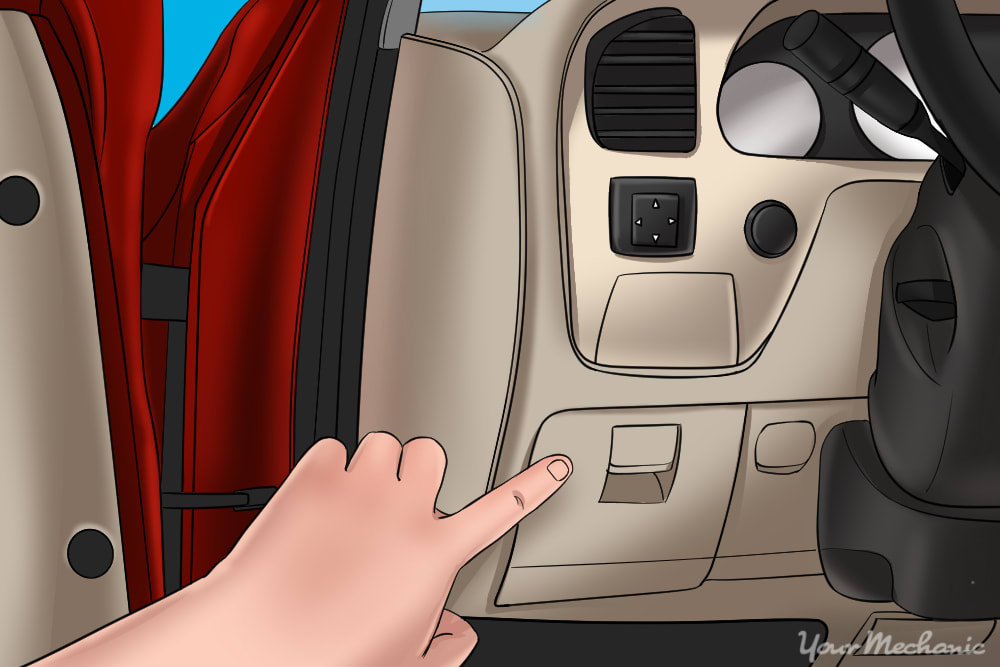
Step 1: Locate the relays. With the increasing amount of electronics in modern vehicles, it is possible your vehicle may have more than one fuse/relay box.
There can be multiple locations underhood as well as inside the passenger compartment or trunk.
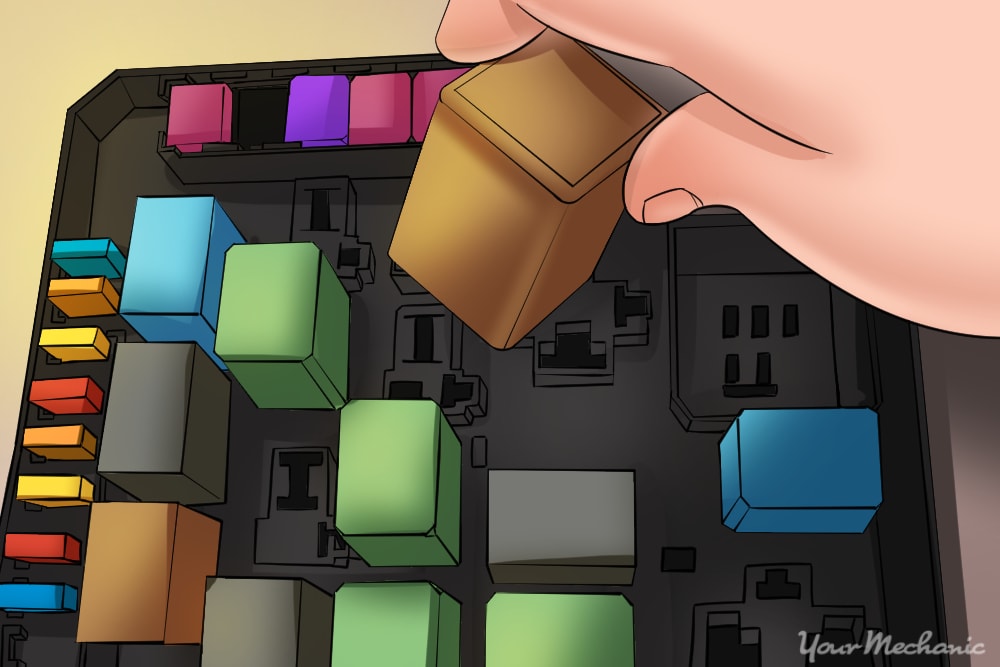
Step 2: Replace the faulty relay. With the key in the off position, remove the faulty relay.
It should simply unplug by hand. Set the faulty relay aside.
Insert the new relay in the correct position. Use as little force as required to remove and install relays as automotive wiring and connectors can be delicate and brittle with age.
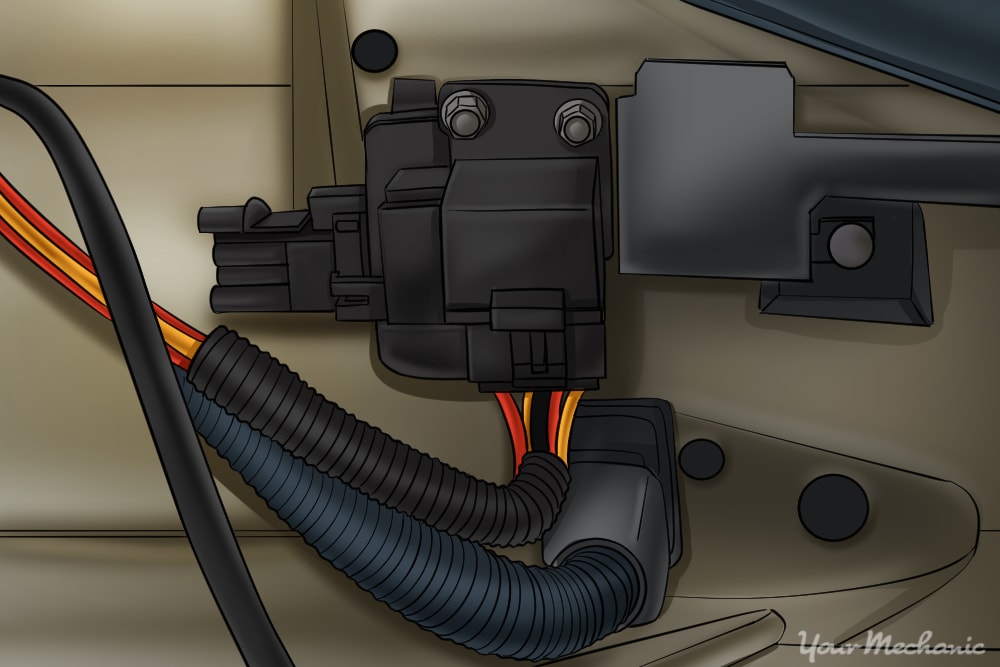
- Note: Older vehicles may have relays mounted to the firewall or inner fender well. Consult your owner’s manual or shop manual for exact locations.
Step 3: Verify the repair. Turn the key to the on position or start the vehicle to verify the component that the relay was for is functioning properly.
Once verified, replace any covers or panels you removed for access.
Because they control many different parts of the car, it can be difficult to tell whether or not your issue is caused by a bad electronic control relay. If you need a diagnosis or relay replacement for your vehicle, contact YourMechanic today to arrange for a mobile technician to come to your home or office.


