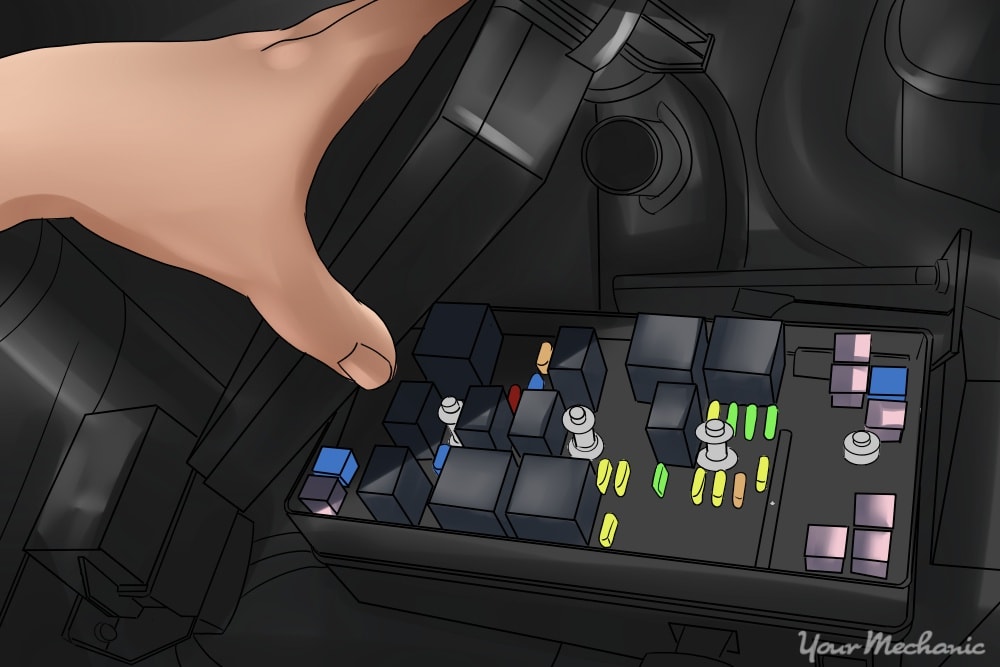

A fuse is a low-resistance resistor device that protects a circuit from becoming overloaded. It is a short piece of wire that is designed to melt and break apart when exposed to an excess of electrical current. A fuse is connected in series to the circuit it protects.
A blown fuse usually causes an electrical short or an overloaded circuit. The most common fuse to burn out in a car is the 12v power outlet, also known as the cigarette lighter. This is often caused by leaving a cell phone charger in it for a long time, or because of the occasional stray penny that falls into an exposed power outlet.
A fuse box is located in the car and houses the fuses. Some cars have multiple fuse boxes with many different fuses. If something electrical in your vehicle suddenly stops working, start by checking the fuse box and get a certified mechanic to take a look and diagnose any electrical problems.
Part 1 of 4: Locate the fuse box
Materials required
- Flashlight
- Needle nose pliers or fuse puller
- Test light
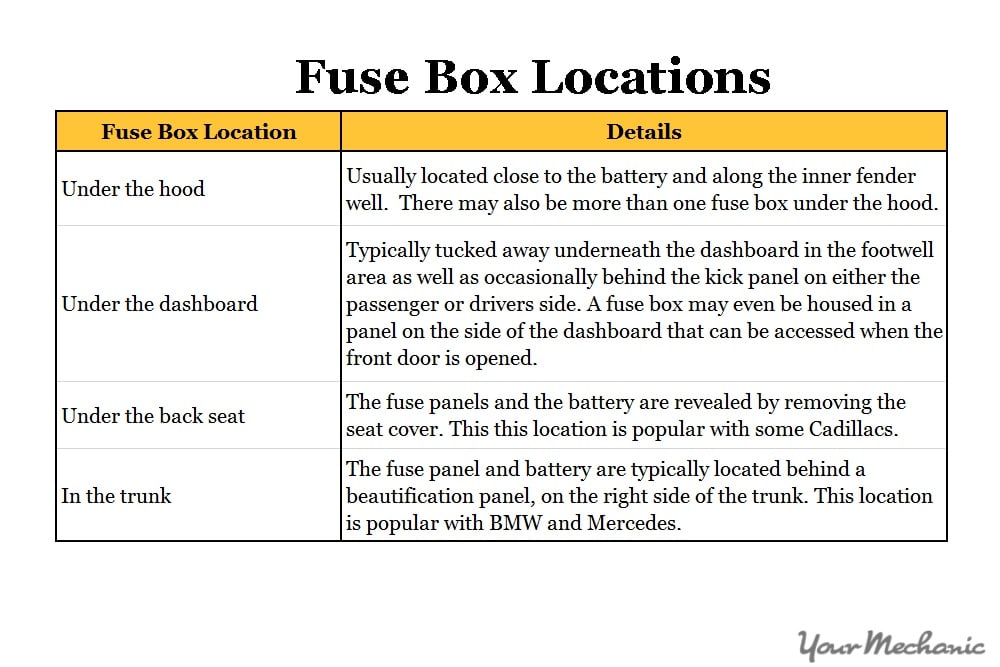
Most cars have more than one fuse box - some vehicles may even have three or four. Car manufacturers tend to install fuse boxes in different locations depending on the make of the car. It is best to refer to your owner's manual to locate the fuse box you need, and also to determine which fuse controls each circuit.
Part 2 of 4: Visually inspect fuses
Most fuse boxes will have a diagram displaying the name and location of each fuse.
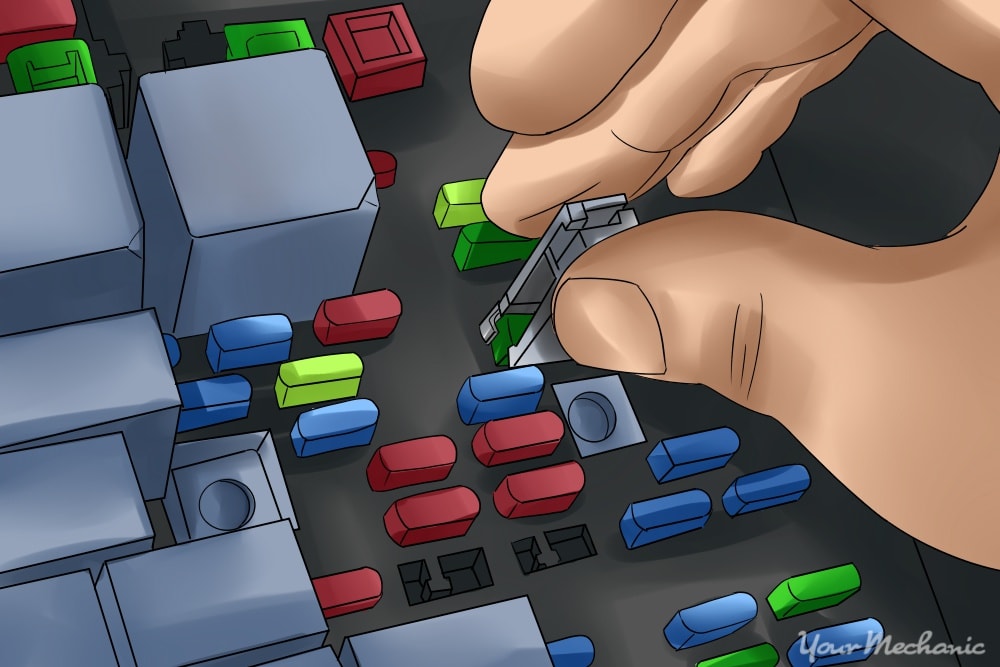
Step 1: Remove the fuse. With the car completely off, locate the fuse in question and remove it by grabbing it firmly with the fuse puller stored in the fuse box, or with a pair of needle nose pliers.
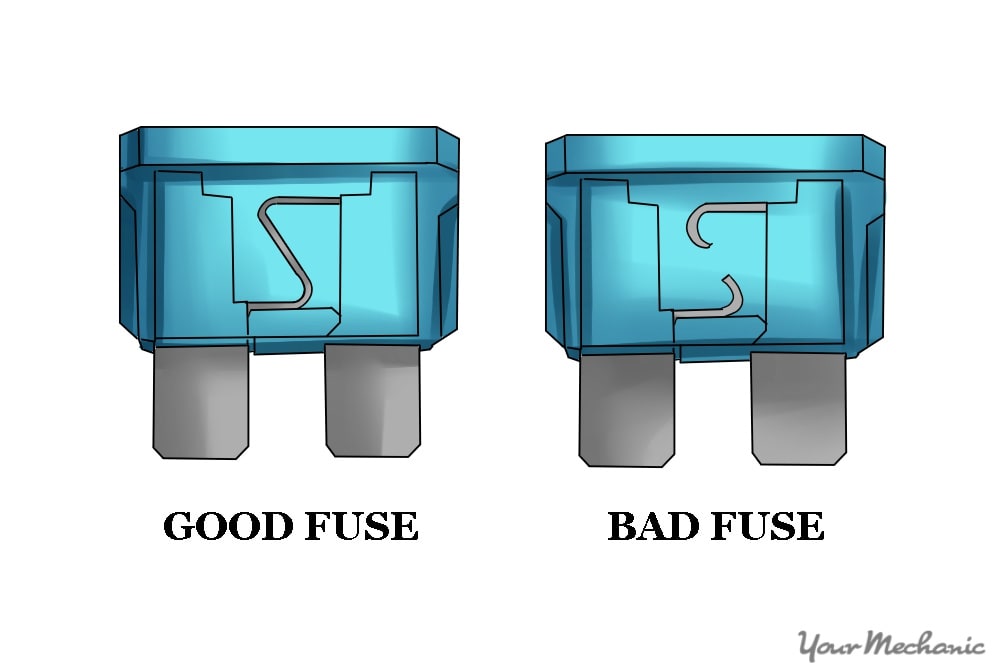
Step 2: Inspect the fuse. Hold the fuse up to the light and check the metal wire for signs of damage or a break. If you see either of these, you will have to replace the fuse.
Part 3 of 4: Use a test light
If you do not have a fuse diagram to locate a specific fuse, you can test each fuse individually with a test light.
Step 1: Switch on the ignition: Turn the key to position two on the ignition, also known as Key On, Engine Off (KOEO).
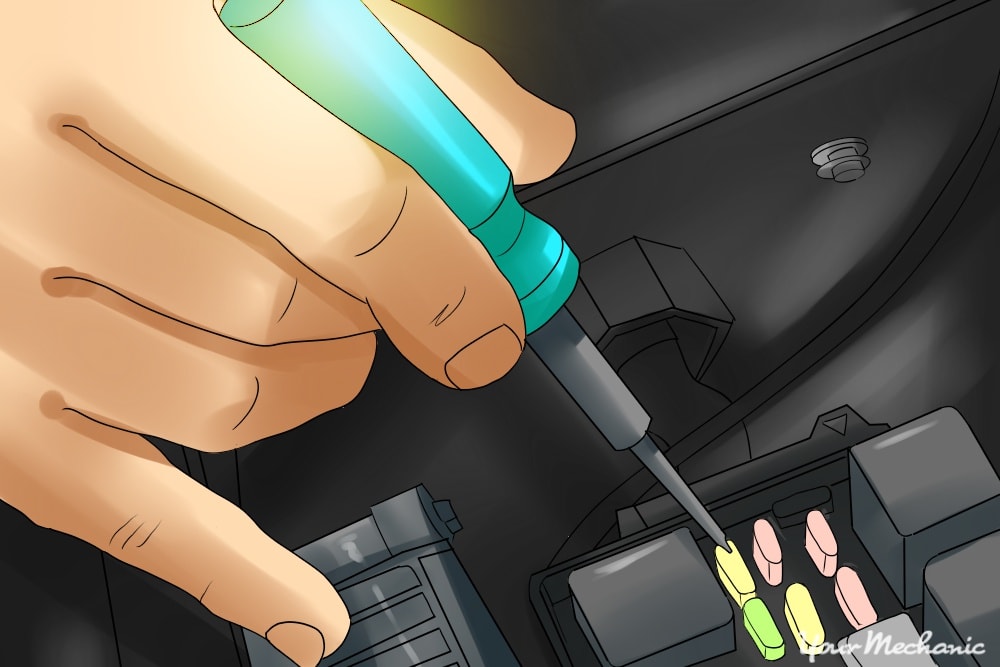
Step 2: Inspect the fuse with the test light. Attach the clip for the test light to any bare metal, and use the probe of the test light to touch each end of a fuse. If the fuse is good, the test light will light up on both sides of the fuse. If the fuse is bad, only one side will illuminate the test light.
- Tip: Use a computer-safe test light, preferably one with an LED light, as probing unknown fuses with an older style test light may draw excessive current. If you test a fuse for the airbag, it may deploy - so be careful!
Part 4 of 4: Replacing the fuse
Once the damaged fuse is detected, be sure to replace it with a fuse of the same type and amp rating.
- Tip: Fuses are sold at any auto parts or hardware store or dealership.
Identifying and replacing a damaged fuse on your own can save you time and money. However, if the same fuse is blowing repeatedly or if certain electrical components are not working, it is advisable to enlist a certified mechanic to inspect the electrical system to identify the reason the fuse keeps blowing and replace the fuse box or fuse for you.


