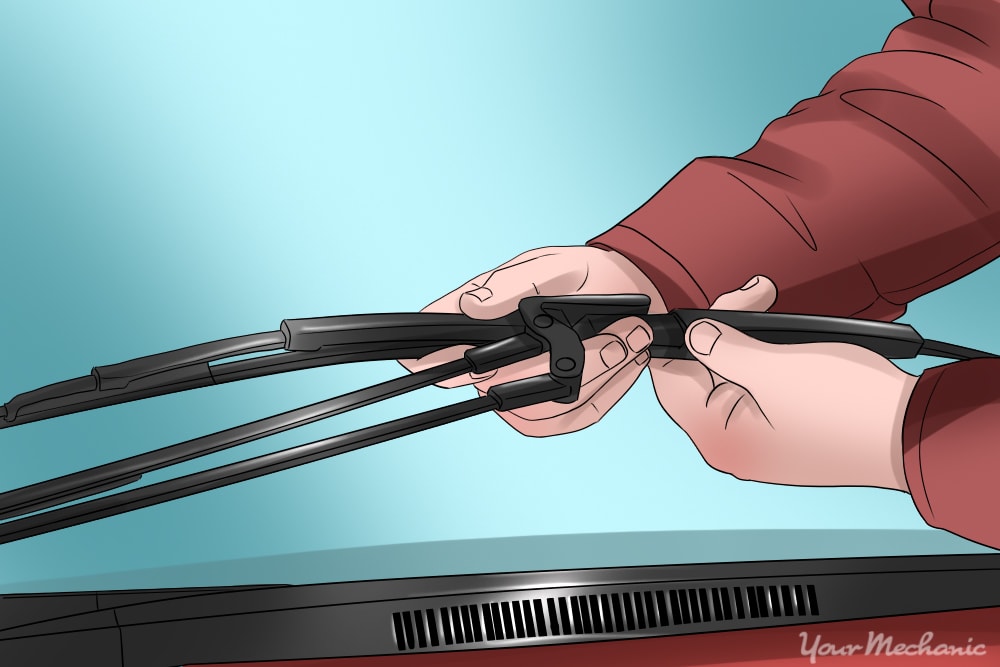

The windshield wiper arm connects to the wiper linkage and holds the blade. Over time, the arm can get bent and damaged, especially during the winter when it’s moving heavy snow and ice. If the windshield wiper arm is going bad, you’ll know right away because the wiper will leave streaks, chatter across the windshield, or not move at all.
Part 1 of 1: Replace the wiper arm
Materials Needed
- Free repair manuals - Autozone provides free online repair manuals for certain makes and models
- Protective gloves
- Ratchet, extension and sockets of the appropriate size
- Red Loctite (optional)
- Safety glasses
- Small flathead screwdriver
- Wiper arm puller (optional)
Step 1: Remove the pivot arm nut cover. Using a small flathead screwdriver, pry up on the pivot nut cover to remove it.
Step 2: Remove the arm retaining nut. Use a ratchet, extension and socket of the appropriate size to remove the arm retaining nut.
Step 3: Remove the wiper arm. Remove the arm by pulling it up and off the linkage stud.
- Note: On some vehicles, the wiper arm is pressed on and requires a special puller for removal.
Step 4: Mount the arm on the linkage stud. Mount the arm back on the linkage stud.
Step 5: Install the arm retaining nut. Install the arm retaining nut on the linkage stud and tighten it down using a ratchet, extension and socket of the appropriate size.
- Note: It’s a good idea to put red Loctite on the retaining nut threads to prevent the arm from backing off.
Step 6: Install the pivot nut cover. Install the pivot nut cover by snapping it into place.
That’s how you replace a wiper arm. If this seems like a task you’d prefer to leave to a professional, YourMechanic offers expert windshield wiper arm replacement at the location of your choice.


