
Traction control is an electronic system that prevents your wheels from spinning or losing control on certain surfaces. Slippery surfaces like rain, ice, and snow can cause your wheels to lose traction on acceleration. Working with the anti-lock brake system ABS, traction control cuts engine power and/or applies braking to an individual wheel to keep you from losing control on those slippery surfaces.
Most vehicles equipped with traction control also have a switch to turn off the system in certain situations such as ones where you need to release your vehicle from snow or ice. Like any electronic component, these switches can go bad. Symptoms of a bad traction control switch include a switch that will not depress or an illuminated Check Engine Light.
Part 1 of 2: Access the traction control switch
Materials Needed
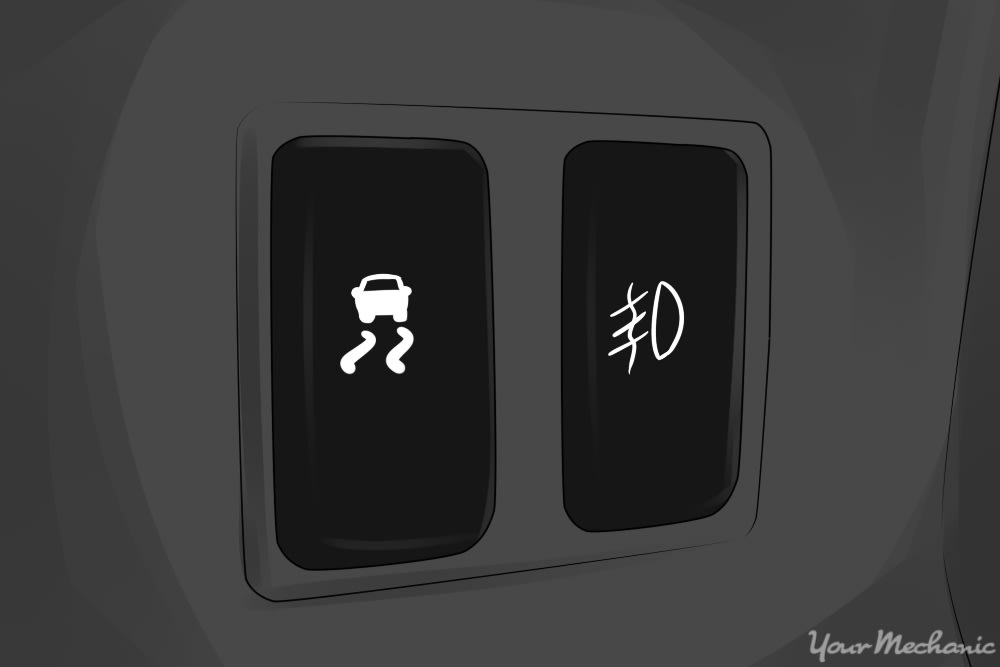
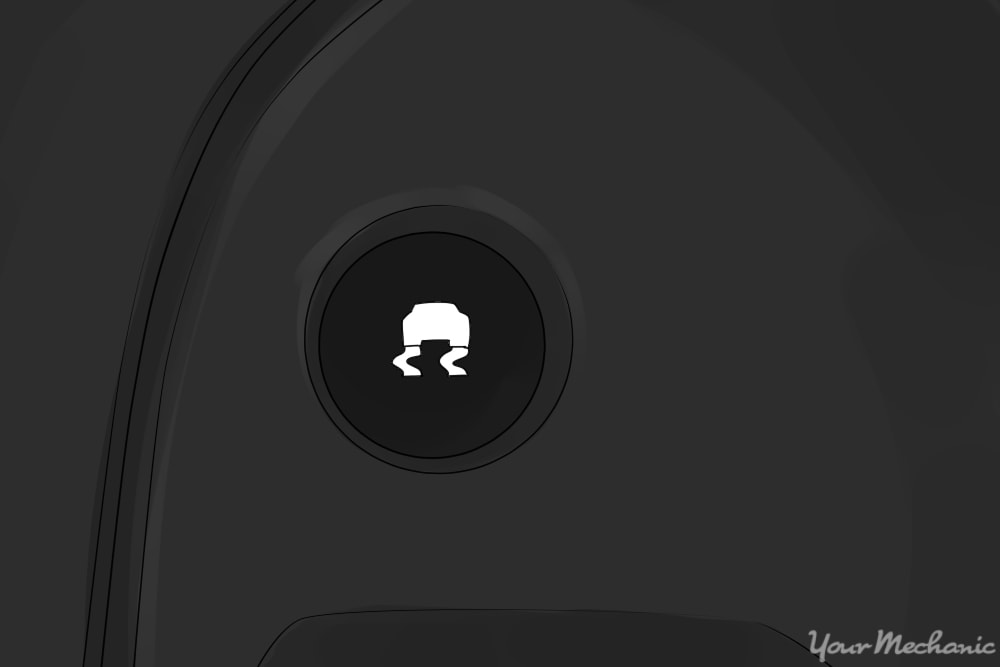
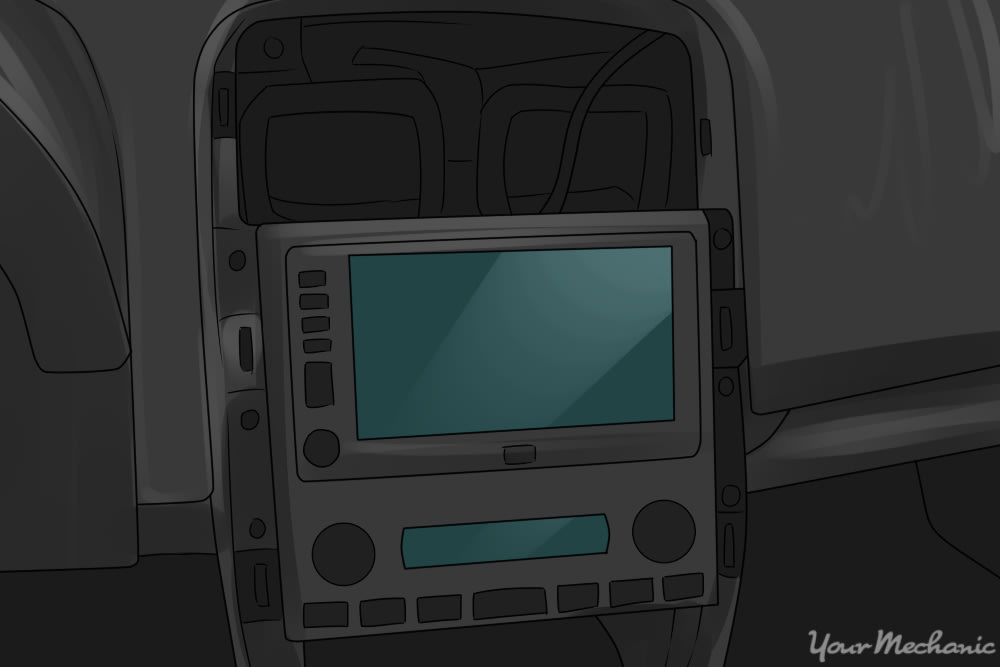
Step 1: Locate the traction control switch. The traction control switch can be in different locations depending on the vehicle.
It may be located on the dash panel to the left of the steering column, on the center console, or on the center dash area.
- Note: Some traction control switches can be accessed by prying the trim out using a trim removal tool while others require the dash or console trim to be removed.
Step 2: Remove the appropriate trim panel. Once you have determined the panels that need to be removed, determine how they are fastened.
Some will have multiple screws and others can be easily pried off.
Insert the trim removal tool at various locations around the panel and gently pry the trim off.
- Note: Prying too hard in one location can break the trim panel.
Step 3: Disconnect the necessary accessory switches. While this may not be the case with all vehicles, you may need to unplug other switches and items such as hazard or seat heater switches, in order to easily remove your traction control switch.
Remove the connectors carefully, making sure not to break any mounting clips. Make notes or take pictures so that you know which connectors go back to their appropriate switches.
Part 2 of 2: Install the new switch.
Step 1: Replace the switches. Compare the new switch to the one that you removed. Once you ensure that they are of the same type, plug the electrical connector in and mount the new switch.
Step 2: Reconnect all other accessory switches. Carefully reconnect any other accessories you had to disconnect.
- Warning: Be careful as plastic becomes brittle with age and will break easily if too much force is used.
Step 3: Reinstall trim panels. Carefully align any panels that were removed to access the traction control switch.
Put back any screws or fasteners that were removed. Be careful here as well and ensure that you do not over-tighten any fasteners as the trim panels can crack.
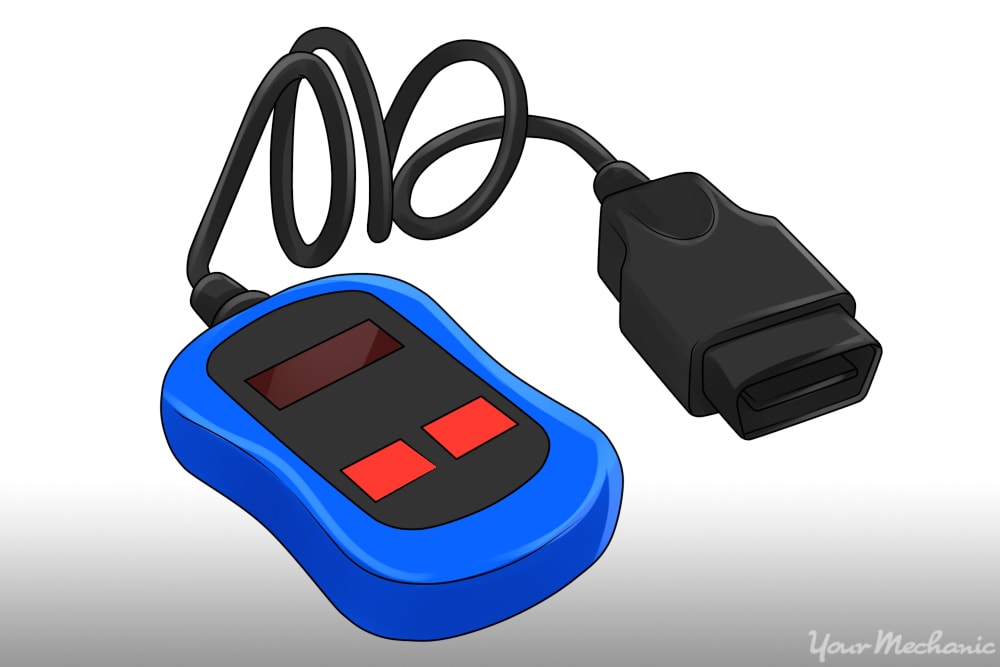
Step 4: Switch on your engine. Some vehicles recognize a new part being used in place of the shorted one and function properly while some others may need you to clear any fault codes first before they utilize the new switches.
If the Check Engine Light came on when you started your car, there may be fault codes that have to be checked and cleared. If you do not have access to a fault code reader, your local auto parts store may be able to clear the codes for you.
If your vehicle is showing signs of a faulty traction control system, get a certified technician from YourMechanic to come to your home or office and check your vehicle.


