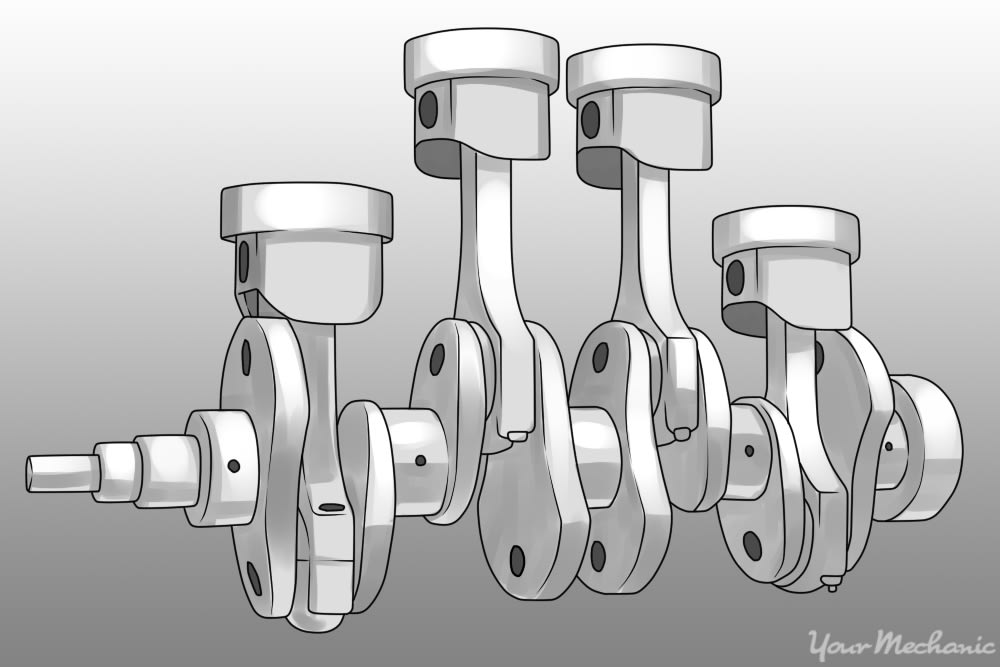

The purpose of a harmonic balancer is to dampen the harmonic vibrations that all engines produce. On many engines, the harmonic balancer is integrated into the crank pulley. They do not fail often, but excess engine vibrations and misaligned timing marks are among the symptoms of a bad or failing crankshaft harmonic balancer
Although the steps provided below are similar for most engines, there are many different engine designs, so please refer to your vehicle’s factory service manual for detailed instructions on your particular vehicle. For this example, we will discuss how to change a harmonic balancer on a typical “V” style engine with rear wheel drive.
Part 1 of 1: Replacing a harmonic balancer
Materials Needed
- Breaker bar (½” drive)
- Combination wrench set
- Floor Jack
- Gear puller
- Jack stands
- New harmonic balancer
- Screwdriver set
- Socket set (½” drive)
- Strap wrench
Note: The style of the gear puller will depend on the design of harmonic balancer.
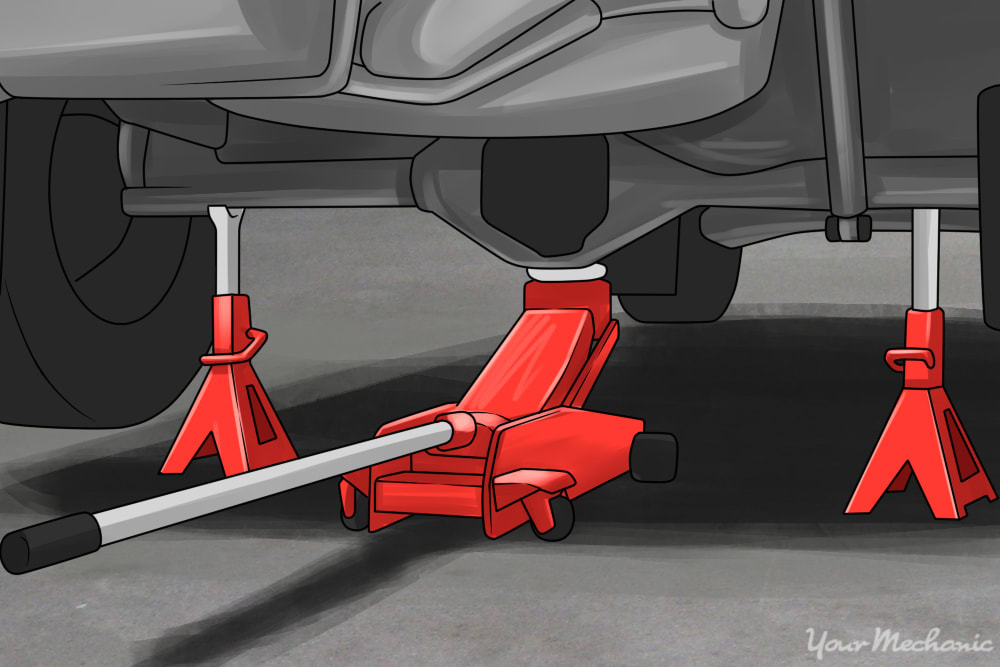
Step 1: Prepare the vehicle. Jack the vehicle up high enough to obtain access to the harmonic balancer, located on the front of the motor and attached to the crankshaft.
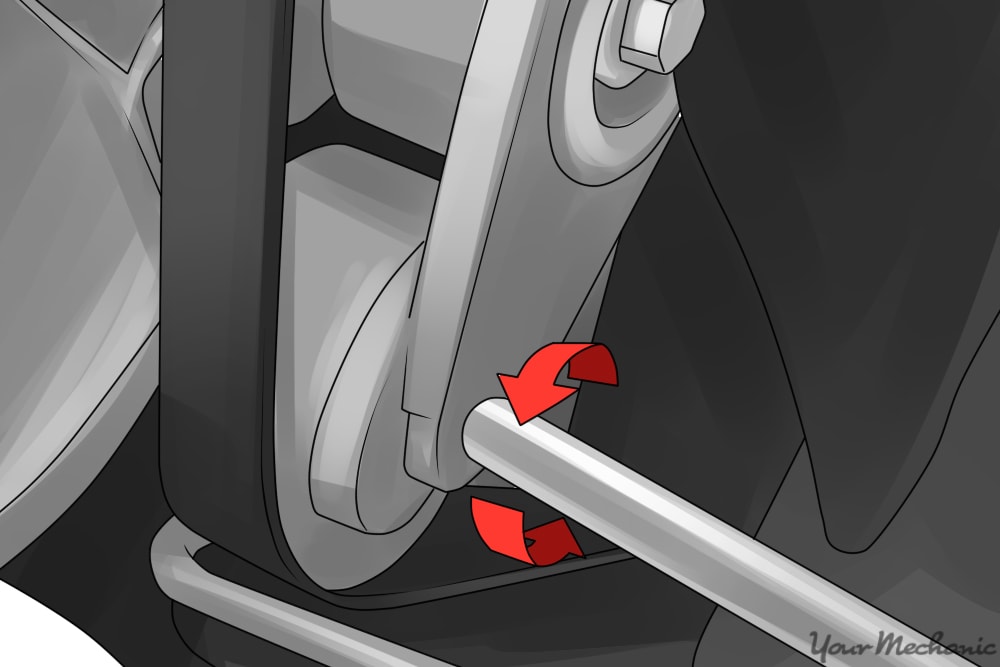
Step 2: Remove the accessory drive belts. On many modern vehicles, there is an automatic, spring-loaded belt tensioner that can be rotated to loosen the belt.
You may need to use an open end wrench or ratchet handle, depending on the design. Older vehicles, and some newer ones, require you to loosen a mechanical tensioner.
- Note: Use your cell phone to take a picture of the belt routing for future reference.
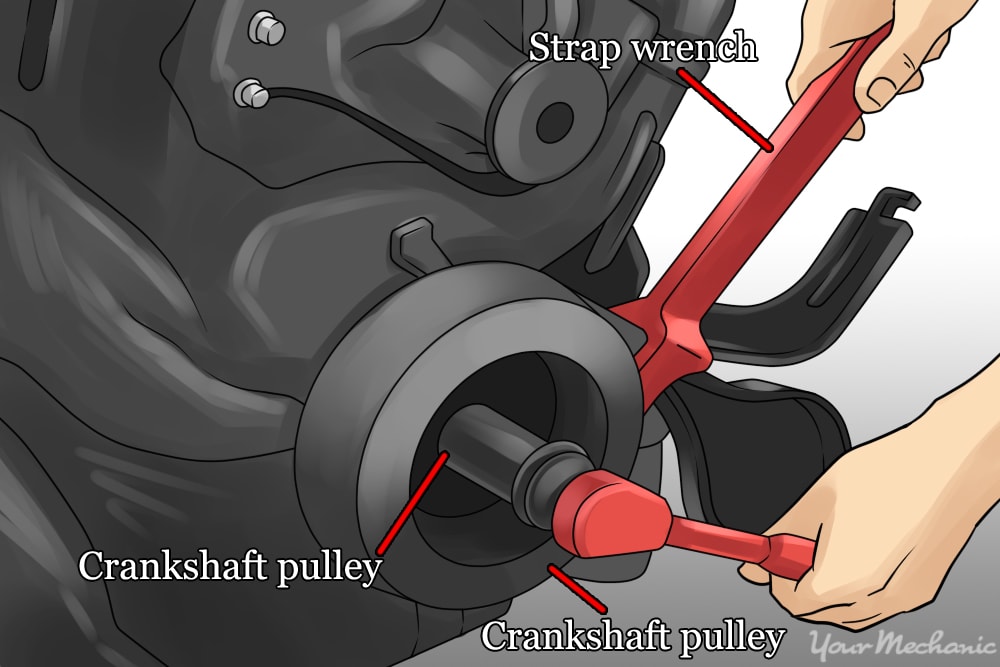
Step 3: Remove the harmonic balancer bolt. Remove the harmonic balancer bolt by using the strap wrench to hold the balancer still.
Hold it still while loosening the bolt with a socket and ratchet handle or breaker bar. It will be very tight, so pull hard.
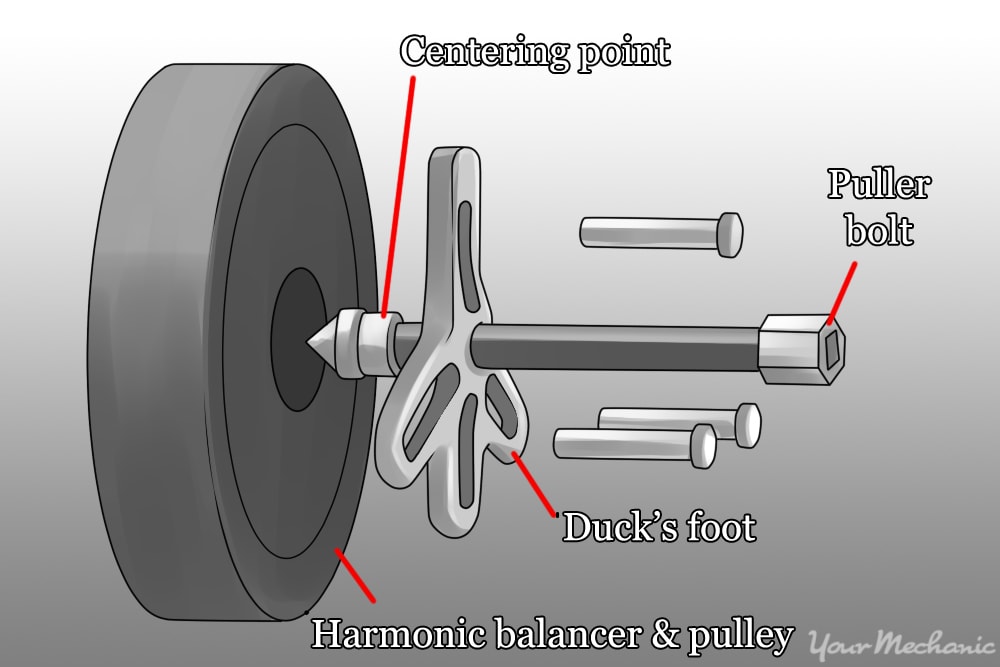
Step 4: Remove the harmonic balancer unit. Using the gear puller, place the hooks in an area that will not easily break, like the lip of the pulley section.
Some vehicles have threaded bolt holes in the balancer that can be used to attach a puller. Tighten the center bolt with a ratchet handle or breaker bar until the balancer breaks free.
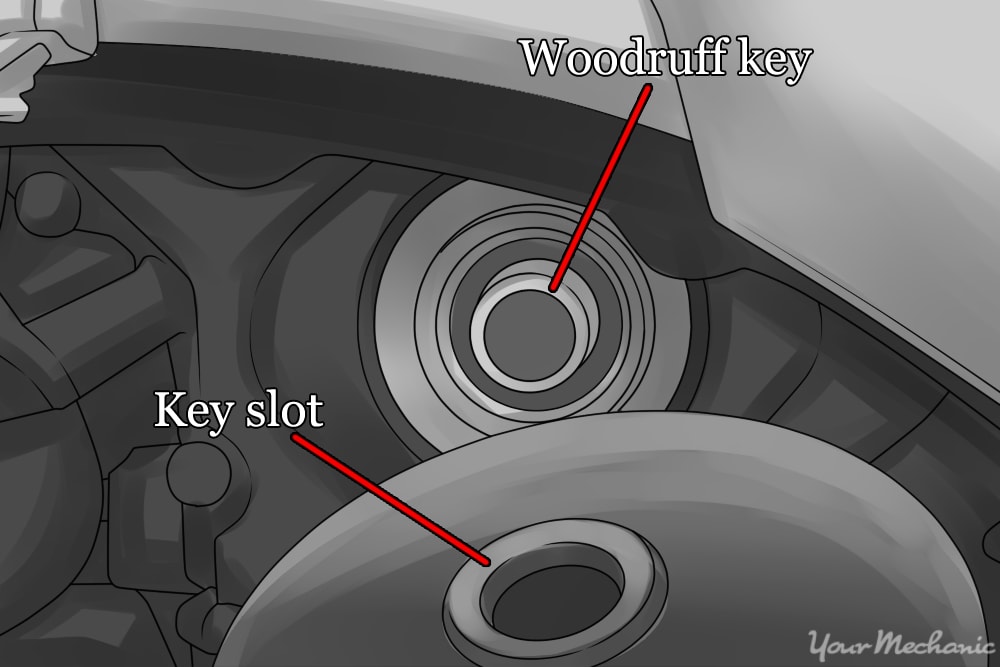
- Note: Most harmonic balancers are kept from rotating on the crankshaft by using a woodruff key. Don’t lose the woodruff key; you will need it for reassembly.
Step 5: Install the new harmonic balancer. Align the woodruff key slot in the new balancer with the woodruff key, and carefully slide the balancer onto the crankshaft.
Make sure the keyway remains in its proper position.Install the center bolt and tighten until the required torque specification is obtained.
Step 6: Install the belts. Rotate or loosen the belt tensioner to reinstall the belt.
- Note: Refer to your previous photograph or service manual to determine the correct belt routing.
Step 7: Lower and start the vehicle. Carefully remove the jackstands and lower the vehicle, starting the vehicle to ensure proper reassembly.
If you are not comfortable doing the work yourself, have one of YourMechanic’s certified mechanics complete the crankshaft harmonic balancer replacement for you.


