
While our mechanics specialize in various automotive services, head gasket replacements are not among the specific tasks we handle. We recognize the complexity and precision required for this repair and prioritize the safety and effectiveness of such critical work. To ensure the proper replacement of a head gasket, we recommend seeking assistance from professionals with expertise in this area. One such resource is Firestone Complete Auto Care's Wrench service. Their skilled technicians possess the necessary knowledge and experience to effectively manage head gasket replacements and other intricate automotive repairs, guaranteeing the optimal functioning and safety of your vehicle's engine. Wrench and YourMechanic customers get a 10% discount when using Firestone Complete’s technicians.
A head gasket is an engine gasket that plays a crucial role in internal combustion engines, positioned between the engine block and cylinder head. The head gasket plays a vital role in maintaining proper engine function by ensuring a sealed environment for combustion, cooling, and lubrication processes. An in-line engine design will have one cylinder head as the cylinders are arranged in a straight line along the engine block. This is true for many 4, 5, and 6-cylinder engines. A “V” engine design such as V6 or V8 will have two cylinder heads, one for each bank. A V6 engine will have 3 cylinders on each bank. If a head gasket fails, it can lead to issues such as coolant leakage, overheating, loss of engine power, and contamination of oil, requiring prompt head gasket replacement to prevent extensive engine damage.
- Note: A good amount of labor is necessary to repair a head gasket, even on smaller displacement engines.
Have a professional determine the need for a cylinder head gasket repair with official testing. This repair is too intensive to be done for no reason and can do much more harm than good if done improperly.
On a “V” design, the correct bank must be serviced if not repaired both at the same time.
- Warning: Always practice safety while working on your car to avoid any chance of injury. Wear the recommended safety gear including gloves and safety glasses while dealing with engine oil, coolant, and vehicle parts.
Blown Head Gasket Causes and Symptoms
In many cases, a head gasket is blown from operating in intense heat, causing the engine to overheat. The extra heat causes the cylinder head and the engine block to enlarge excessively, causing the head gasket to fail. Detonation is another possible cause because it damages the armors and allows pressure from the cylinder to pass through, leading to a blown gasket. A blown gasket is typically a result of coolant leaking into the head cylinder. If this happens, a head gasket repair is needed.
some symptoms to look out for are:
- Engine overheating
- Coolant loss with no use *White colored exhaust
- Milky-colored oil
- Bubbling in the radiator
- Loss of engine power
- Sweet smell from exhaust
Part 1 of 4: Gather Information and Supplies
Materials Needed
- Code reader (Optional)
- Containers for old engine oil and coolant
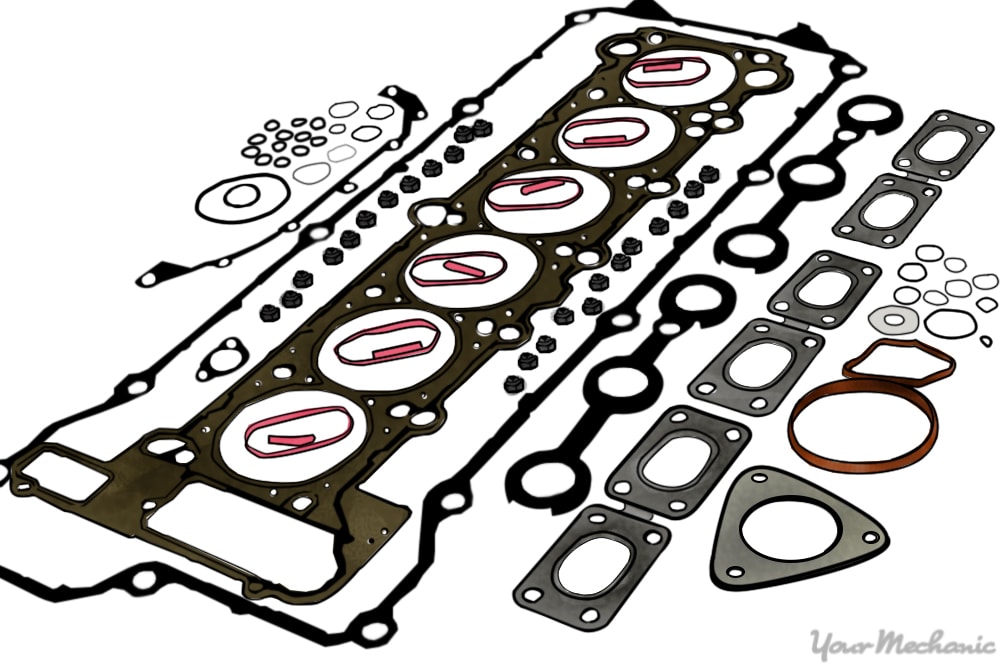
- Cylinder head gasket set
- Drip pans
- Engine coolant
- Engine oil
- Engine oil filter
- Engine thermostat
- Exhaust manifold gasket set
- Gloves
- Intake manifold gasket set
- Mechanic’s tool set
- with several socket and wrench combinations
- Safety glasses
- Spark plugs
- Torque wrenches (⅜” and ½” )
- Timing belt kit specific to your vehicle
- Valve cover gaskets
- Vehicle Service Manual
Step 1: Find the VIN
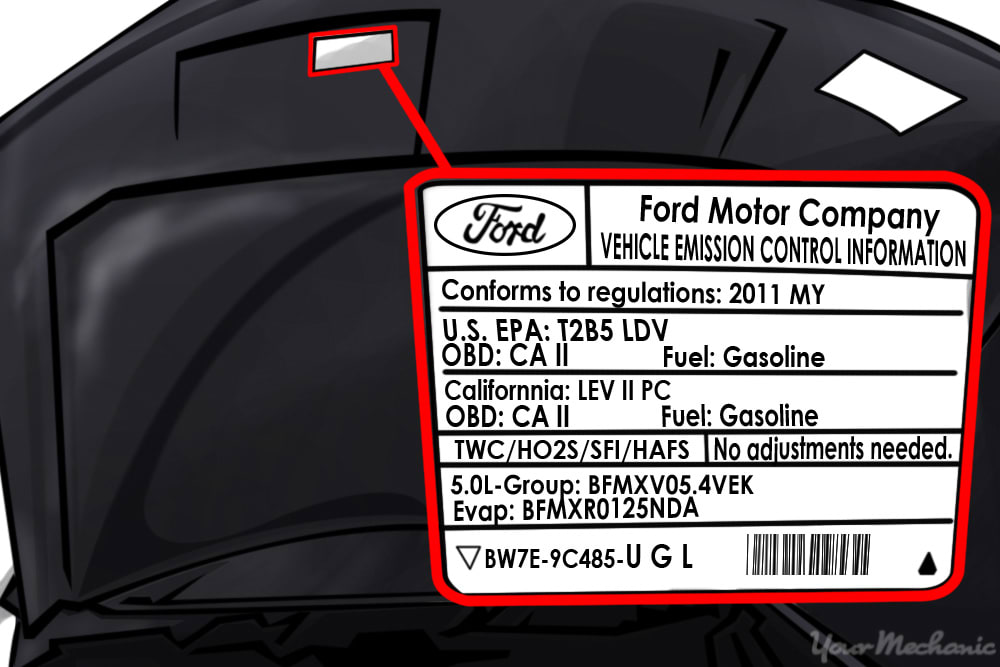
Locate vehicle information specific to your car to make your parts search much easier. Your vehicle is equipped with two very important stickers. The emissions sticker under the hood will tell you the engine size. The label inside the driver's door jamb will show you the vehicle identification number or VIN.
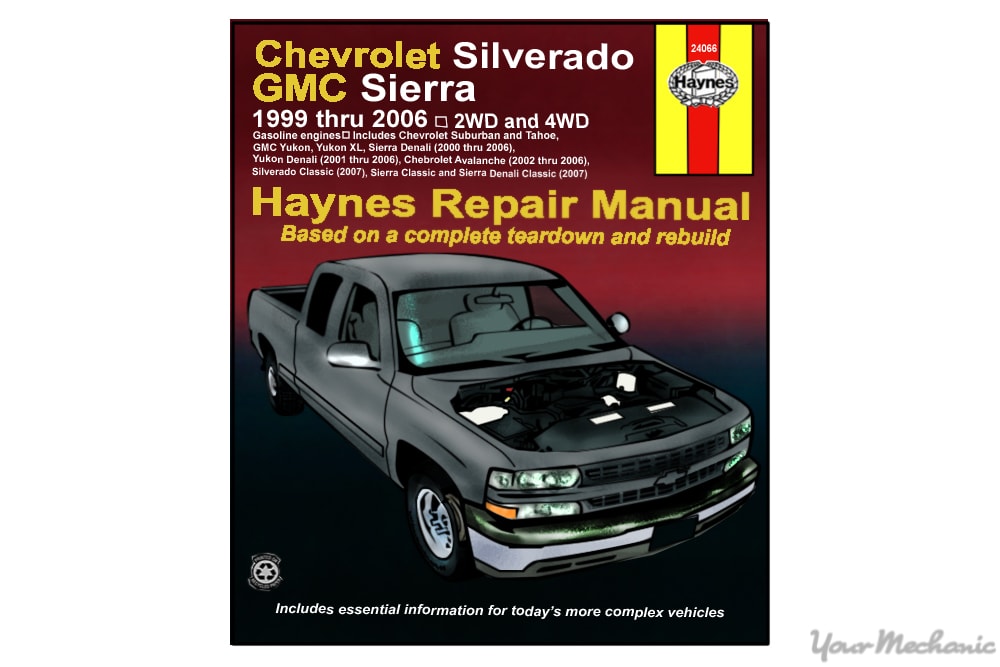
Step 2: Find a Vehicle Service Manual For Your Car
The parts vendor will usually ask you for the vehicle year, make, and model to find the appropriate spare parts for your car.
- Note: The engine size is very important as many engine designs vary and the components are different.
- Tip: A vehicle service manual is much more detailed than the vehicle owner’s manual. The service manual will contain very important information and include some repair procedures.
You will be able to find these at many auto parts stores and online vendors. If you do not see a service manual for your vehicle on the shelf, ask an associate about ordering one. They are fairly inexpensive and the information inside is priceless.
The service manual will list special tools required for repairs and will specify which components to remove while performing the repairs. It may be necessary to look over the procedures a couple of times before beginning. Get familiar with the work you are going to perform before starting to work on your car’s engine.
- Tip: When doing a head gasket replacement, try to buy a comprehensive cylinder head gasket that will include many different seals. Even though these kits may contain seals that you do not need or contain duplicates, it is preferable to not have an important seal when you need it.
When any component is removed, any related seals will have to be replaced in order to remove the chance of leaks when the engine is re-assembled. After replacing the seals, it is crucial that you install the fasteners for each component at the required torque specifications.
Part 2 of 4: Dismantle the Engine
Step 1: Disconnect the Battery
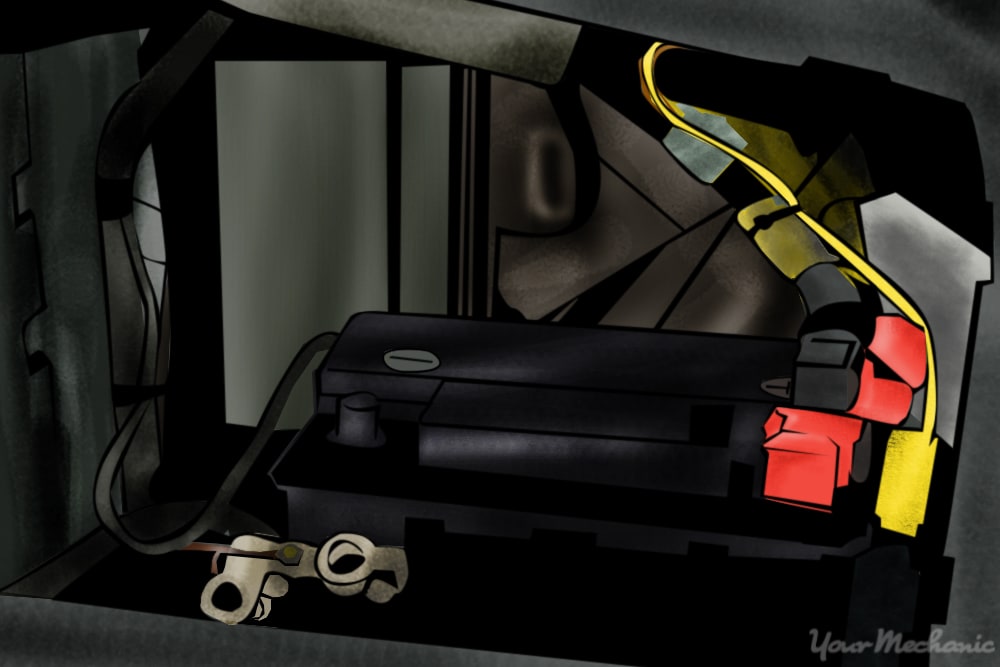
As it is easy to activate the starter assembly on some vehicles by accident, it is crucial that you disconnect the battery when performing any major repairs on your car.
Note: Unfasten the negative or black cable on the battery first.
Warning: Loose wire connections can cause shorts, damage very sensitive and expensive equipment, or give off sparks that can cause fires. This can be dangerous, so disconnect the battery before doing anything else.
Step 2: Drain Engine Oil and Engine Coolant
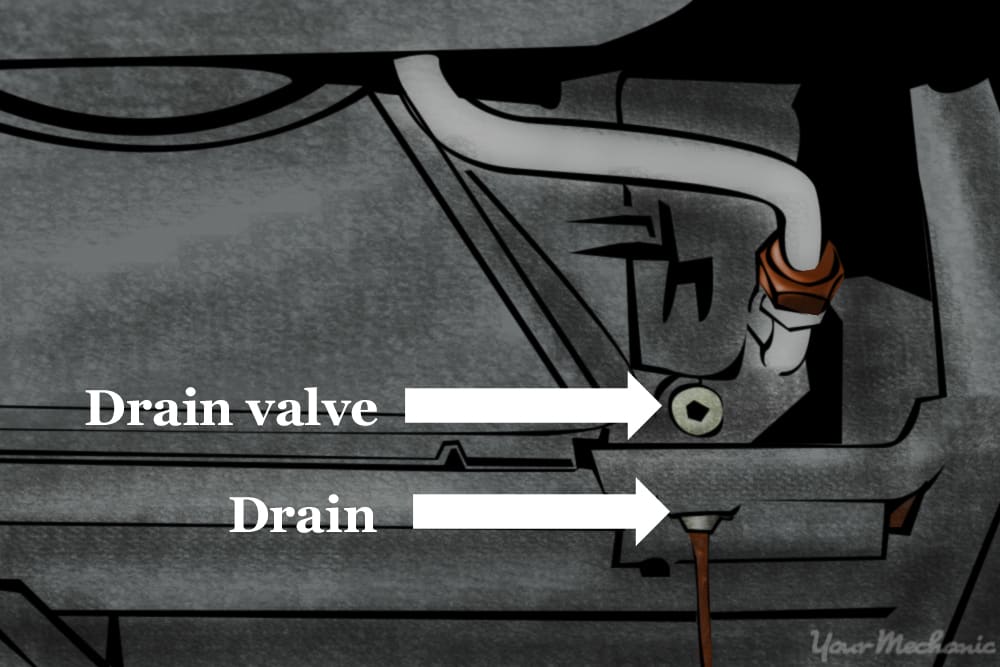
Drain the engine oil from the engine oil drain port.
Place the drip pan underneath the engine to contain the old oil and open the oil drain plug. This way, if any engine coolant is spilled onto the crankcase it will run out instead of settling in the engine.
- Note: Remember to dispose of the old engine oil in the oil pan so that you do not add new oil on top of it or you will end up having to repair the entire engine assembly.
Drain the coolant from the radiator drain port by loosening and removing the lower radiator hose. Remember to remove the radiator cap.
- Tip: In some cases, the lower intake manifold or the cylinder head will have a coolant drain port.
Step 3: Remove All Components From the Cylinder Head
All components fastened to the cylinder head must be removed.
Tip: There are many nuts, bolts, sleeves, clamps, and fittings involved and it may be easy to lose track of things. Try to take pictures or write down a description of each part to help you remember where everything goes once you are ready to reassemble the engine.
Tip: Bag and tag everything. It is a good idea to keep some parts and their fasteners in the same bag. One component may have fasteners that are different lengths. Mark these as they must go back exactly where they came from to avoid engine damage.
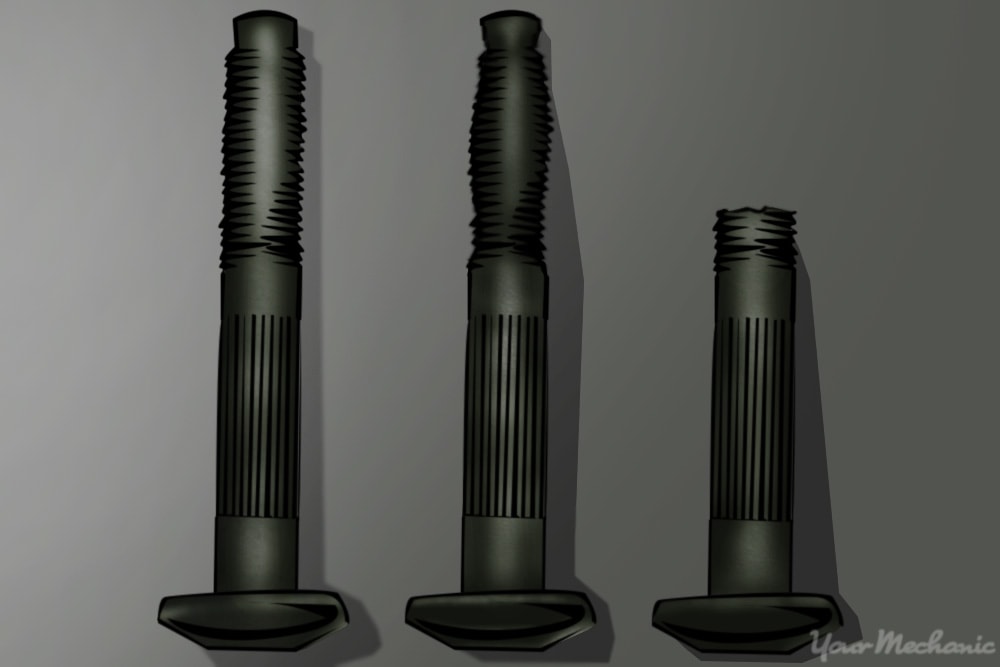
Tip: Some of the bolts involved in the tear-down are referred to as “torque to yield”. These torque-to-yield bolts generally stretch upon installation and will need to be replaced once they are removed. Watch out for these bolts and remember to replace them with new ones.
Warning: If re-used, these torque-to-yield fasteners have a good chance of breaking off into the engine block or cylinder head. The broken piece will have to be extracted and the hole fixed if damaged.
Step 4: Remove the Fasteners in Sequence
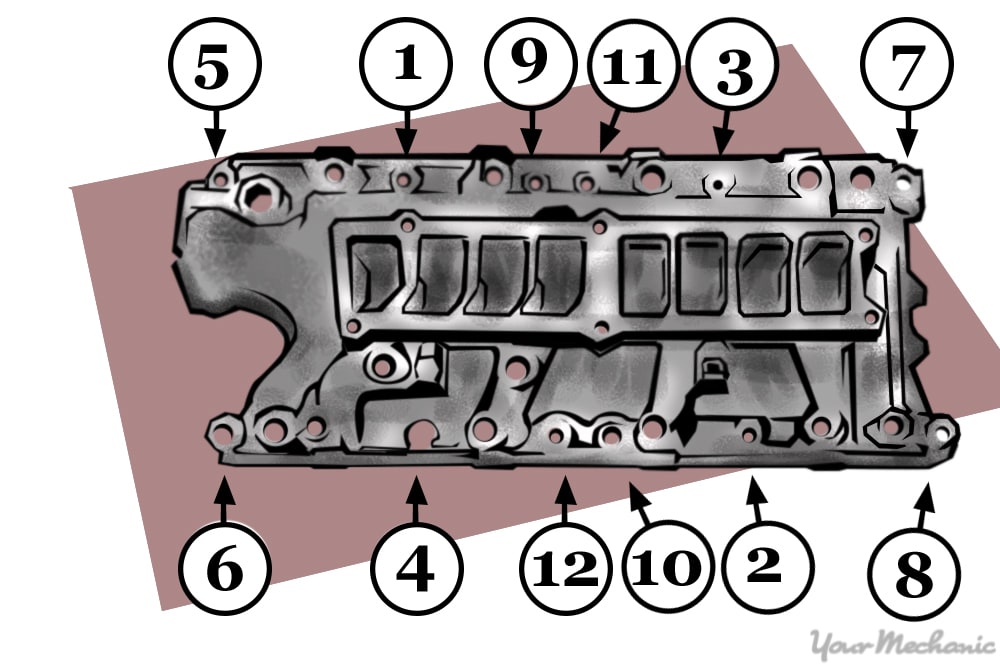
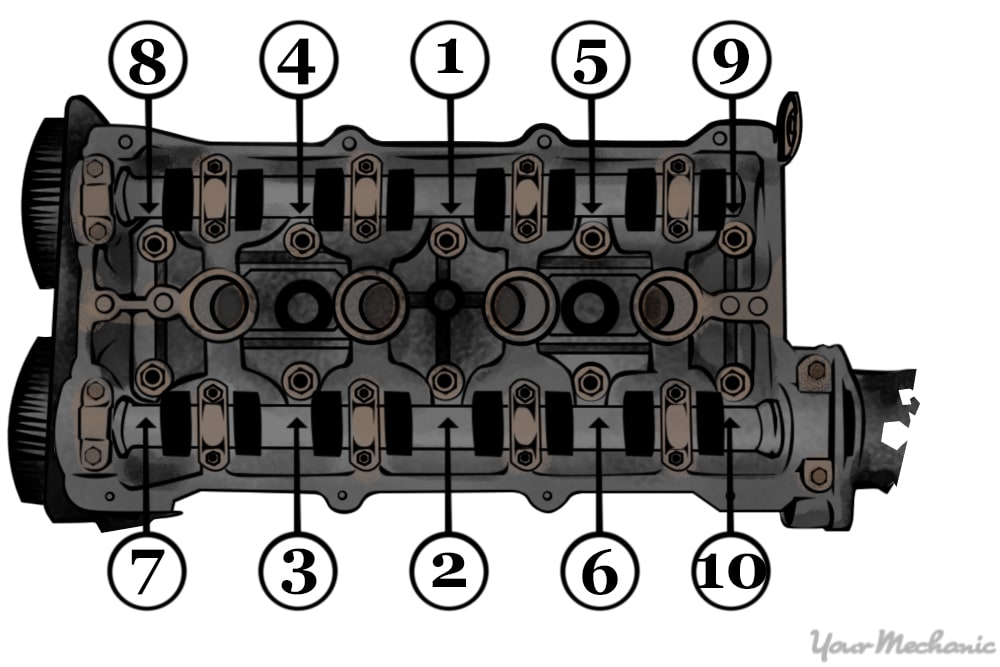
Many components such as the valve cover, cylinder head, intake, and exhaust manifolds require the fasteners to be removed in a certain sequence to avoid warping or cracking. This information is generally detailed in the vehicle service manual.
Some vehicles are equipped with overhead camshafts - either dual overhead camshafts (DOHC) or single overhead camshafts (SOHC). This means the camshafts are located in the cylinder head. On these types of engines, the crankshaft and camshaft may be connected by a timing belt or chain.
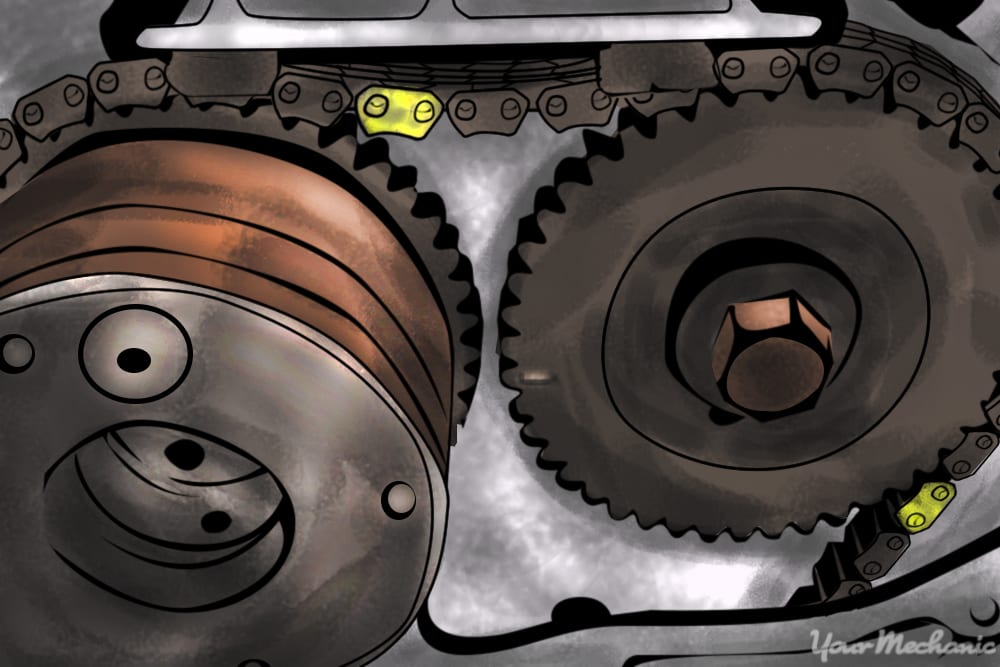
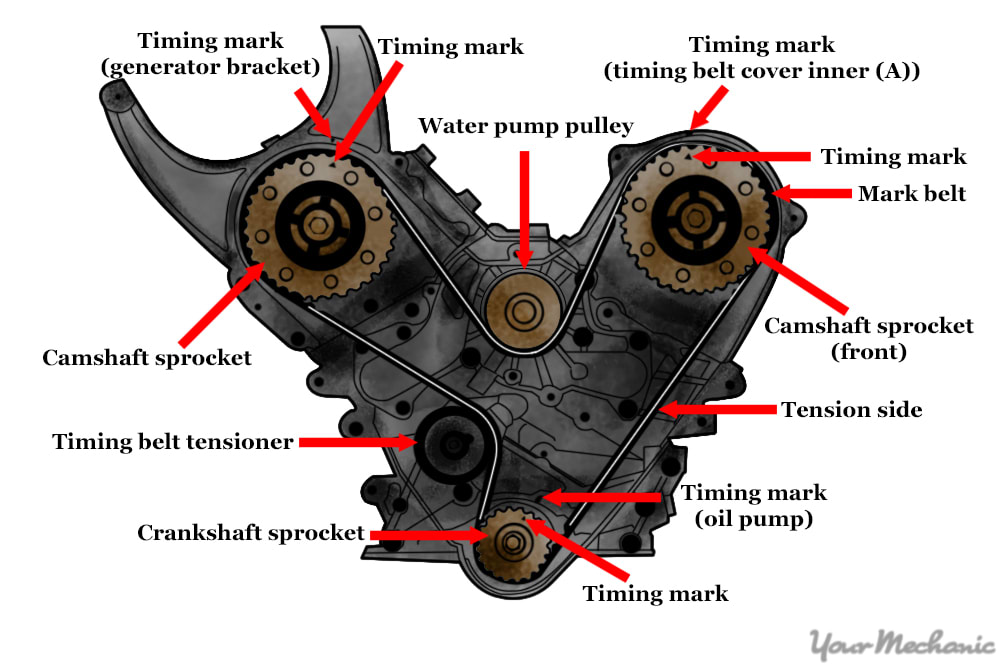
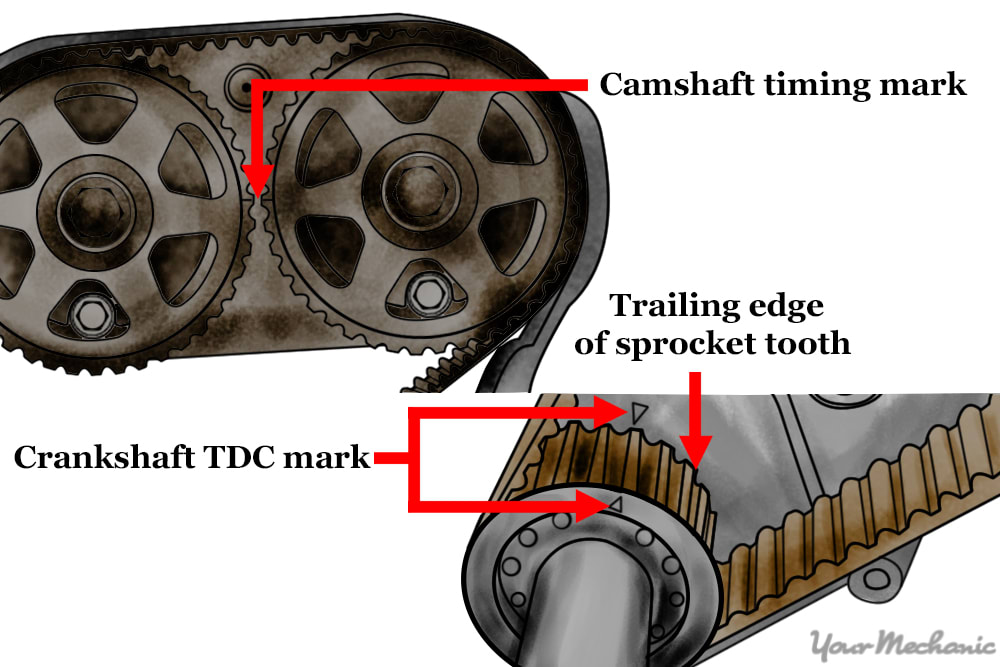
- Note: The timing belt or timing chain assembly requires a specific procedure for removal to protect the internal engine components. Pay very close attention to the procedures and timing marks. These markings are vital to engine operation and the assembly may be damaged if mistakes are made.
Some vehicles may have a different type of engine design called the overhead valve (OHV). Many OHV engine designs have the camshaft housed within the engine block and use lifters, pushrods and rocker arms to activate the valves in the cylinder head.
Generally, the engine timing components are not included in the removal of the cylinder head, but if these components are removed, they must be installed in exactly the same order.
- Note: Many engine designs use different lengths of pushrods for the intake and exhaust valves. If these components are mixed-up, engine damage is possible.
Many timing belt kits come with a marked belt for ease of installation. The markings or marked links on the belt belt (varies for each type of timing belt kit) will line up exactly with the markings on the engine components.
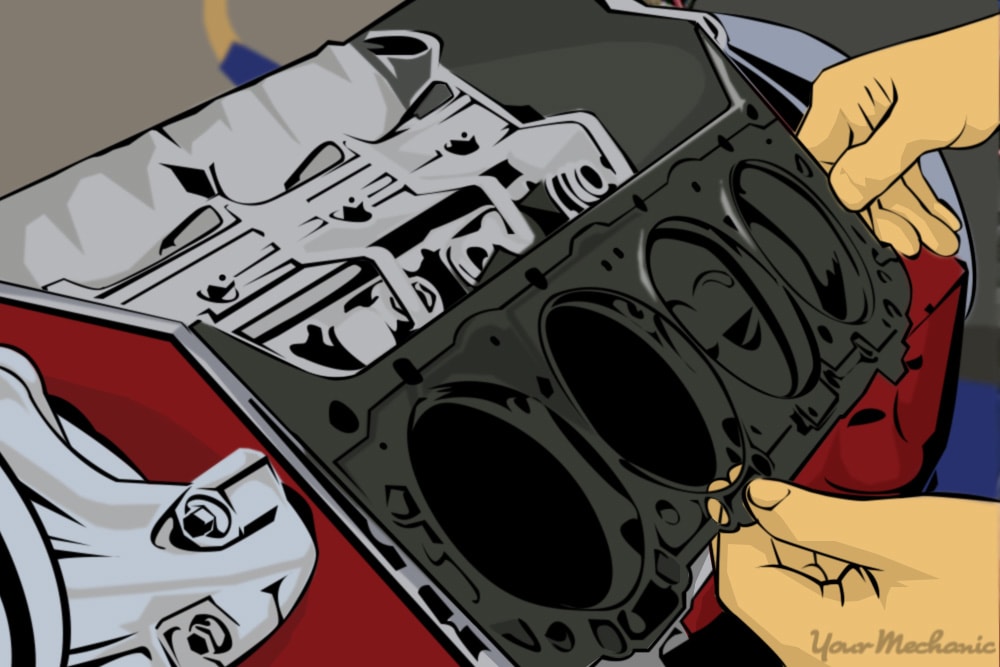
The cylinder head gasket - The cylinder head gasket or seal lies beneath the cylinder head assembly. The material used can range from metal to a material that will crush when the cylinder head bolts are installed and torqued. Sometimes both materials are used in the construction of the cylinder head gasket.
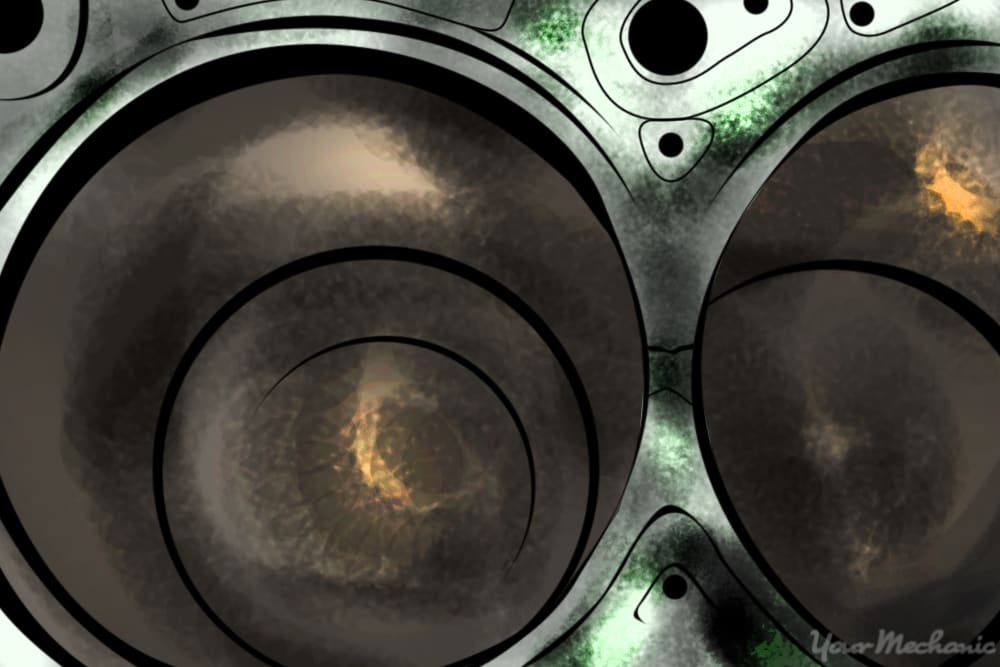
This gasket must contain and withstand combustion pressures and temperatures. Often you may see a break in between two cylinders or a break where an oil or coolant port seal has ruptured.
Part 3 of 4: Inspect The Cylinder Head Assembly
The engine block and cylinder head assembly have ports through which the engine oil flows for lubrication and engine coolant flows to control the temperature.
The cylinder head gasket is cut to seal each cylinder as well as the ports for the oil and coolant so the fluids do not mix and the compression from one cylinder does not leak into another.
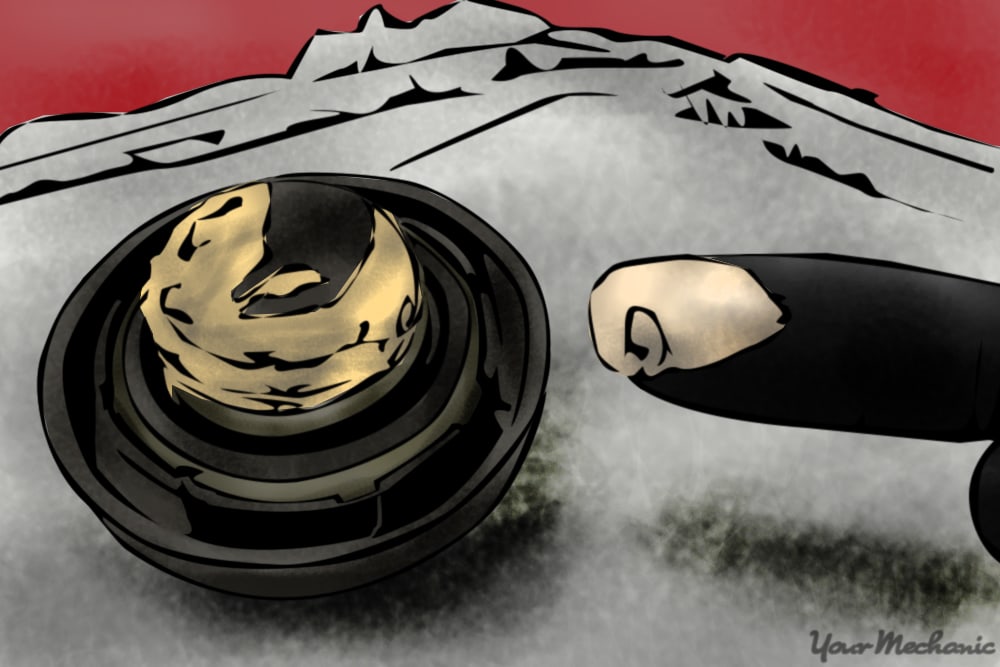
- Tip: In many cases, a failed cylinder head gasket will allow oil into the cooling system and cause the coolant to turn to a brown sludge. You may notice the sludge while pulling off the radiator cap and see the sludge in the radiator or inside the engine when you remove the oil filler cap.
Step 1: Inspect The Engine Block and Cylinder Head
The mating surfaces of the engine block and cylinder head must be inspected for flatness in order to ensure a perfect seal.
Send the cylinder head assembly to a machine shop for a professional cleaning and inspection. In many cases a valve replacement will be necessary. Speak with the technicians at the machine shop for instructions on what to bring and for details on their services.
- Tip: You can purchase a machined straight edge to measure the flatness of the engine block and cylinder head mating surfaces. The vehicle service manual will specify the measurement limit.
If the engine block or cylinder head mating surface is not perfectly flat straight across, the component must be replaced. The technicians at the machine shop will inspect the flatness of the cylinder heads, but you will be responsible for checking the engine block.
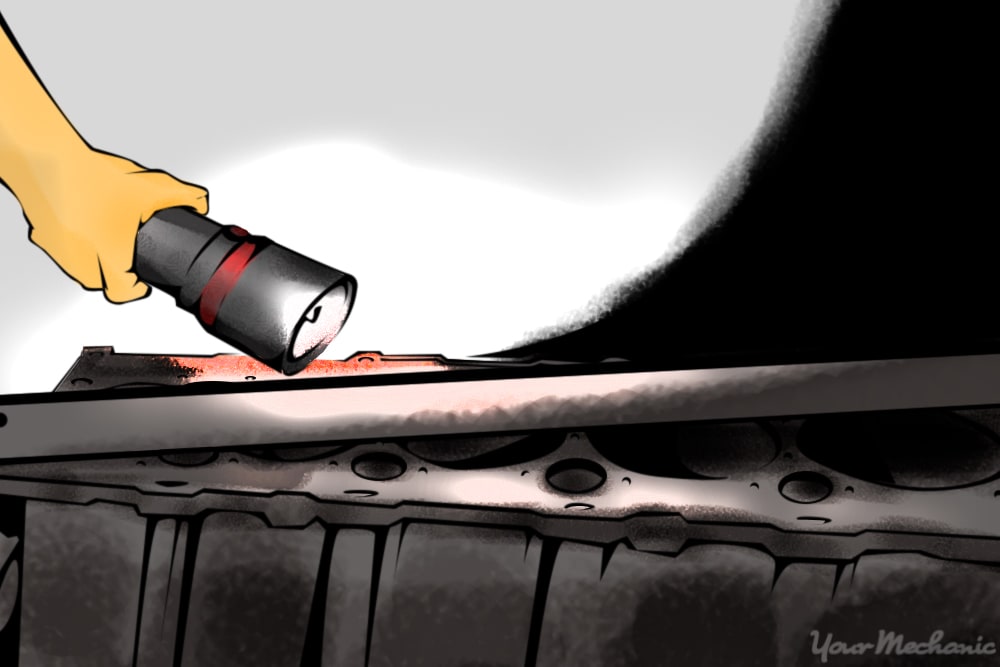
Lay the straight edge across the engine block deck. Shine a flashlight onto one side. Check if you can see light peeking through between the engine block and straight edge tool. If yes, the engine block must be serviced as well. If the deck is not flat, the light will peek through the spots that have warped.
Step 2: Clean The Engine Block and Cylinder Head Assembly
The mating surfaces of the engine block and cylinder head assembly must be perfectly clean as well. When you ship the cylinder head to a machine shop, the mechanics will even take care of cleaning it.
Note:If you decide to clean them yourself, do not forget about the intake and exhaust manifold mating surfaces. Be warned, the any problems that may have damaged the cylinder head gaskets may have also caused damage to the cylinder head(s) and special tools or procedures may be required to repair them.
Warning: DO NOT use a rotating disc or grinding wheel to clean these surfaces as these tools can remove too much metal if not used properly. These tools create many small particles of metal and may deposit it inside hard to reach places within the engine block. If dirt or debris were to fall into the combustion chamber around the pistons, it may cause scratches along the cylinder walls.
Step 3: Inspect the Other Components Removed During Disassembly
This is a great time to check the other components for damage or wear and replace them to prevent trouble down the road.
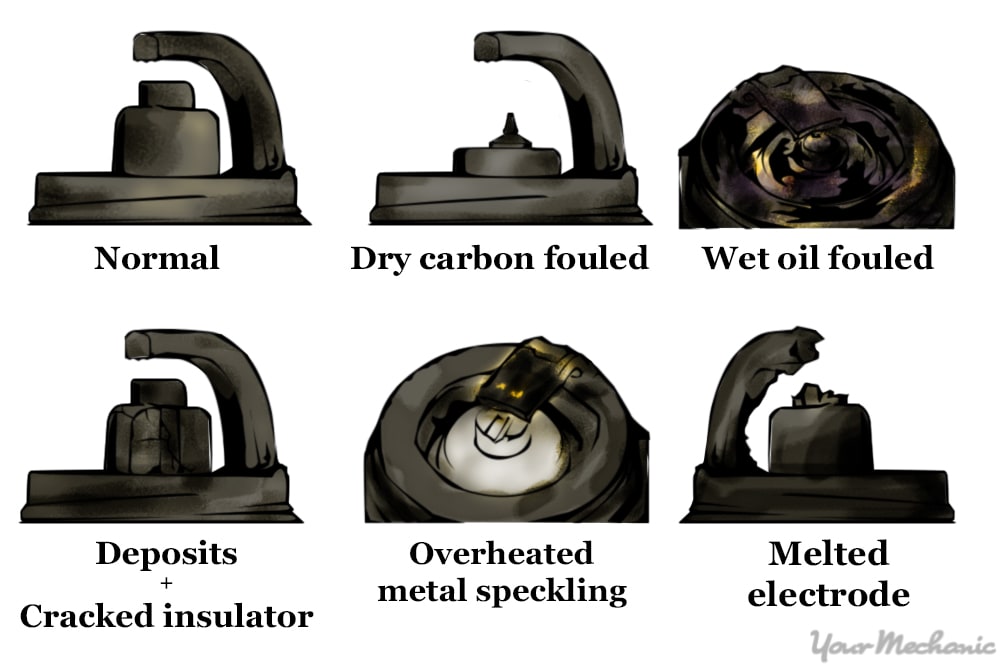
- Note: Replace the spark plugs, engine coolant thermostat, oil, coolant, ignition wires, timing components, belts, worn pulleys and any seal that was disrupted during removal. The engine components you may need to deal with will vary per application.
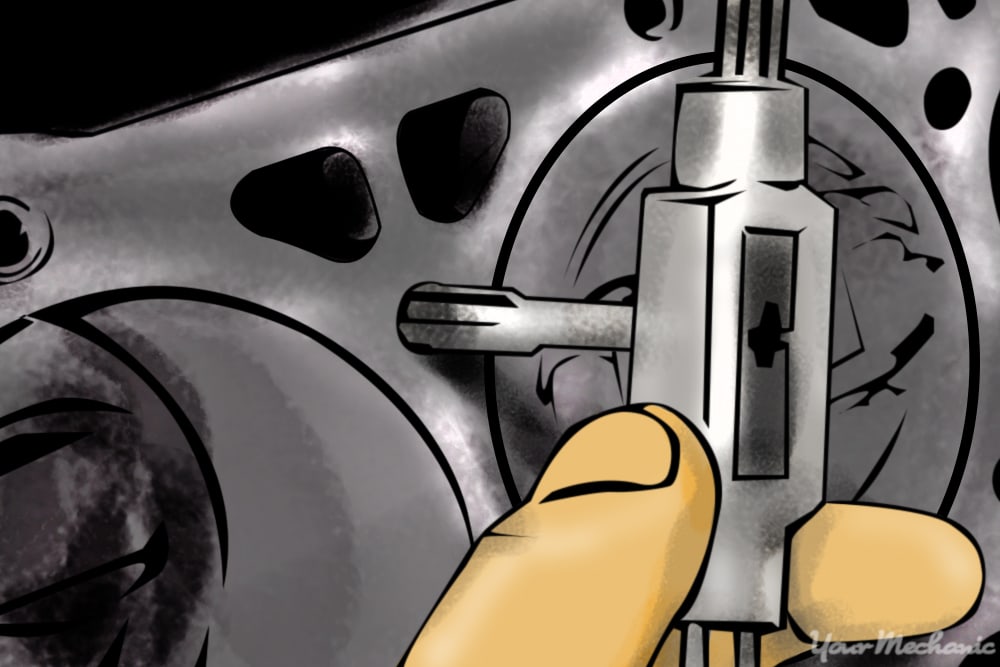
Step 4: Clean the Threads
Sometimes rust and dirt can build up on the threads (spiral grooves) of fasteners and inside the bolt holes. The fastener may become stuck on the dirt leading to inaccurate torque numbers.
You can take the cylinder head bolts to your local hardware store to find the bolt size and thread pitch. With this measurement you can purchase a tap of the same measurement. Use the tap on the cylinder head bolt holes to clean any dirt that has settled along the threads.
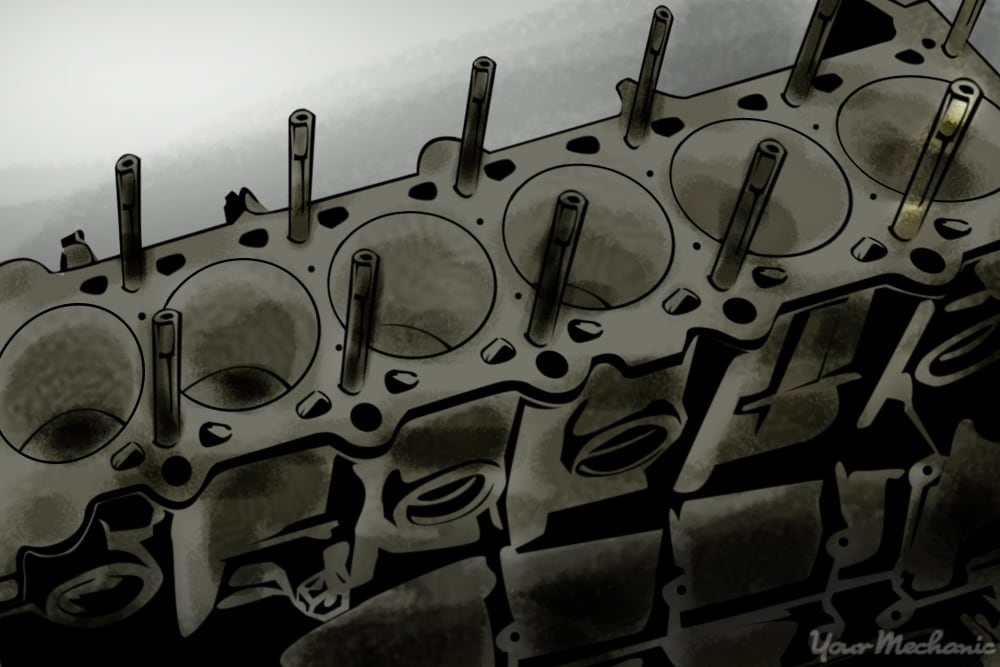
- Tip: Some engine blocks have studs that are installed in the block. A cap nut is installed after installing the cylinder head on the studs. See the manufacturer's recommendations for dealing with these studs. The studs may need to be replaced and the stud holes will have to be cleaned.
Part 4 of 4: Re-Assembly
Step 1: Spray the Cylinder Head Gasket With Sealant
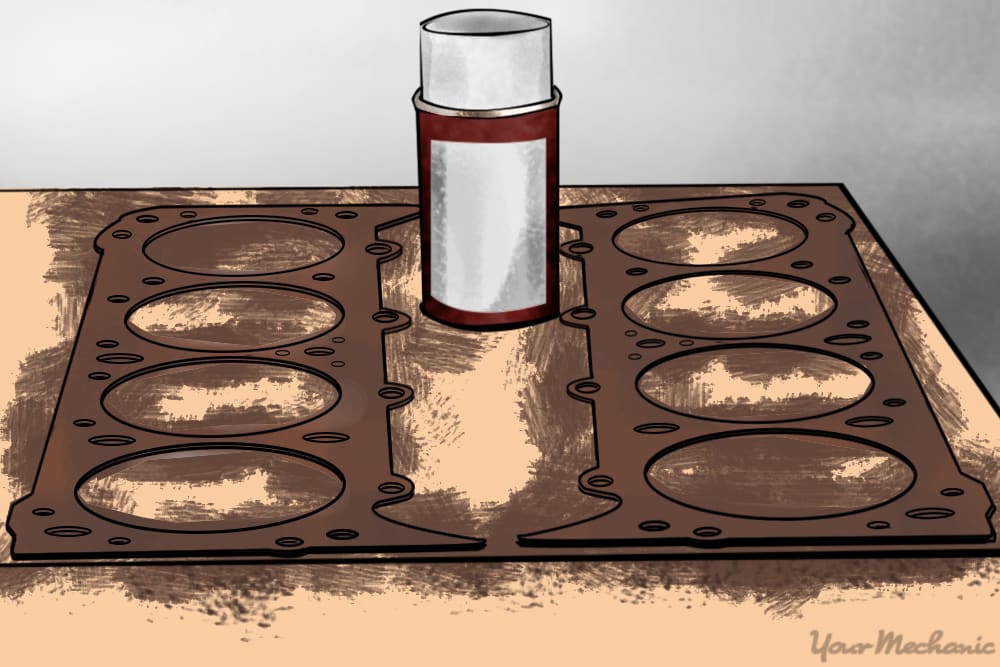
If applicable, spray both sides of the cylinder head gasket with the sealer after a head gasket replacement before laying it onto the clean engine block. Otherwise, lay the bare gasket onto the clean engine block.
- Tip: Many vendors sell a copper sealant spray to help ensure a good seal after a head gasket replacement.
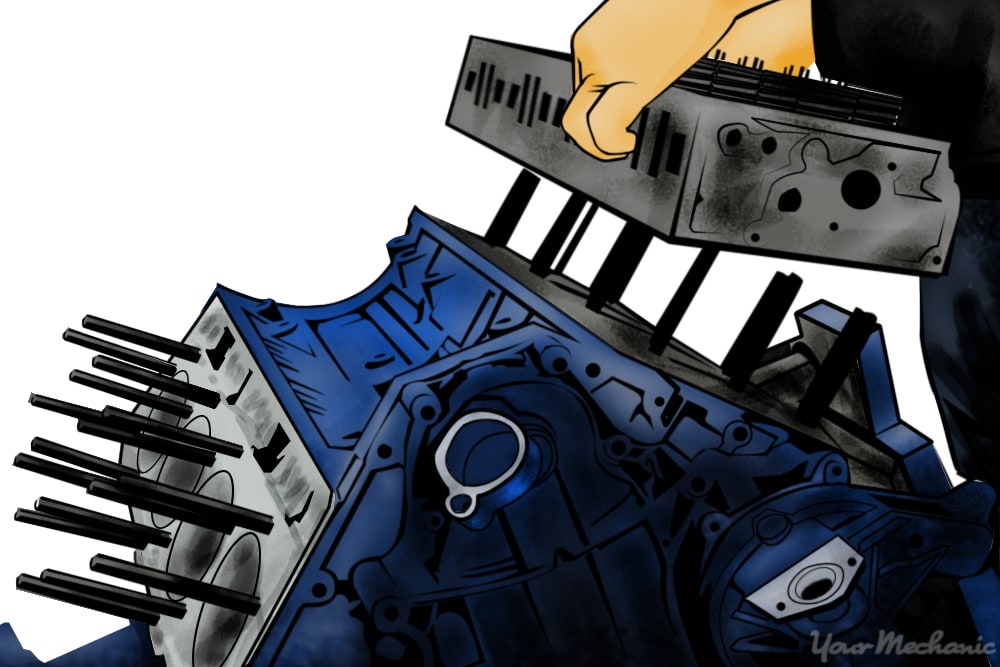
- Tip: If studs are used to hold the cylinder head down, install the studs before installing the gasket. Designs without studs are often equipped with alignment dowels to keep the gasket from moving while placing the cylinder head on top.
Step 2: Install the Cylinder Head
After cleaning the surfaces and installing the gasket, install the cylinder head and fasten it down.
- Tip: The service manual will provide information about the fastener torque and proper tightening sequence.
Just like removing the components, there is a specific pattern to follow while reassembling the parts in order to ensure proper sealing and creating the least amount of stress on the components. In most cases, several passes of increasing torque measurements are required. Follow the procedures and use a calibrated torque wrench.
Step 3: Replace All of the Components That Were Removed Earlier
Re-trace your previous steps and install all of the components removed from the cylinder head assembly.
- Tip: Consult your notes and pictures to stay on track and remember to take a good look at the components, mating surfaces and fasteners.
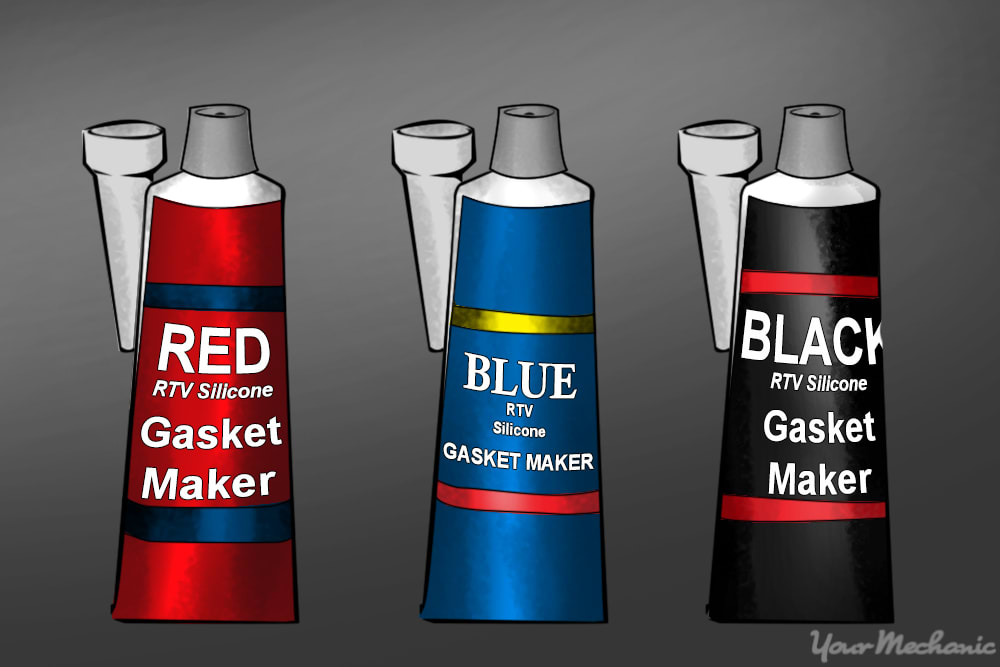
- Note: Clean all mating surfaces, clean the threads on dirty bolts and in dirty bolt holes and replace any seal disturbed during the dismantling process. Some components do not require a seal, but do require a silicone paste or gasket maker which can be found at your local auto parts store.
Mechanical Timing (if applicable):
The mechanical timing assembly is used to tie the engine crankshaft and camshafts together. As the crankshaft rotates, the pistons move up and down in the combustion chamber. The camshaft(s) activate the valve train to open and close the valves at just the right moment. If the mechanical timing is not correct, the pistons may contact the valves and cause serious damage.
On OHV (overhead valve) applications, you may not have to tamper with the timing components. On an OHC (overhead camshaft, single or multiple) application, the timing components must be disassembled to remove the cylinder head. Follow the directions in the service manual for proper assembly.
Step 4: Connect the Battery and Refill the Fluids
Check over your work once more before connecting the battery. Install the positive cable first, then the negative.
- Warning: Installing the cables in the reverse order will cause a spark and can ignite any flammable liquids present nearby.
Once you are comfortable with assembly, refill the engine with oil. Check the engine oil level and remember to use a new filter.
Fill the radiator with coolant until you have reached the max level and wait. You may see some bubbling. Air may be trapped in the cooling system and the cooling system must be bled before starting the engine. In some cases, it helps to raise the front of the vehicle so that the air travels to the highest point in the system or the overflow tank. Check your coolant levels and ensure that it is adequate.
Step 5: Check for Faults
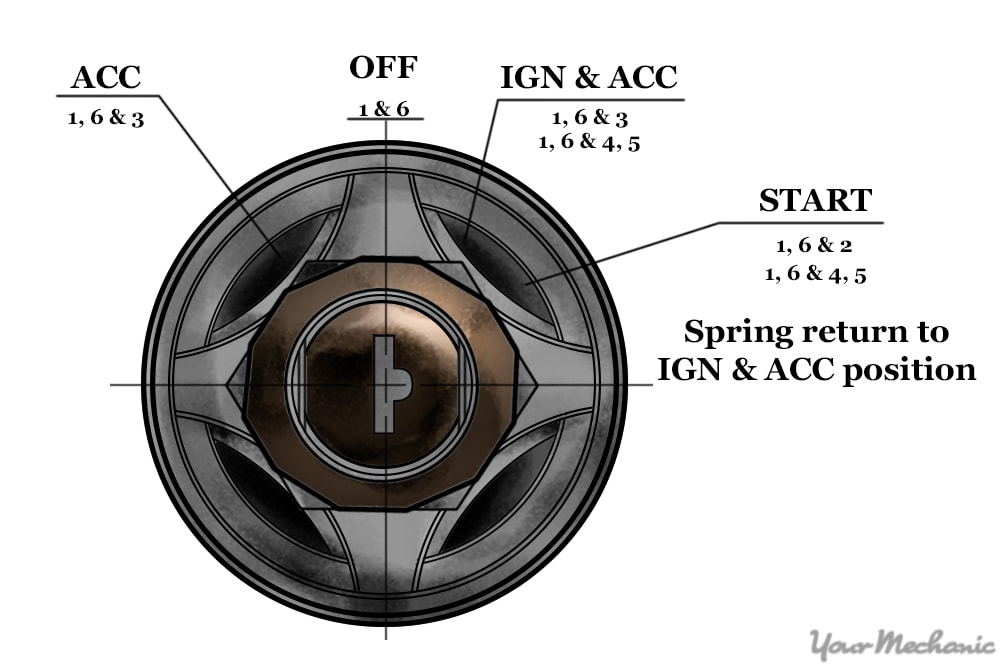
Step into the vehicle and turn the ignition key to the accessory or ON position. DO NOT start the vehicle just yet.
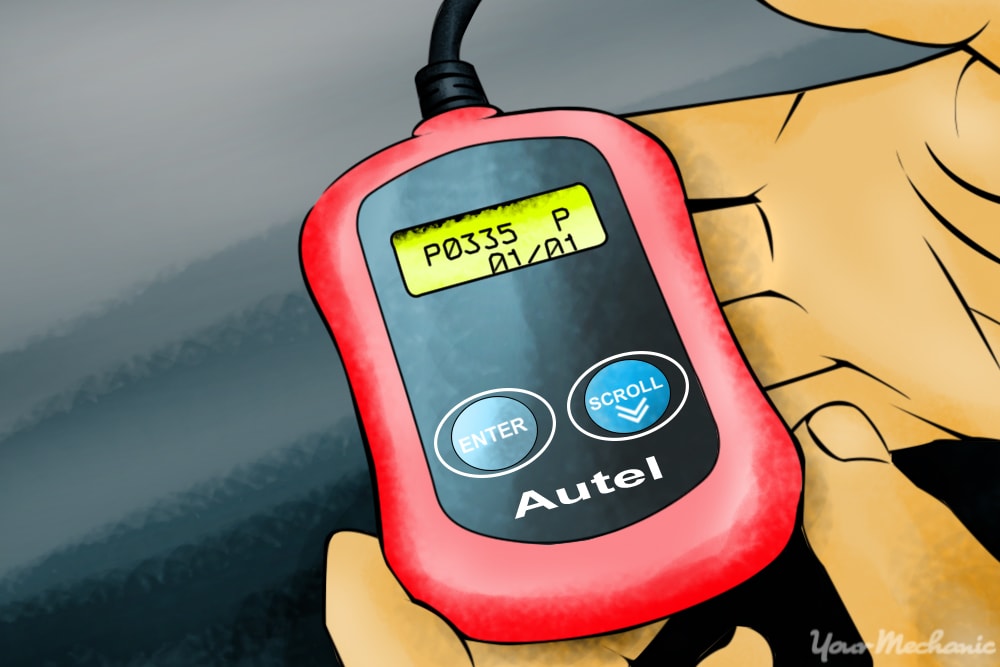
At this point you can attach the code reader if you have one.
In many cases, a code will be set immediately if a component has not been plugged in. If any codes do pop up, it will be easier to track down the component you may have left unplugged.
Step 6: Set the Climate Control
Start the vehicle and set the climate control to maximum heat. This will allow the coolant to enter the heater core and is the best chance to remove any stubborn air bubbles from the cooling system.
- Tip: Do not race the engine, just let it idle and come to temperature slowly. Periodically check the readings on the instrument cluster and also step out to the engine bay to look for any leaks or smoke. Sometimes the new seals, especially head gaskets and exhaust manifold seals, may give off some steam or smoke.
Next Steps
Congratulations! You have replaced your engine cylinder head gasket on your own! If you have any questions or run into trouble while installing the cylinder head gasket, consult an expert from the YourMechanic professional advice team. It is recommended to consult a certified mechanic if you notice a lot of steam or smoke coming from the engine after you have replaced the cylinder head gasket.
If you hear squeaks coming from the timing belt or if you feel that it may need to be replaced, get a mechanic from YourMechanic to come to your location and inspect or replace the timing belt.


