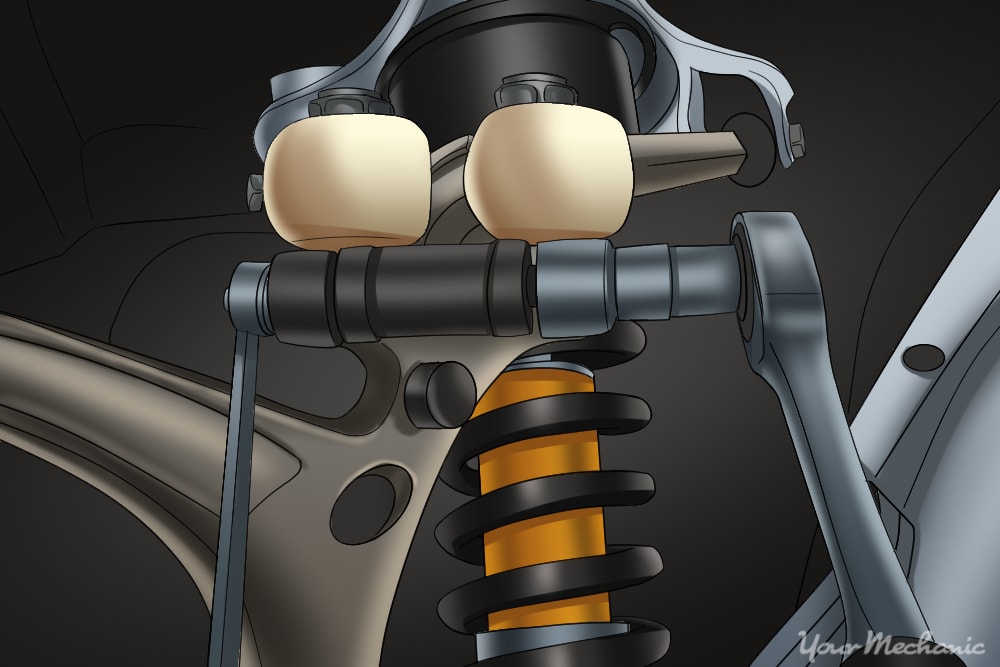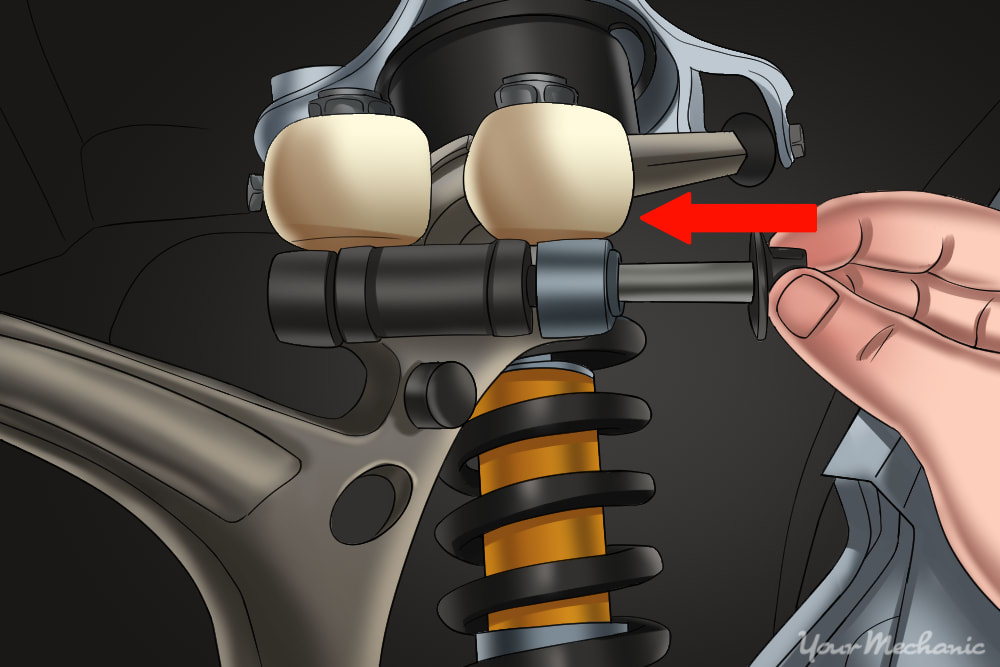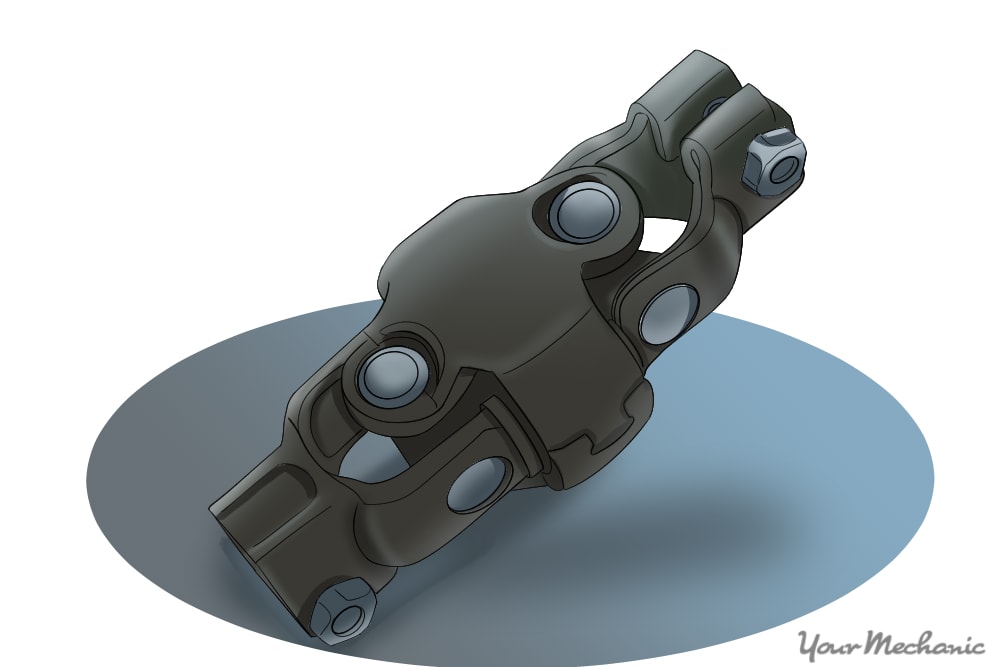

On today’s vehicles, most makes and models use a form of flex coupling steering dampener. These usually consist of two universal joints and a rubber disc. The rubber disc absorbs vibrations that you may feel in the steering wheel, and the universal joints help the steering column rotate freely while at different driving angles.
Over time, flex coupling steering dampeners wear and degrade just like struts, shocks, and brakes. When the steering damper is damaged or worn, you may feel more vibration and play in the steering wheel. If the universal joints begin to fail, they start locking up, which can cause a lack of steering return, tight spots when turning the wheel, loose steering, and knocking.
Materials Needed
- Basic ⅜ inch drive socket set with ratchet
- Hammer
- Hydraulic jack and jack stands
- Paint or marker
- Penetrating oil
- Pliers
- Replacement flex coupling steering dampener
- Screwdriver or small pry bar
- Tire iron
Part 1 of 3: Preparing the vehicle
Step 1: Park the vehicle on a flat, hard surface. Make sure the transmission is in Park.
Step 2: Chock the wheels. Place the wheel chocks around the tires that will remain on the ground.
Step 3: Loosen the lug nuts. Loosen the lug nuts ¼ turn on the wheels that are to be removed.
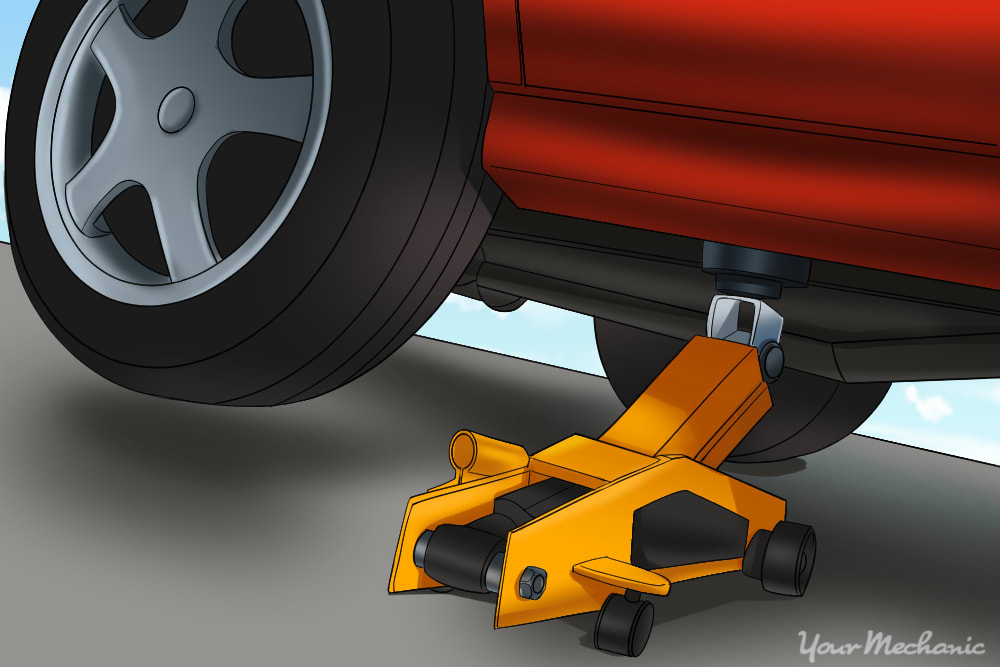
Step 4: Raise the vehicle. Using the floor jack, lift the vehicle at its specified jacking points until the left front wheel is off of the ground.
Step 5: Place the jack stands. The jack stands should go under the jacking points. Then lower the vehicle onto them.
Step 6: Remove the wheel. Completely remove the lug nuts and remove the left front wheel.
Part 2 of 3: Remove the old flex coupling steering damper
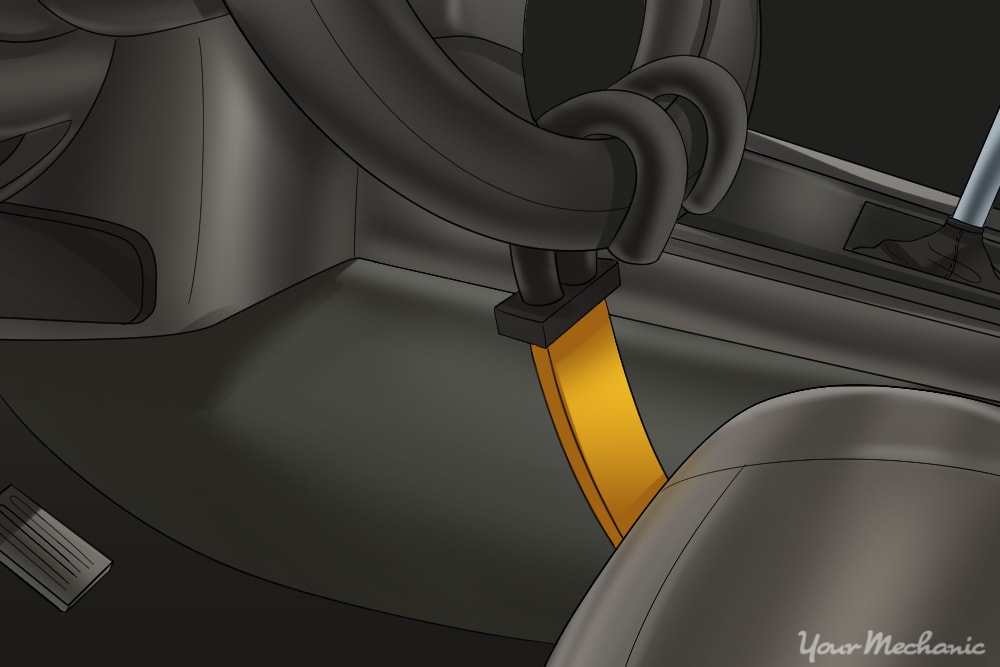
Step 1: Align the steering wheel. With the wheels of the vehicle facing straight ahead, secure the steering wheel. Lock the steering wheel with a strap to prevent rotation and remove the ignition key.
- Note: Locking the steering column will prevent damage and a possible malfunction of the SIR system, and will aid in aligning the new coupler in the same position as the old one.
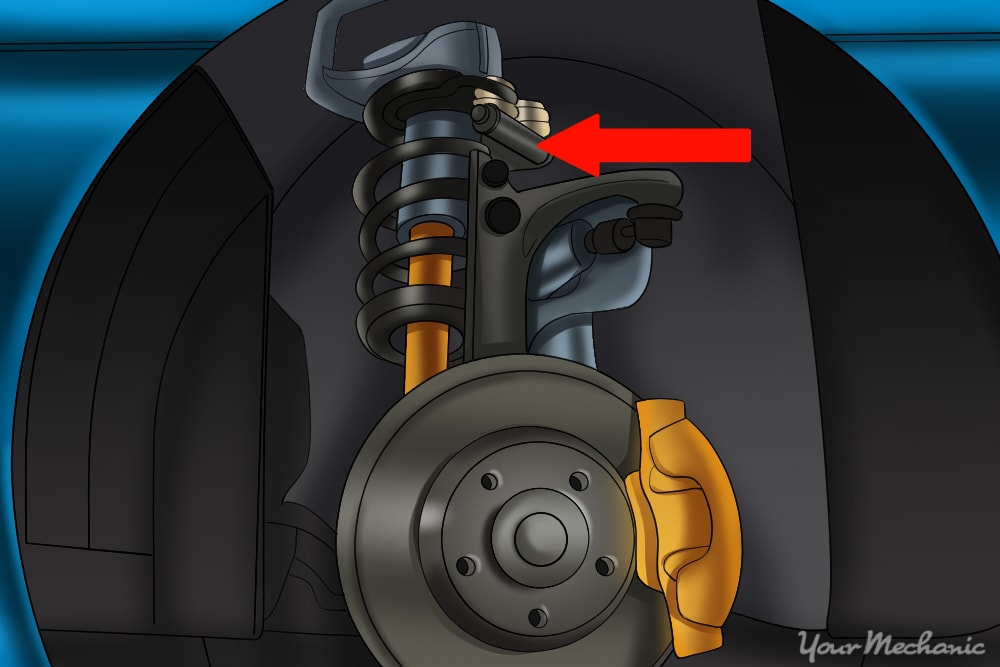
Step 2: Gain access to the shaft. It may be necessary to remove the inner wheel well splash shield to gain access to the steering shaft pinch bolt.
Use paint or a marker to place match marks on the steering shaft for ease of installation.
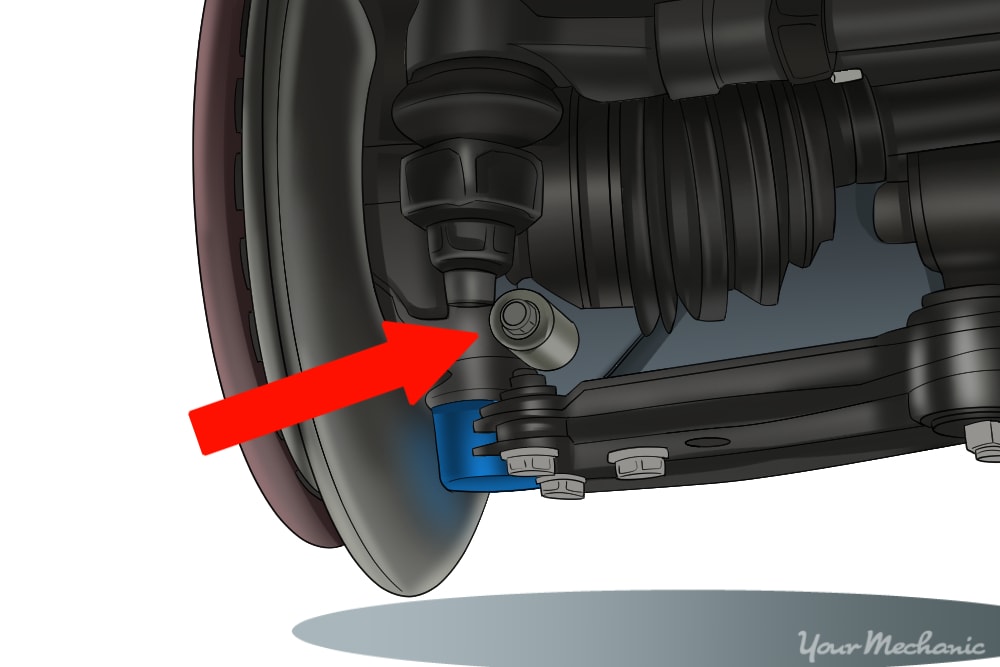
Step 3: Remove the pinch bolt. Remove the lower pinch bolt from the lower portion of the steering shaft assembly.
Step 4: Remove the steering shaft. Remove the steering shaft from the power steering gear stub shaft.
It may be helpful to use rust-penetrating oil and the assistance of a screwdriver and small hammer to tap it up off the shaft.
Step 5: Gain access to the upper pinch bolt. In some vehicles, the upper pinch bolt is accessed from under the hood or through the wheel well, and others are accessed from under the dash.
If it cannot be removed from under the hood or through the wheel well, you will need to remove the left instrument panel insulator panel below the steering wheel. This is normally held on with a few push buttons or small screws.
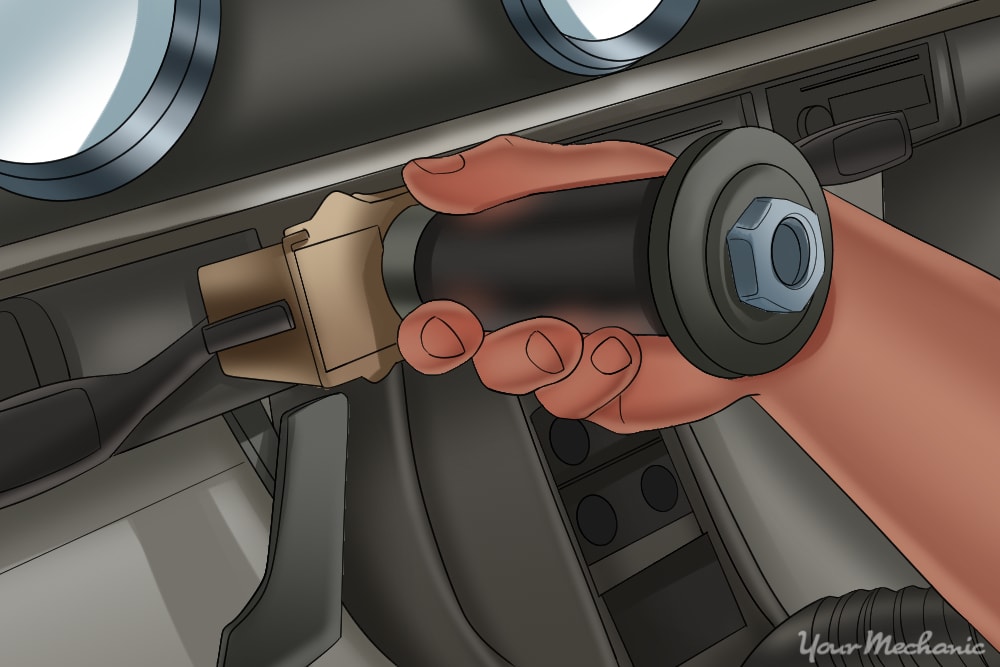
Once you have gained access to the area under the steering column, there is a plastic boot you need to pull back to gain access to the upper pinch bolt.
Step 6: Remove the upper pinch bolt. Remove the upper pinch bolt and carefully remove the shaft from the steering column. Remove the shaft from the vehicle.
Part 3 of 3: Install the replacement flex coupling steering damper
Step 1: Copy the match mark. Before installing the new intermediate shaft, copy the match mark from the old intermediate shaft onto the new intermediate shaft with paint or a marker.
Step 2. Align the match marks. Position the intermediate steering shaft in the vehicle. Connect the intermediate shaft to the steering column where the paint matches up from the original marks.
Step 3: Install the upper pinch bolt. Install the upper pinch bolt which secures the intermediate steering shaft to the steering column. Tighten the pinch bolt to spec.
Step 4: Reinstall the removed panels. Position the intermediate steering shaft boot back over the steering column shaft. Reinstall the left instrument panel insulator panel if you needed to remove it.
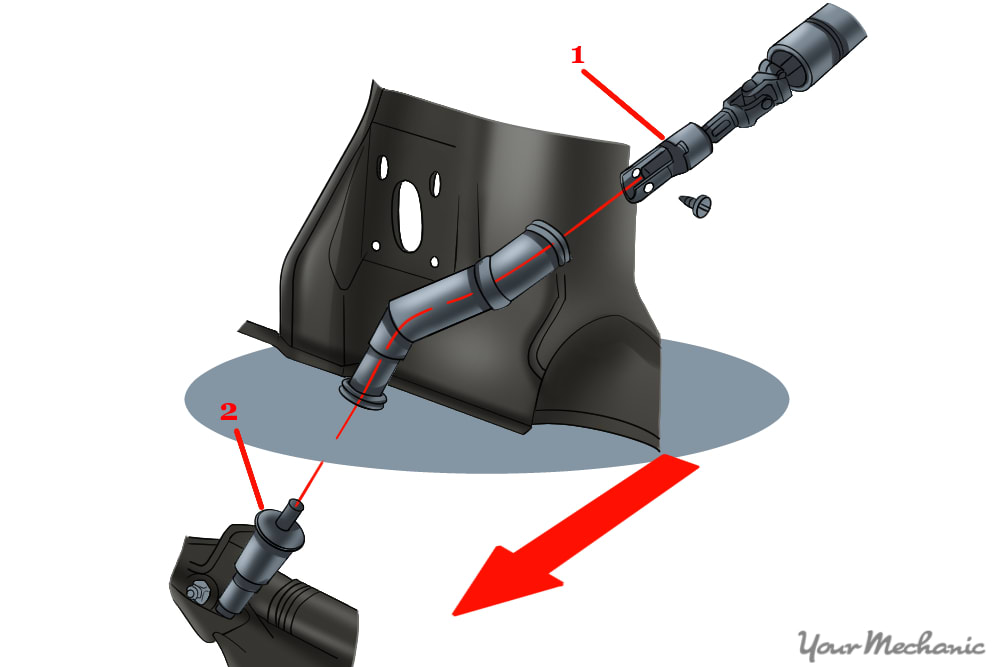
Step 5: Install the lower section of the shaft. Align the match marks and connect the intermediate (1) to the steering gear shaft (2).
Use some grease or oil to ease installation.
Step 6: Install the lower pinch bolt. Fasten the lower bolt that secures the intermediate steering shaft to the power steering gear shaft.
Tighten the pinch bolt to spec.
Step 7: Test the vehicle. Start the car and turn the wheel from side to side to ensure smooth operation and no abnormal noises.
Steering is one of the most critical components in the safe operation of your vehicle. If you were to lose steering or could not control the direction of your vehicle, it would pose a serious danger to passengers, other drivers, pedestrians and yourself. If you need assistance replacing your flex coupling steering damper, contact a professional at YourMechanic to have the service done at your home or office.


