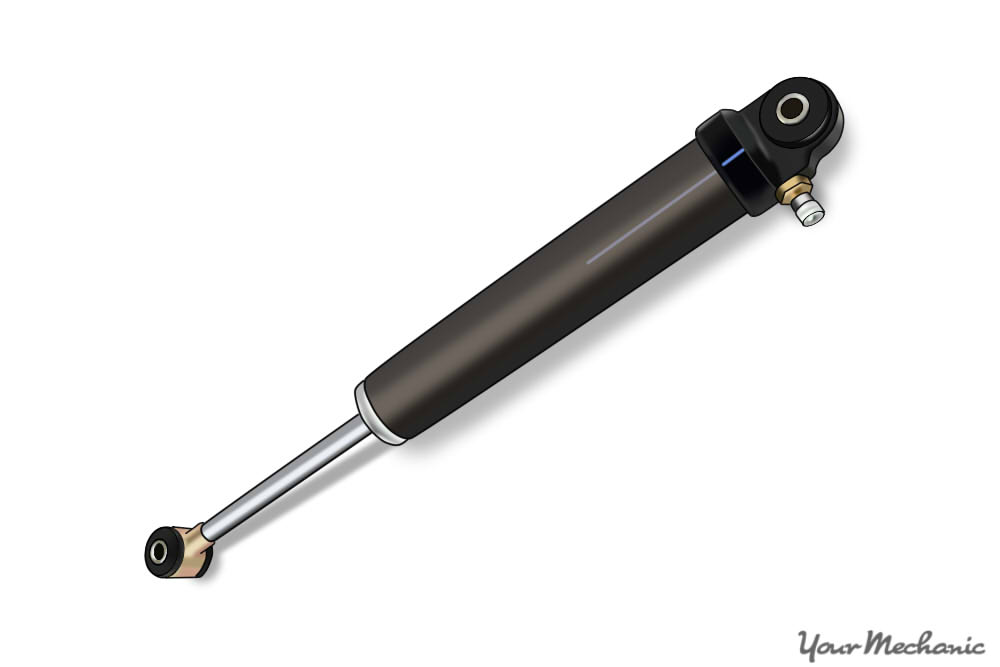

A steering damper, also known as a steering stabilizer or spirit damper, is installed in a car between the center link and the chassis. The purpose of a steering damper is to prevent movement and vibration from the vehicle’s travel over bumps and ruts and keep the jerking movement from translating to the steering wheel. Like the shock absorbers, the steering damper will lose effectiveness with long-term use and will eventually fail. If the steering damper is wearing out, you may notice that the vehicle is hard to steer, or that the steering wheel jerks around when you go over bumps.
Part 1 of 5: Preparing the vehicle
Materials Needed
- Air hammer with punch
- Boxed end wrenches
- Brass punch
- Breaker bar
- Electric or air drill
- Floor jack
- Frame sleeve kit
- Hammer (3 pound)
- Jack stands
- Large allen wrench set
- Large drill bits
- Large torque bit set
- Needle nose pliers
- Ratchet with metric and standard sockets
- Safety glasses
- Torque wrench
- Wheel chocks
Step 1: Park your vehicle on a flat, hard surface. Make sure that the transmission is in park (for automatics) or in first gear (for manuals).
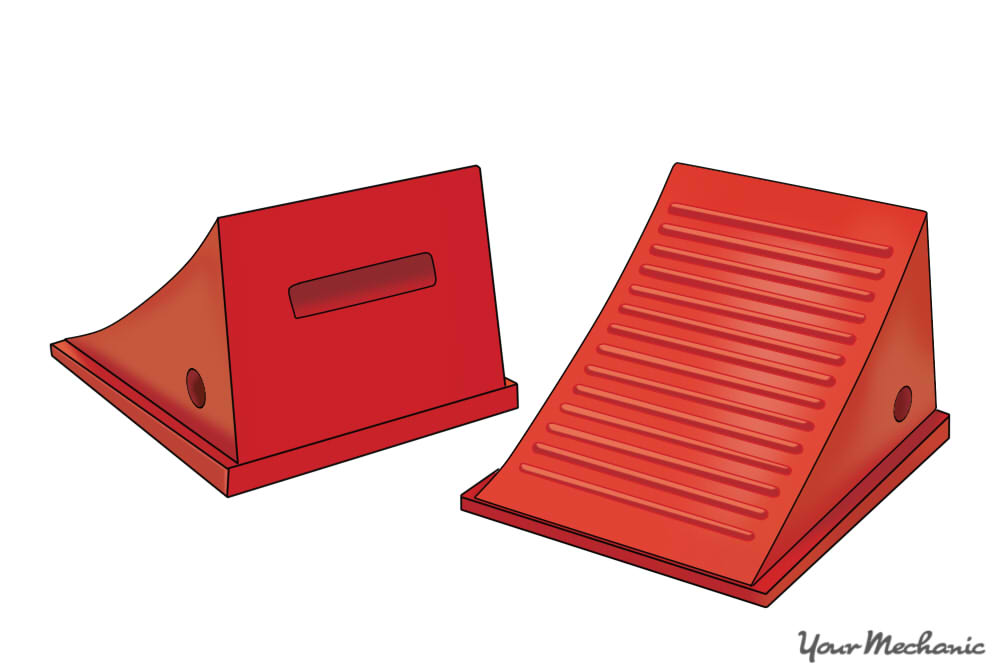
Step 2: Place wheel chocks around the tires that will be remaining on the ground. In this case, the wheel chocks will be around the front tires since the rear of the vehicle will be lifted up. Engage the parking brake to prevent the rear tires from moving.
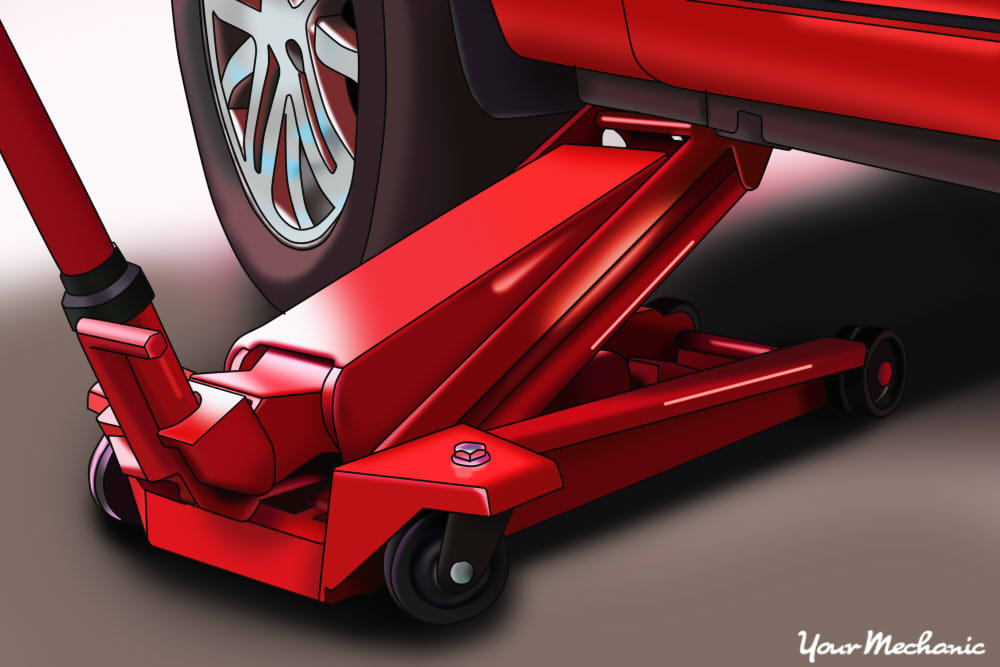
Step 3: Raise the vehicle. Using a floor jack that is recommended for the weight of the vehicle, lift under the vehicle at its specified jacking points until the wheels are completely off the ground.
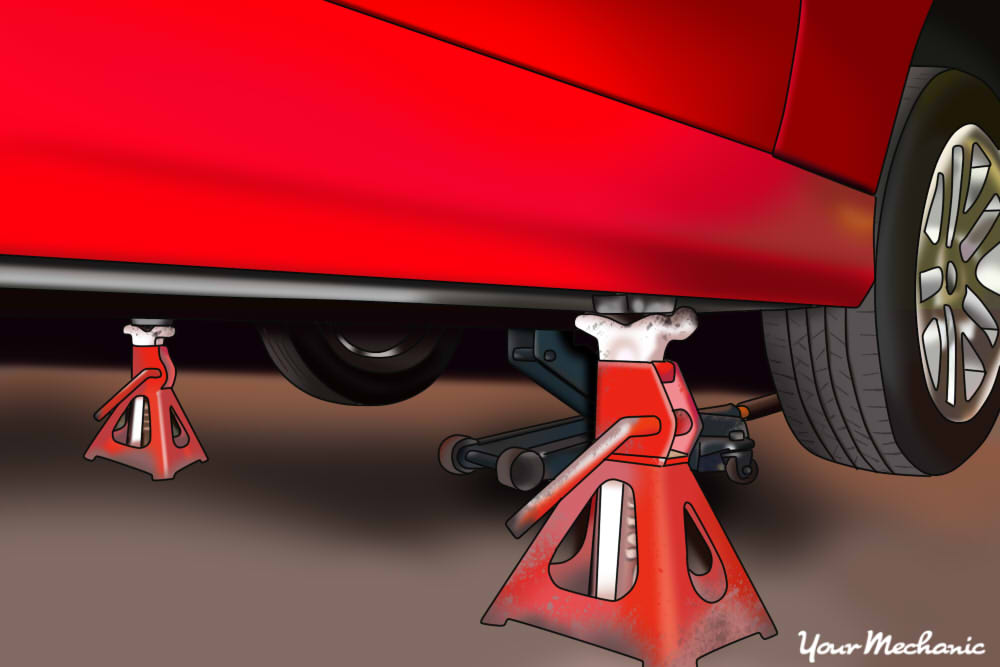
Step 4: Place the jack stands. The jack stands should go under the jacking point locations. Then lower the vehicle onto the jack stands. For most modern cars, the jacking points for jack stands will be on the pinch weld just under the doors along the bottom of the car.
- Note: It is best to follow the instructions in the owner’s manual for proper jacking locations.
Part 2 of 5: Removing the steering damper
Step 1: Locate the steering damper. If there is a cover under the vehicle, you must remove it to get access to the damper.
- Note: It is recommended to use a lisle door tool to remove the plastic mounting screws for the under vehicle cover.
Step 2: Remove the mounting nut. Remove the mounting nut from the eye of the steering damper attached to the frame. Push out the bolt from the frame.
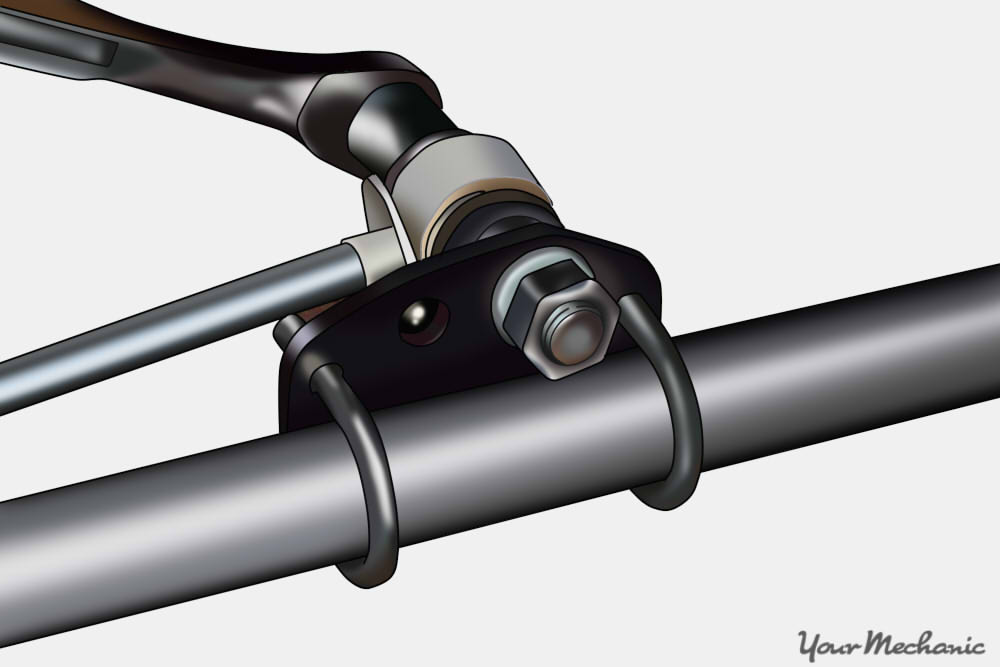
Step 3: Remove the nut to the bolt that secures the eye to the steering linkage. Push out the bolt from the linkage. If there are u-bolts mounting the eye to the linkage, then remove the u-bolts. Some bolts may have hex heads, allen heads, or torque heads. If you have to remove a castle nut and cotter pin, be sure to install a new cotter pin. Do not use the old cotter pin; due to age and fatigue, the old cotter pin could break prematurely.
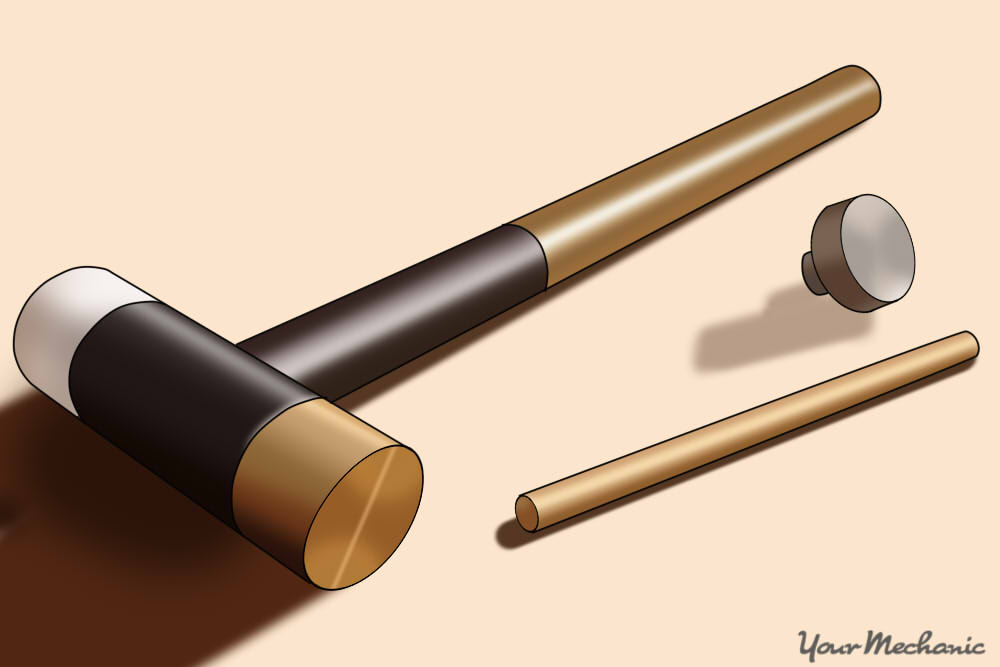
Note: Sometimes the bolts get stuck in the frame or in the linkage. You may need to use a hammer with a brass punch to remove the bolts. If the hammer is not enough to remove the bolts, you may need to use an air hammer with a punch bit to buzz out the bolt. Do not mushroom the end of the bolt. This will make it difficult to remove.
Warning: Be sure to put on safety glasses prior to striking a metal object with a hammer. Metal particles will fly in the air and could possibly lodge in your eye.
Step 4: Lower the steering damper. Lower the steering damper and place it out of the way.
Step 5: Clean the mounting surfaces. Use 180 grit emery cloth (fine sand paper in slim strips) to clean up the mounting surfaces where the steering damper attaches.
Look inside the mounting hole in the frame. If the hole is out of round, you will need to drill out the hole and install a sleeve to resize it to secure the new steering damper. If the hole in the steering linkage is out of round, you will need to replace the steering linkage.
Step 6: Check the condition of the steering system. Check all ball joints for any play. Use a large pair of channel locks to squeeze the ball joints. The ball joints should rotate on the ball but not go in or out of the ball.
Check the condition of the grease boots for any damage. Check the upper (if any) and the lower ball joints for damage and looseness.
- Warning: Do not operate any vehicle with damaged steering components. The components could come apart while driving. If you find any steering part damaged or worn out, you will need to replace that part prior to continuing with the steering damper replacement.
Part 3 of 5: Installing the steering damper
Step 1: Install the new steering damper to the mounting locations. Install the new rubber bushings if they are installed separately.
Step 2: Install the new mounting bolts and lock nuts. Torque the nuts down to where the rubber bushings bulge out slightly.
Step 3: Move the steering wheel. Manually push the steering wheel all the way to the left against the steering lock and all the way to the right against the steering lock. This is to make sure that the new steering damper is installed correctly and that it is functioning correctly after installation.
Part 4 of 5: Lowering the vehicle
Step 1: Reinstall any removed covers. If you had to remove a under car cover, make sure that you reinstall the under car cover first.
Step 2: Raise the vehicle. Using a floor jack that is recommended for the weight of the vehicle, lift under the vehicle at its specified jacking points until the wheels are completely off the ground.
Step 3: Remove the jack stands. Remove the jack stands and keep them far away from the vehicle.
Step 4: Lower the vehicle. Lower the vehicle to where all four wheels are on the ground. Pull out the jack and put it aside.
Step 5: Remove the wheel chocks. Remove the wheel chocks from the rear wheels and put them aside.
Part 5 of 5: Test drive the vehicle
Step 1: Drive the vehicle around the block. During the test, check the steering wheel for any jerkiness.
Step 2: While driving the vehicle, drive over bumps and potholes to see if the vehicle stays on its current path. Drive around corners to make sure that the steering wheel returns to its normal position at a reasonable rotational rate (about medium speed).
Step 3: Check for leaks. Look under the vehicle for any leaking oil around the steering damper area.
If your steering wheel is still jerky after replacing the steering damper, then further inspection of the steering system may be required. If the problem persists, seek out help from one of the certified mechanics at YourMechanic, who can repair the steering damper and diagnosis any other issues.


