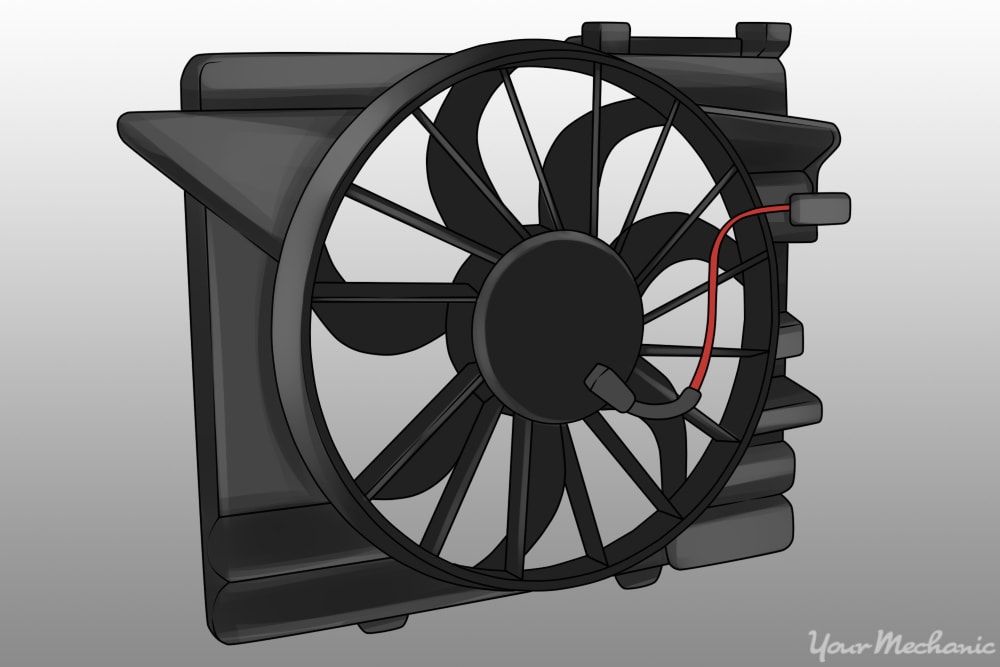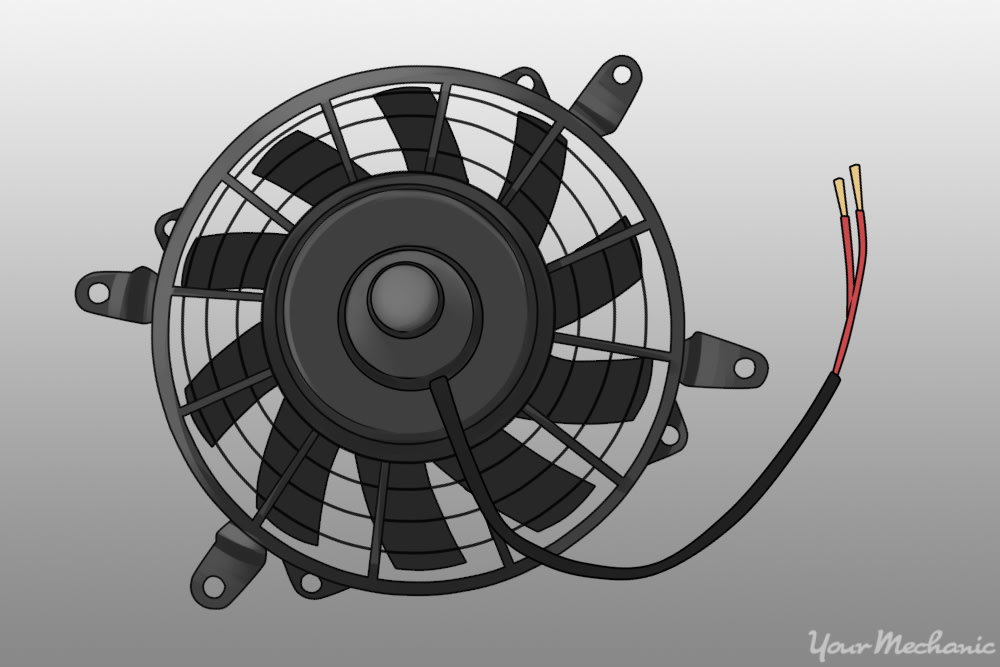

A cooling fan relay is used on vehicles that have an electrical fan to cool the engine. The function of the cooling fan relay is to convert a low voltage signal from either the electronic control module (ECM) or a thermostatically controlled sensor.
The cooling fan relay takes the low voltage signal and internally switches the relay “on” to allow battery voltage to be supplied to the radiator cooling fan. By using a lower voltage signal to control the relay, there is less stress on the rest of the wiring and charging system. When the fan relay does not work, then the proper signal will not be received and the fan cannot cool the system down.
This type of relay system also allows for use of smaller diameter wiring that takes up less room throughout the vehicle and can save considerable weight on today’s increasingly computer controlled systems. When the cooling fan relay gets its signal from the ECM, the wiring diagram will typically resemble the following illustration.
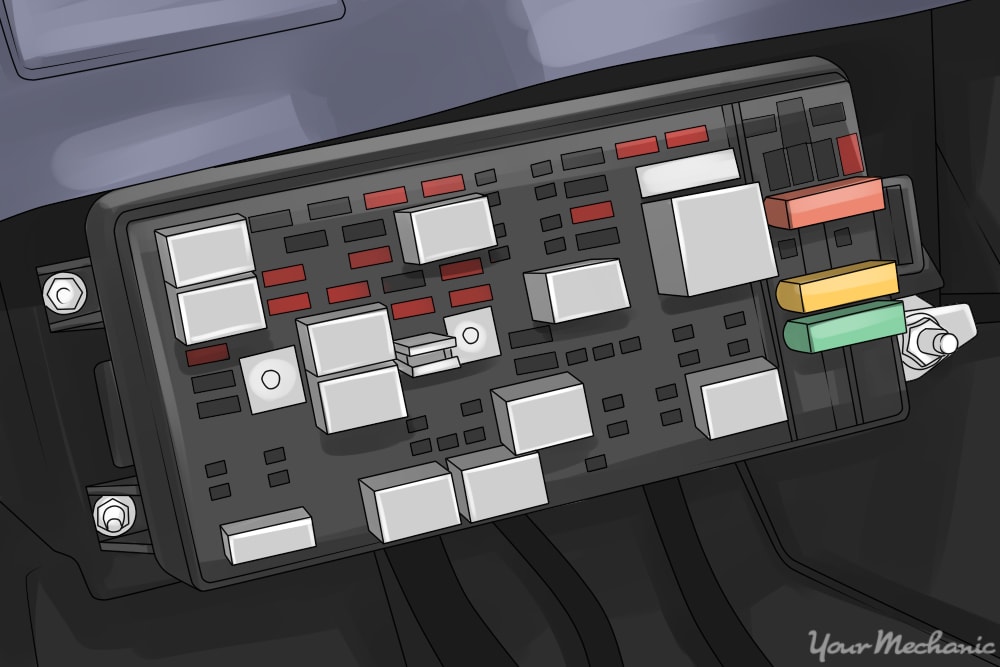
The cooling fan relay is normally located in either the underhood fuse and relay center or mounted to the electric fan assembly behind the radiator. To replace the cooling fan relay, there are two methods that we will cover for the positions mentioned above.
Note: Some manufacturers will also refer to the electronic control module (ECM) as a powertrain control module (PCM).
Warning: It is possible for the radiator cooling fan to operate with the ignition key in the “off” position. Keep area around the fan blade clear in order to avoid injury. If at any point it is not possible to avoid contact with the radiator fan assembly, it is recommended to disconnect the battery in order to render the radiator fan inoperable.
Method 1 of 2: Removing the cooling fan relay in the underhood fuse/relay box
Materials Needed
- Pliers
- Small screwdriver
Step 1: Locate underhood fuse/relay box. Visually identify the underhood fuse/relay box.
The box is typically located on either the driver or passenger side of the engine compartment near the fender.
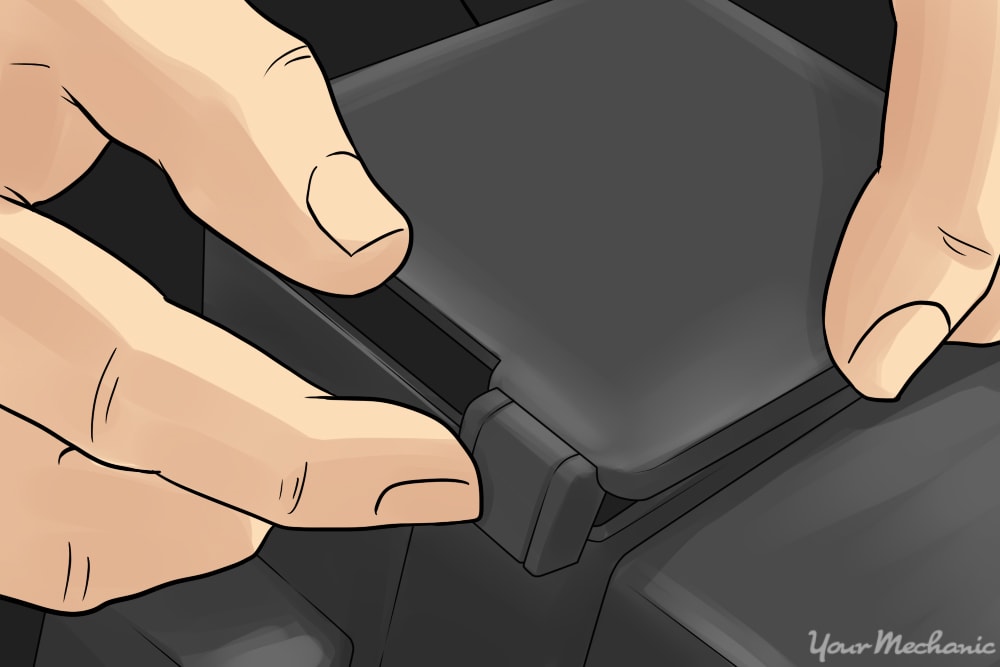
Step 2: Remove the fuse/relay box cover. Remove the cover from the top of the underhood fuse/relay box.
This will be accomplished by removing or releasing any combination of retaining clips or fasteners.
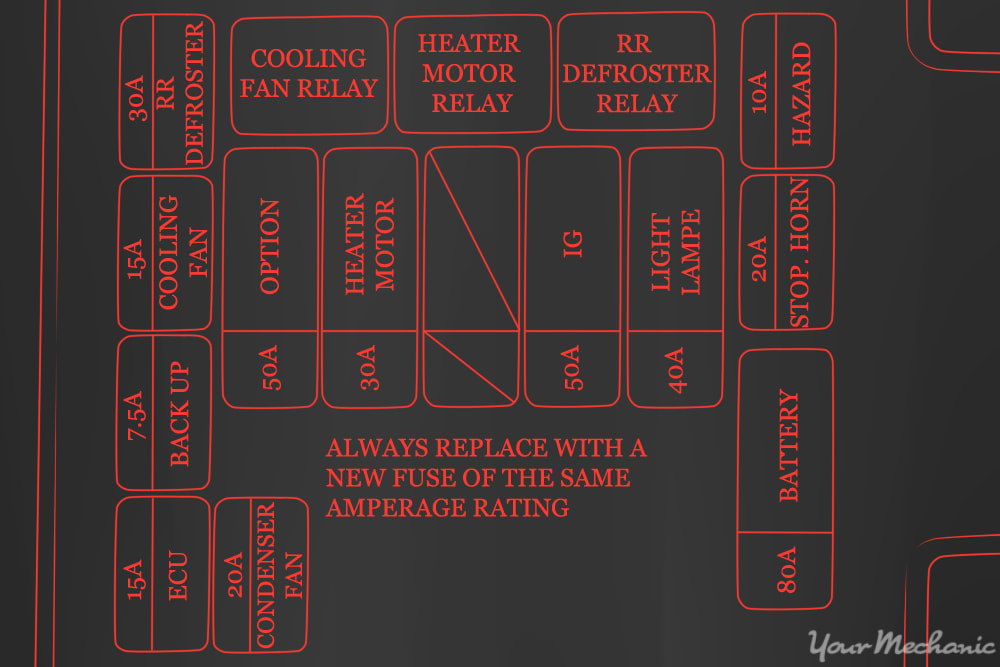
Step 3: Identify the cooling fan relay. We must now identify which relay is the cooling fan relay.
Most manufacturers will print a diagram on one side of the underhood fuse/relay box cover that maps out the position of each of the fuses and relays contained in the box.
- Tip: If there is no diagram on the underhood fuse/relay box cover, check the owner’s manual for a possible listing of fuse and relay locations.
Step 4: Be sure power is off. At this point, check to be sure the ignition key is in the off position.
For added safety, take the key out of the ignition and set it either on the dash, or in the center console (if equipped).
- Warning: It’s important the ignition be in the off position to ensure there are no voltage spikes that can cause catastrophic damage to the electronic control module (ECM) while replacing the relay.
Step 5: Replacing cooling fan relay. Gently pinch the relay with your fingers and wiggle back and forth, all while also pulling up on the relay.
The relay should pull free with nominal effort.
- Tip: It’s not uncommon for the relay to build up dirt and debris over time and therefore become difficult to remove. Sometimes it is necessary to use a small screwdriver or pair of pliers to carefully coax the relay out of its cradle.
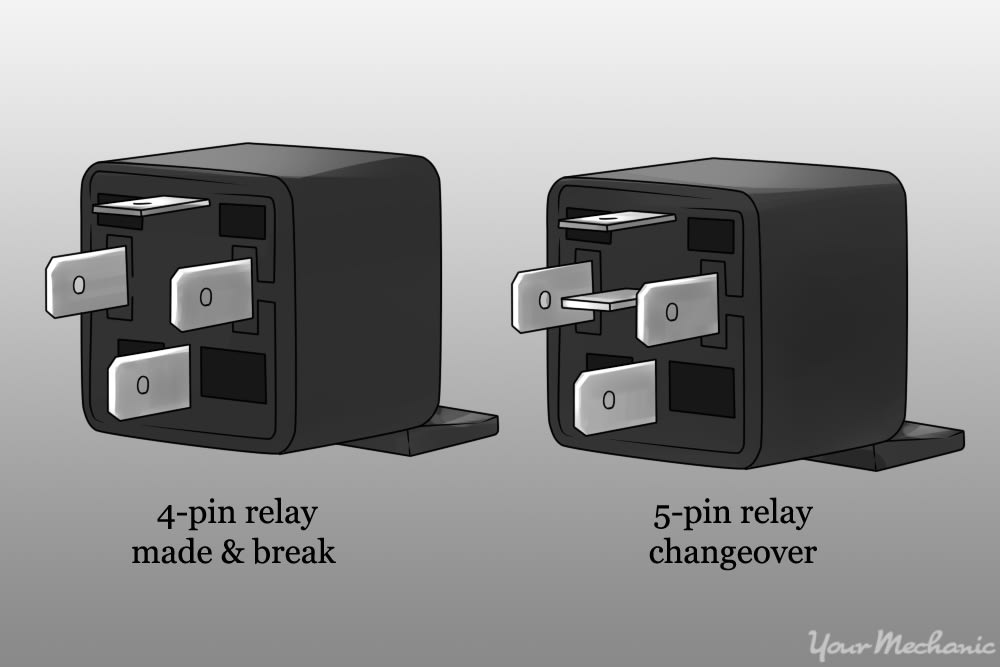
Step 6: Match replacement relay to the original. Once the cooling fan relay has been removed, compare the replacement relay to the relay that was removed.
Ensure the relay is of the same basic dimensions. Flip the relay over and compare the terminal number and orientation.
Step 7: Install new cooling fan relay. Position the relay above the recess where the original was removed from and gently press it into place.
Step 8: Verify the new cooling fan relay is properly seated. Visually look at the base of the cooling fan relay to be sure the base of the relay is seated completely into the socket.
There should be less than a 1mm gap between the base of the cooling fan relay and underhood fuse/relay box.
Step 9: Verify operation of replacement cooling fan relay. Verify the operation by energizing the cooling fan relay.
This is done by either warming the engine up to operating temperature or by turning on the air conditioning system.
Method 2 of 2: Replacing a cooling fan relay mounted to electric cooling fan assembly
Step 1: Locate the cooling fan relay. Visually inspect the electric cooling fan assembly for the cooling fan relay.
The illustration above is a typical example of how the relay may be mounted on some models.
- Tip: If there is a question as to whether or not a component is the cooling fan relay, a workshop repair manual can be used to find the location on a given vehicle.
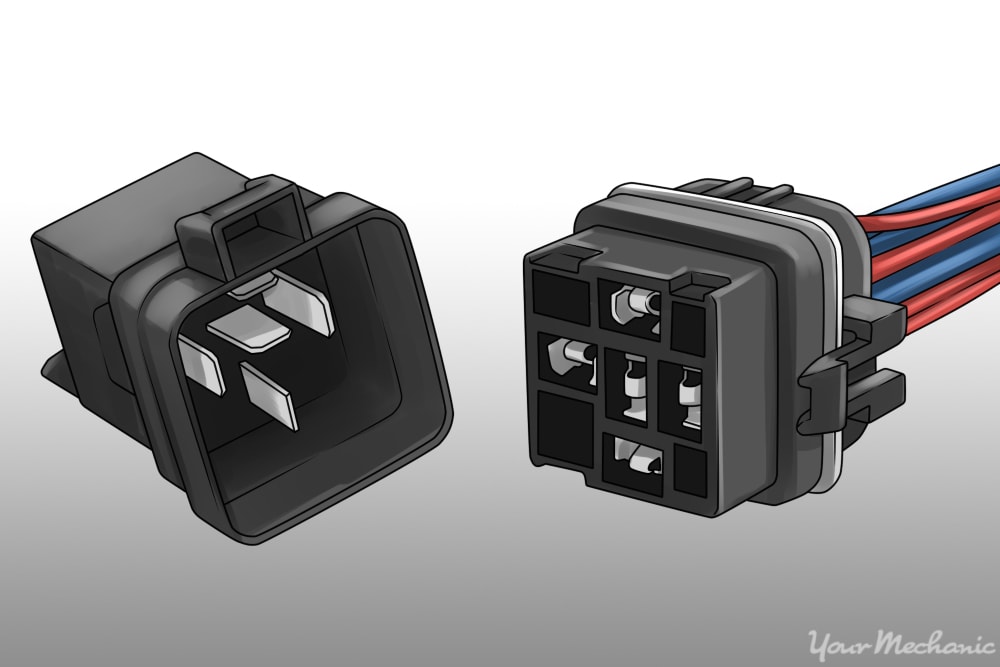
Step 2: Disconnect electrical connector. The cooling fan relay has an electrical connector that will need to be disconnected and switched over to the replacement cooling fan relay.
Most commonly used connectors are a push type connector. Disconnect connector and remove cooling fan relay.
Step 3: Compare the replacement cooling fan relay to the one being removed. Visually inspect the replacement cooling fan relay and compare it to the removed relay.
Pay specific attention to the physical dimensions of the relay, and more importantly, to the number and orientation of the pins on the replacement.
Step 4: Install replacement cooling fan relay. Plug the electrical connector into the replacement cooling fan relay and reinstall it back into place.
- Note: The remaining steps below are the same for either method listed above.
Step 5: Verify the operation of replacement relay. Verify the operation by energizing the cooling fan relay.
This is done by either warming the engine up to operating temperature or by turning on the air conditioning system.
- Note: Most, but not all, manufacturers have the cooling fan system designed to come on when the air conditioner is turned on.
Replacing your cooling fan relay is a vital repair for keeping your car running properly. If at any point you feel you could use a hand with replacing a cooling fan relay, have one of YourMechanic’s certified technicians come to your home of place of business and perform the repairs for you.


