
You’re on your way to work and all of a sudden - a driver on his cellphone pulls out in front of you. You go to honk your horn but nothing happens. You quickly pull into the opposite lane, barely avoiding a collision. Not having a functional horn could have costed someone’s life.
Typically, the horn circuit consists of the horn, switch, fuse, and relay. Battery voltage is applied through a fuse to the relay winding and contacts. When the horn switch is depressed, the relay is grounded, completing the circuit and blowing the horn. Some vehicles do not use a relay, and voltage is supplied directly through the horn switch to the horn. In this article, we will go over how to test and repair each of these components. Here is how to fix your car horn:
How to Fix Your Car Horn
-
Gather the correct materials - To properly fix your car horn, you will need the following: Digital multimeter, Jumper wires (optional), Multimeter, Protective gloves, Quick-disconnect connectors (optional), Repair manuals (optional), Safety glasses, Wire crimping and stripping pliers (optional), and some Wire (optional).
-
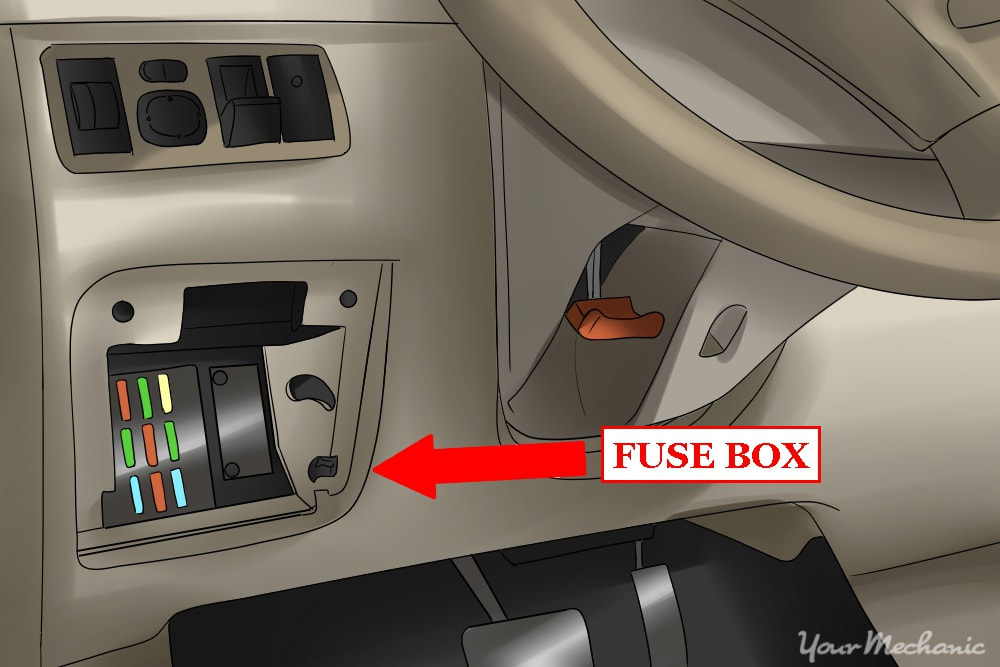
Locate the fuse box - You first need to test the fuse and relay. The location of the fuse can be found in your owner’s manual. Generally, there is a fuse box on the driver’s side of the dash and one under the hood of the car.
Tip: AutoZone provides free online repair manuals for certain makes and models. You can visit their website to see if a free manual is available for your car.
-
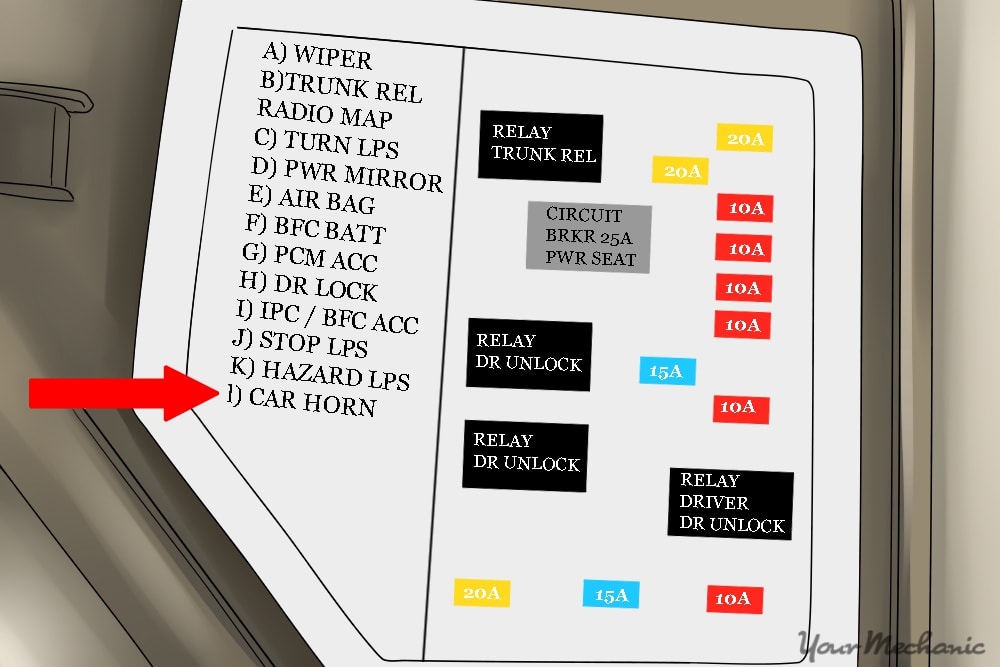
Find the right fuse - Look at the diagram on the back panel of the fuse box and find the fuse number that corresponds to the horn.
Tip: You can also check your manual to see the fuse diagrams for each of your fuse boxes.
-
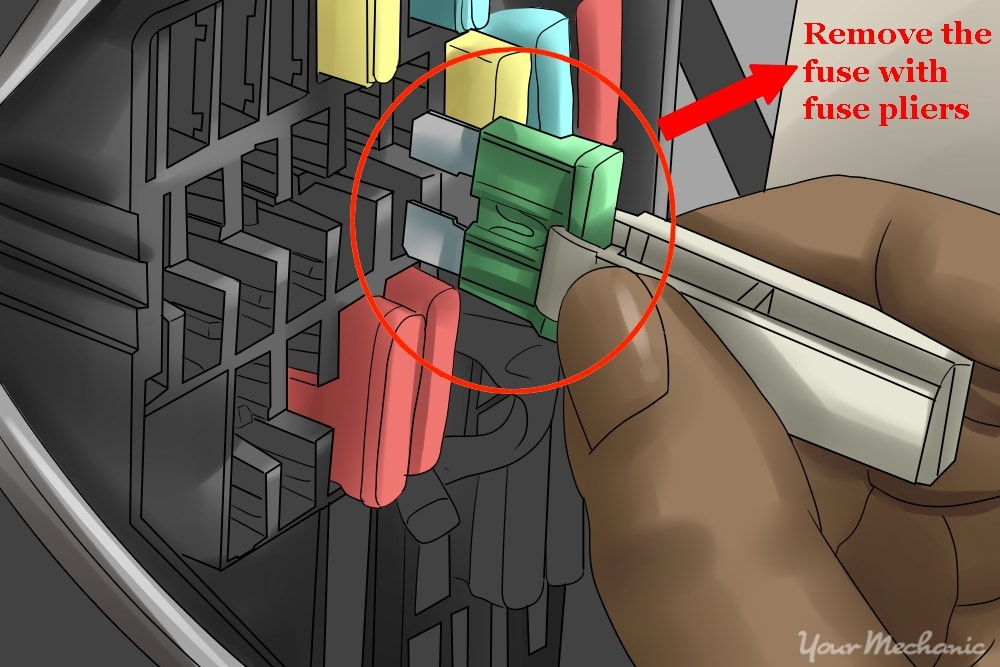
Remove the fuse - Once you have located the fuse for the horn, pull it out with either your fingers or a pair of fuse pliers.
-
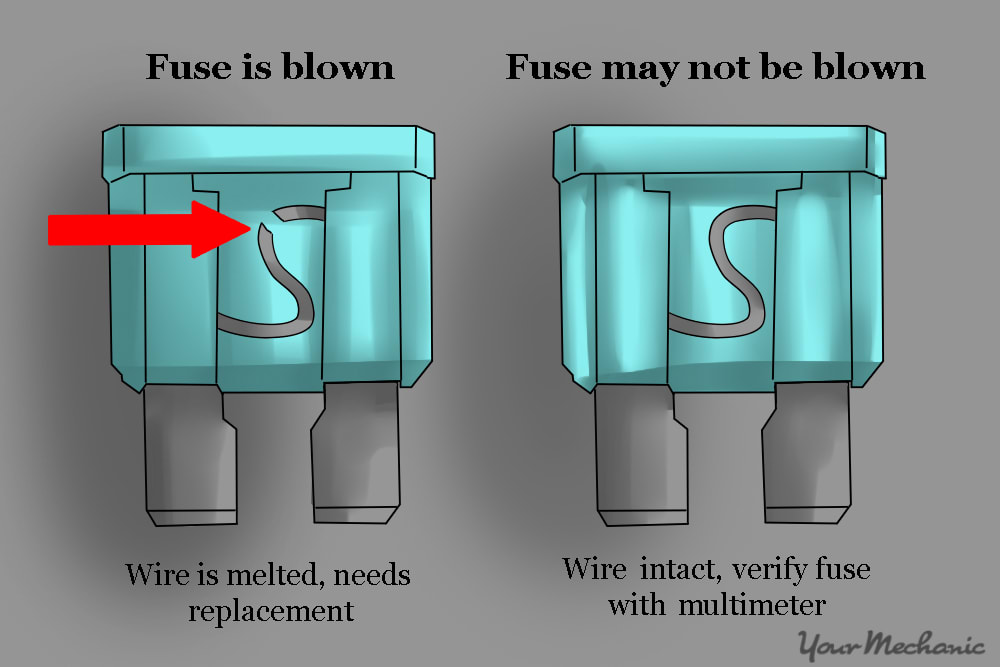
Check the fuse - In order to check whether or not the fuse is your problem, you will need to inspect the fuse to see if has blown. If the U-shaped wire is broken, the fuse has blown and will need to be replaced. If the wire inside is not broken, this does not ensure that the fuse is still working.
-
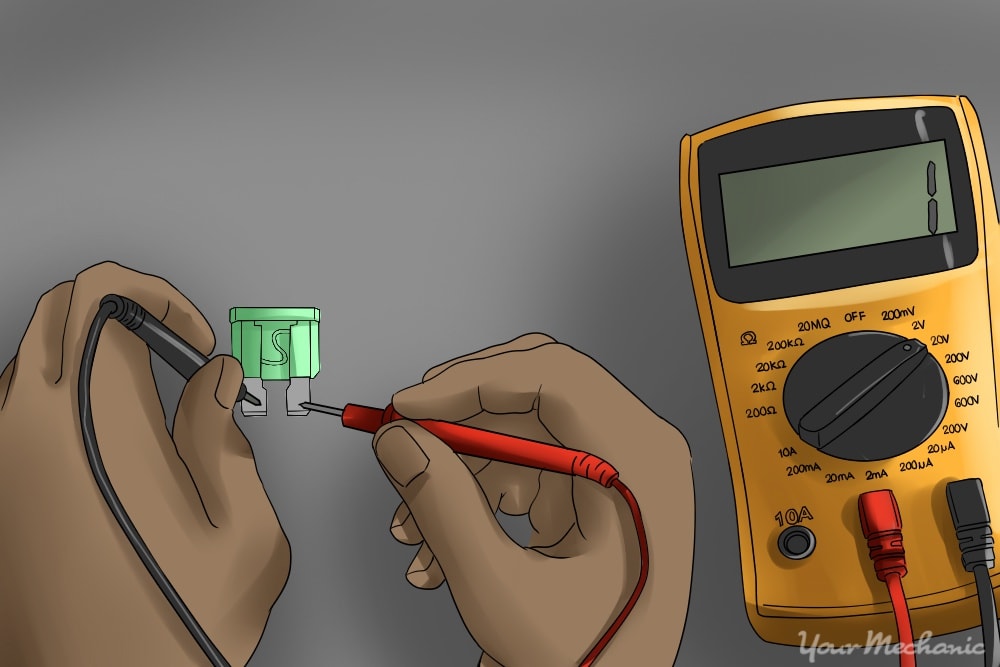
Test the fuse with a multimeter - Test the fuse with a multimeter. You can do this by turning on the multimeter and touching one meter lead to each of the fuse’s terminals. You should get a numeric reading on the meter screen. If, however, you get a reading of saying “Out of limits (OL)”, there is no continuity and the fuse is blown.
-
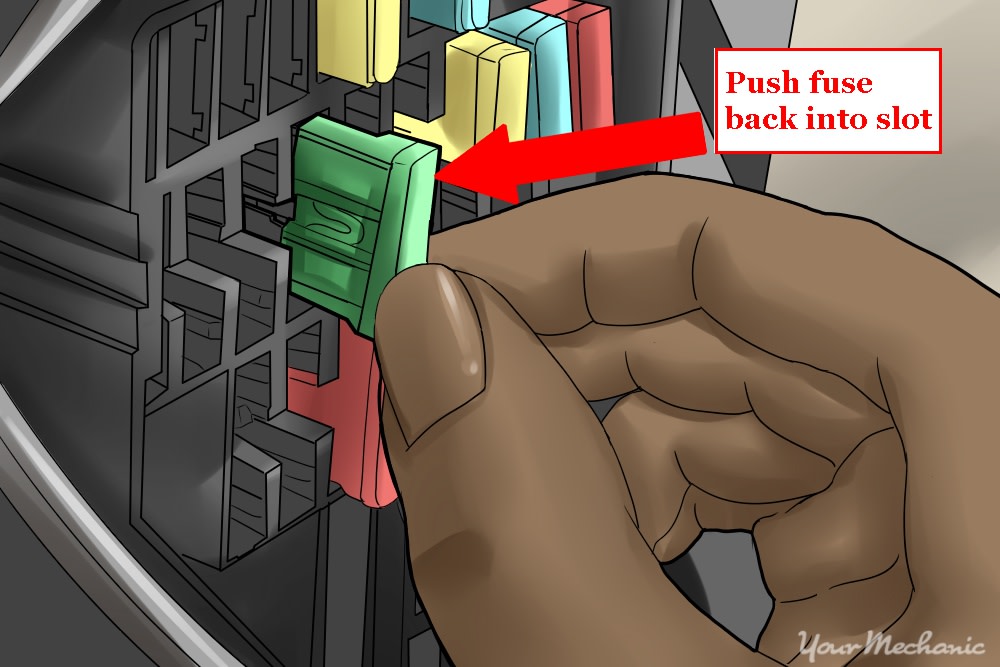
Install the new fuse - If you find the fuse has failed, install a new one of the same amperage rating. To do this, simply push the fuse back into its correct slot.
Note: Keep in mind, fuses don’t blow for no reason; they blow in order to protect the circuit from excessive current draw. Keep an eye on any new fuses that are installed. If it blows again, you will need to inspect the circuit for faults.
-
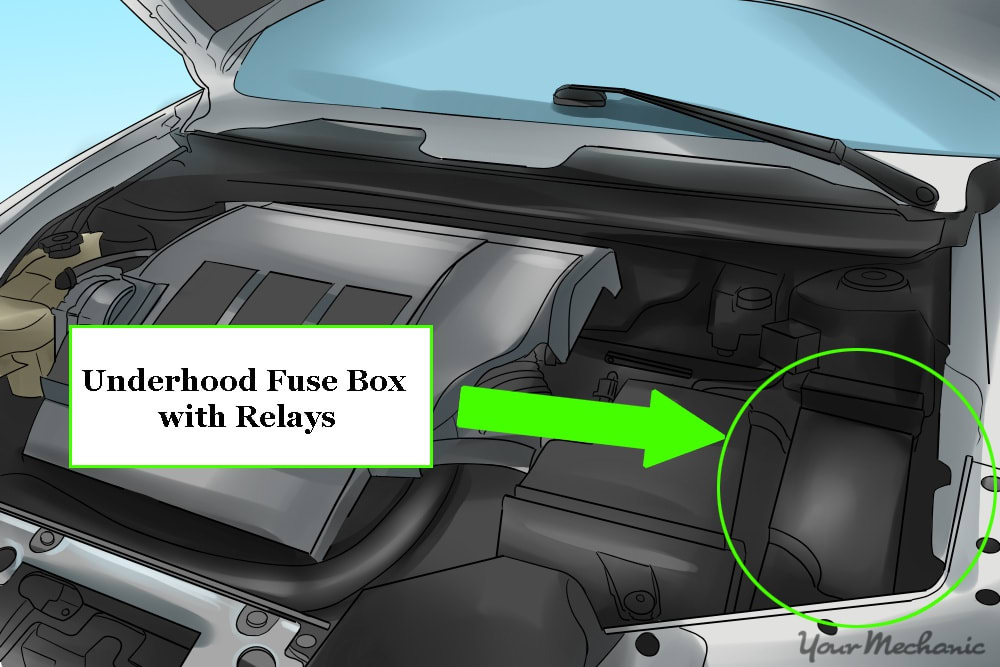
Locate your relay box - If the fuse checks out OK, the next thing you’ll want to do is check the horn relay. The relay location will be listed in your owner’s manual. Generally, it will be found in the underhood fuse box.
-
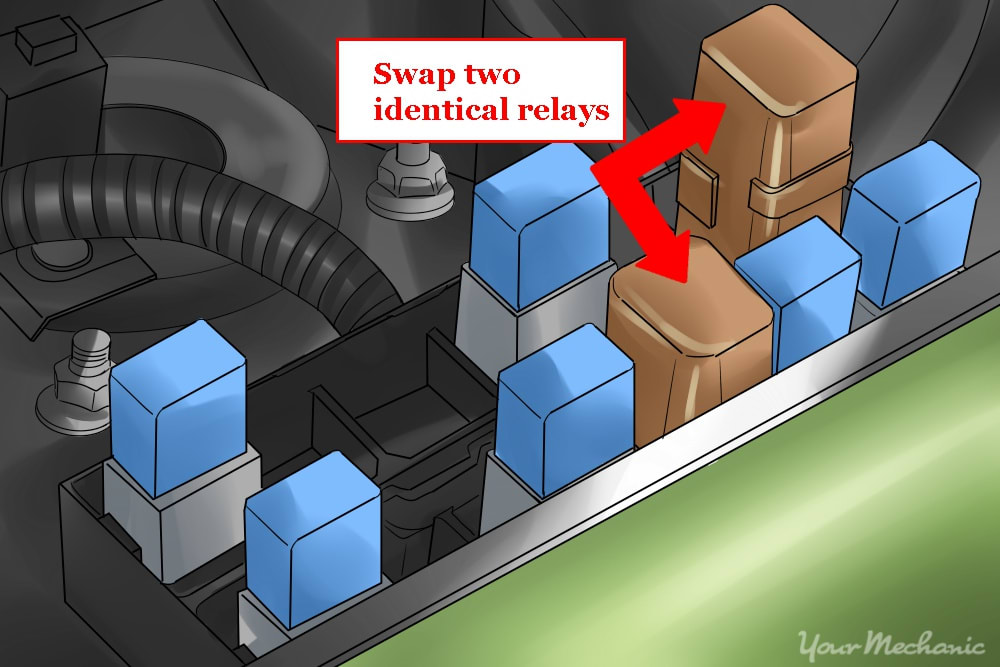
Test the relay - The easiest way to check for proper relay operation, is to swap the horn relay with another identical relay in the vehicle. Typically, the same relay design will be used on a few different circuits, allowing the relays to be swapped within a car. If the horn functions with the alternate relay installed, you know the relay is the problem and should be replaced.
-
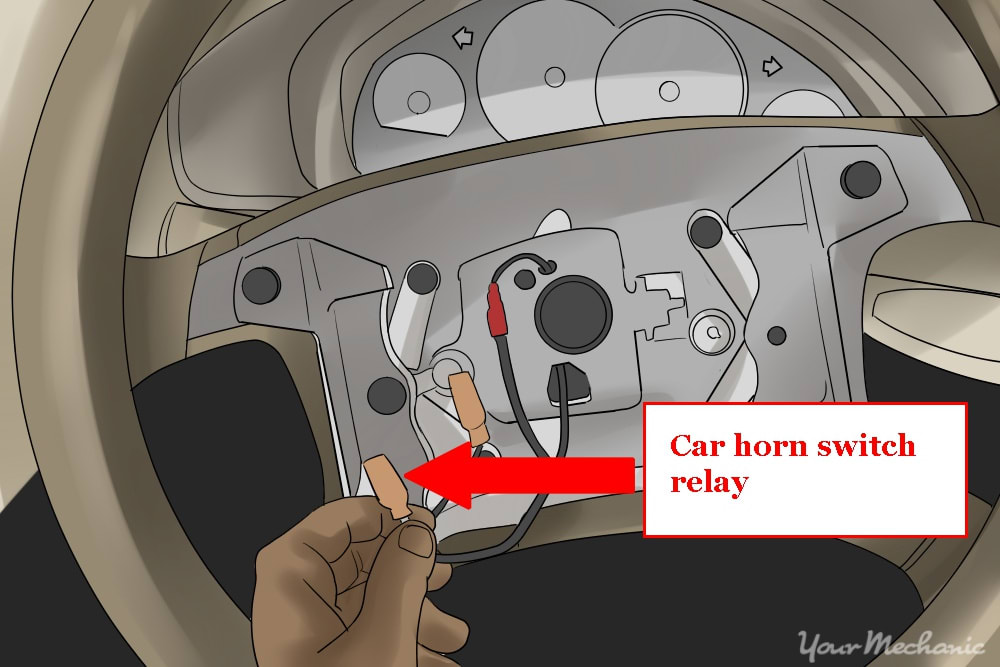
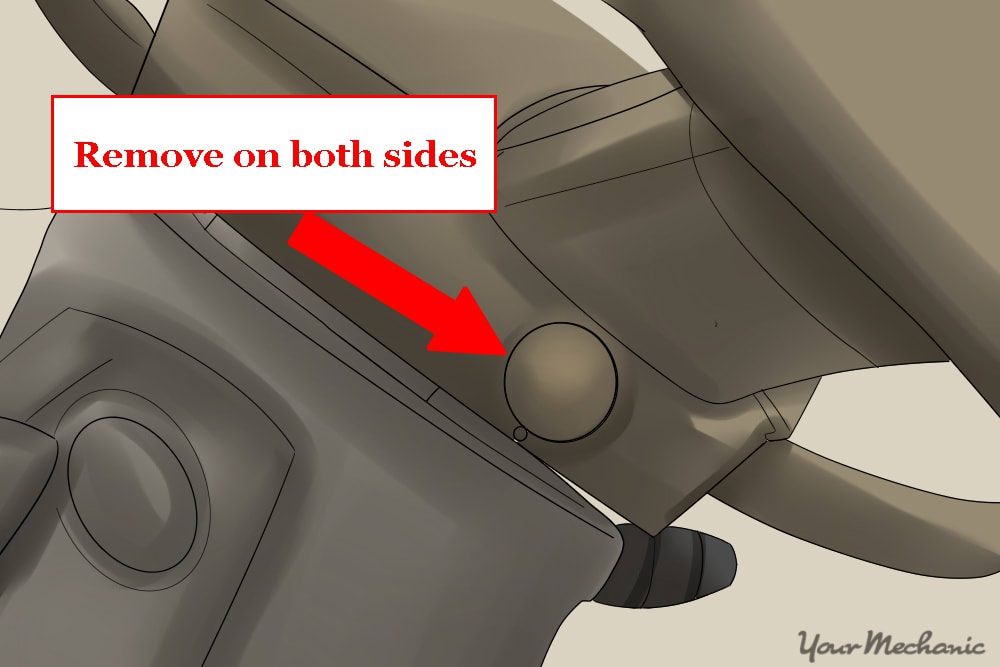
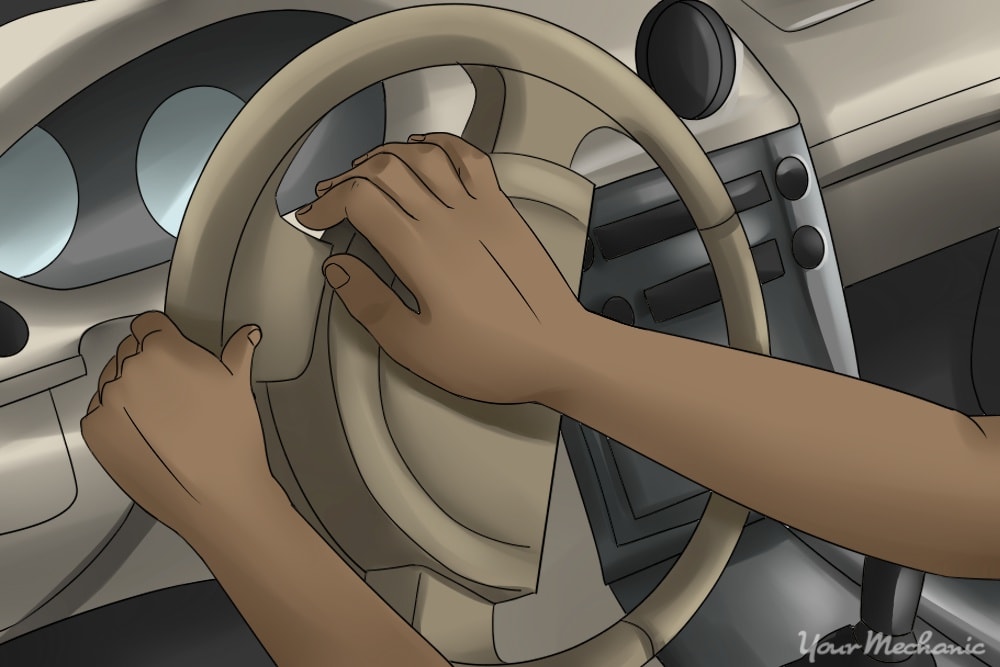
Remove the relay and set up your meter - Using the repair manual for your vehicle, to determine which relay terminal is controlled by the switch. Most relay switches will be found inside the steering wheel. This will require opening the steering wheel by accessing the two screws on the left and right sides of the steering wheel.
Warning: The horn switch is usually part of the steering wheel pad. In modern vehicles, this means it is part of the airbag system. Improper service of the airbag system can result in accidental airbag deployment and/or damage to the airbag system. So, if you suspect a faulty horn switch, it is advisable to have the repair performed by a professional.
-
Test the horn switch - If there is no power at the horn switch, then the button will no longer respond when the button is pressed.
-
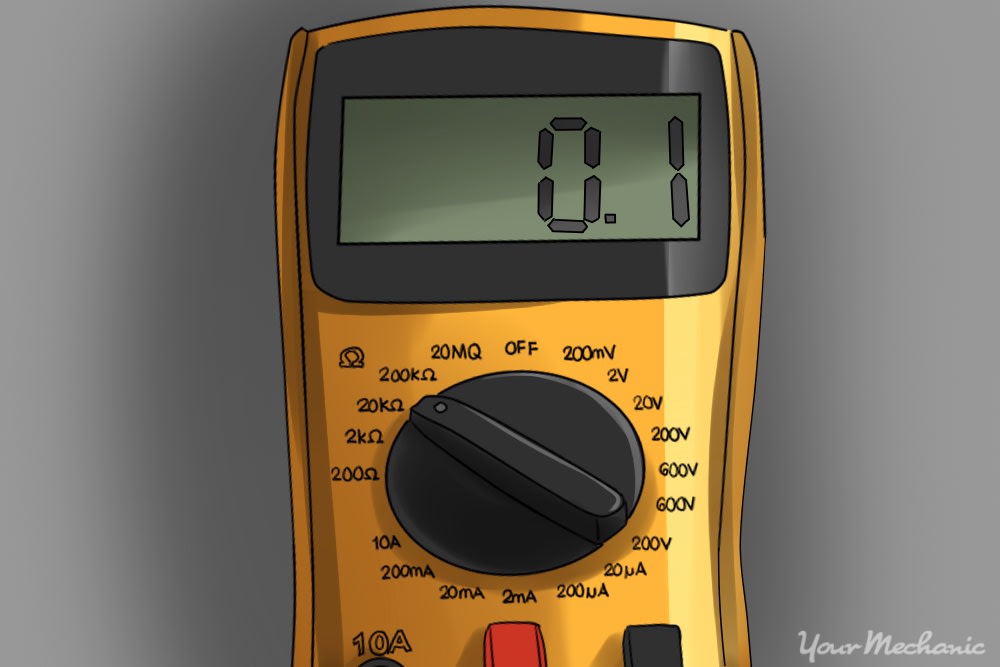
Test the relay switch - Remove the relay and set your digital multimeter to the Ohms setting. Touch one meter lead to the switch relay socket and the other to the battery negative post. Have another person push the horn button to test the reading.
Tip: You should see a numeric reading on the screen indicating continuity. A continuous reading displaying “Out of Limits (OL)” means that the switch is not closing and needs to be replaced.
-
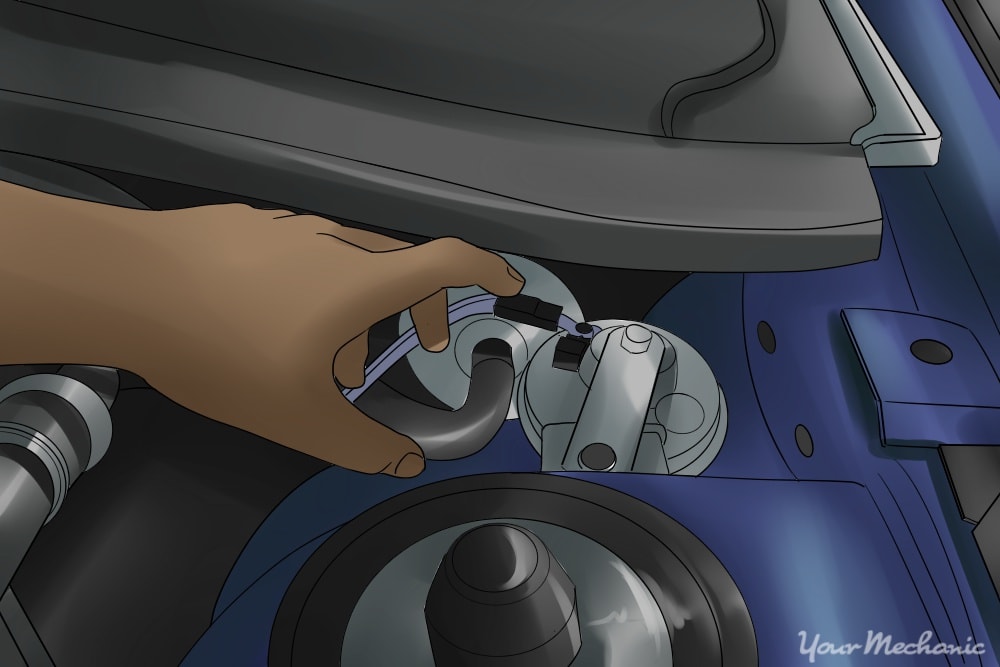
Test the horn - You can find the horns of a car on the radiator core or right behind the car’s grille.
-
Determine which wire is power and which is ground - Using the factory repair manual for your vehicle, determine which wire is power and which is ground.
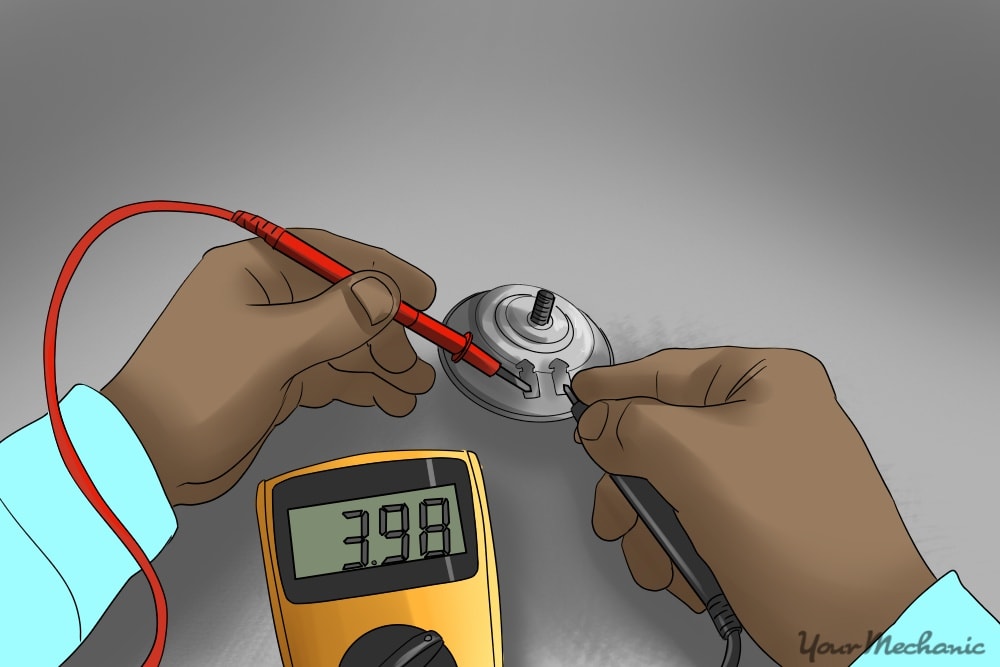
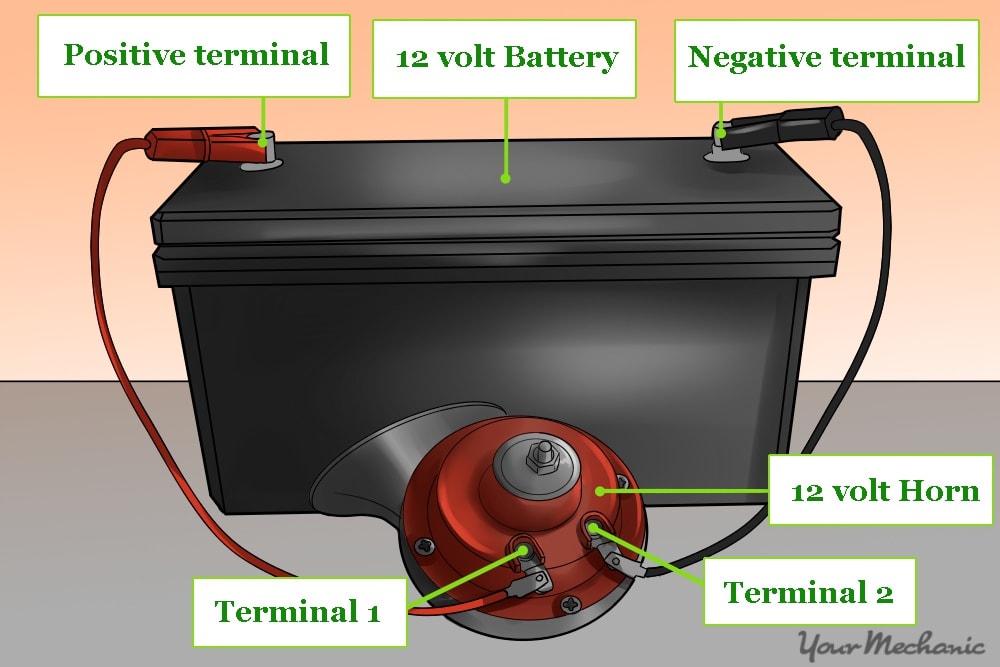
Jump the horn - Remove the horn connector and attach a jumper lead between the battery’s positive post and the (+) terminal on the horn. Then, connect the other jumper wire between the negative battery post and the (-) terminal on the horn. The horn should now sound. If it does not, the horn is faulty and should be replaced.
-
Test the circuit - If your horn still does not work after you have tried all of the methods above and replaced all faulty components, then the last thing that you can check is the horn’s circuit.
Check the wiring - If everything checks out to this point, but the horn still does not work, you’ll want to check the circuit wiring. Test the ground side of the circuit and the power side for current and voltage in the steps below.
-
Test the ground side of the circuit - According to your car’s manual, identify the ground side of the circuit. To check for ground, set the meter to the Ohms setting. Then touch one meter lead to the horn connector (-) pin and the other to the ground. You should see a numeric reading displayed on the meter lead if this is working properly.
Tip: A reading of “Out of Limits” (OL) means there is no current to the horn ground. In this case, a professional will need to access the factory wiring diagram to trace the cause.
-
Test the power side of the circuit - According to your car’s manual, identify the power side of the circuit. Check for power by setting your meter to the volts setting. Touch one meter lead to the horn connector (+) pin and the other to ground. Your meter should display battery voltage.
Tip: If it does not display a number, a professional will need to access the factory wiring diagram to trace the cause.
If you’d prefer to kick back and relax while someone else fixes your horn, the team at YourMechanic offers horn diagnostics and repair. Calling a professional can save you time, money, and frustration. If needed, our mechanics can replace your fuse, relay, switch, or horn so that you can safely venture on the road.


