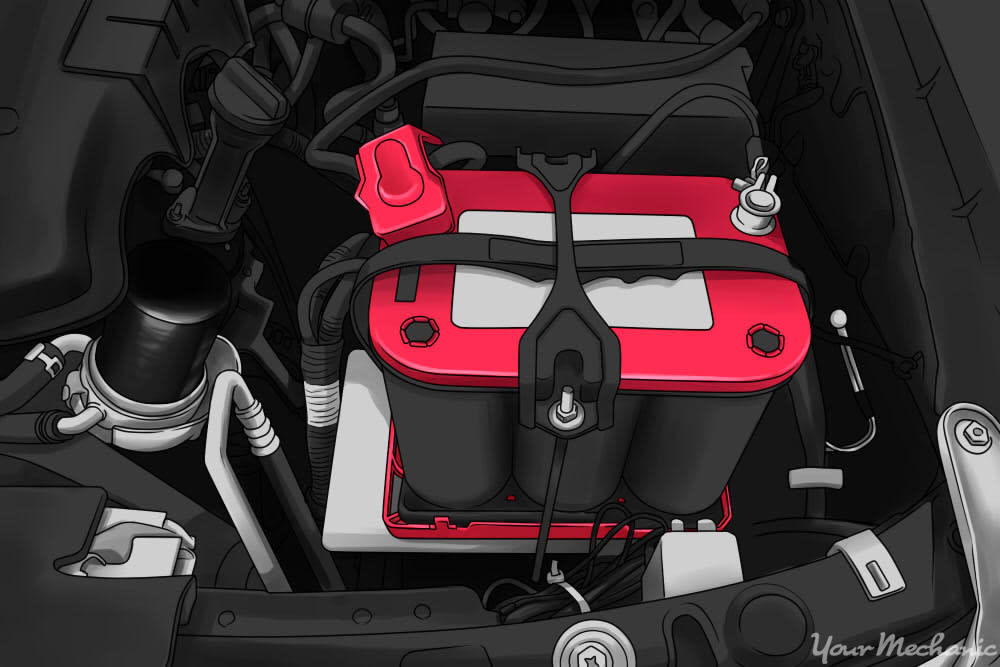

Your car battery is a crucial part of your vehicle's operation, despite the fact that it is not actually used once your car is running and moving down the road. It kickstarts all of your car's processes into motion when you turn the key, and also powers electrical components when your vehicle is off and parked. For the most part, it isn't necessary to give your car battery much thought, but there are times when you must remove it. Fortunately, this is usually a simple task that can be done on your own with basic tools you likely have on hand.
There are two primary reasons you may need to remove your car battery: to replace it, or have it checked for efficacy. In either case, the basic process is the same. Although batteries have assorted degrees of power output, the only thing that can vary in the removal steps relates to the type of terminals a particular battery possesses.
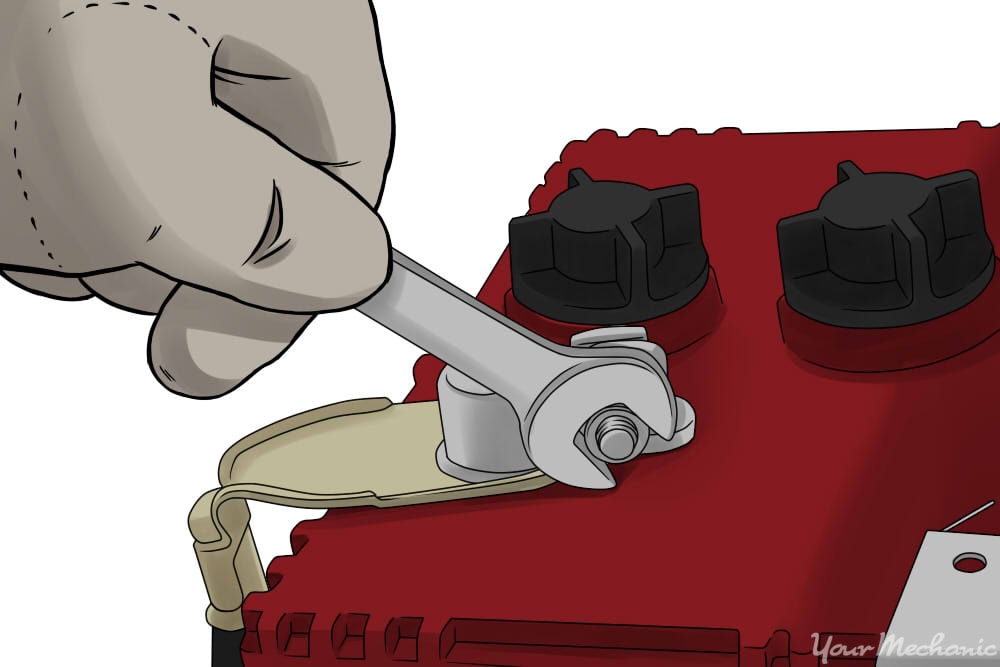
With five chief battery terminal types, it can be confusing about which tools to use, although the actual removal process is essentially the same for all batteries. These types are SAE post, GM side, combination, L, and stud terminals. American-made cars typically use either SAE post, GM side, or a combination-style terminal, while European cars favor the L variety, and electric car models often have stud terminals. To remove most of these types of batteries, you will use two pairs of pliers or two pairs of adjustable wrenches. In removing GM side varieties, however, you will require a socket and socket wrench, or ratchet.
Part 1 of 3: Preparation and safety tips
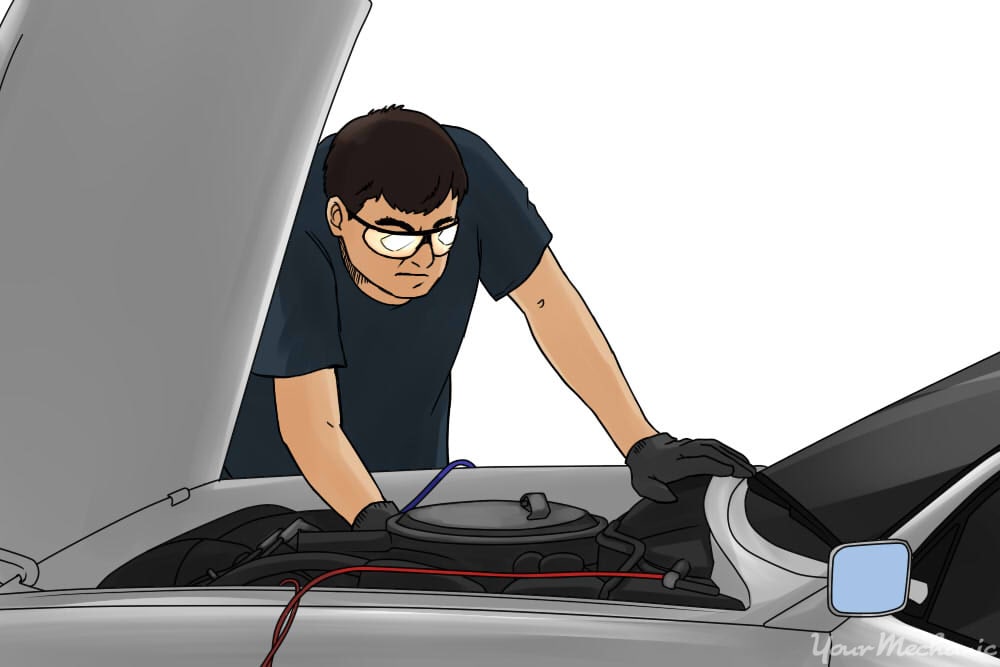
Since batteries hold enough charge to deliver a potentially fatal shock, always wear insulated work gloves for protection. It is also wise to wear safety goggles because there is always the possibility that some of the corrosive agents inside the battery may leak. Regardless of which type of battery your car has, turn your car off before ever attempting removal, because the corrosive agents inside the battery are also flammable, and a running vehicle can produce a spark. Once these safety measures are in place and the tools outlined below have been collected, you are ready to remove your battery.
While the actual process to remove a car battery is fairly straightforward, there are other things you can do to ensure your safety as well as some general tips to keep in mind:
Tip 1: Use zip ties. Consider using zip ties or another form of restraint to keep each of the battery cables in their proper place as you take out the battery. This prevents them from touching and creating sparks that could potentially ignite the flammable contents of your battery.
Tip 2: Cover with cloth. Alternatively, you can cover the positive cable end with a cloth once it is removed to prevent any metal-to-metal contact, protecting your electrical systems and yourself from harm.
Tip 3: Remove jewelry. Remove any jewelry before attempting battery removal. Metal jewelry like necklaces, watches, or bracelets could accidentally come in contact with the battery and deliver a dangerous shock.
Tip 4: Work in well ventilated area. Work in an outdoor environment or a well-ventilated garage to prevent exposure to harmful gases.
Tip 5: If terminal is fused, use special tool. In the case that a cable seems to be fused with the terminal, you may have to use a special battery cable removal tool, which is available at most auto parts stores.
Part 2 of 3: Standard post removal (all types, excluding GM side)
Materials Needed
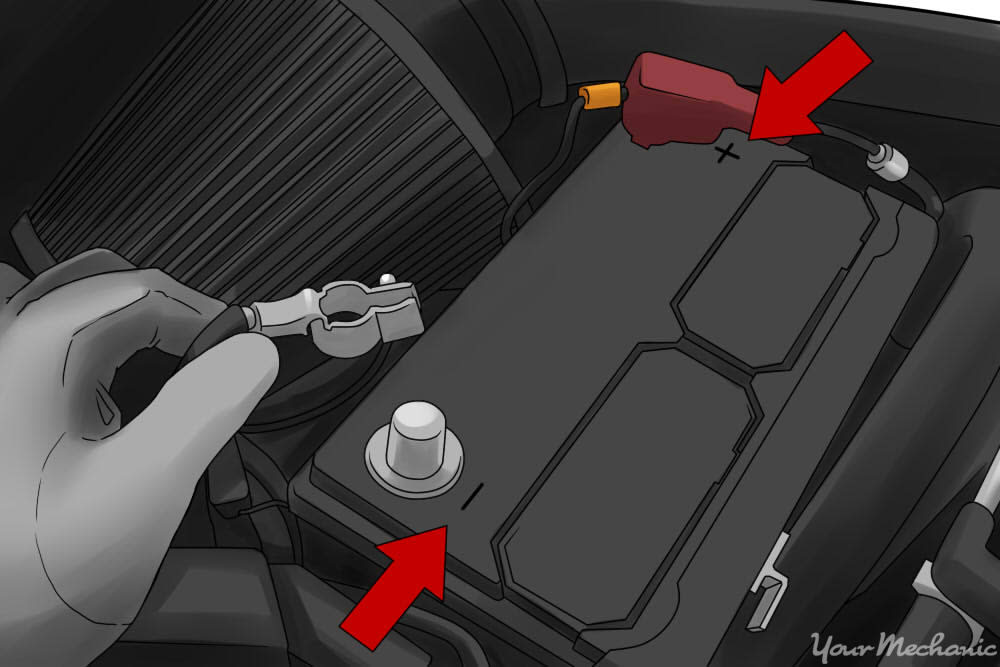
Step 1: Find negative terminal. Determine which of the terminals is the negative one. It often has a black plastic cover; otherwise, a minus sign will be located either on the post or in close proximity.
Step 2: Fixate bolt head. Take hold of the bolt head of the negative terminal with one wrench or pliers and hold it still.
Step 3: Remove the nut, and cable. Use the other pliers or wrench to remove the nut. Pull the negative cable off and secure away from the battery.
Step 4: Repeat for positive cable. Repeat this process on the positive terminal, taking care that the two battery cables do not touch. You must also prevent the positive cable from touching any metal because it carries a residual current that can affect the electrical components of your car.
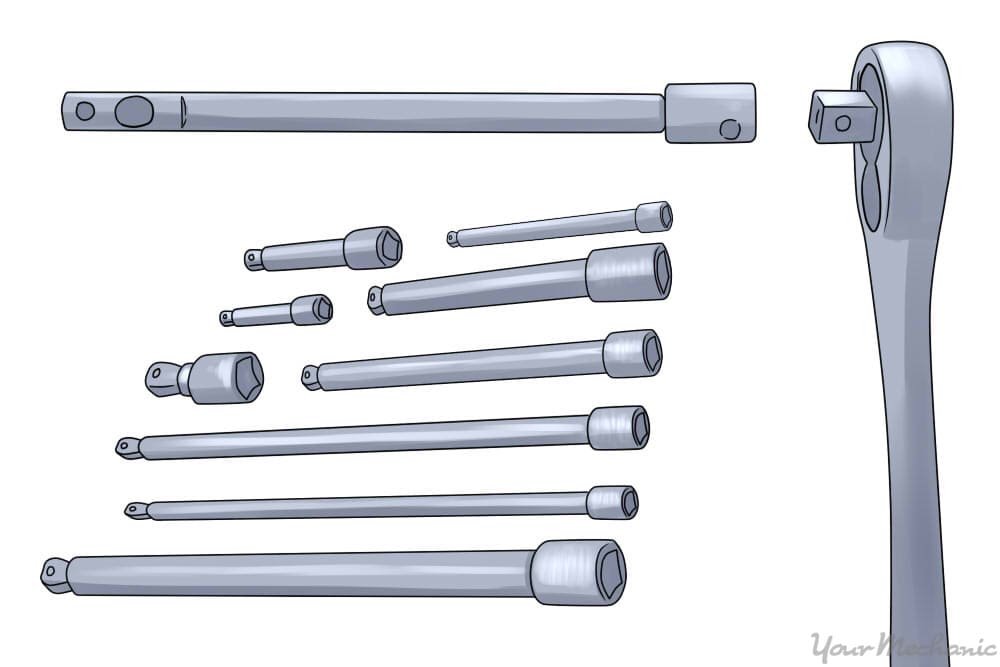
Step 5: Remove securing bracket. If the battery is held in place with a bracket, use the pliers or wrench to take out the screws or bolts holding it into place. A socket with an extension may be added to remove the battery.
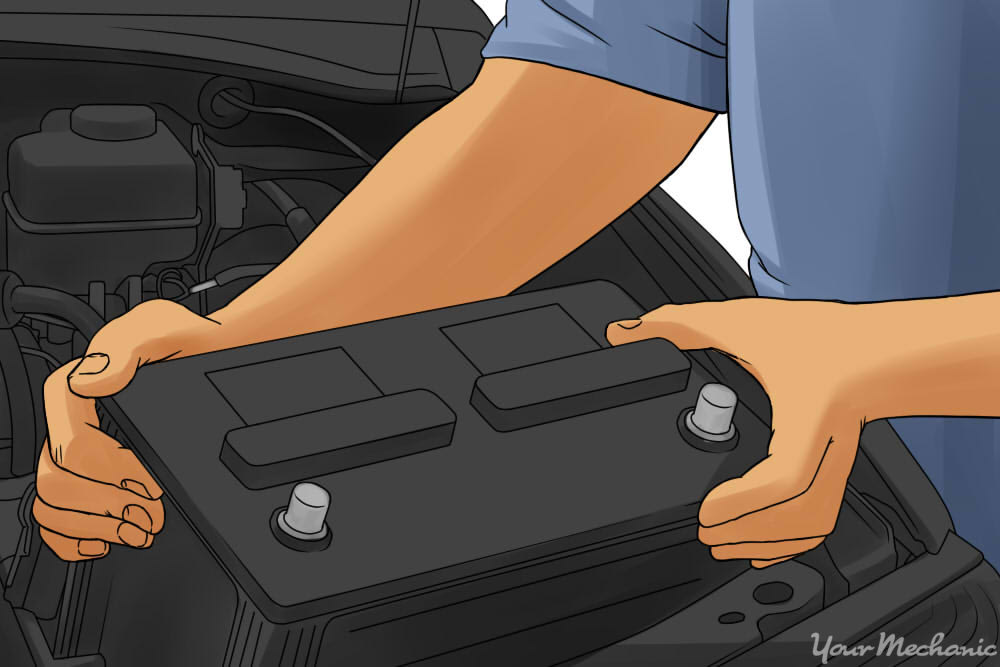
Step 6: Lift out battery. Lift the battery straight out of the bracket, bearing in mind that it may weigh up to 40 lbs.
Part 3 of 3: GM post removal
Materials Needed
- Insulated work gloves
- Ratchet extender (if needed)
- Pliers or adjustable wrench (if necessary to remove a bracket holding the battery in place)
- Safety goggles
- Socket set, including sockets and ratchet
Step 1: Identify terminals. Identify which terminal is negative and which is positive, either by the color of the terminal color (black for negative and red for positive) or locating a plus or minus sign near each terminal post.
Step 2: Find correctly sized socket. Although most GM post terminals require a 3/8-inch socket, verify this is the case by fitting the socket over the nut head. If it fits snugly, it is the correct size. Otherwise, test other sizes from your socket set until finding the correct fit.
Step 3: Attach the appropriate socket to the ratchet. If the terminals are in a tight spot, you may also need to use a ratchet extender.
Step 4: Remove nut heads. With the socket and ratchet connected, put the socket over the nut head and remove it with a counterclockwise rotation. Repeat on the positive terminal, and make sure the positive cable does not come into contact with any metal.
Step 5: Remove bracket and battery. If necessary, remove the bracket holding the battery in its tray, and lift the battery out.
If you run into any trouble while attempting to remove your car battery or simply feel uncomfortable doing the job on your own, don't hesitate to enlist the help of an certified mobile mechanic from YourMechanic.


