
Aluminum wheels are an amazing addition to your vehicle to spruce up its appearance. They give your car a sleek, customized look while being relatively low maintenance. Aluminum wheels are desirable in many applications because aluminum is a lightweight metal that is easy to care for and because they are a relatively simple upgrade with lots of possible designs.
Regular car washes are an excellent way to remove the daily buildup of grime and brake dust from driving, but over time the aluminum discolors and fades. If aluminum wheels are left without being cleaned and polished, they will eventually fade to grayish and dull.
The best time to polish your aluminum wheels is right after you wash your car. Take a few extra minutes and care for your wheels a little more in depth.
Part 1 of 4: Wash your car
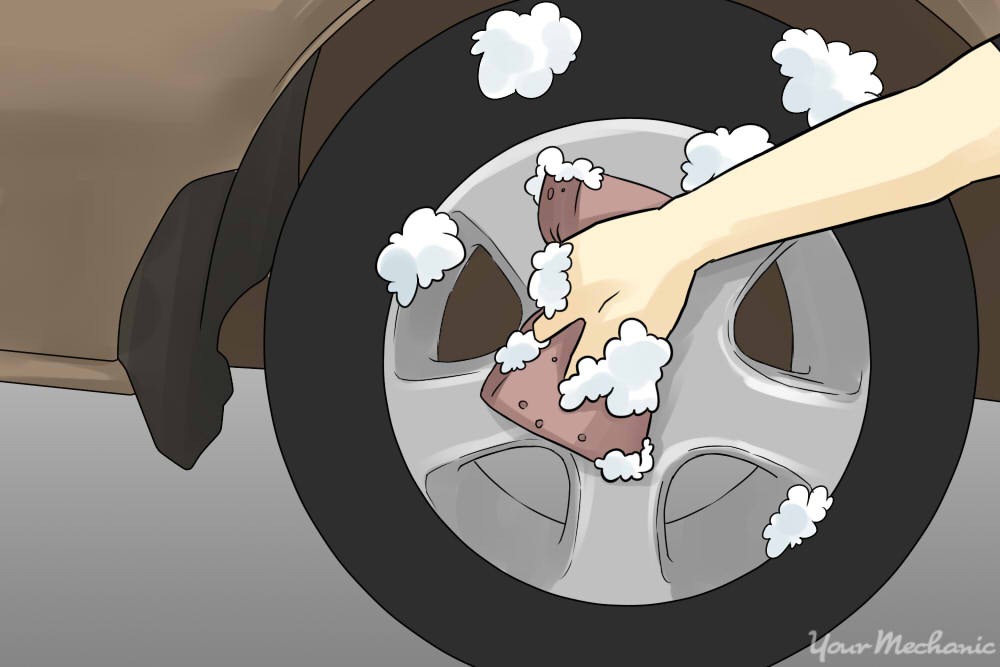
Wash your car with a wand wash or by hand, not in a drive-thru carwash. You can pay more specific attention to your wheels, scrubbing the brake dust from the aluminum surface with the wash brush and rinsing the dirt more thoroughly from the inside edge of your wheels.
Materials Needed
- Degreaser
- Pressure washer
- Soap
- Water
Step 1: Spray a degreaser on your wheels. This lifts excess brake dust and road grime from your wheels’ surfaces.
Step 2: Scrub the surface of the wheel. Make sure you are using soap to scrub off the grime from the wheel.
Step 3: Use a pressure washer on the full surface of your wheel. Make sure you are rinsing the soap completely from the wheels.
Car wash soap will etch into the aluminum surface if it’s not completely rinsed off, leaving behind the appearance of water marks.
- Warning: Never attempt to polish your aluminum wheels if they are dirty. The abrasive quality of the dirt will scratch your wheel surface and embed the dirt into the aluminum.
Part 2 of 4: Clean the aluminum
Materials Needed
- Aluminum-safe wheel cleaner
- Several soft, lint-free cloths
Before you begin polishing your wheels, determine if they are coated with a clear coat or if they are bare aluminum. An aluminum wheel that has been sprayed with clear coat does not require any special treatment besides a degreaser and a carwash.
Step 1: Apply a dab of aluminum wheel polish to a clean cloth. Make sure you use the wheel polish on a clean cloth to avoid harming the wheel surface.
Step 2: Apply a small amount of the polish. Wipe an inconspicuous spot with the polish.
Step 3: Check the cloth. If the cloth has black on it, the wheel is aluminum.
Step 4: Determine the color. Aluminum oxide appears as a black substance on your cloth, though it looks white when on aluminum.
Warning: Before you polish and seal your aluminum wheels, you need to make sure the surface is completely cleaned of all contaminants. If you polish your aluminum wheels while there is still dirt on them, you could seal in a streaky finish.
Tip: Do not remove the wheel weights on the lip of your wheel at any stage. If you remove the wheel weights, you will experience a shimmy or shake in the steering wheel when you are driving at highway speeds, and will need to have all four of your wheels rebalanced.
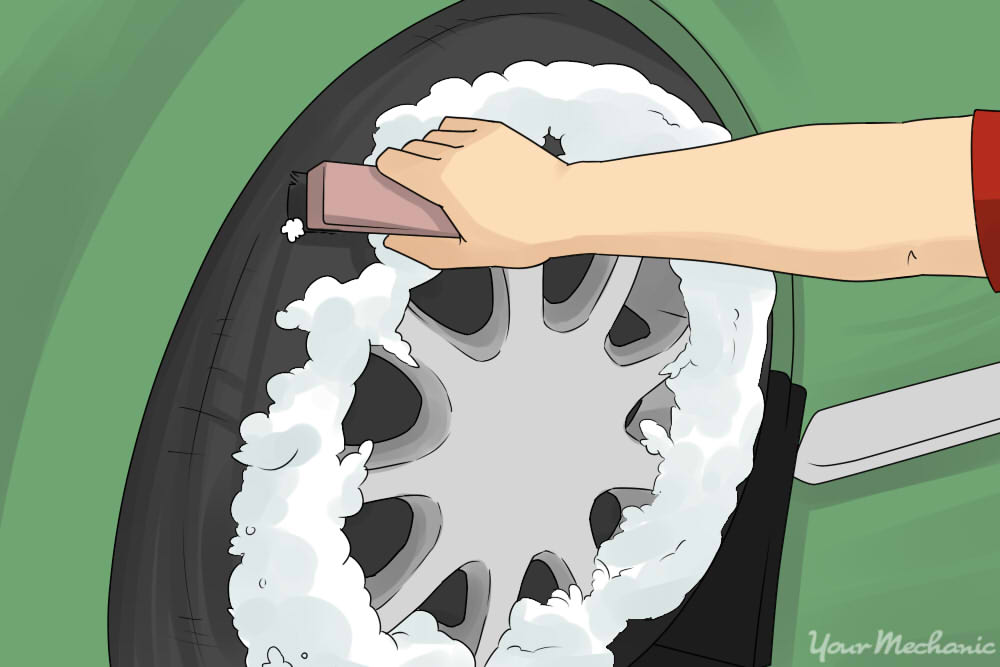
Step 5: Spray your wheel with the aluminum-safe wheel cleaner. Completely cover the face of your wheel with cleaner.
The cleaner will foam on contact with the wheel.
- Warning: Use only an aluminum-safe wheel cleaner. Other wheel cleaners can contain harsh chemicals that may discolor or damage the finish on your aluminum wheels, making them look unsightly.
Step 6: Allow the cleaner to soak. Let the cleaner soak on the wheel surface for 15 minutes.
Step 7: Rinse the cleaner from the wheel. Make sure all of the cleaner is thoroughly rinsed off the wheel.
Step 8: Dry the wheel. Use a clean cloth to dry the wheel.
Step 9: Repeat for the other three wheels. Follow these same steps for the remaining wheels.
Part 3 of 4: Polish the wheel
Materials Needed
- Aluminum wheel polish
- Aluminum wheel wax
- Lug nut brush
- Several soft, lint-free cloths
- Soft-bristled brush
Step 1: Apply aluminum wheel polish to a cloth. Put some of the polish on a cloth or use a foam applicator pad if you’d prefer.
Step 2: Wipe the aluminum cleaner on the surface. Use the cloth to wipe a small section of the rim.
Working in small areas makes sure the polish doesn’t dry to the wheel before you get to it.
Step 3: Rub the polish into the wheel. Make sure to rub the polish along the grain of the machined surface of the wheel.
Avoid the temptation to use circular motions as you can create swirls in the wheel’s finish.
Step 4: Work over the whole surface of the wheel in a pattern. You can work from the center of the wheel down each spoke to the wheel lip or vise versa.
Don’t lose track of where you’ve polished or your finished product will look inconsistent.
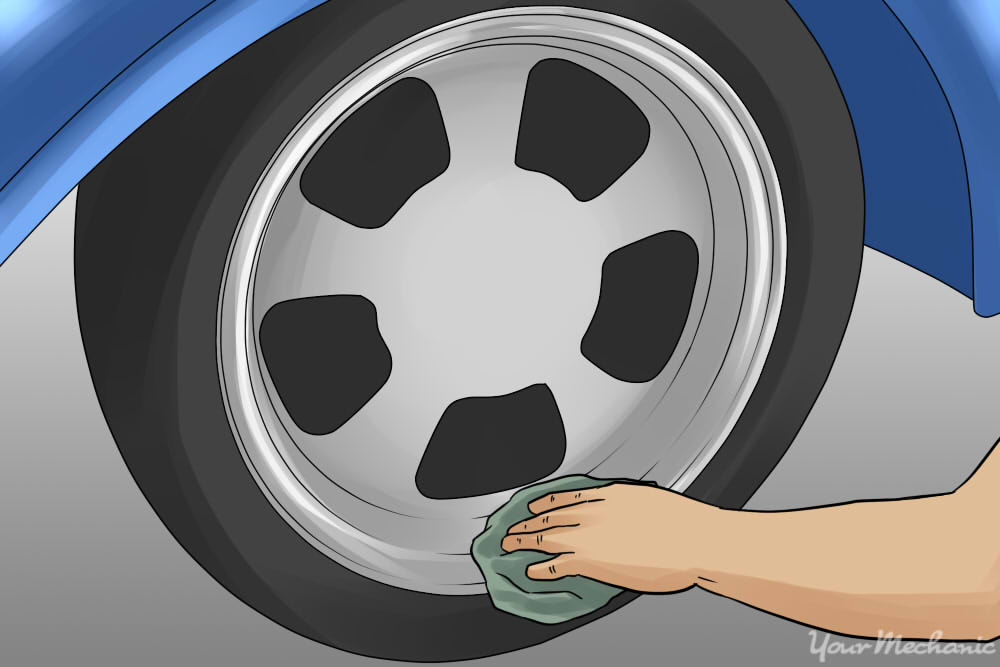
Step 5: Wipe the polished wheel surface. With a clean, dry cloth, wipe the wheel’s surface.
Step 6: Repeat the process for each wheel. Follow the same steps for the remaining wheels.
Step 7: Polish lug nuts. Apply a small amount of polish to a lug nut brush, cleaning them until they shine.
Part 4 of 4: Seal the aluminum
After going to such great lengths to clean and polish your aluminum wheels, it would be a shame to let them go back to their previous condition. Apply an aluminum wheel wax or sealer to protect your aluminum wheels’ surfaces from the elements.
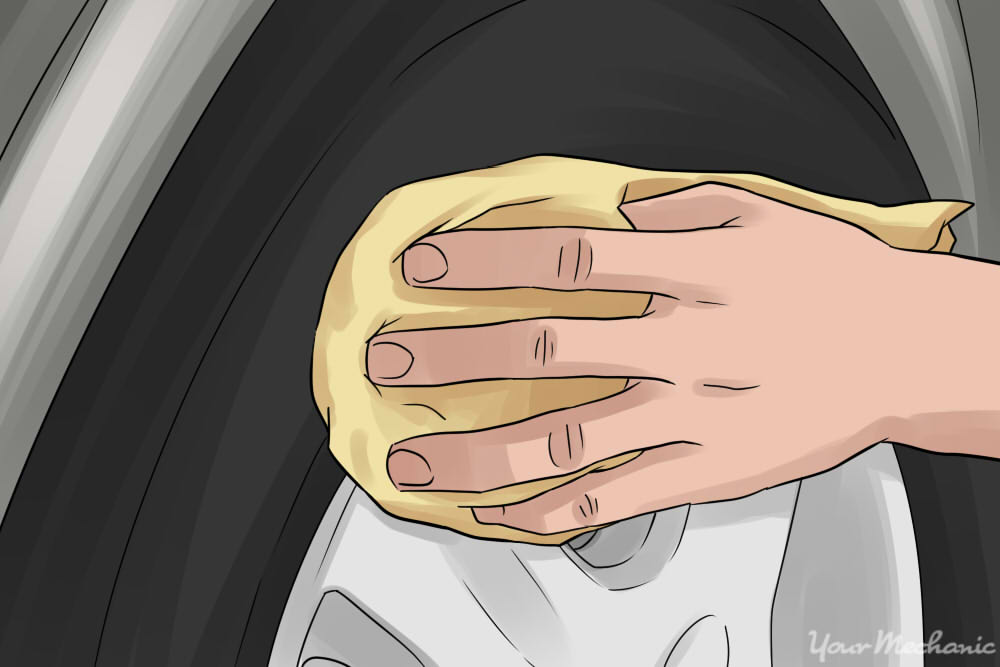
Step 1: Place a small amount of wax on your finger. With a clean, dry cloth, pick up a small fingerful of wax.
Step 2: Apply the wheel wax. Smear the wax onto the cleaned, polished surface of your wheel.
Rub the wheel wax with the grain of the aluminum machining for the best finish, completely coating the wheel before removing the wax.
Step 3: Allow the wax to fully dry. Allowing the wax to dry completely can take 10-15 minutes.
Step 4: Wipe the dried wax. Wipe up the dried wax from your wheel’s surface with another clean, dry cloth.
Step 5: Repeat for the rest of your wheels. Follow these steps for the remaining wheels.
Taking care of your wheels can be the difference between a nice car and a stunning one. Regular washing will help do the trick, but you should be sure to do further maintenance from time-to-time by polishing and waxing them. If you notice any issues with your wheel hubs or think you need a wheel stud replacement, have one of our certified mechanics take a look.


