
When you have a child, safety is of the utmost importance. Installing a car seat properly can help ensure your child stays safe in an accident. This task may be more challenging than you might think, but you can learn how to install the seat correctly and enjoy peace of mind on all of your trips.
- Warning: Children under the age of 13 should never sit in the front seat. In the event of an accident where airbags deploy, children can be injured more seriously by the airbag. Children should always ride in the back seat until the age of 13.
Method 1 of 2: Installing a rear-facing car seat
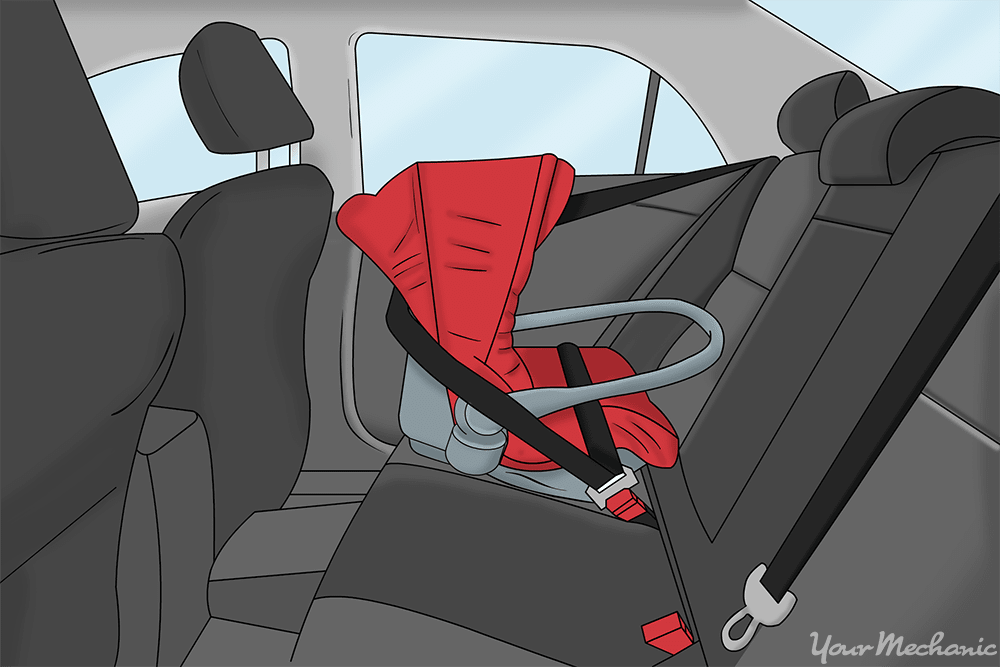
A newborn will be placed in a rear-facing car seat. They will remain in this position until they are at least two years old or meet the minimum requirements for front-facing seats.
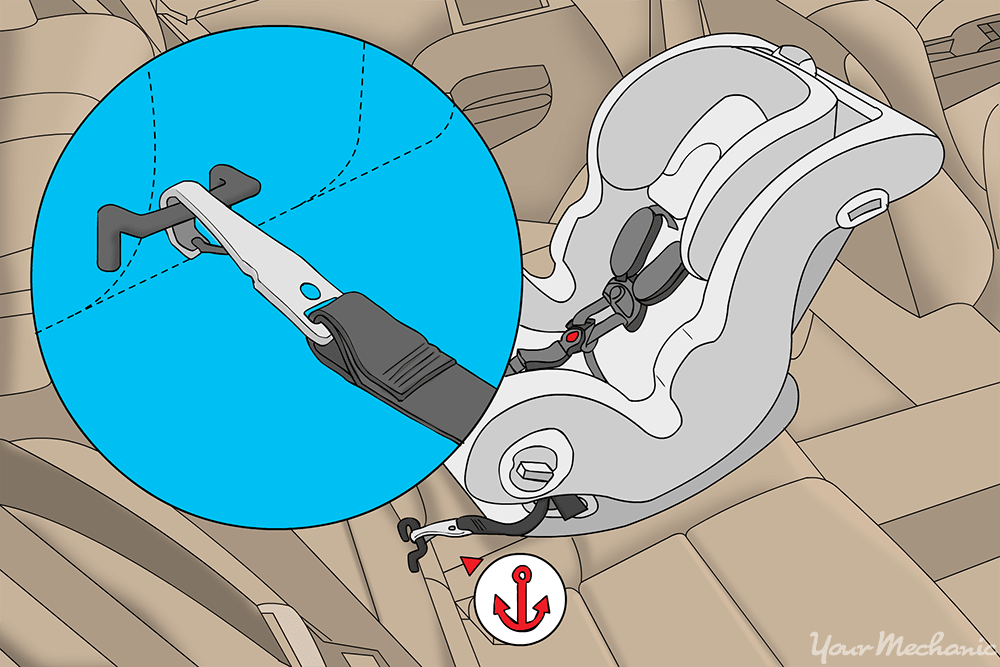
Step 1: Attach the tethers to the car seat. All cars manufactured after 2002 are required to have lower anchors and tethers, which provide more security than seatbelts. This is known as the LATCH system.
Clip the two lower restraint belts to the LATCH loops on the seat bottom.
The loops are rigid, fixed to the seat frame near the join between the seat back and the seat bottom.
Press down on the seat to secure it tightly then pull the adjustment straps to hold the seat firmly in place. It shouldn’t move more than an inch in any direction when it is attached correctly.
- Tip: If you have leather seats, place a towel under the child seat to prevent the plastic base from cutting into the leather surface.
Read the car owner’s manual for exact placement of the anchors and tethers for the make and model.
Step 2: Make sure that tethers are secured properly. Check the tethers to make sure they are secure and aren’t twisted.
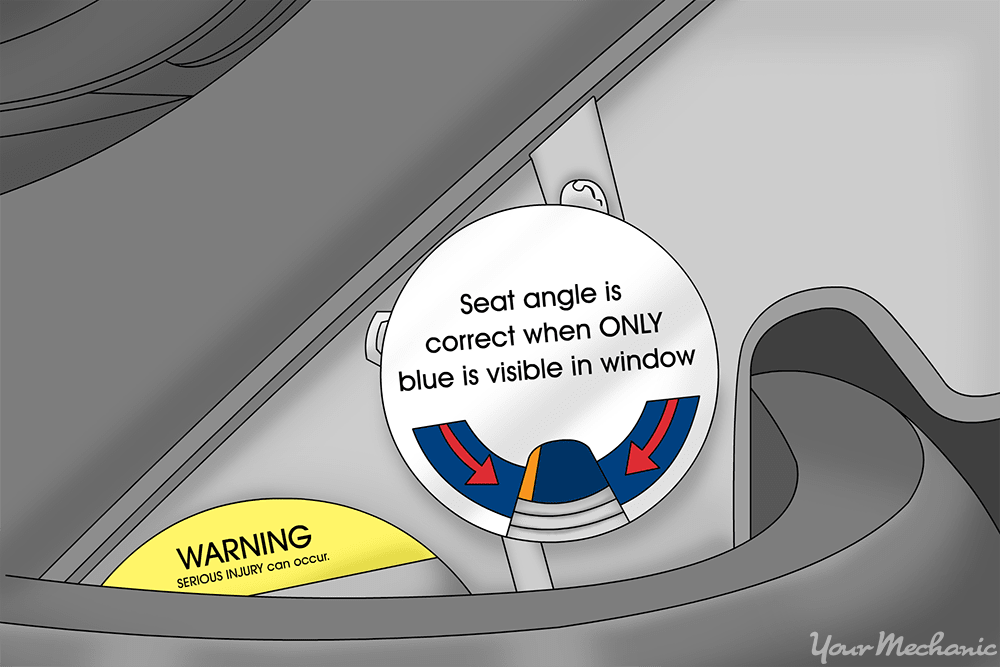
Step 3: Adjust the seat to the correct angle. Adjust the angle of the car seat to match what is indicated on the seat itself or the instructions that come with the seat.
Some child seats come with a level attached to the seat to assist in correctly angling the seat.
To adjust the angle, loosen the LATCH belts, fold a towel to the necessary height, and insert it under the seat.
Tighten the belts again and recheck the angle.
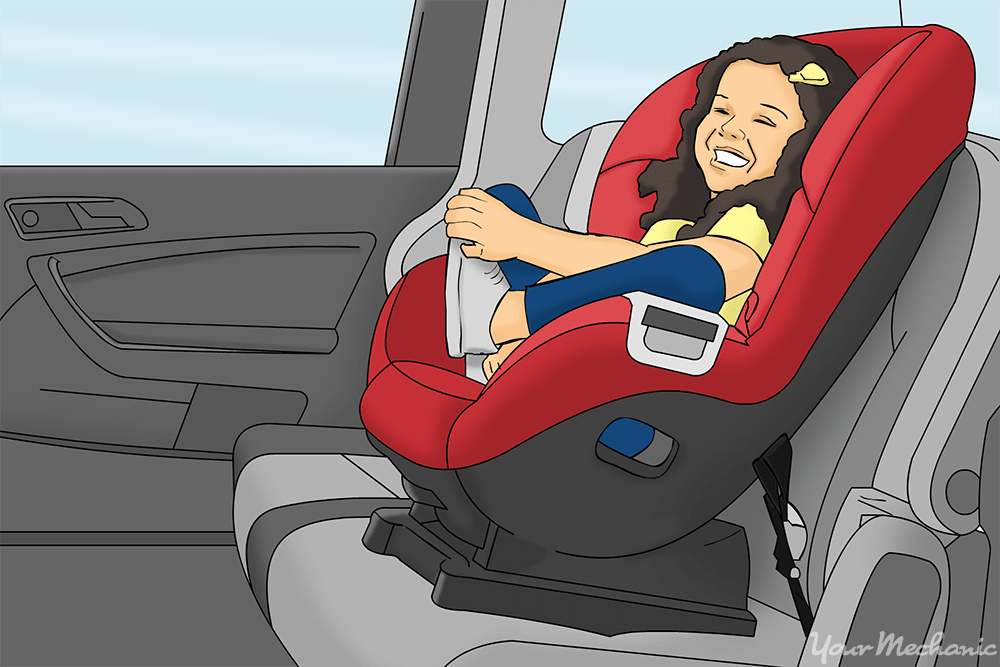
Method 2 of 2: Installing a forward-facing seat
Step 1: Determine the best position for the child seat. Not every place that can accommodate the LATCH system is approved for use with a forward-facing child seat.
Check your owner’s manual or your car manufacturer’s online resources to determine the best placement for a front-facing child seat.
Step 2: Attach the car seat in place. Place the child seat in its spot and snap the LATCH belts onto the lower LATCH loops.
Locate the upper LATCH anchor strap and put it over the seat back. There will be a LATCH loop on the seat back or on the back dash to connect the strap.
Check to make sure all belts and tethers are secure and not twisted.
Step 3: Pull the straps tight. Bear your weight into the child seat with your knee to press it firmly down onto the seat, compressing the cushion underneath.
Pull up on the bottom LATCH straps until the seat is tight.
Pull the upper LATCH strap firmly, ensuring the child seat is tightly in place.
The child seat should not move more than an inch forward or to either side.
- Tip: You can go to a fire station and ask for help with installing a car seat. They will be glad to assist you in proper placement.
Take the time to learn correct placement of a car seat to ensure your child stays safe no matter how long the trip you are taking. Make sure you have a car seat that fits your child’s height and weight for the best protection, and always properly secure your child in their seat every time.


